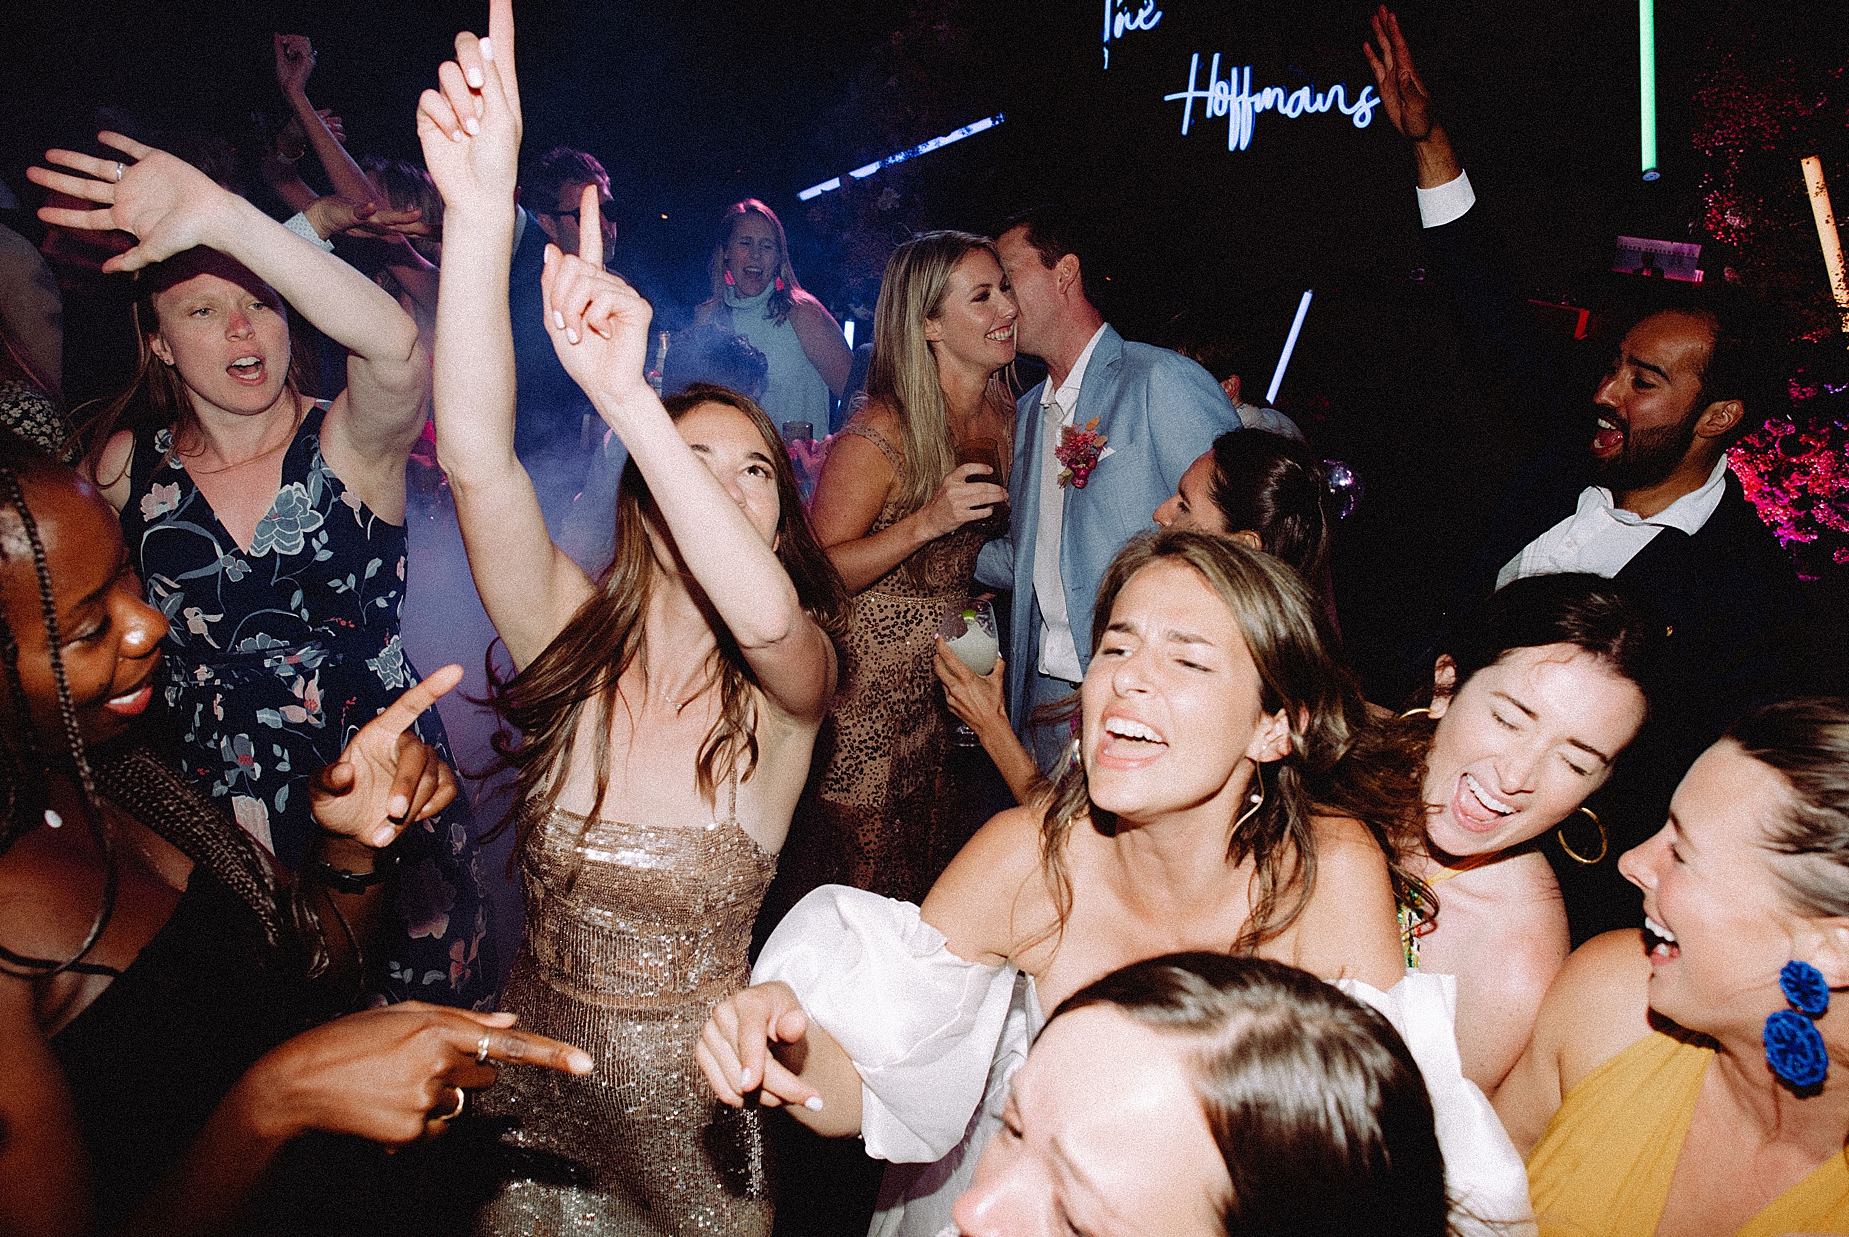
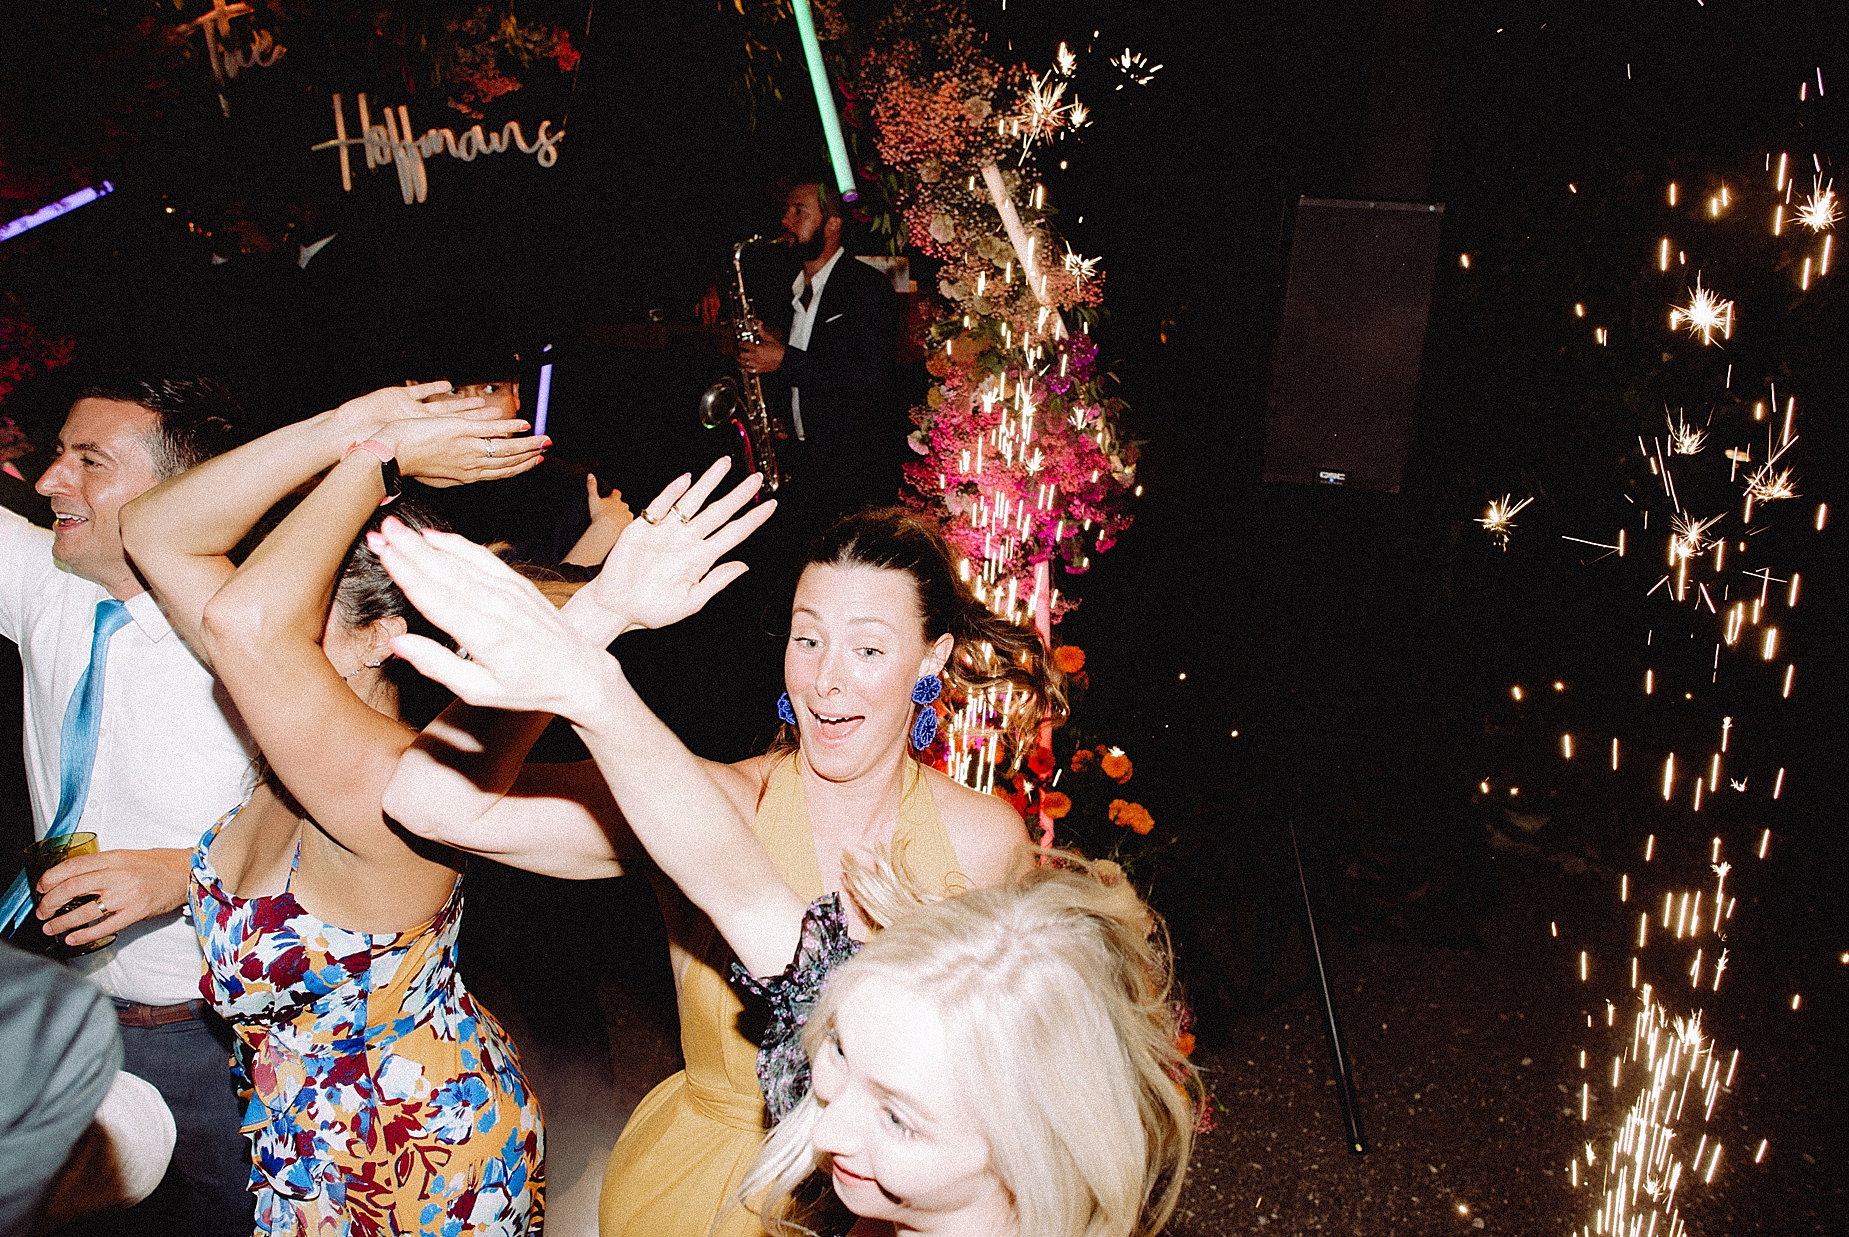
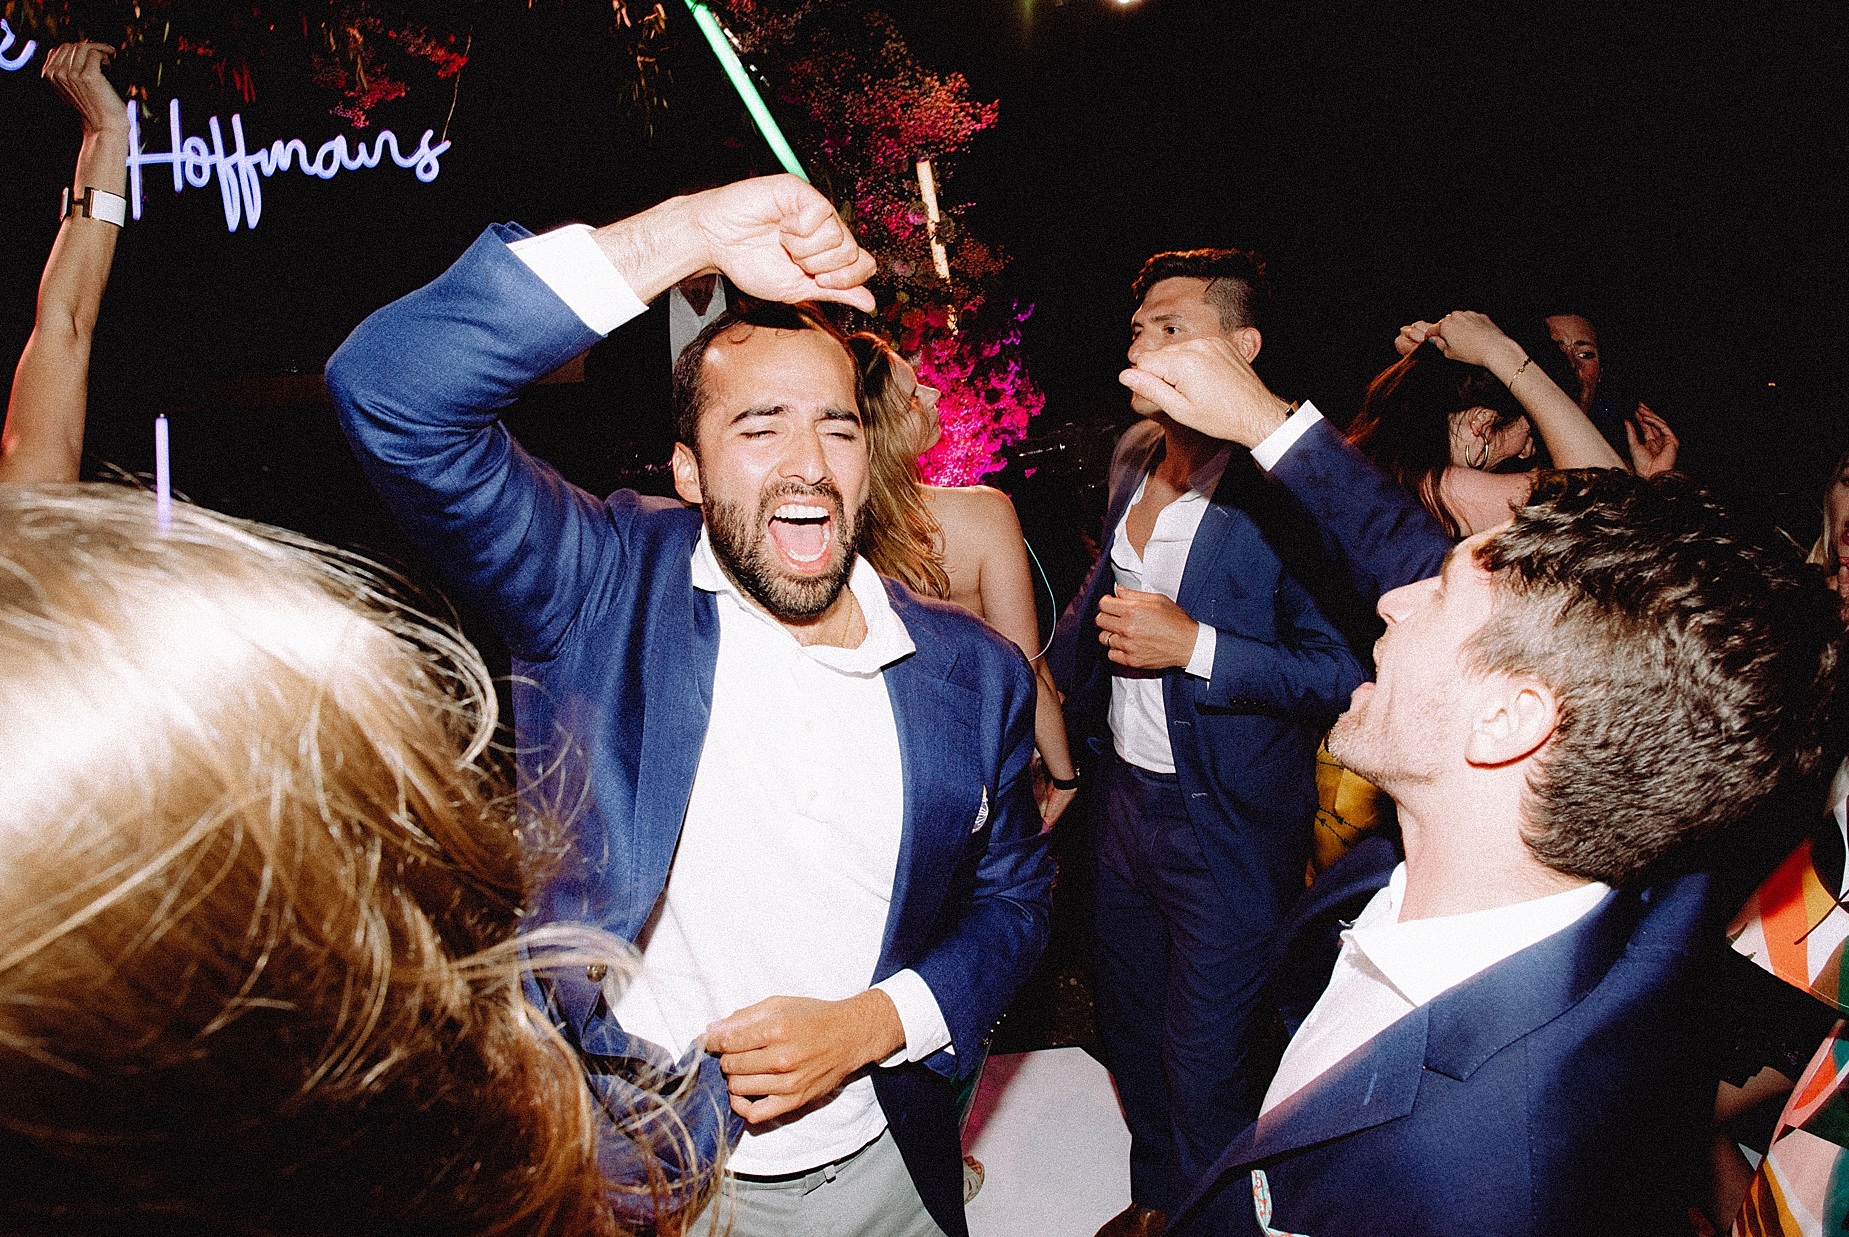
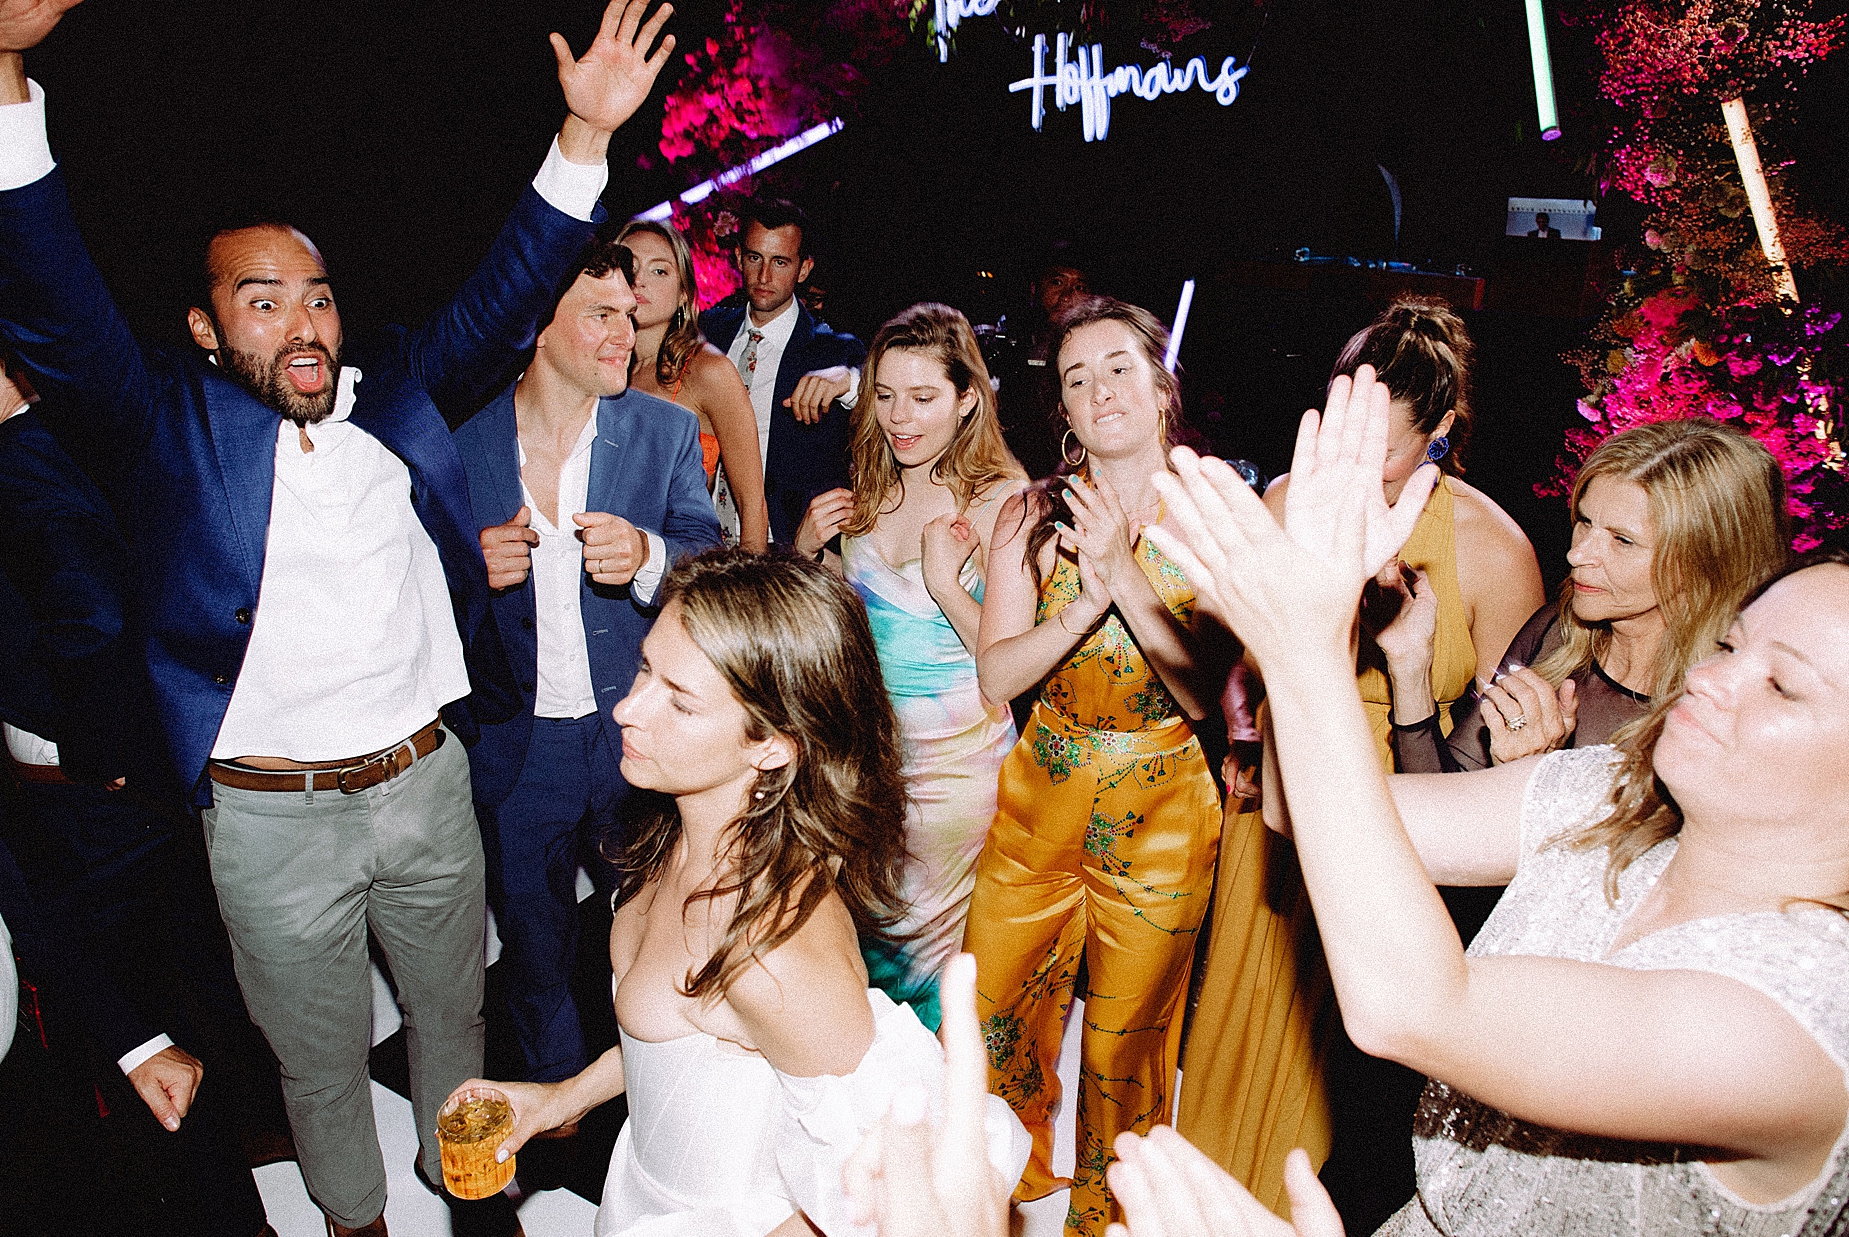
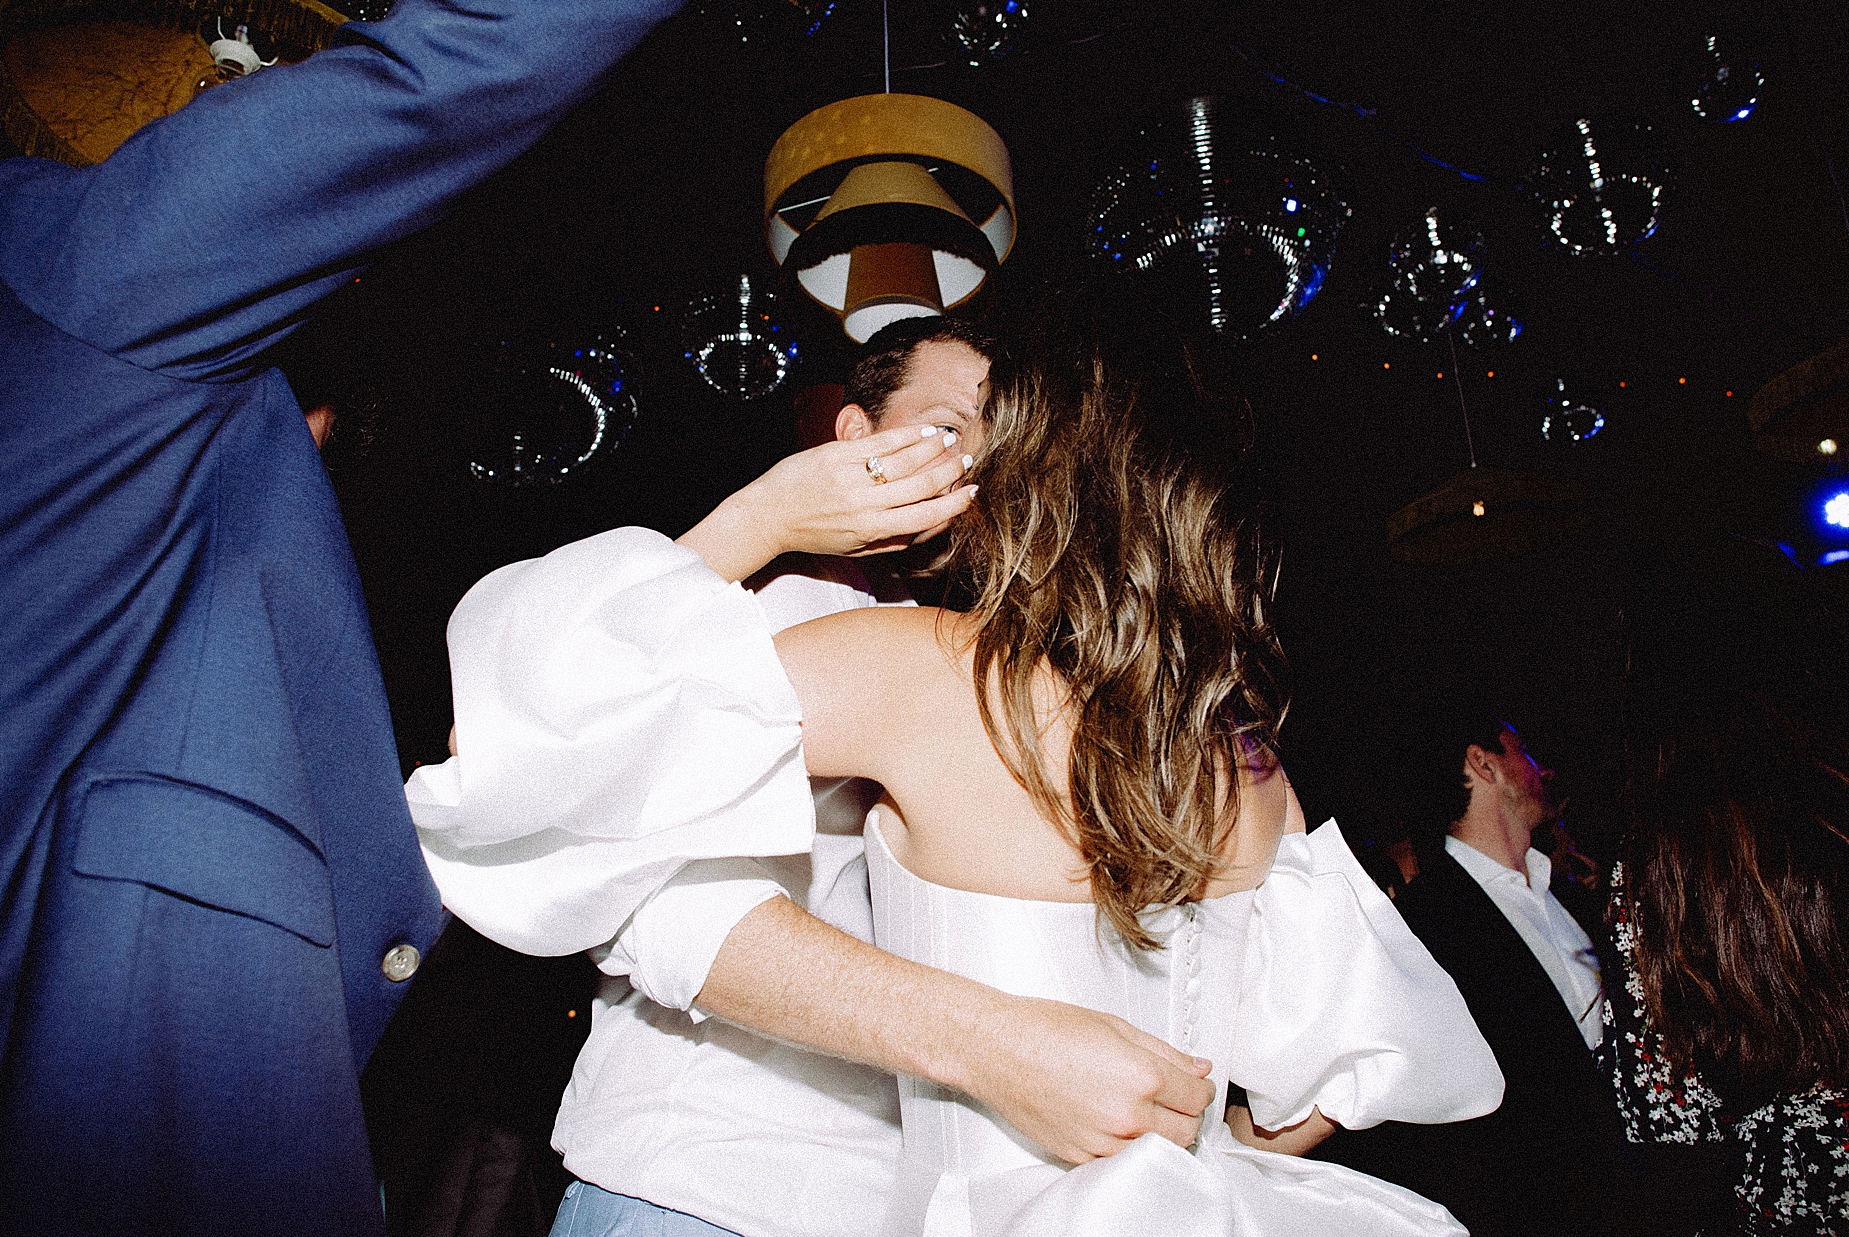
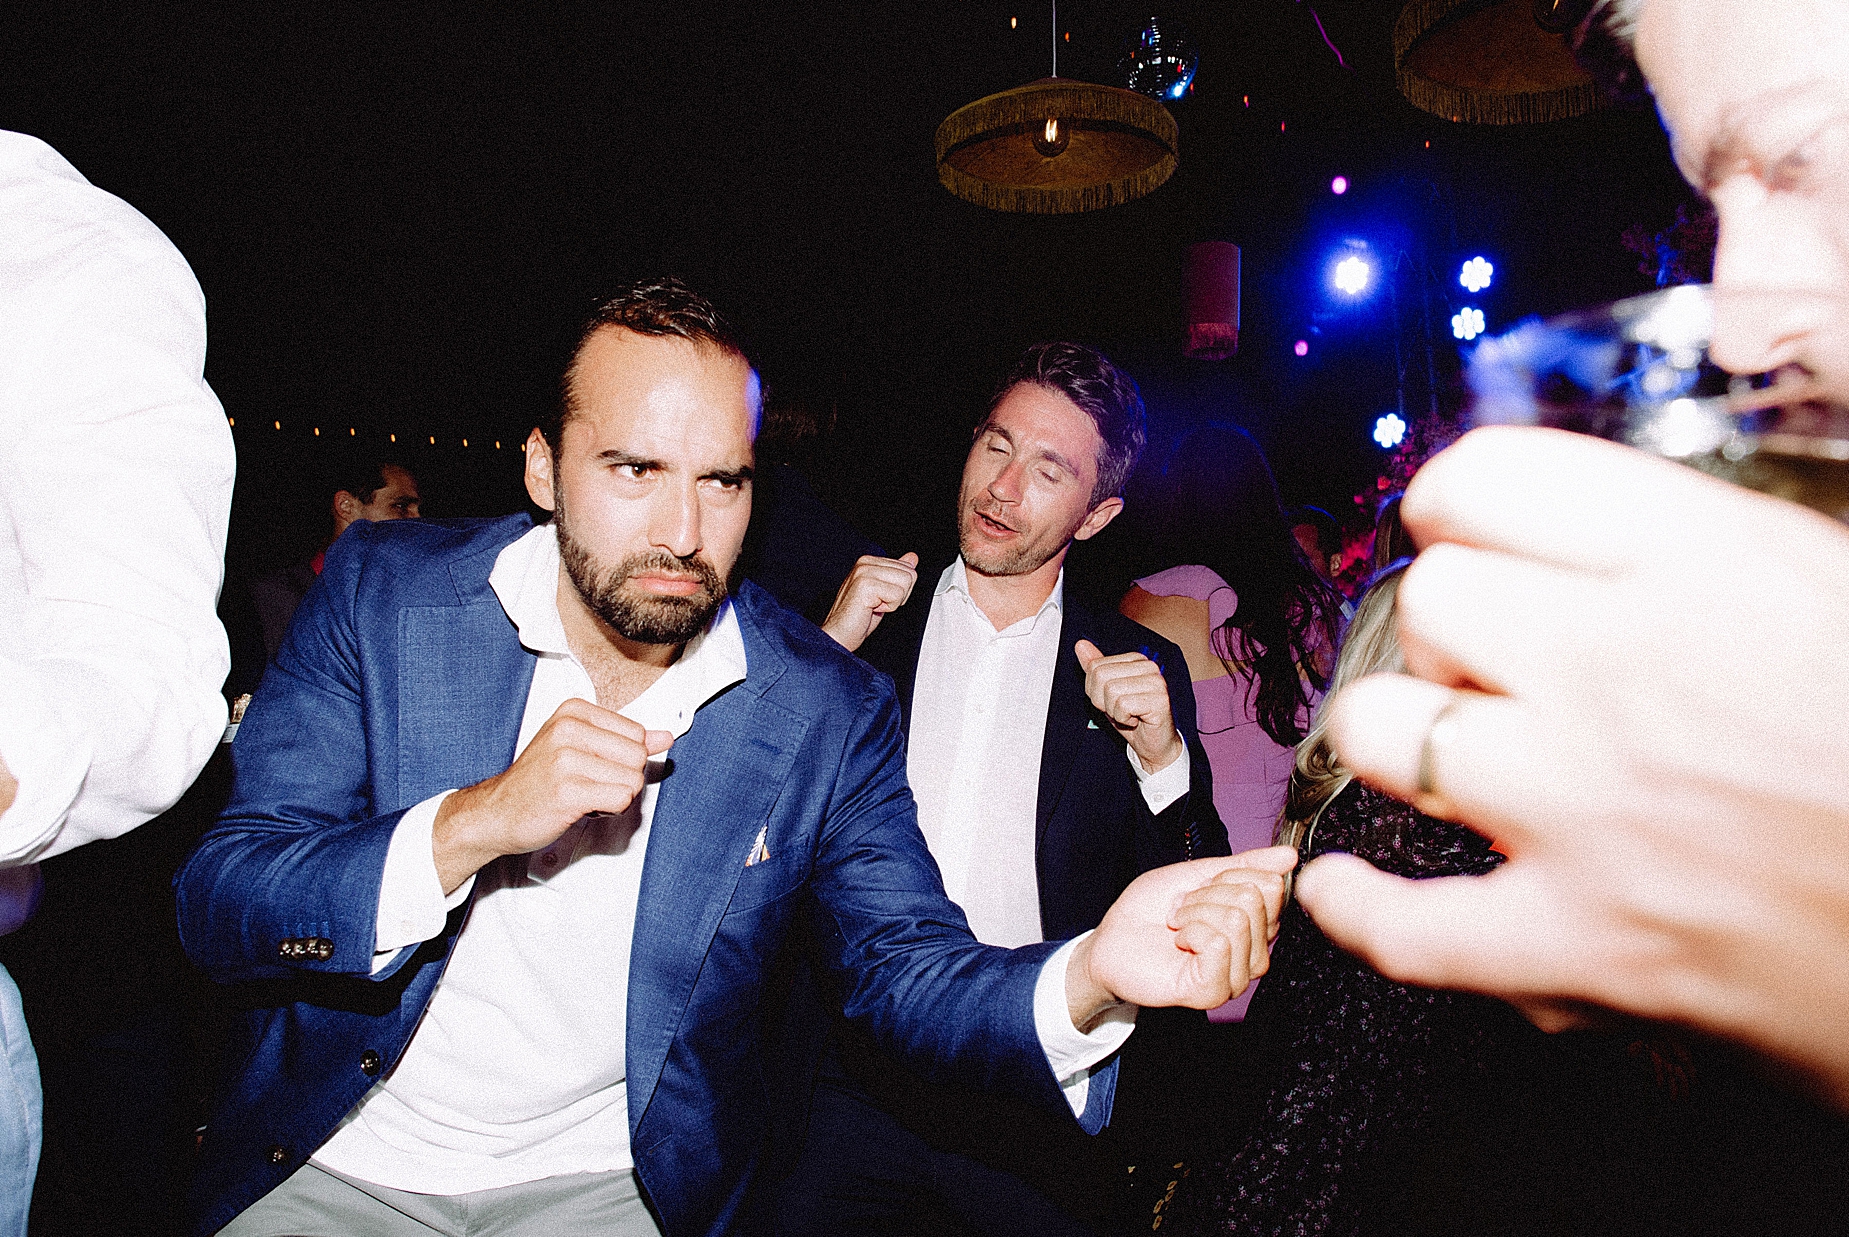
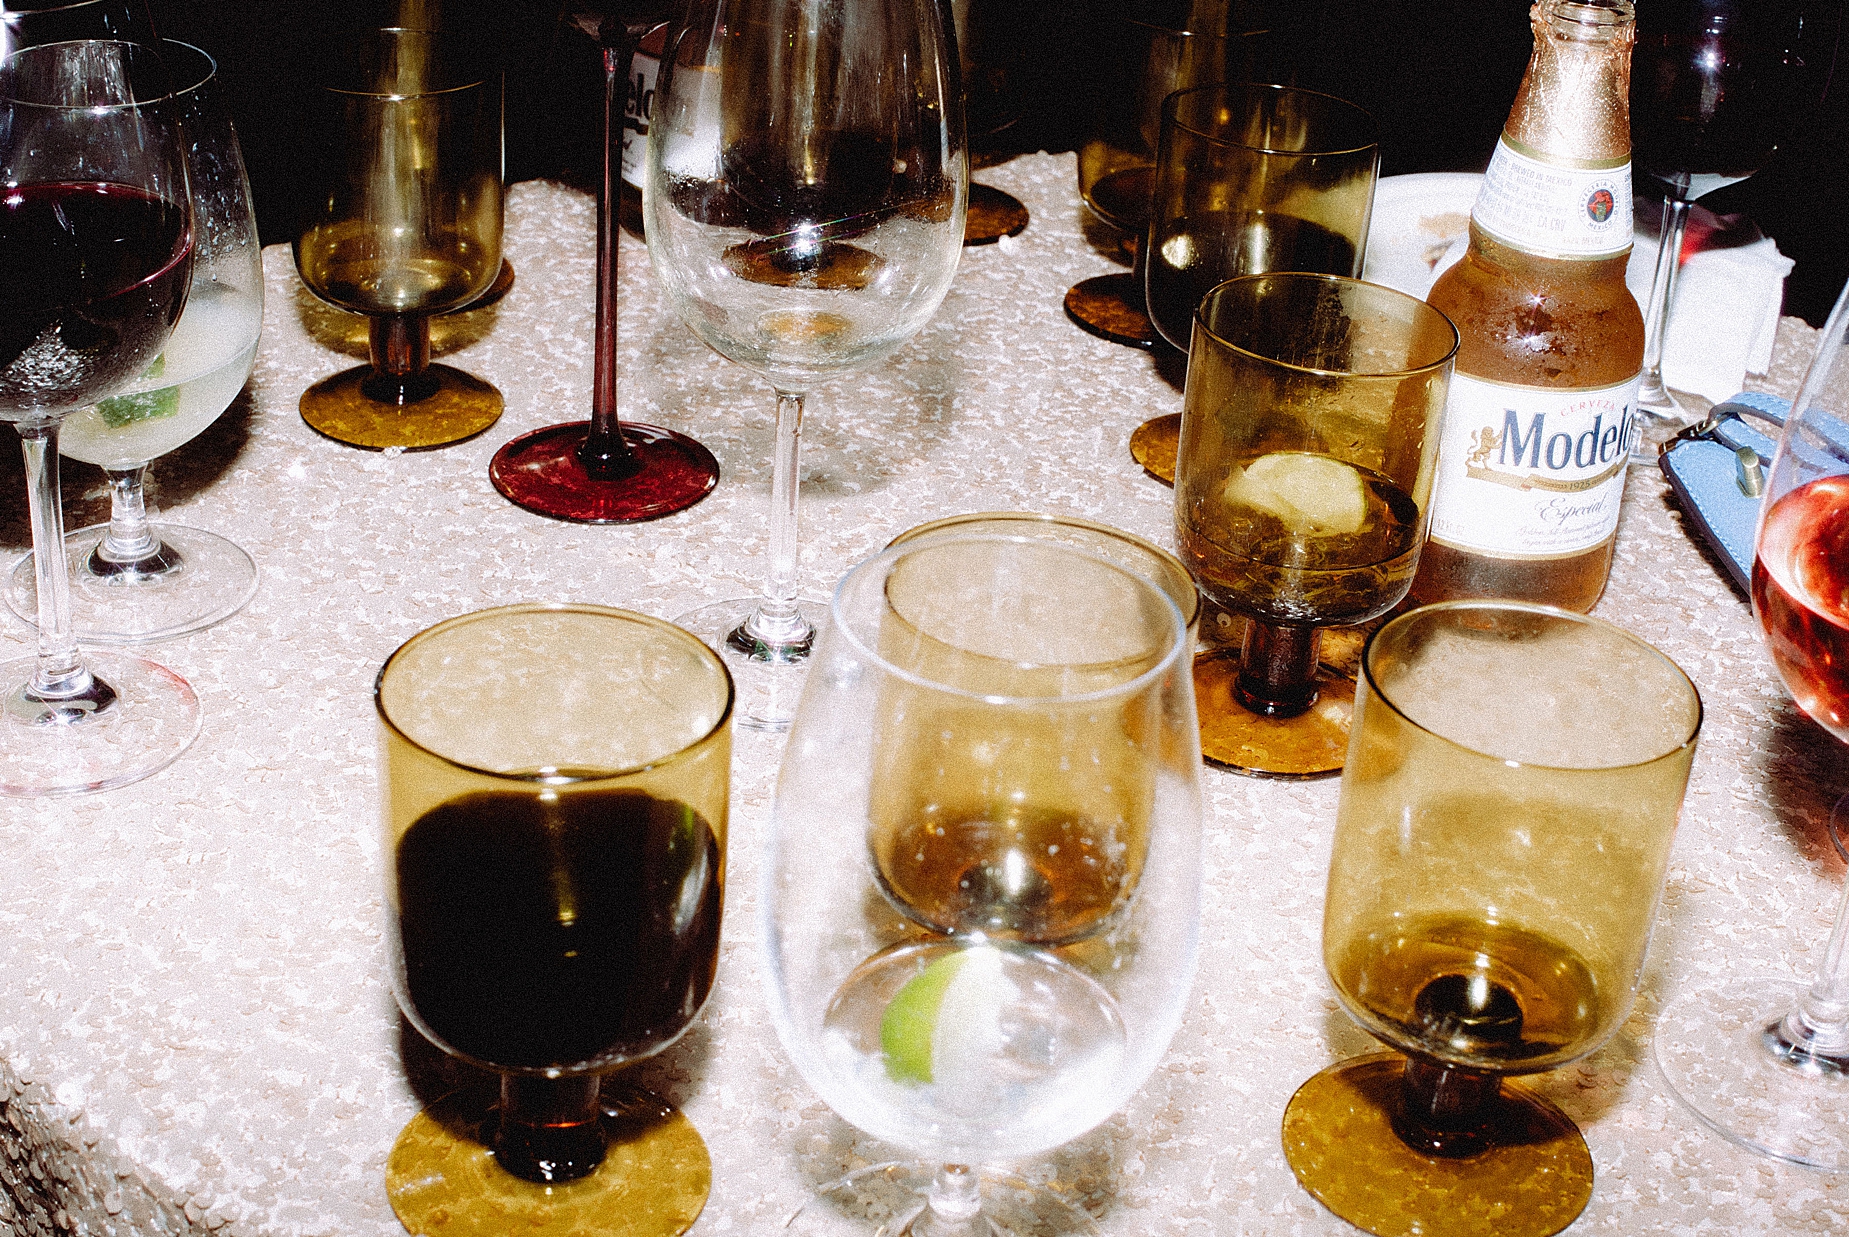
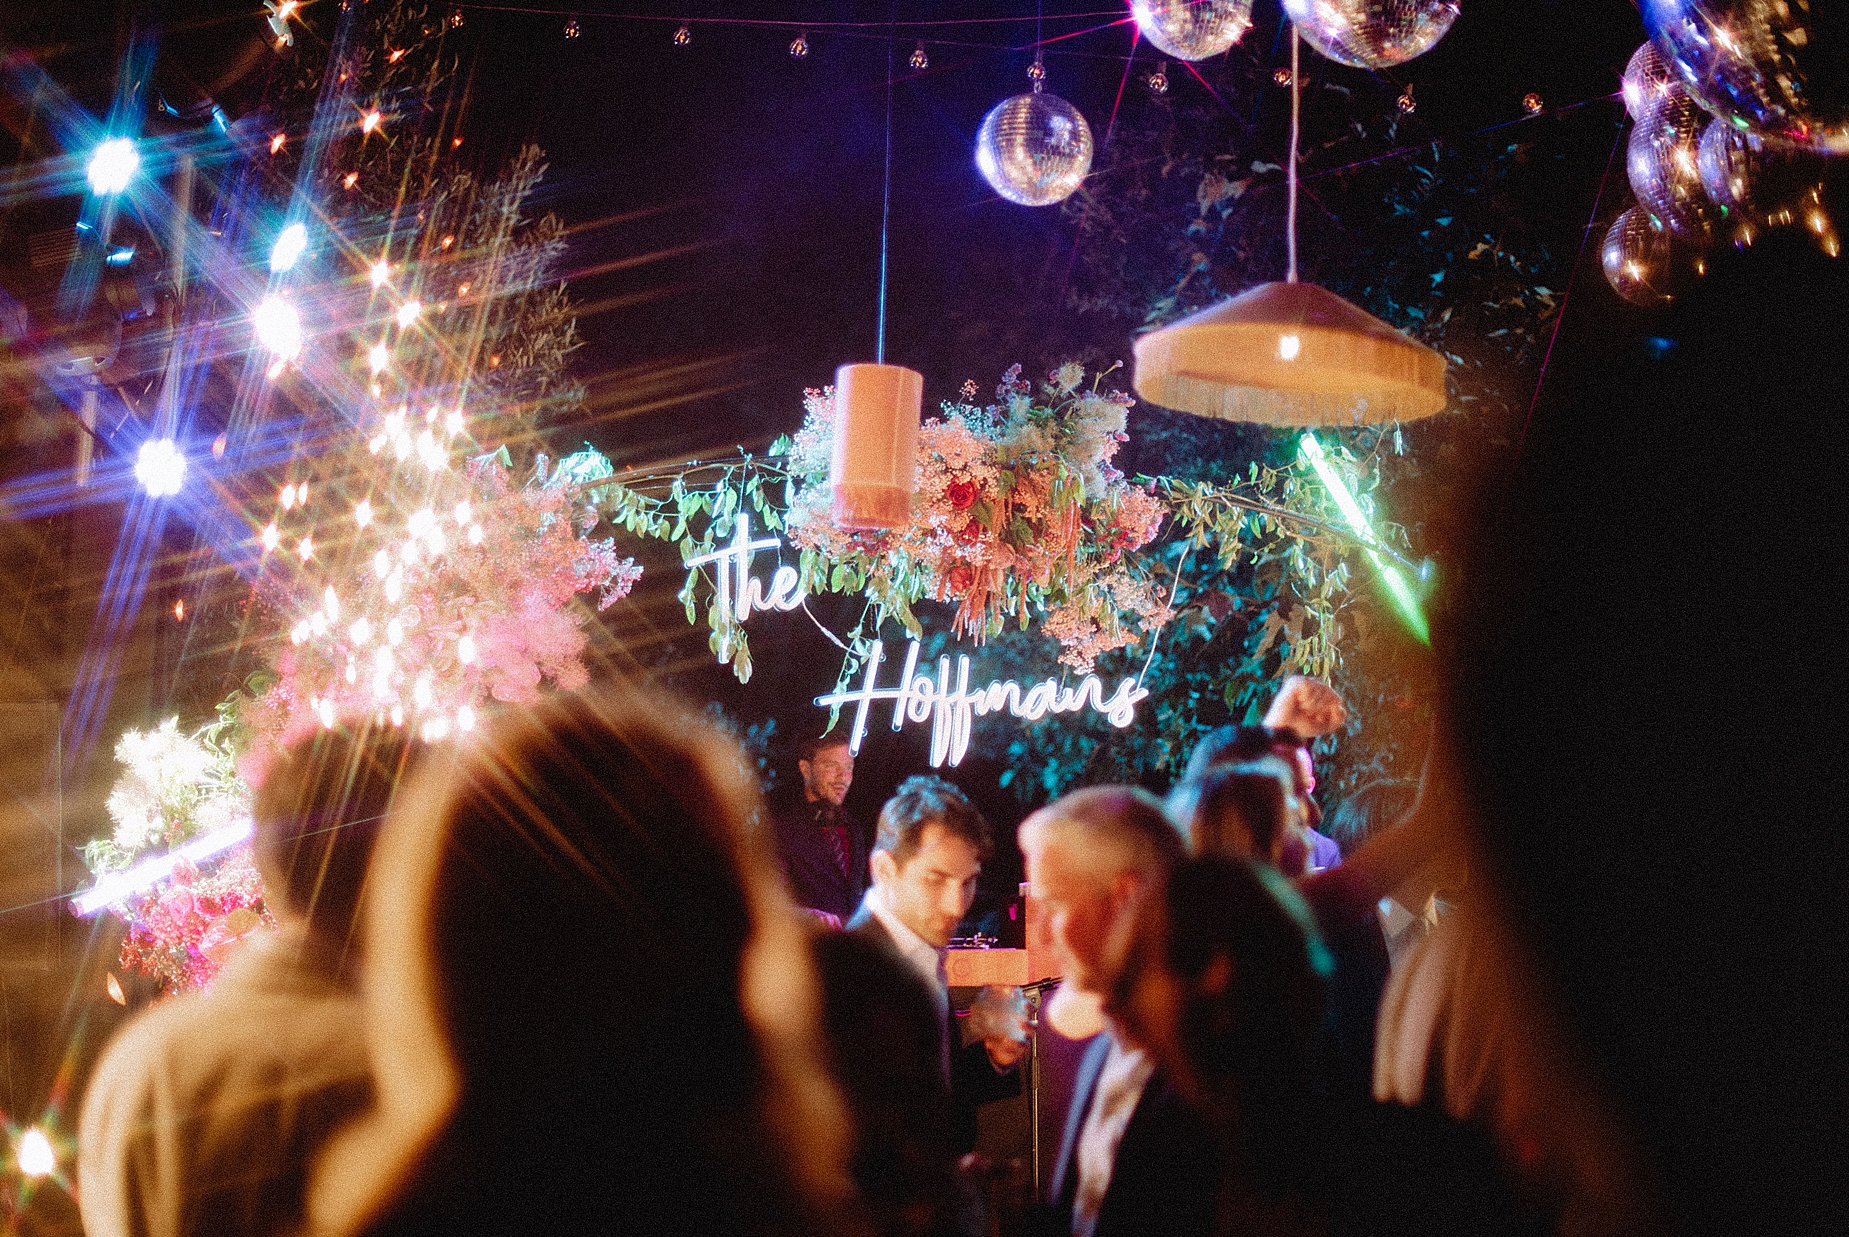
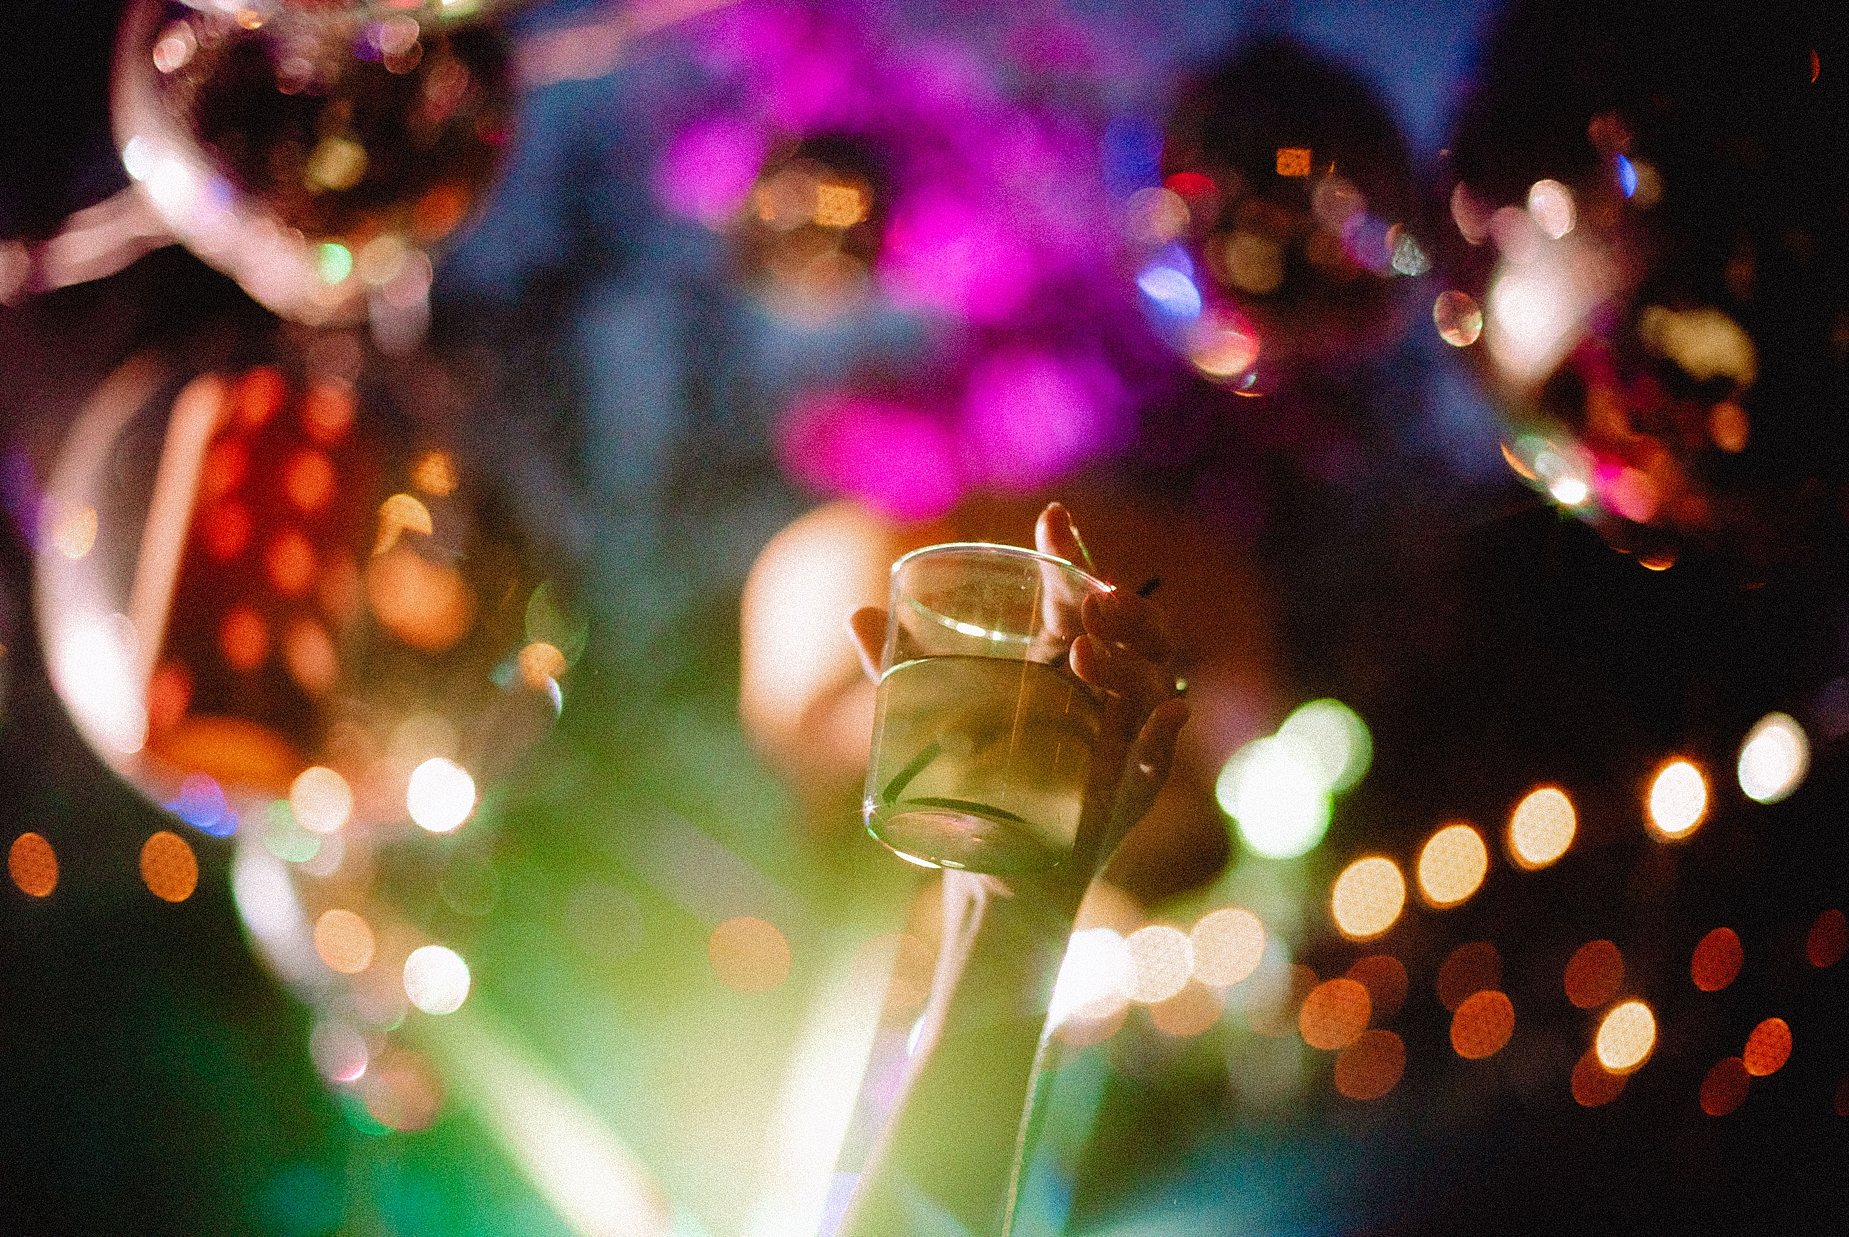
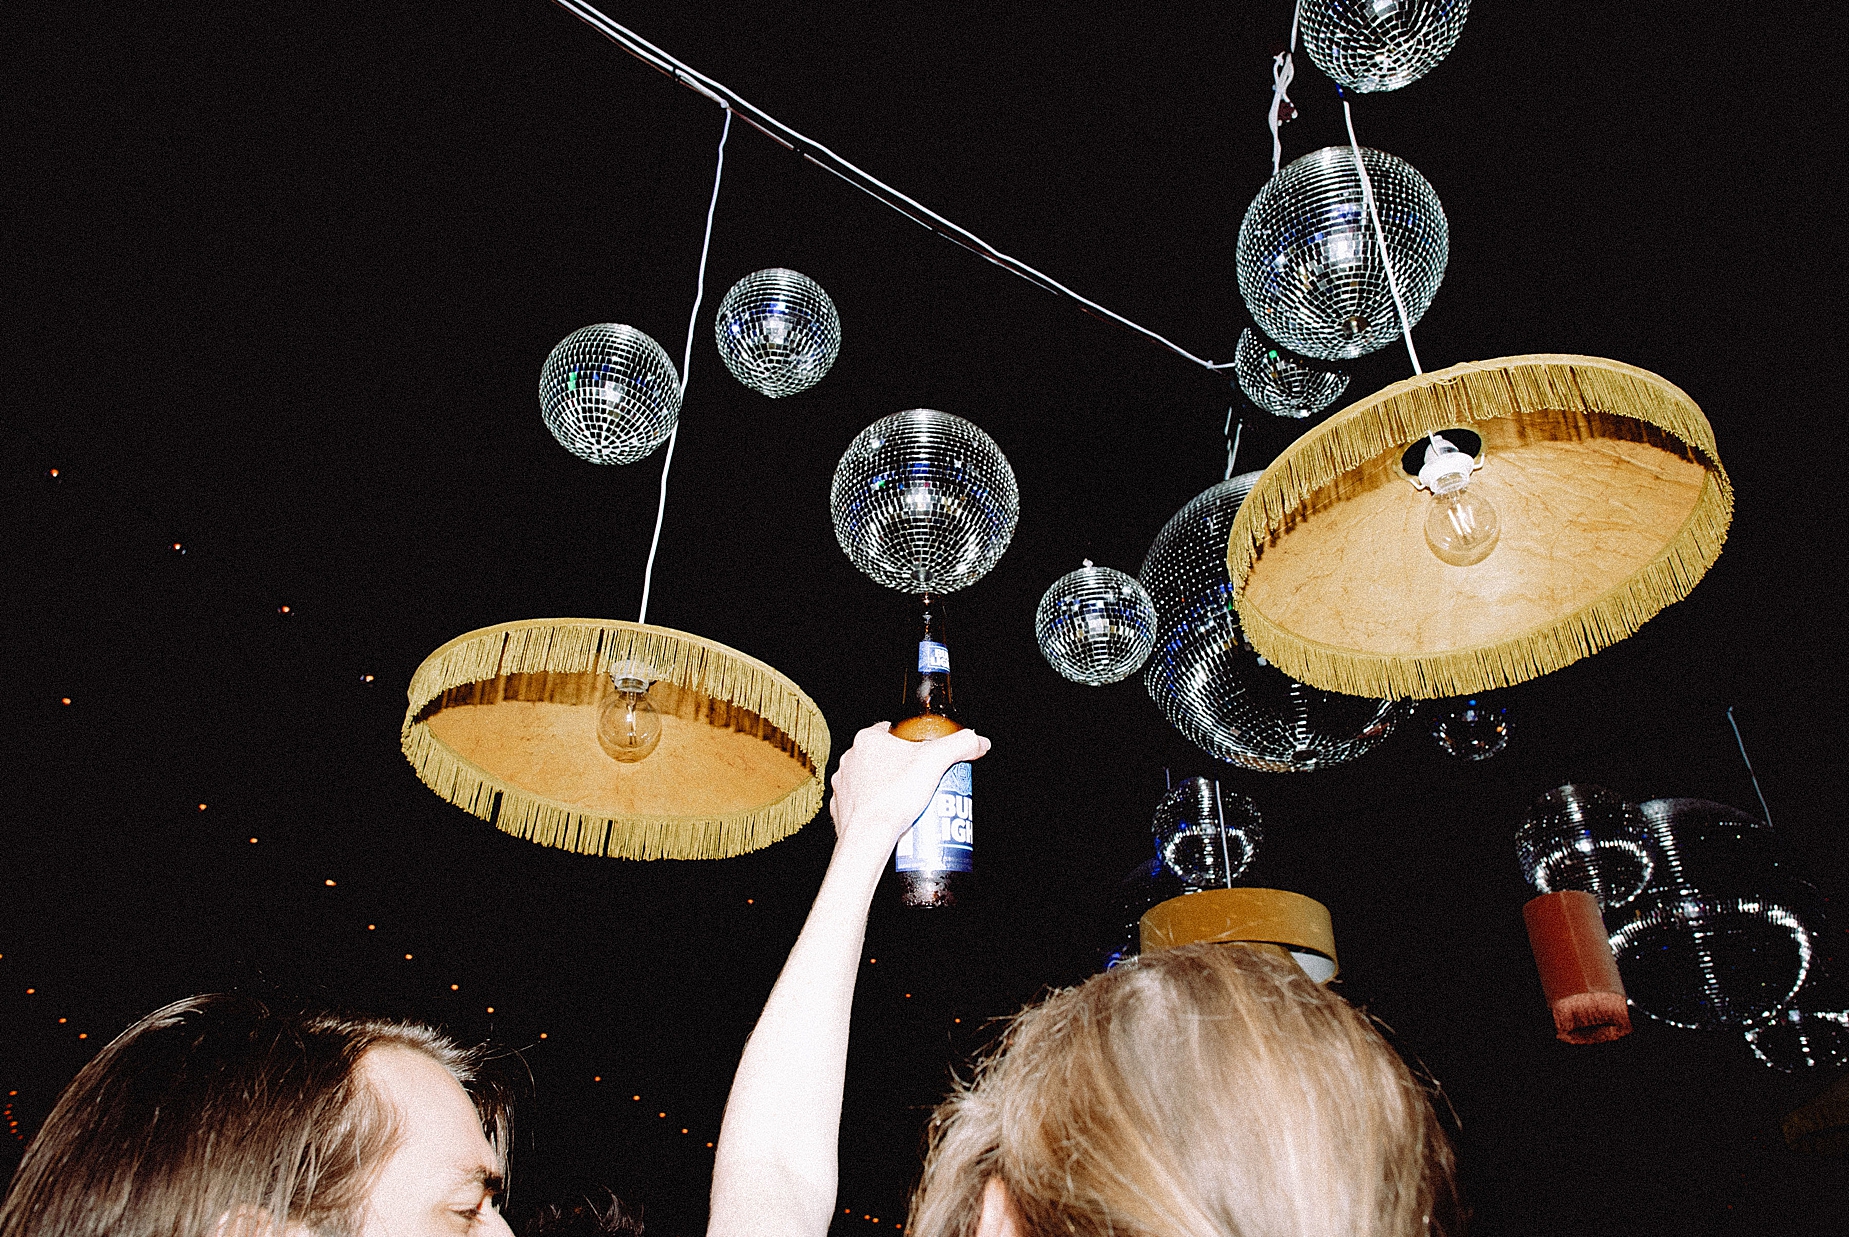
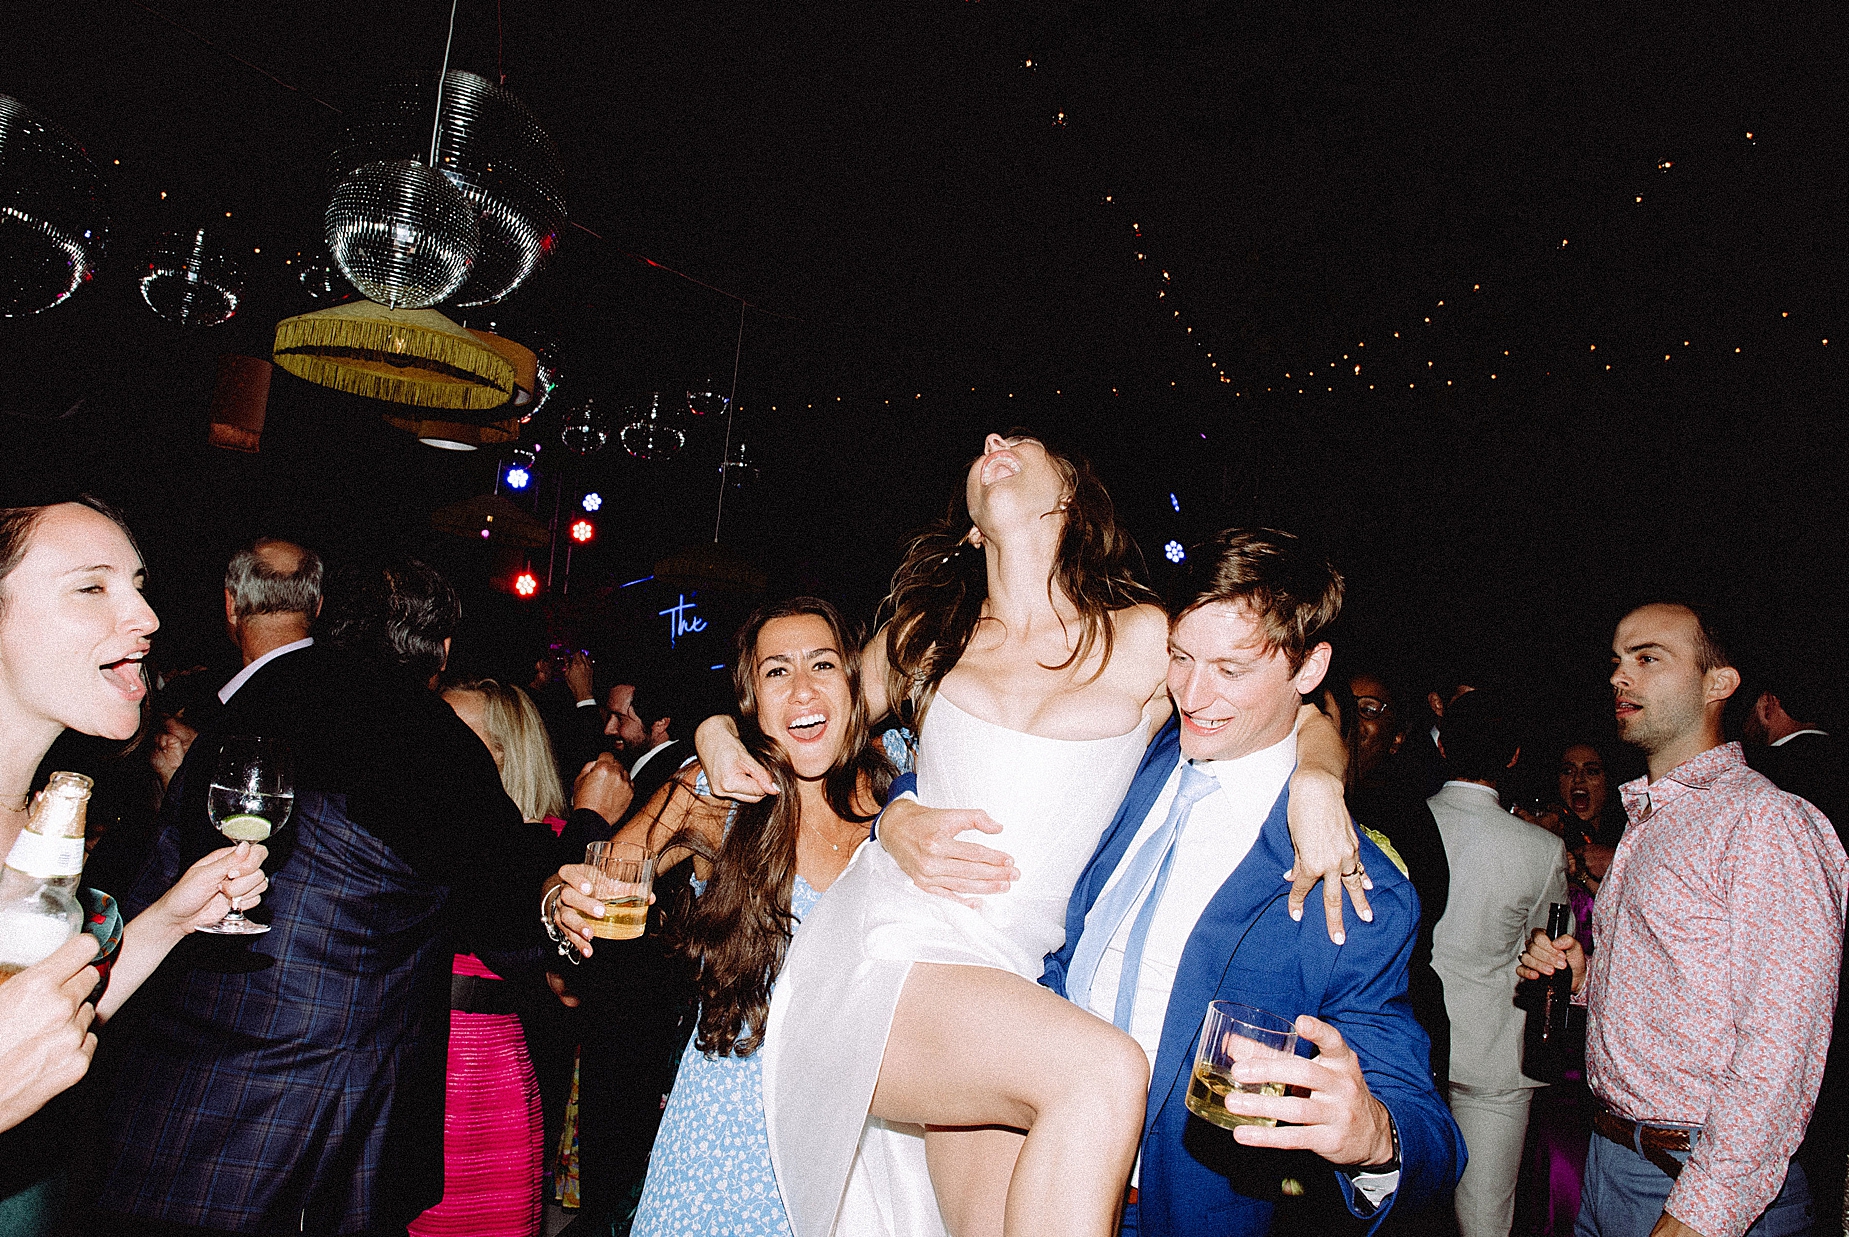
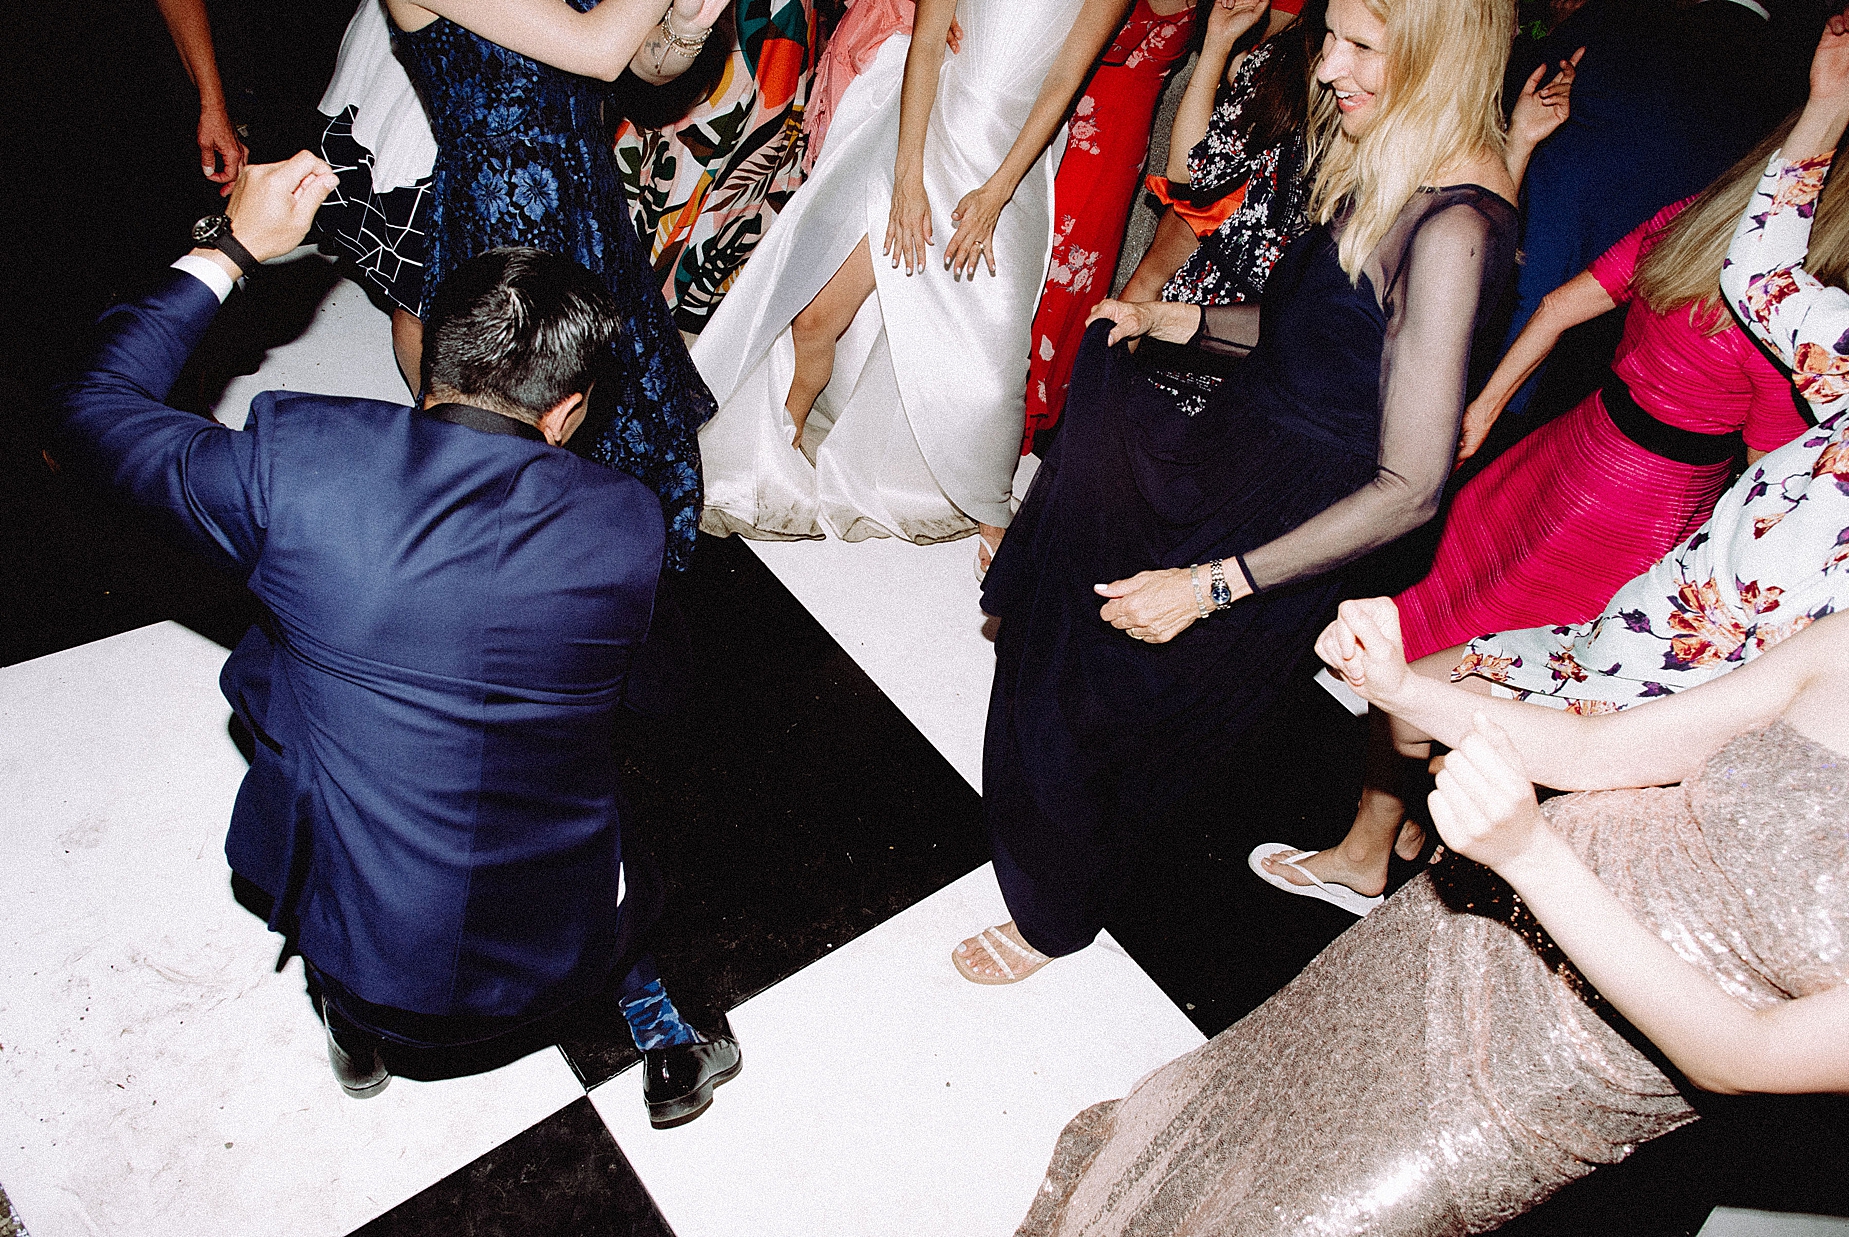
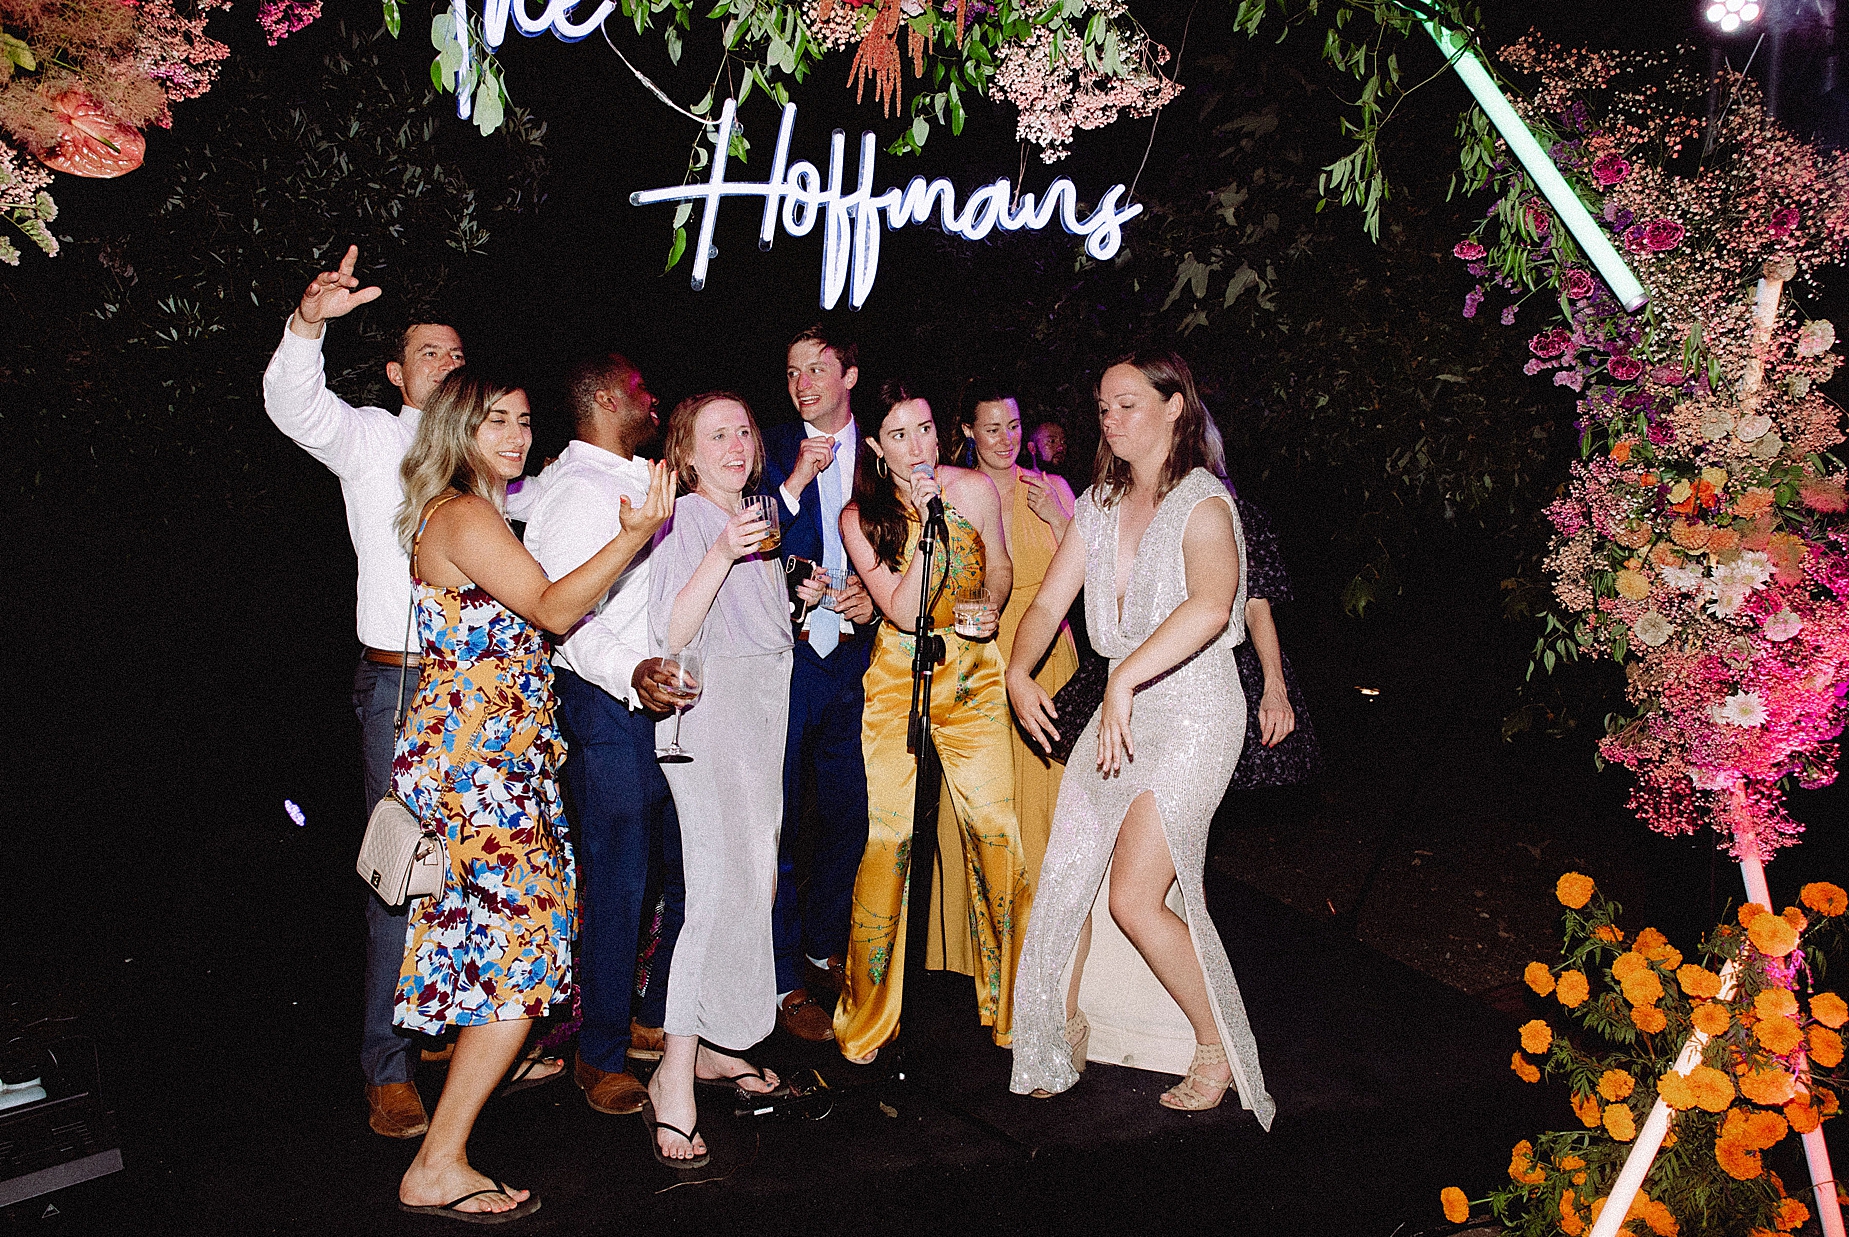
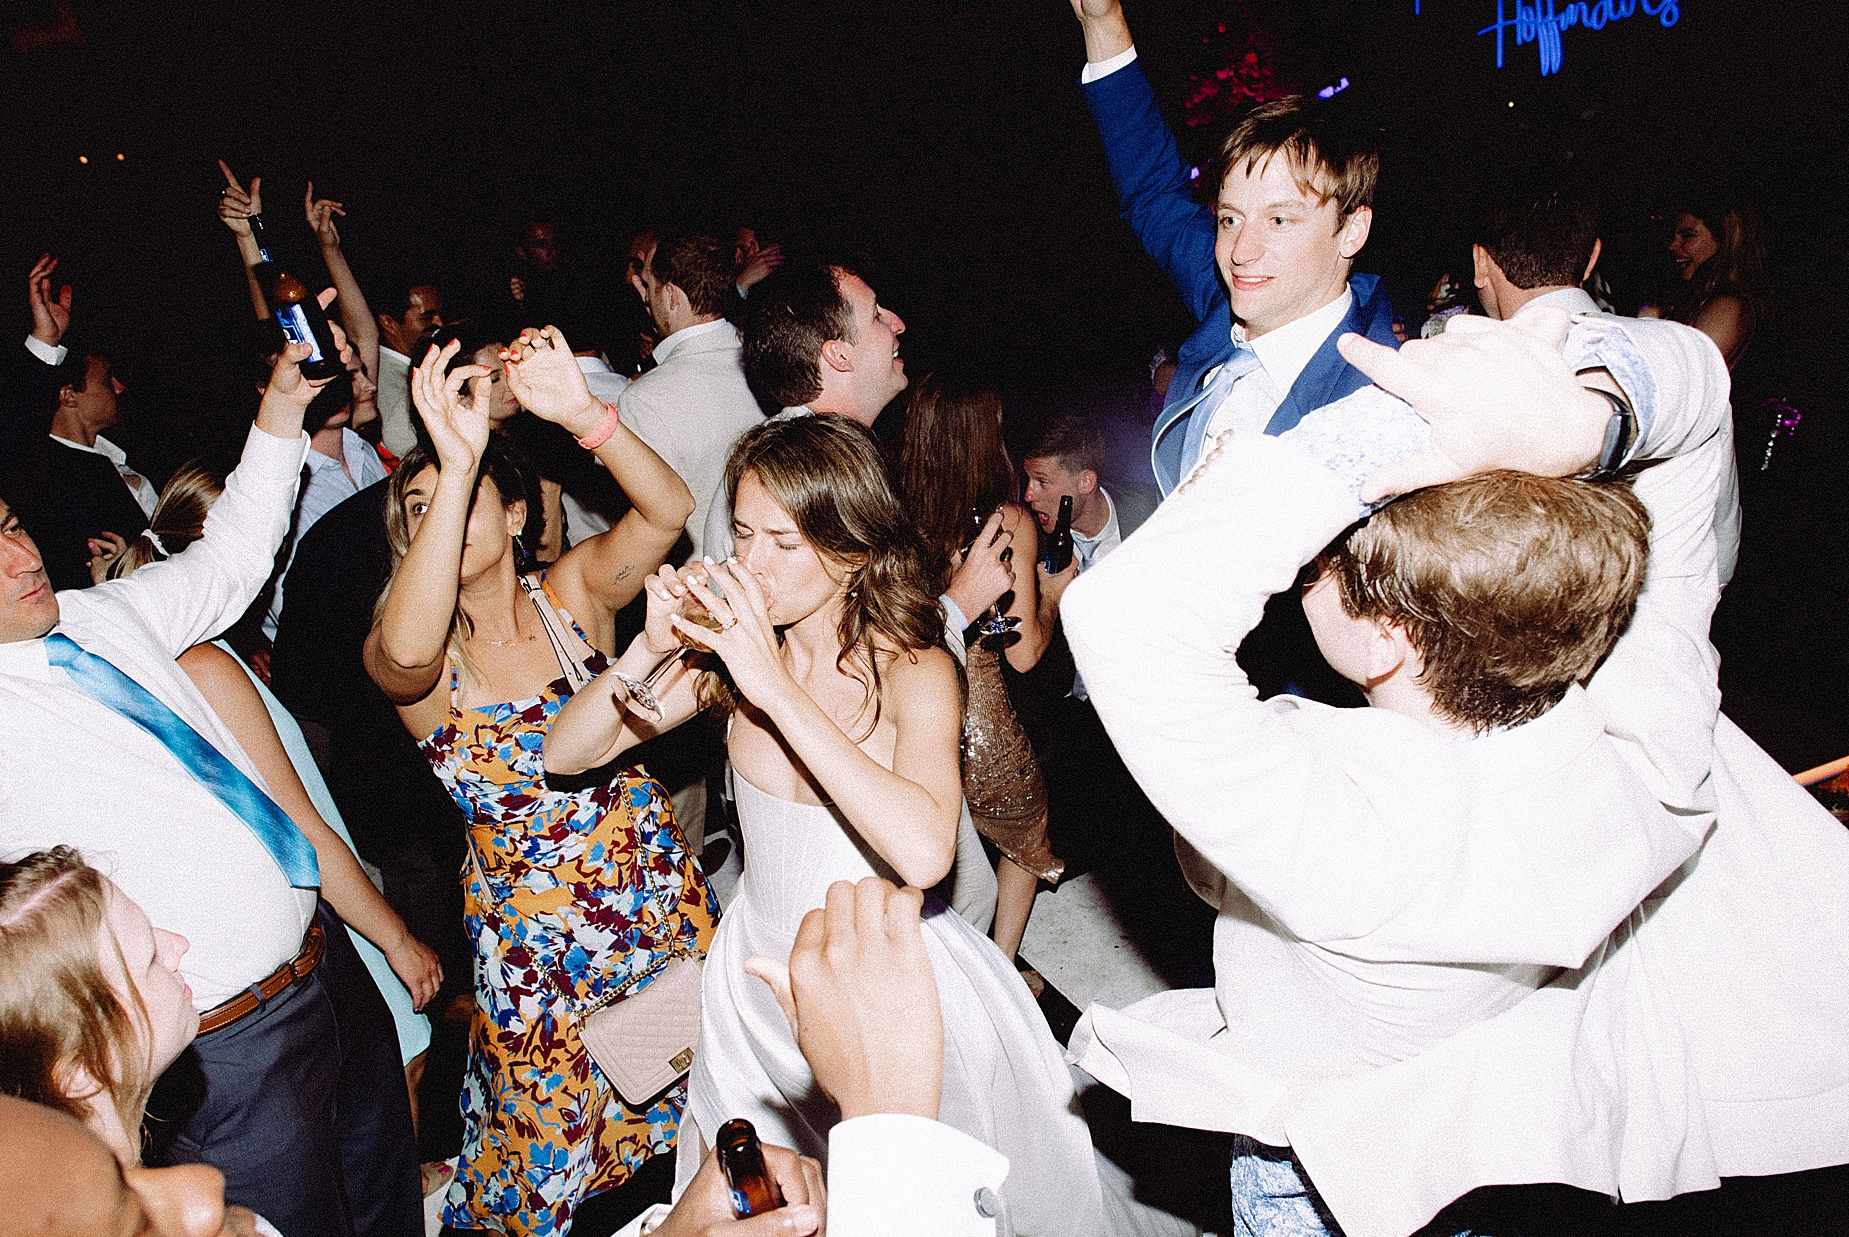
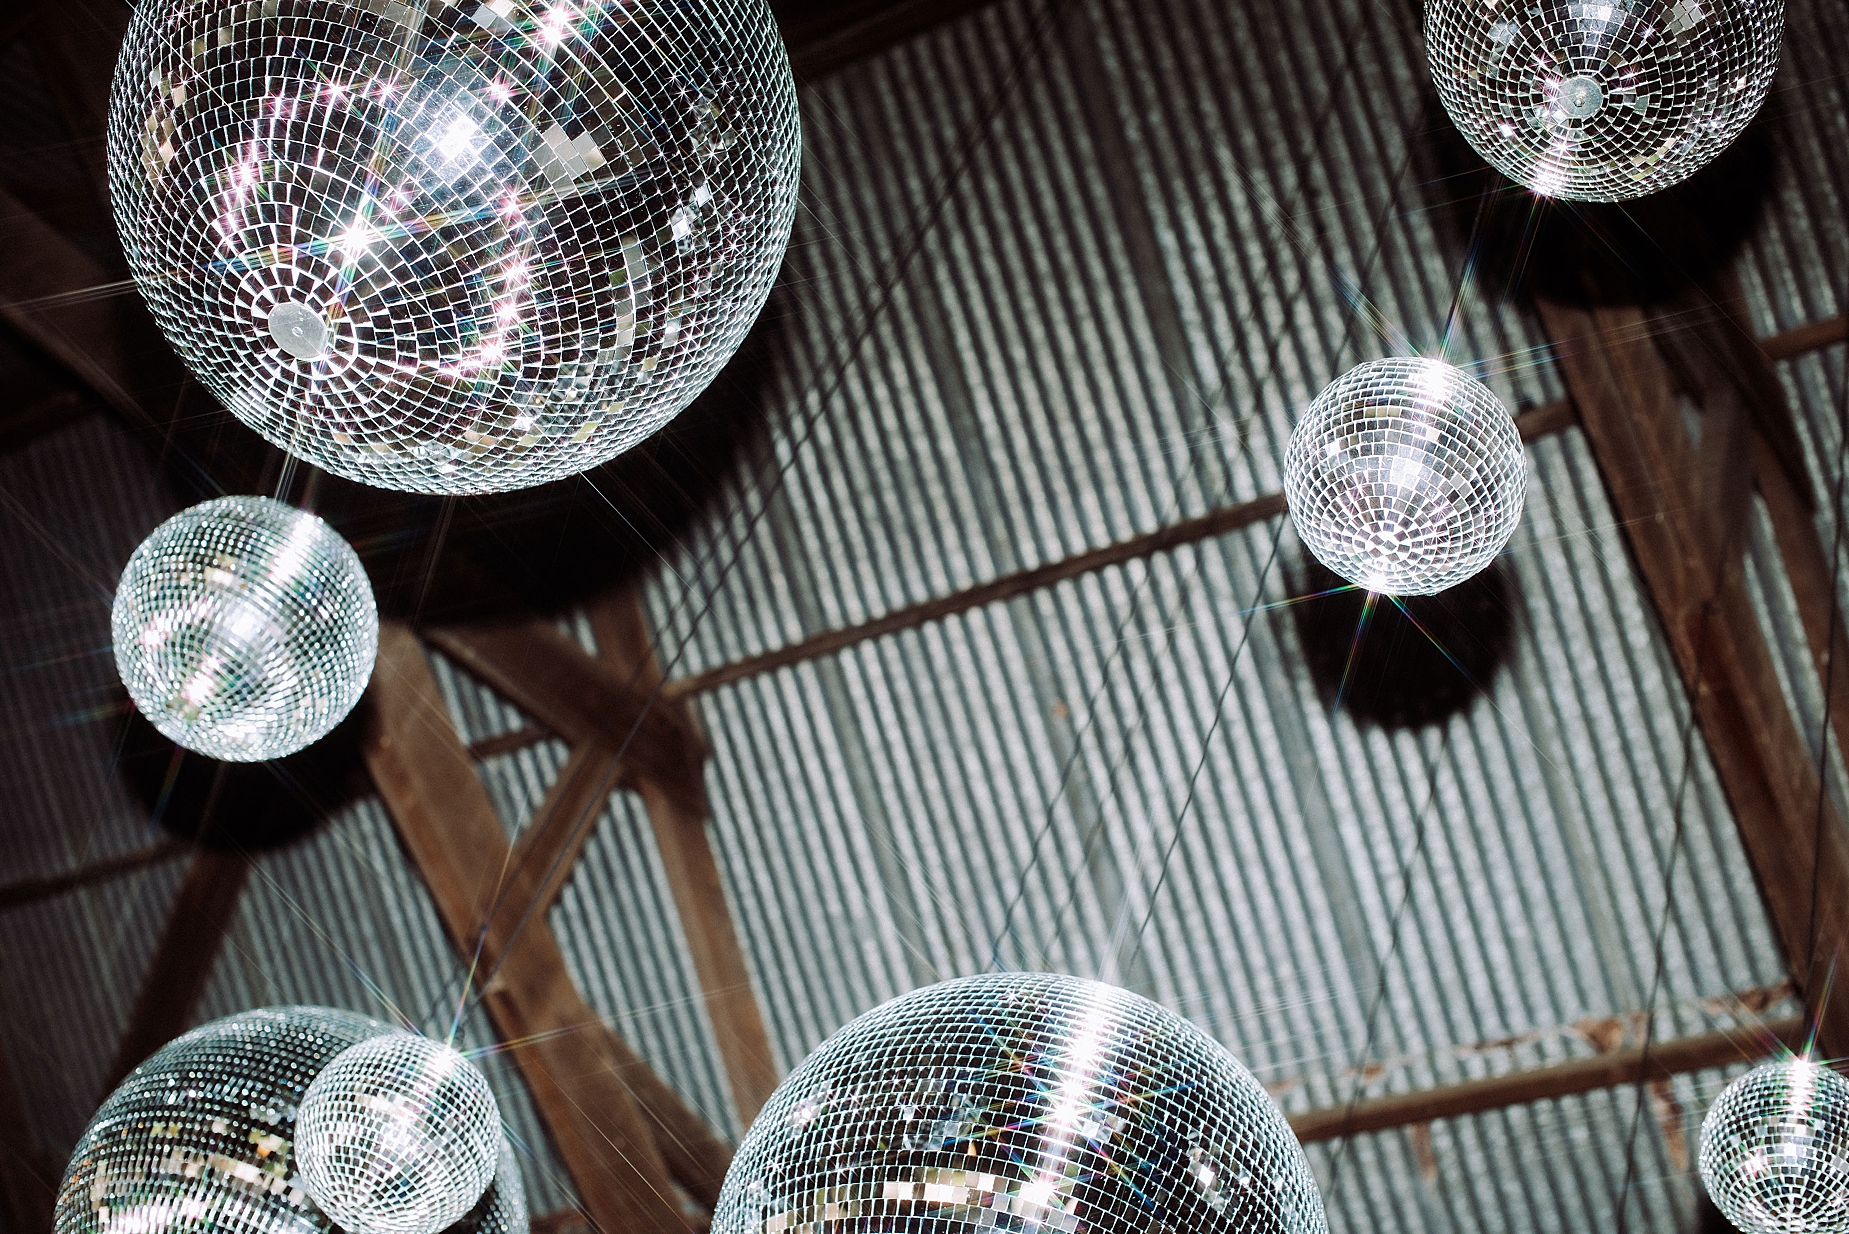
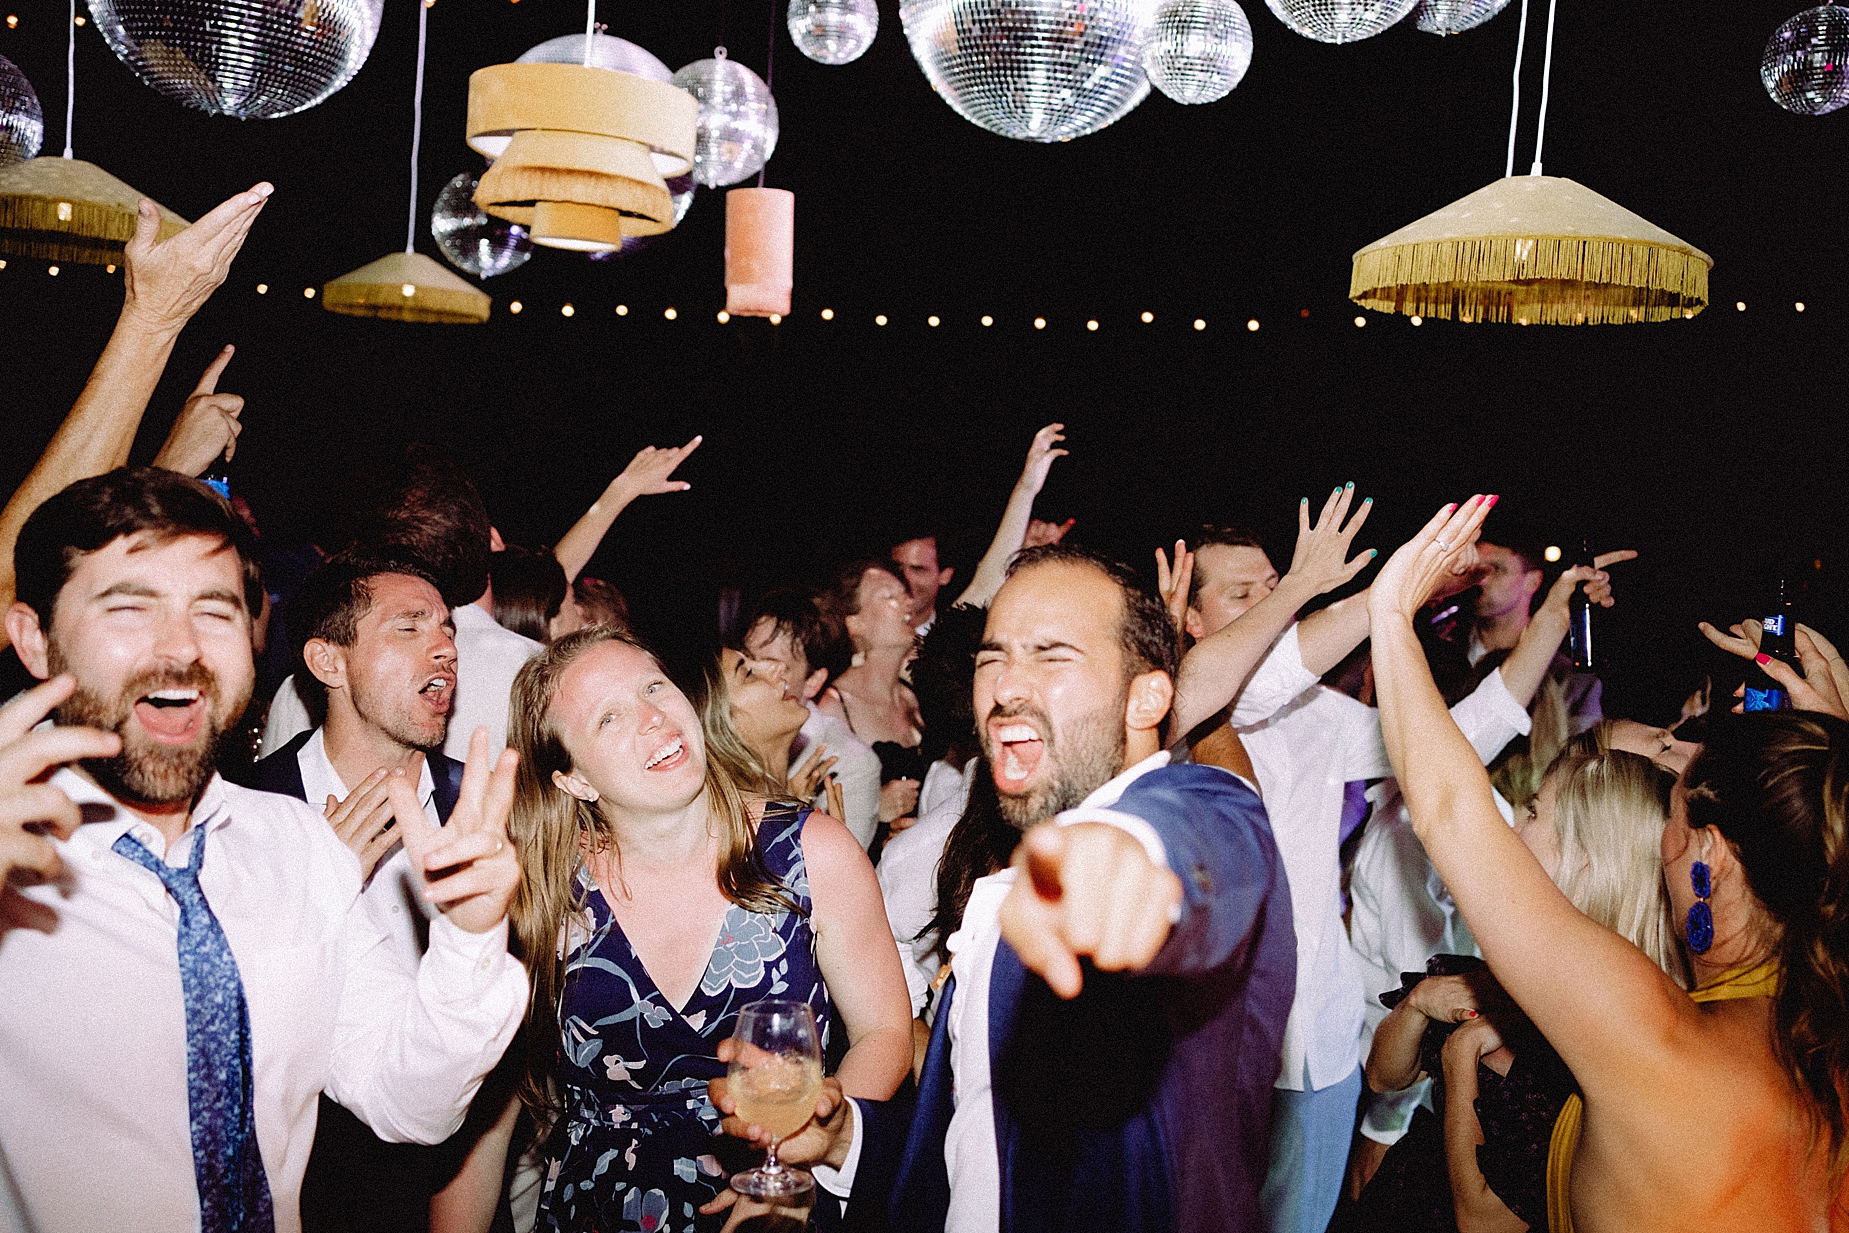
How to use Flash for Wedding Reception & Dancing Photos
May 22, 2023
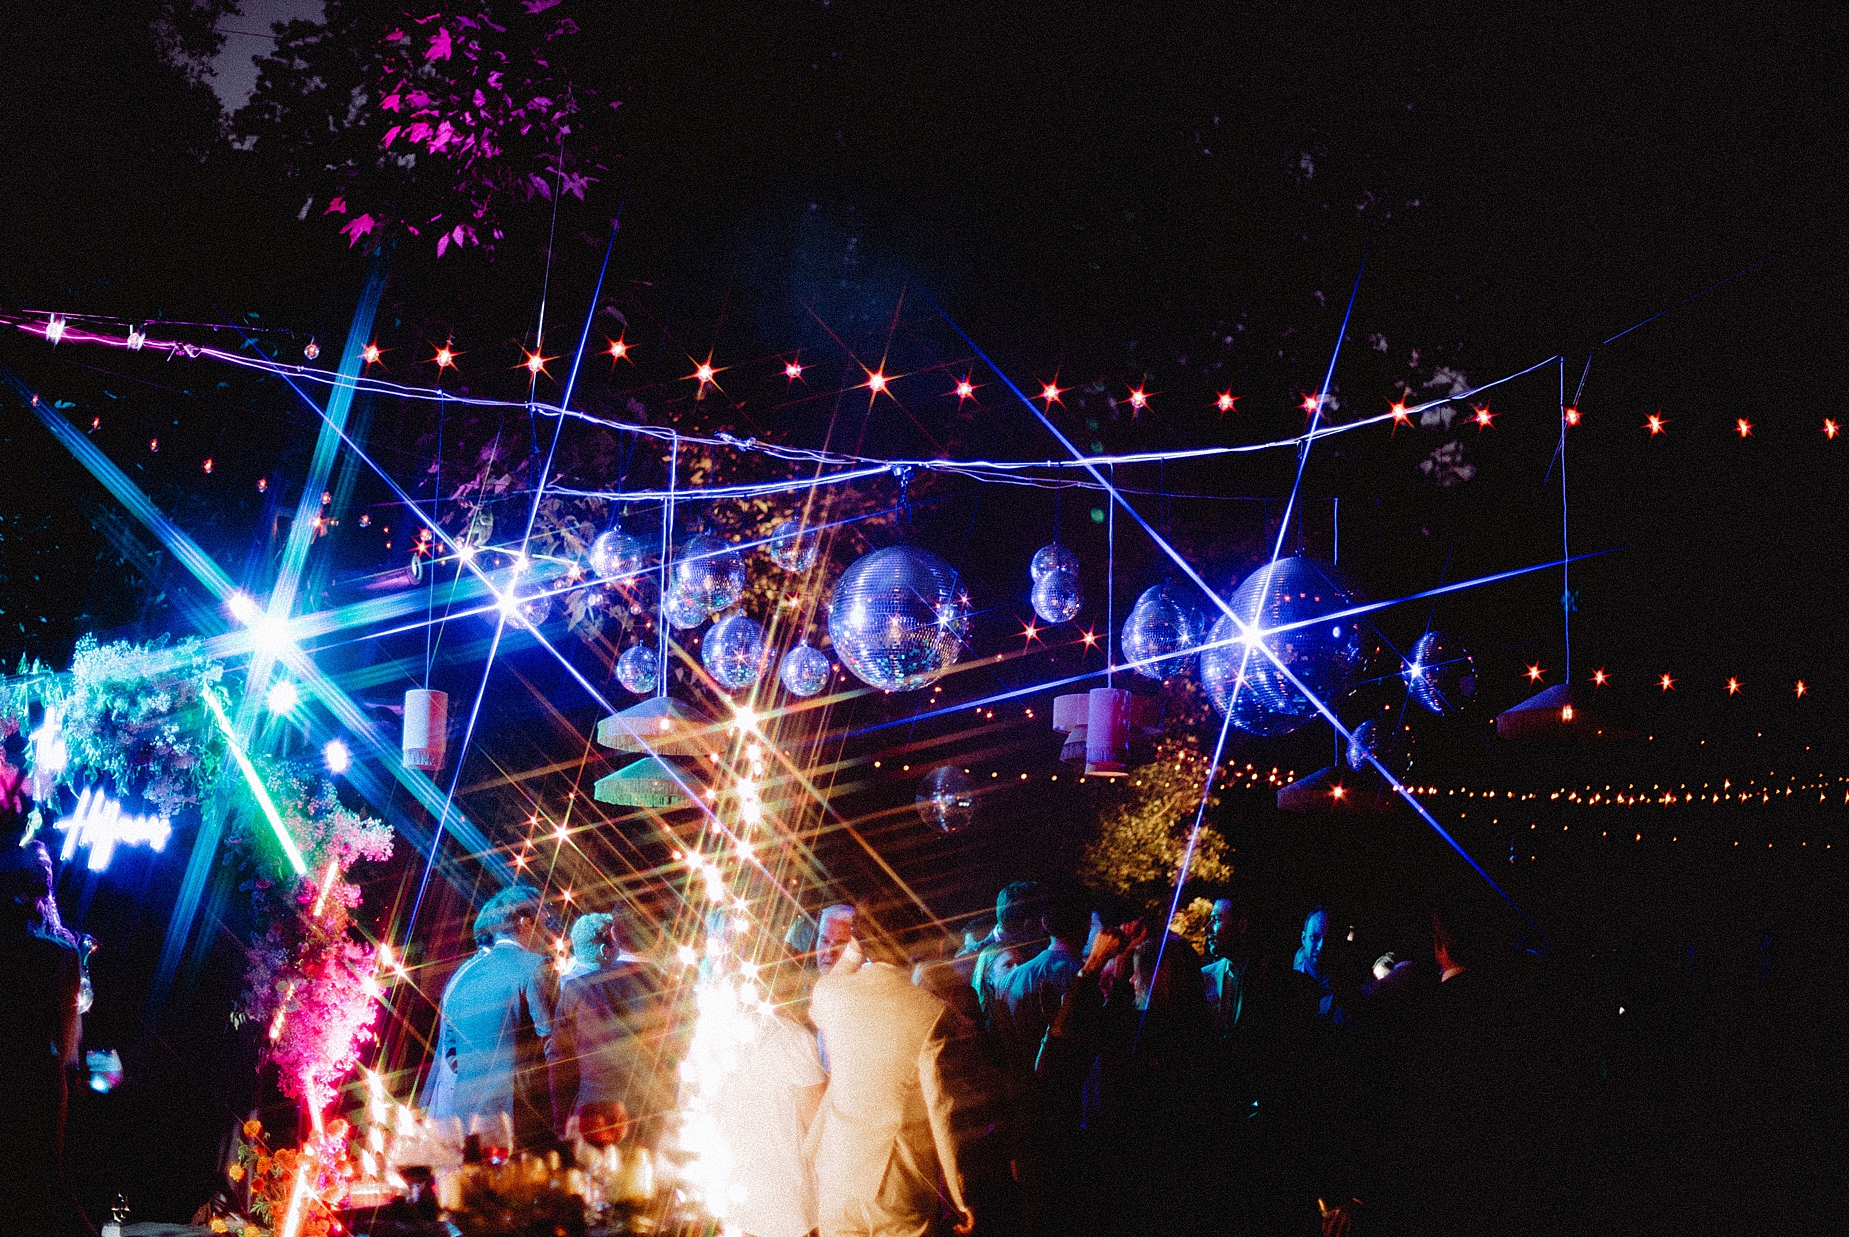
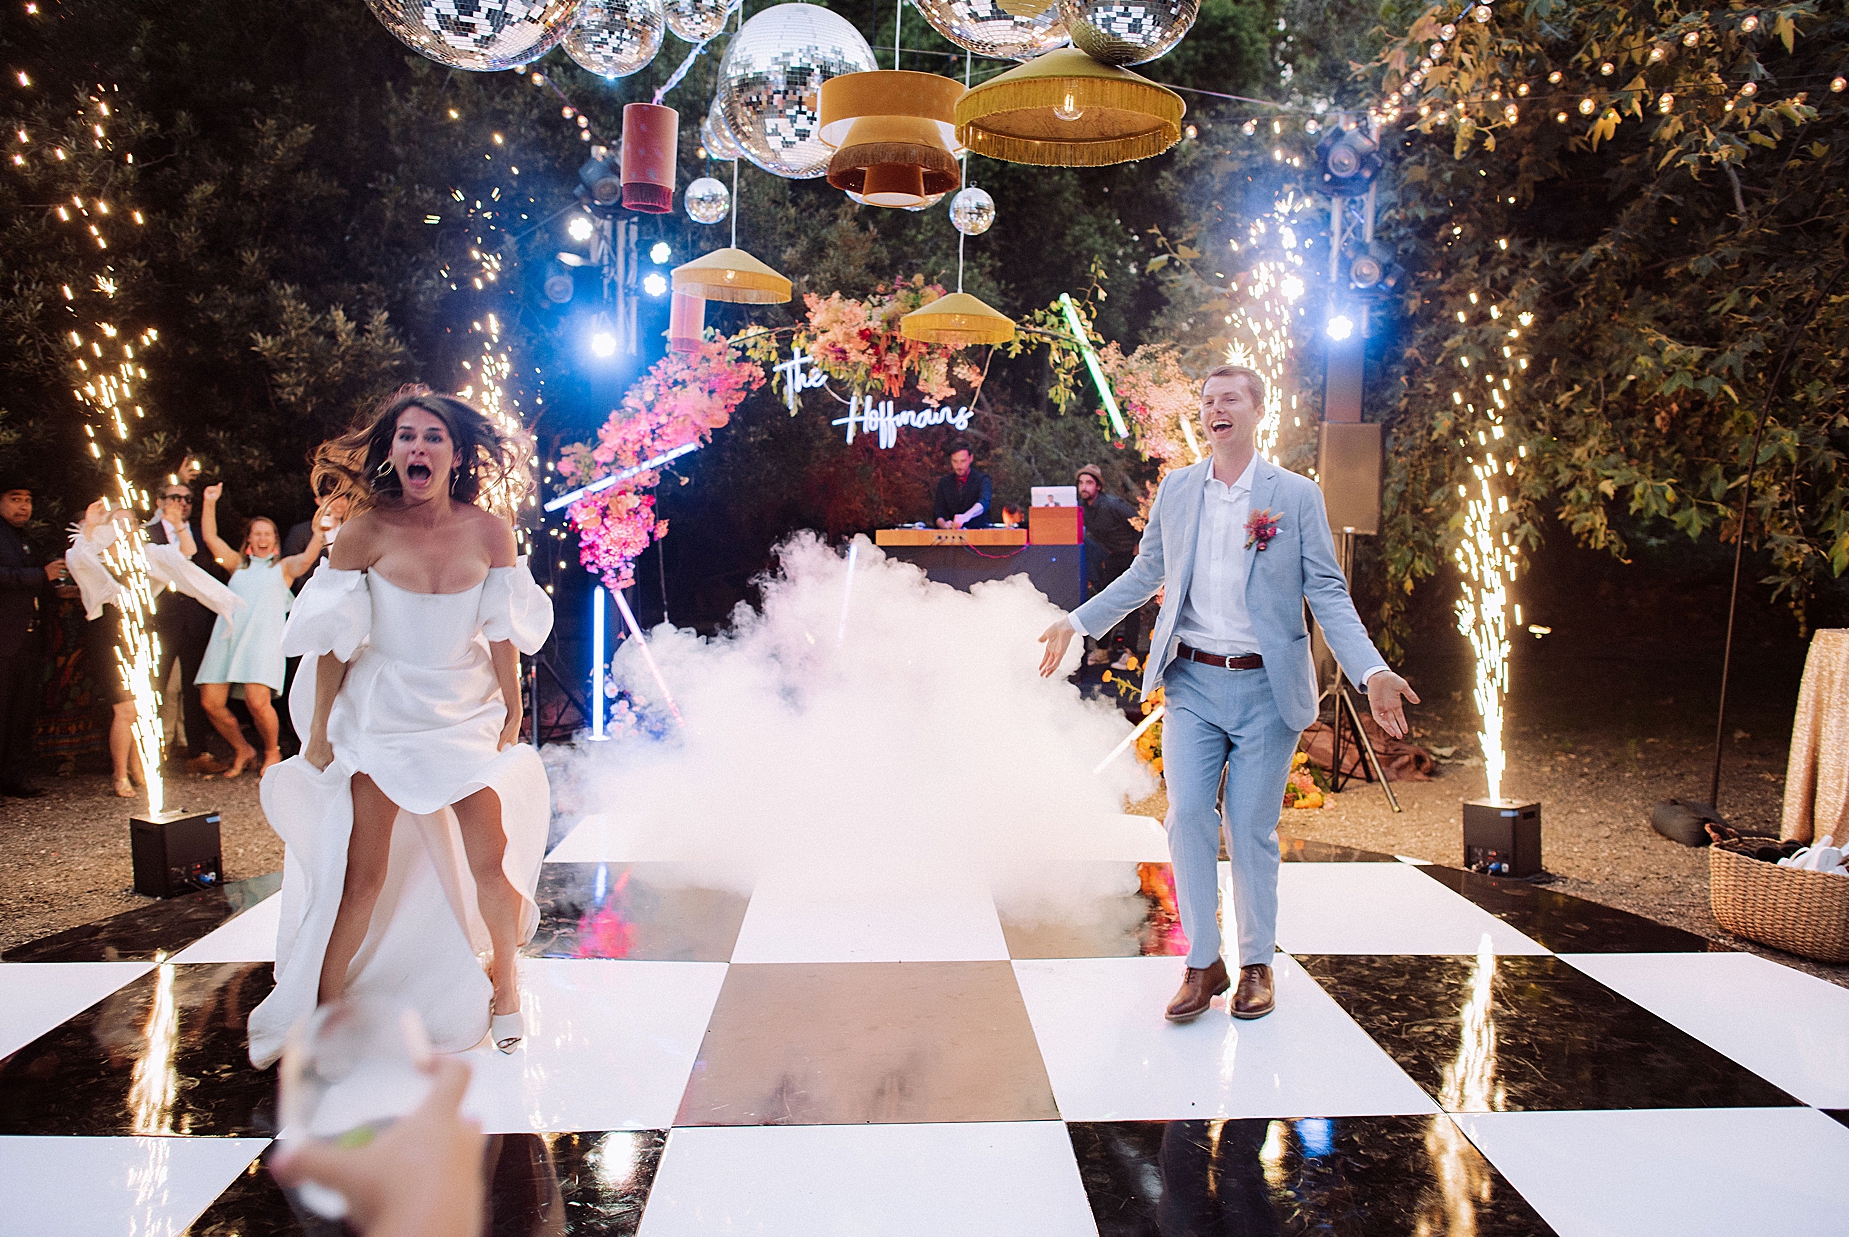
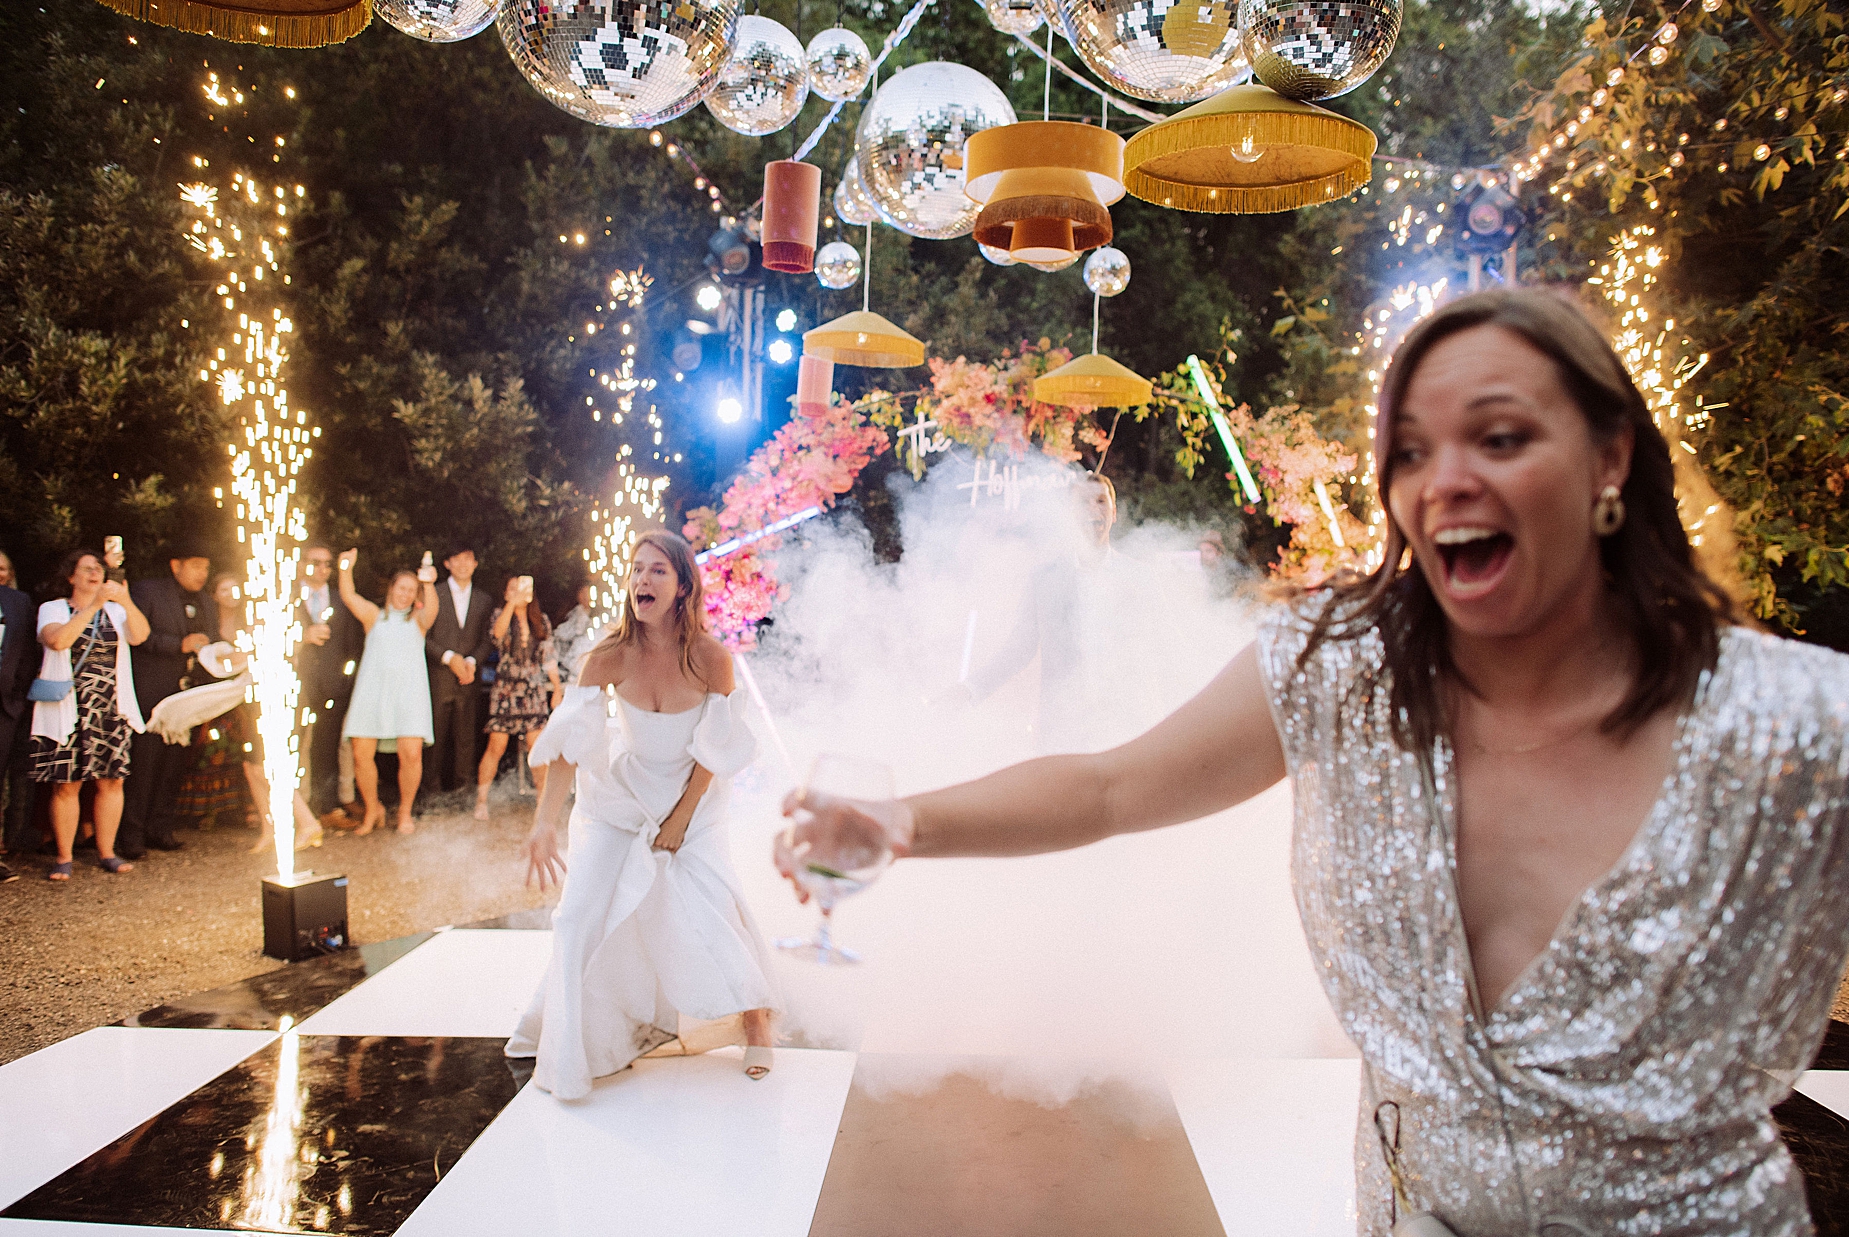
Wondering how to use flash, specifically for wedding receptions and dance floor photos?
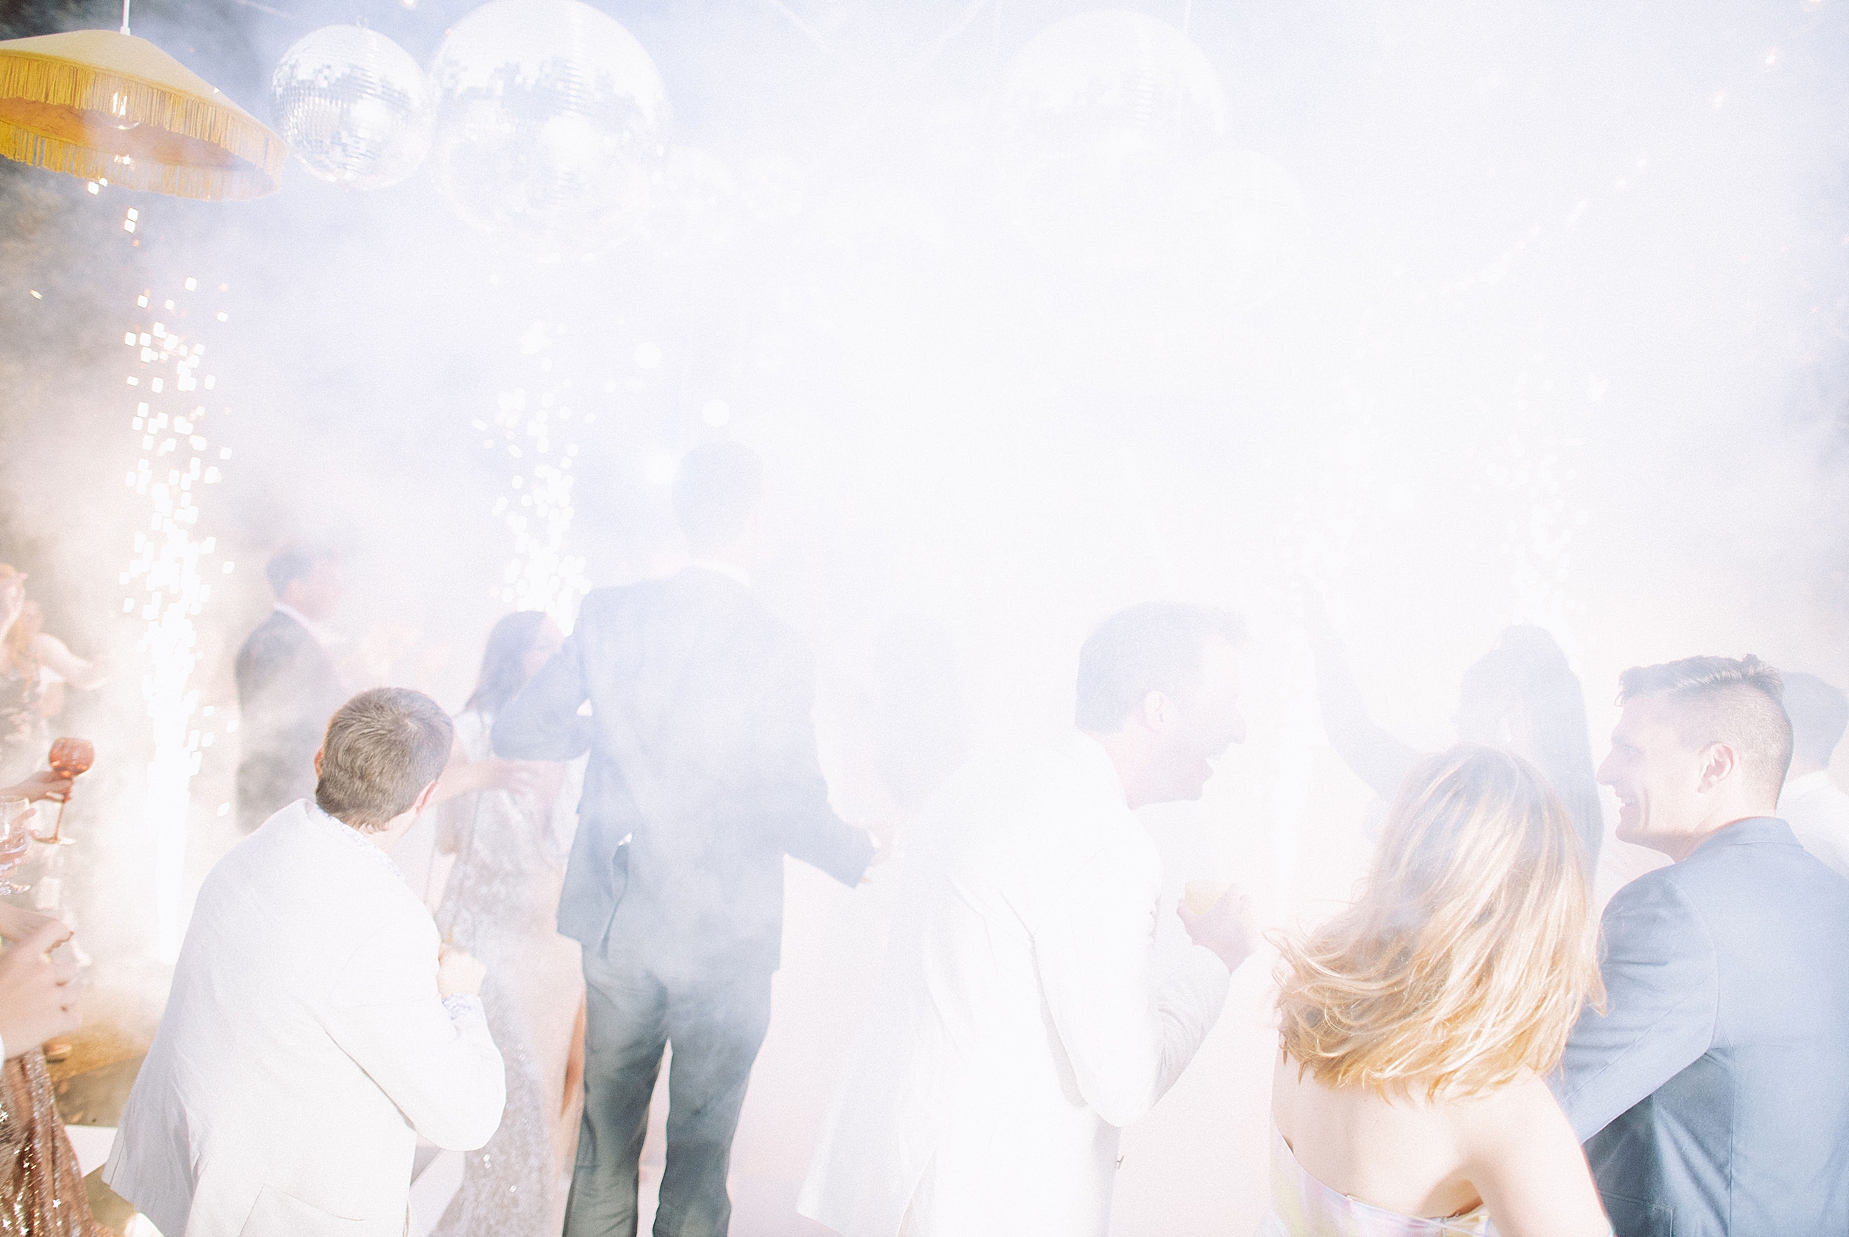
When it comes to capturing reception dancing photos, lighting can be… a challenge, to say the least. Often, the dance floor is dimly lit or has constantly changing lighting, making it difficult to get clear and well-exposed shots. This is where flash photography comes in- and don’t worry! It doesn’t have to be terrifying. Using a flash can help you capture sharp and vibrant images even in challenging lighting conditions.
P.S. If you’re wanting to learn more about flash photography? Get started with our free flash masterclass here!
Anywho – back to business. In this blog post, we’re going to go over 5 tips for using flash for reception dancing photos. It’s time to start feeling EXCITED instead of stressed. So let’s take a scroll!
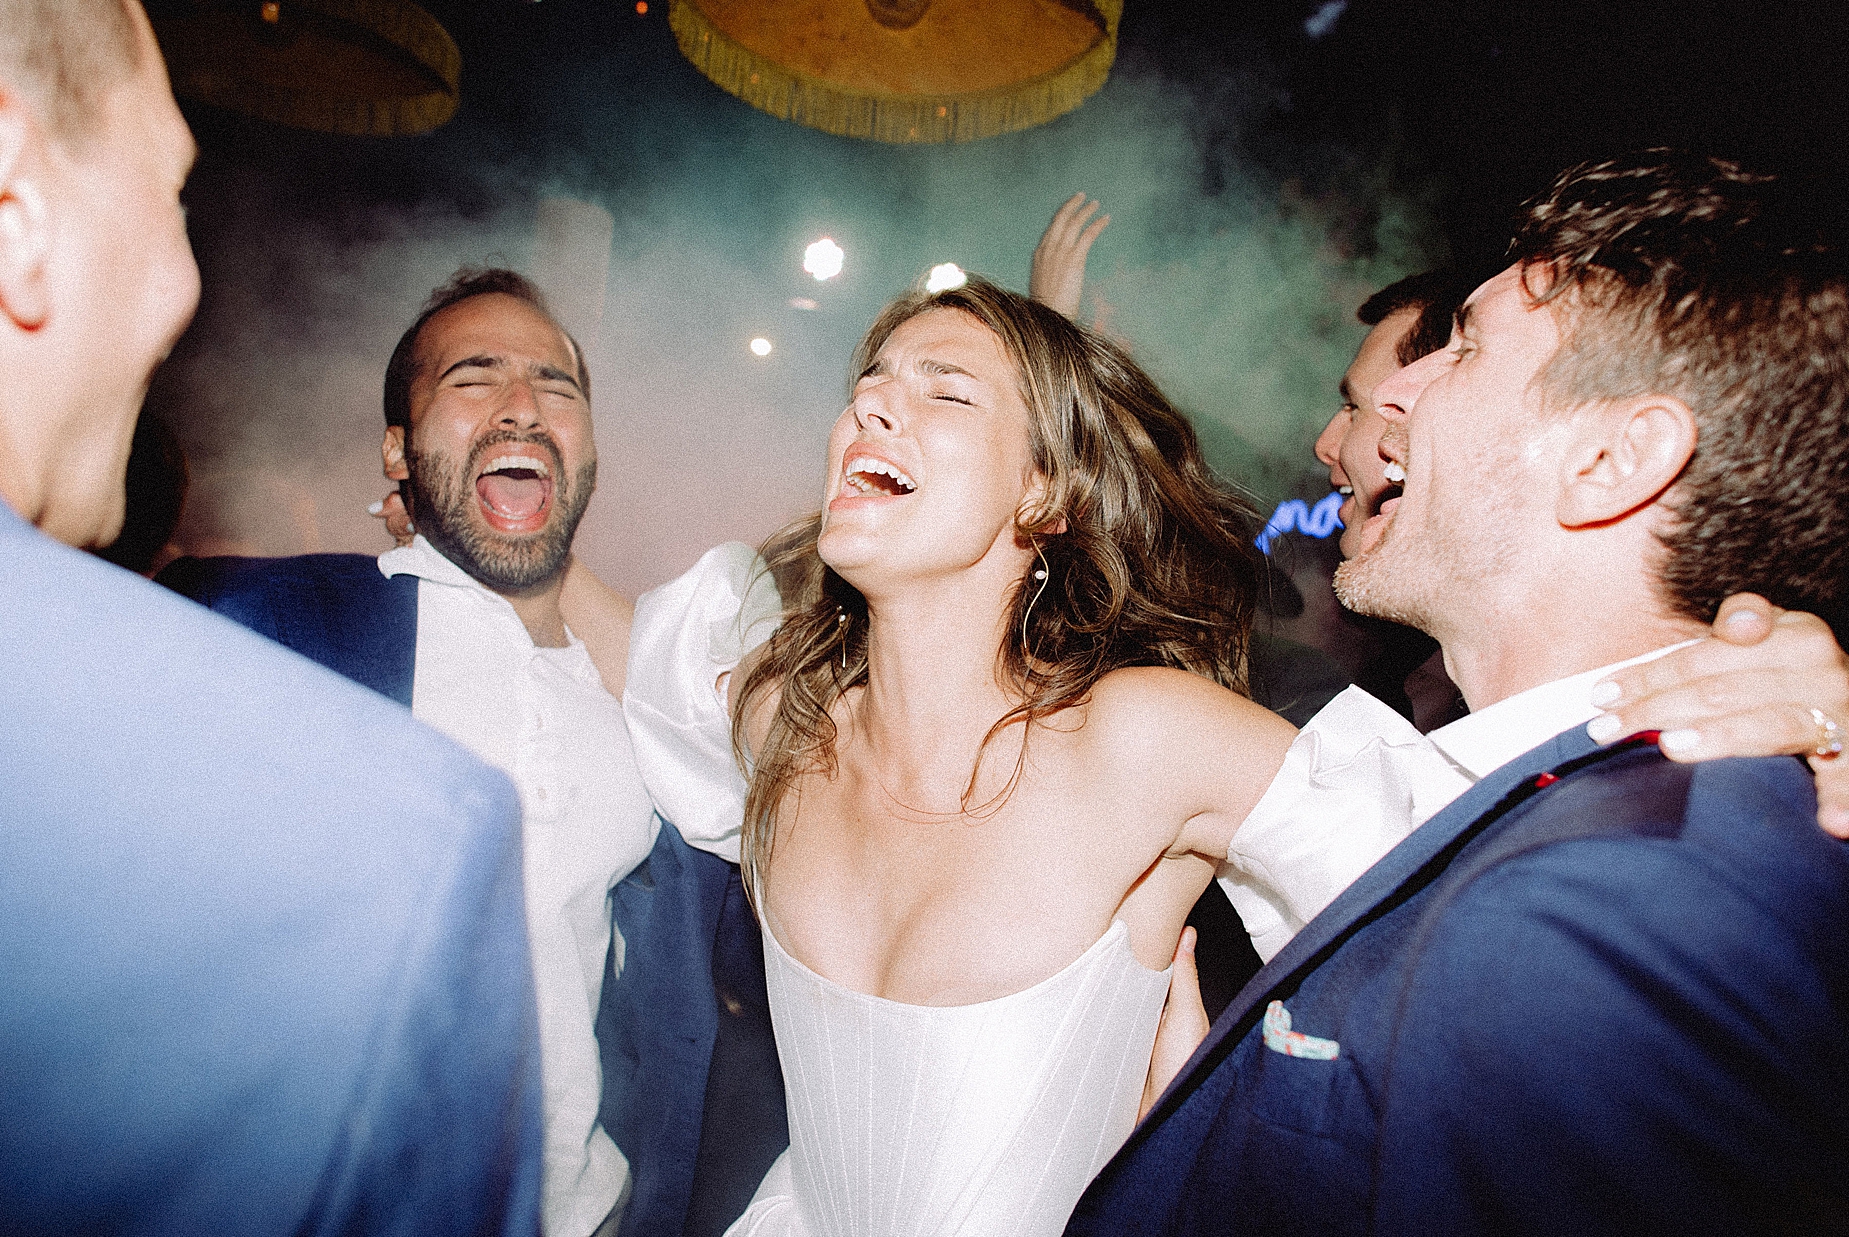
1. Use an external flash
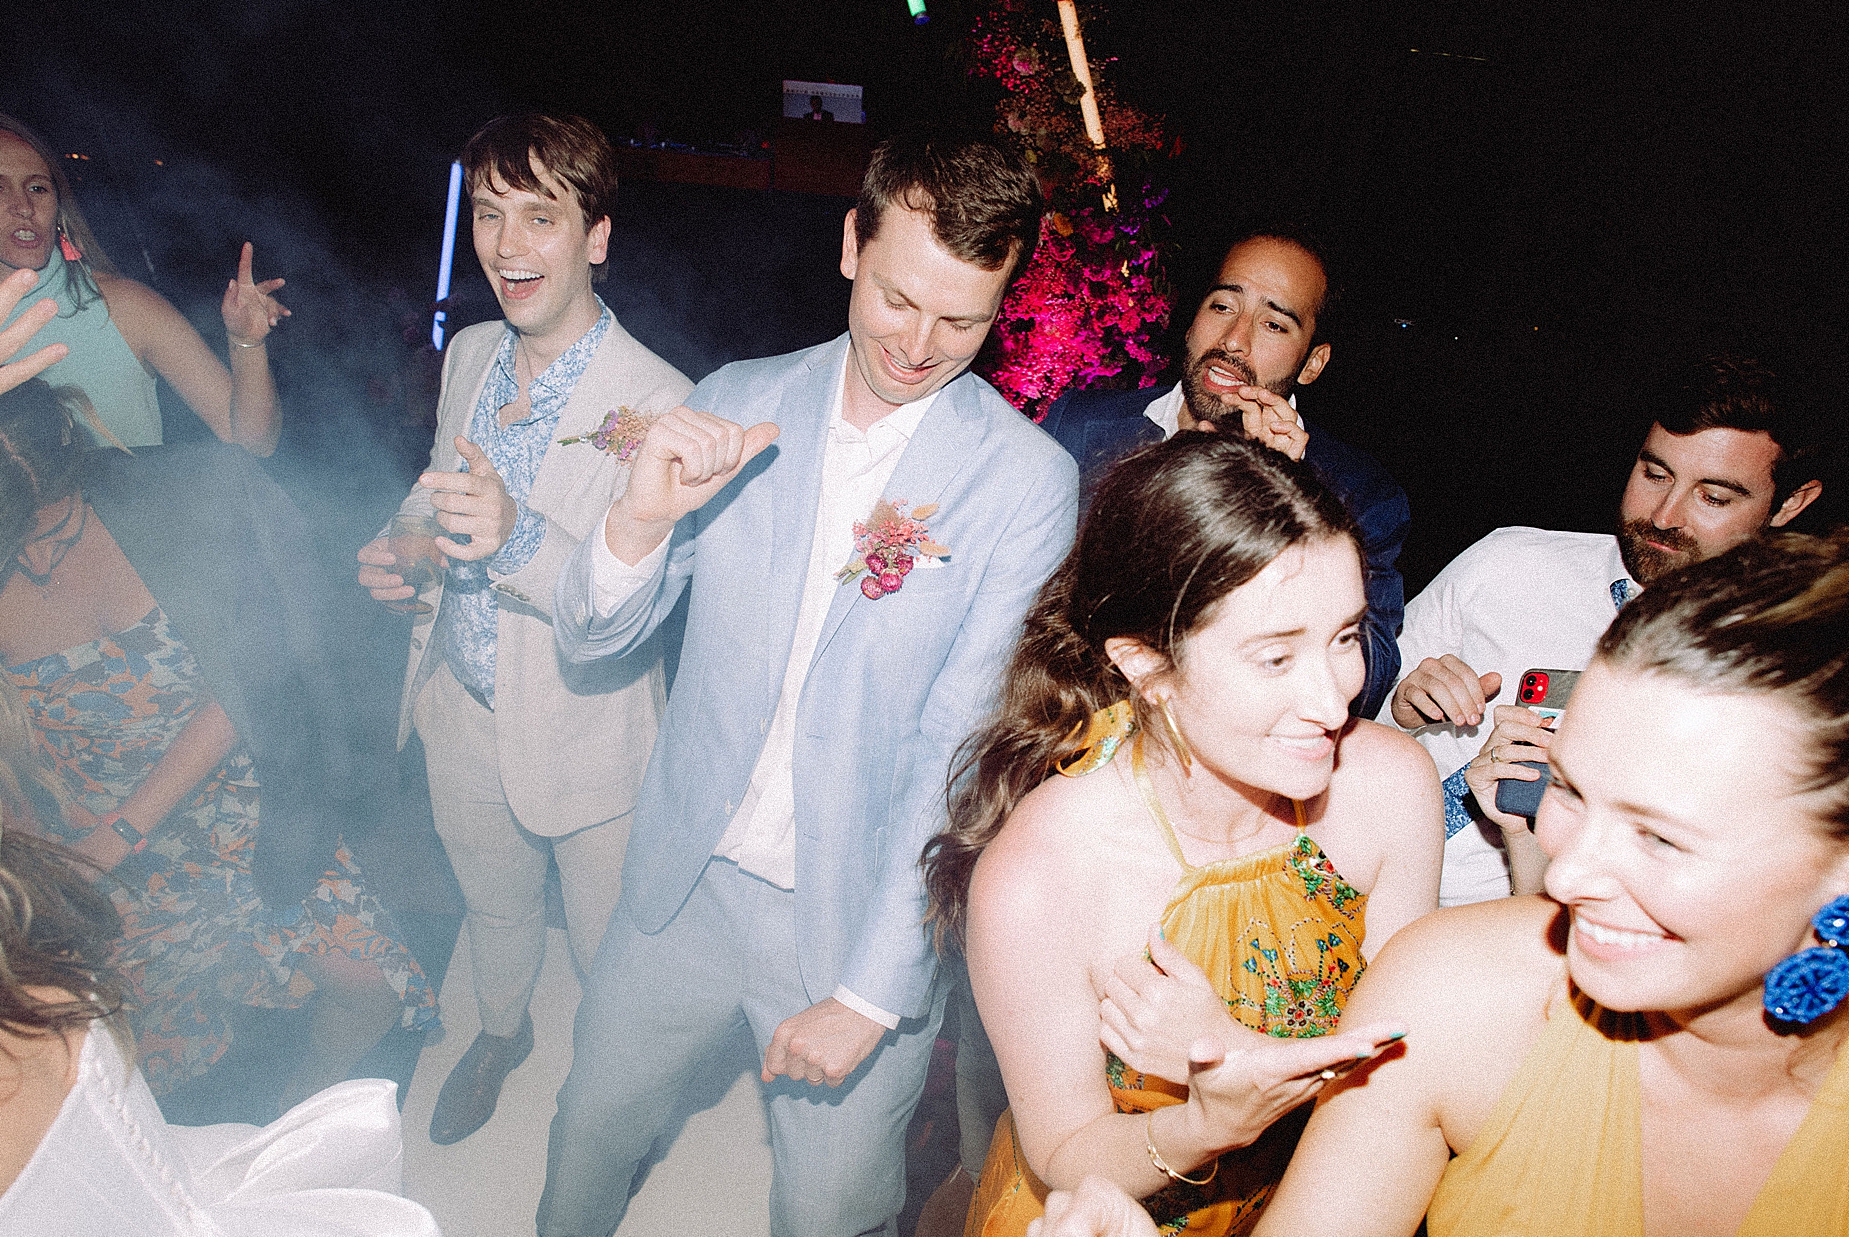
Built-in camera flashes are often not powerful enough to properly illuminate a large dance floor. Nor reliable! Using an external flash can give you more control over the amount of light you’re using and the direction in which it’s aimed. An external flash also allows you to bounce the light off a nearby wall or ceiling, creating a softer and more natural-looking light.
I personally use Godox V860 – it is my favorite! You can also get started with a cheaper alternative Neewer TT560. All of my flash photography gear is linked here!
2. Adjust your flash settings
To get the best results, it’s important to adjust your flash settings based on the lighting conditions in the room. If you’re newer to flash, start by setting your flash to TTL (through the lens) mode, which will automatically adjust the flash output based on the ambient light. If the room is particularly dark, you may need to increase the flash output to get a well-exposed shot. On the other hand, if the room is brighter, you may need to decrease the flash output to avoid overexposing your subject.
Not sure the when to use TTL or Manual mode? No worries! We go through the difference between both in this blog post here.
3. Use a diffuser
Direct flash can be harsh and unflattering, especially when used on people’s faces. A flash diffuser can help soften the light and create a more even and natural-looking light. There are many different types of diffusers available, from small snap-on diffusers to larger softboxes. Experiment with different types to find the one that works best for you – I have a fan favorite for OCF which you can find in our Amazon shop!
4. Get close to your subjects
When using flash, it’s important to be relatively close to your subjects. This allows the flash to properly illuminate your subject and avoids underexposing them. Getting close to your subjects can also help you capture more intimate and engaging shots on the dance floor!
5. Use a fast shutter speed
When using flash, your shutter speed should be set to the camera’s sync speed or faster. This will ensure that the flash freezes any motion in the shot and avoids motion blur. A faster shutter speed can also help you capture more dramatic and dynamic shots – you usually can plan on around 1/200 for an average flash photo!
Now you’ve unlocked endless creative opportunities by learning how to use flash for reception and dance floor photos! Let’s goooo!
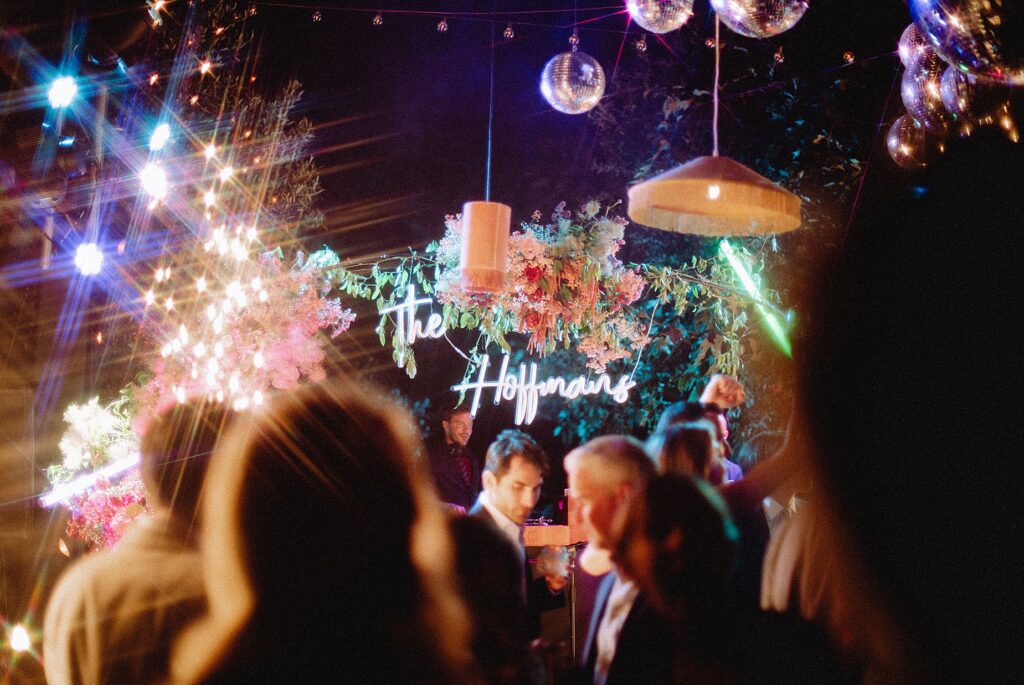
And if you’re ready to dive more into flash photography?
Meet our fan favorite course The Indoor and Artificial Light Course! It’s time to stop being a victim of your wedding day light. Get ready to become the ultimate wielder of light no matter what the situation calls for!
For next steps – shop my favorite flash photography gear or watch our video on how to use flash for wedding reception & dance floor photos below!
Vendors:
Photography: @edenstrader
Event Design + Planning: @wild_heart_event
Florals: @layeredvintage
Hairstyling: @teddi.prior for @pagebeauty
Makeup: @tanyabures for @pagebeauty
Rentals: @brighteventrentals, @adorefolklore, @catalogatelier
Music: @dartcollective
Lighting: @bellavistadesigns, @sparkcreativeevents
Cocktails: @flair_projectsb
Catering: @purejoycatering
Dance Floor: @rcddancefloors
Venue: @ranchodospueblos
Bride: @taysteeee
