For Photographers; Eden Strader Photo Tips and Tricks
December 26, 2016
Find our updated FAQ post here!
HI THERE!
First off, let me say how happy I am to have you here and following along! If you follow me over on Instagram you saw my call for photographer FAQ’s a few weeks ago (lol, maybe months now?). I’m still as terrible with DM’s as I was when I posted that, so I’m excited to hopefully answer your questions!
A little about me: I’m a firm believer in teaching and sharing your knowledge- I don’t believe I am or ever will be an expert in all things photography (Is anyone though? What fun would that be?), so I’m honored that so many people have inquired about my work and process. If you were to travel back several years ago and asked my tween self what my dream job was, my answer was then (and still is) to be a photographer. I started seriously diving into my business a little over one year ago, and quit my day job to go full time four months ago. It’s been an amazing year, and even crazier four months, so thank you all for your constant support of my art. I’ll stop boring you now though and get to what you came here for 😉 Let’s gooo.
Have more questions at the end of this? Find my online workshop HERE and head on over to my EDUCATION page and we can set up a mentoring session to tailor your individual needs!
LIGHTING
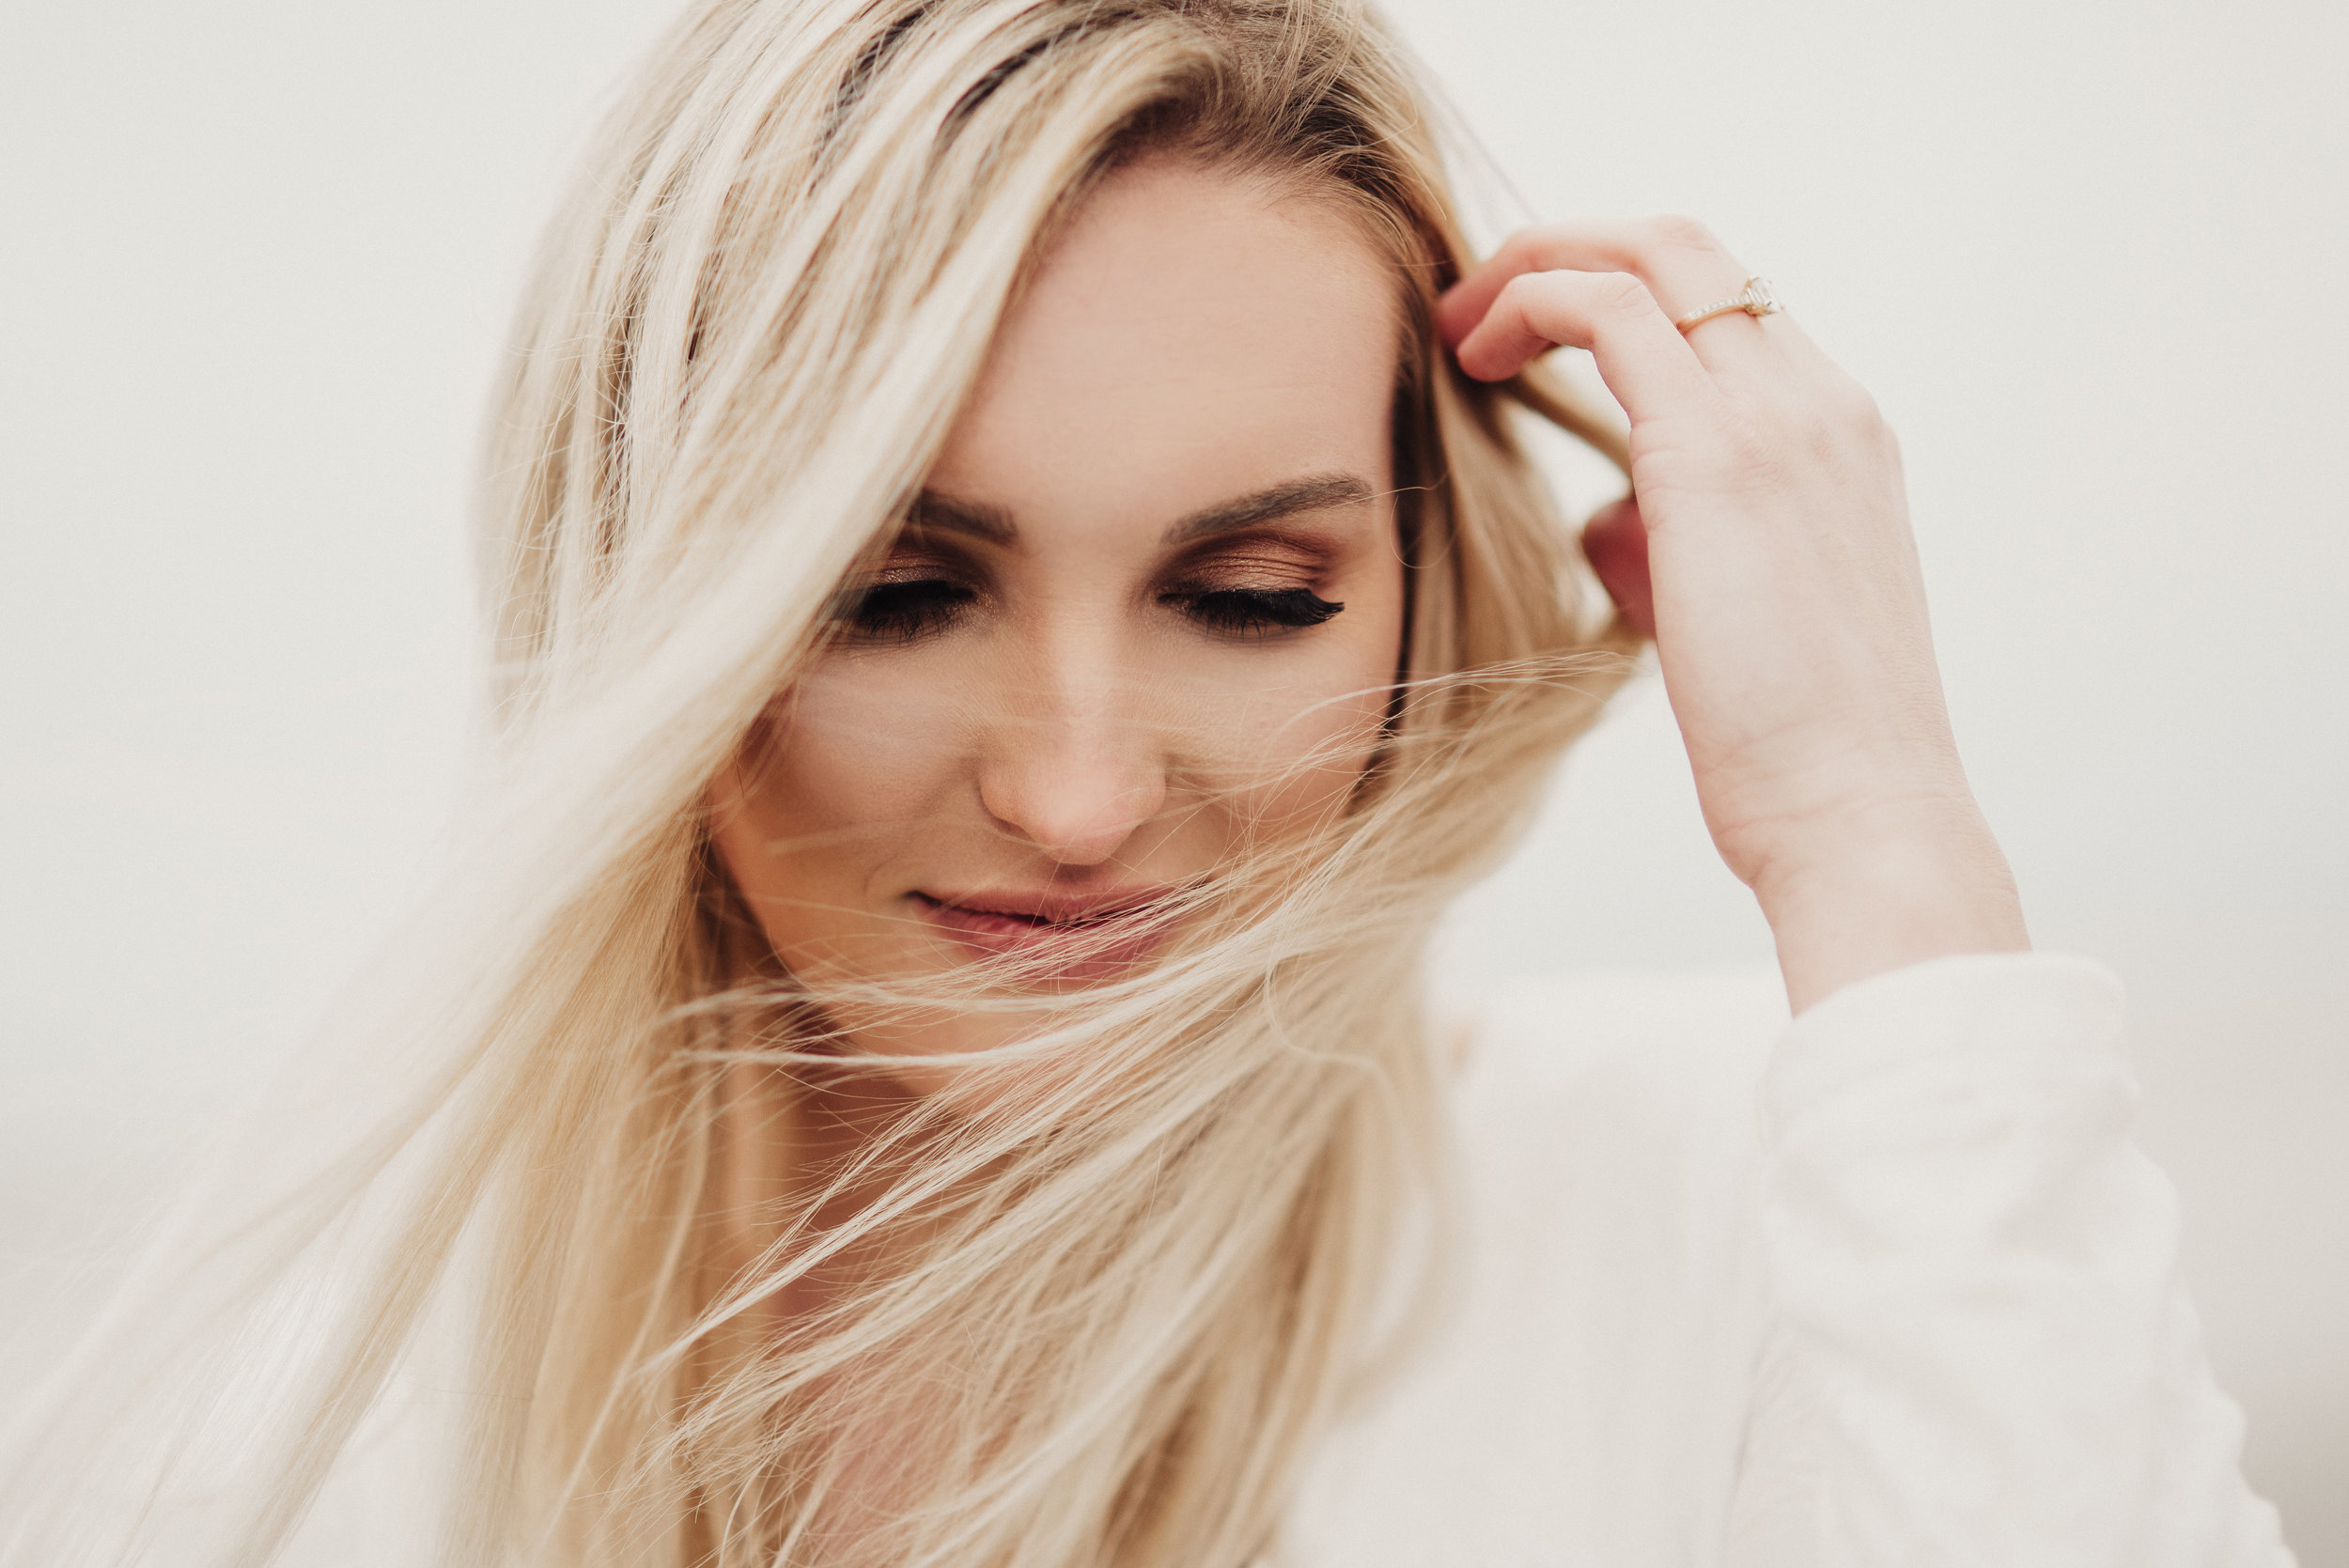
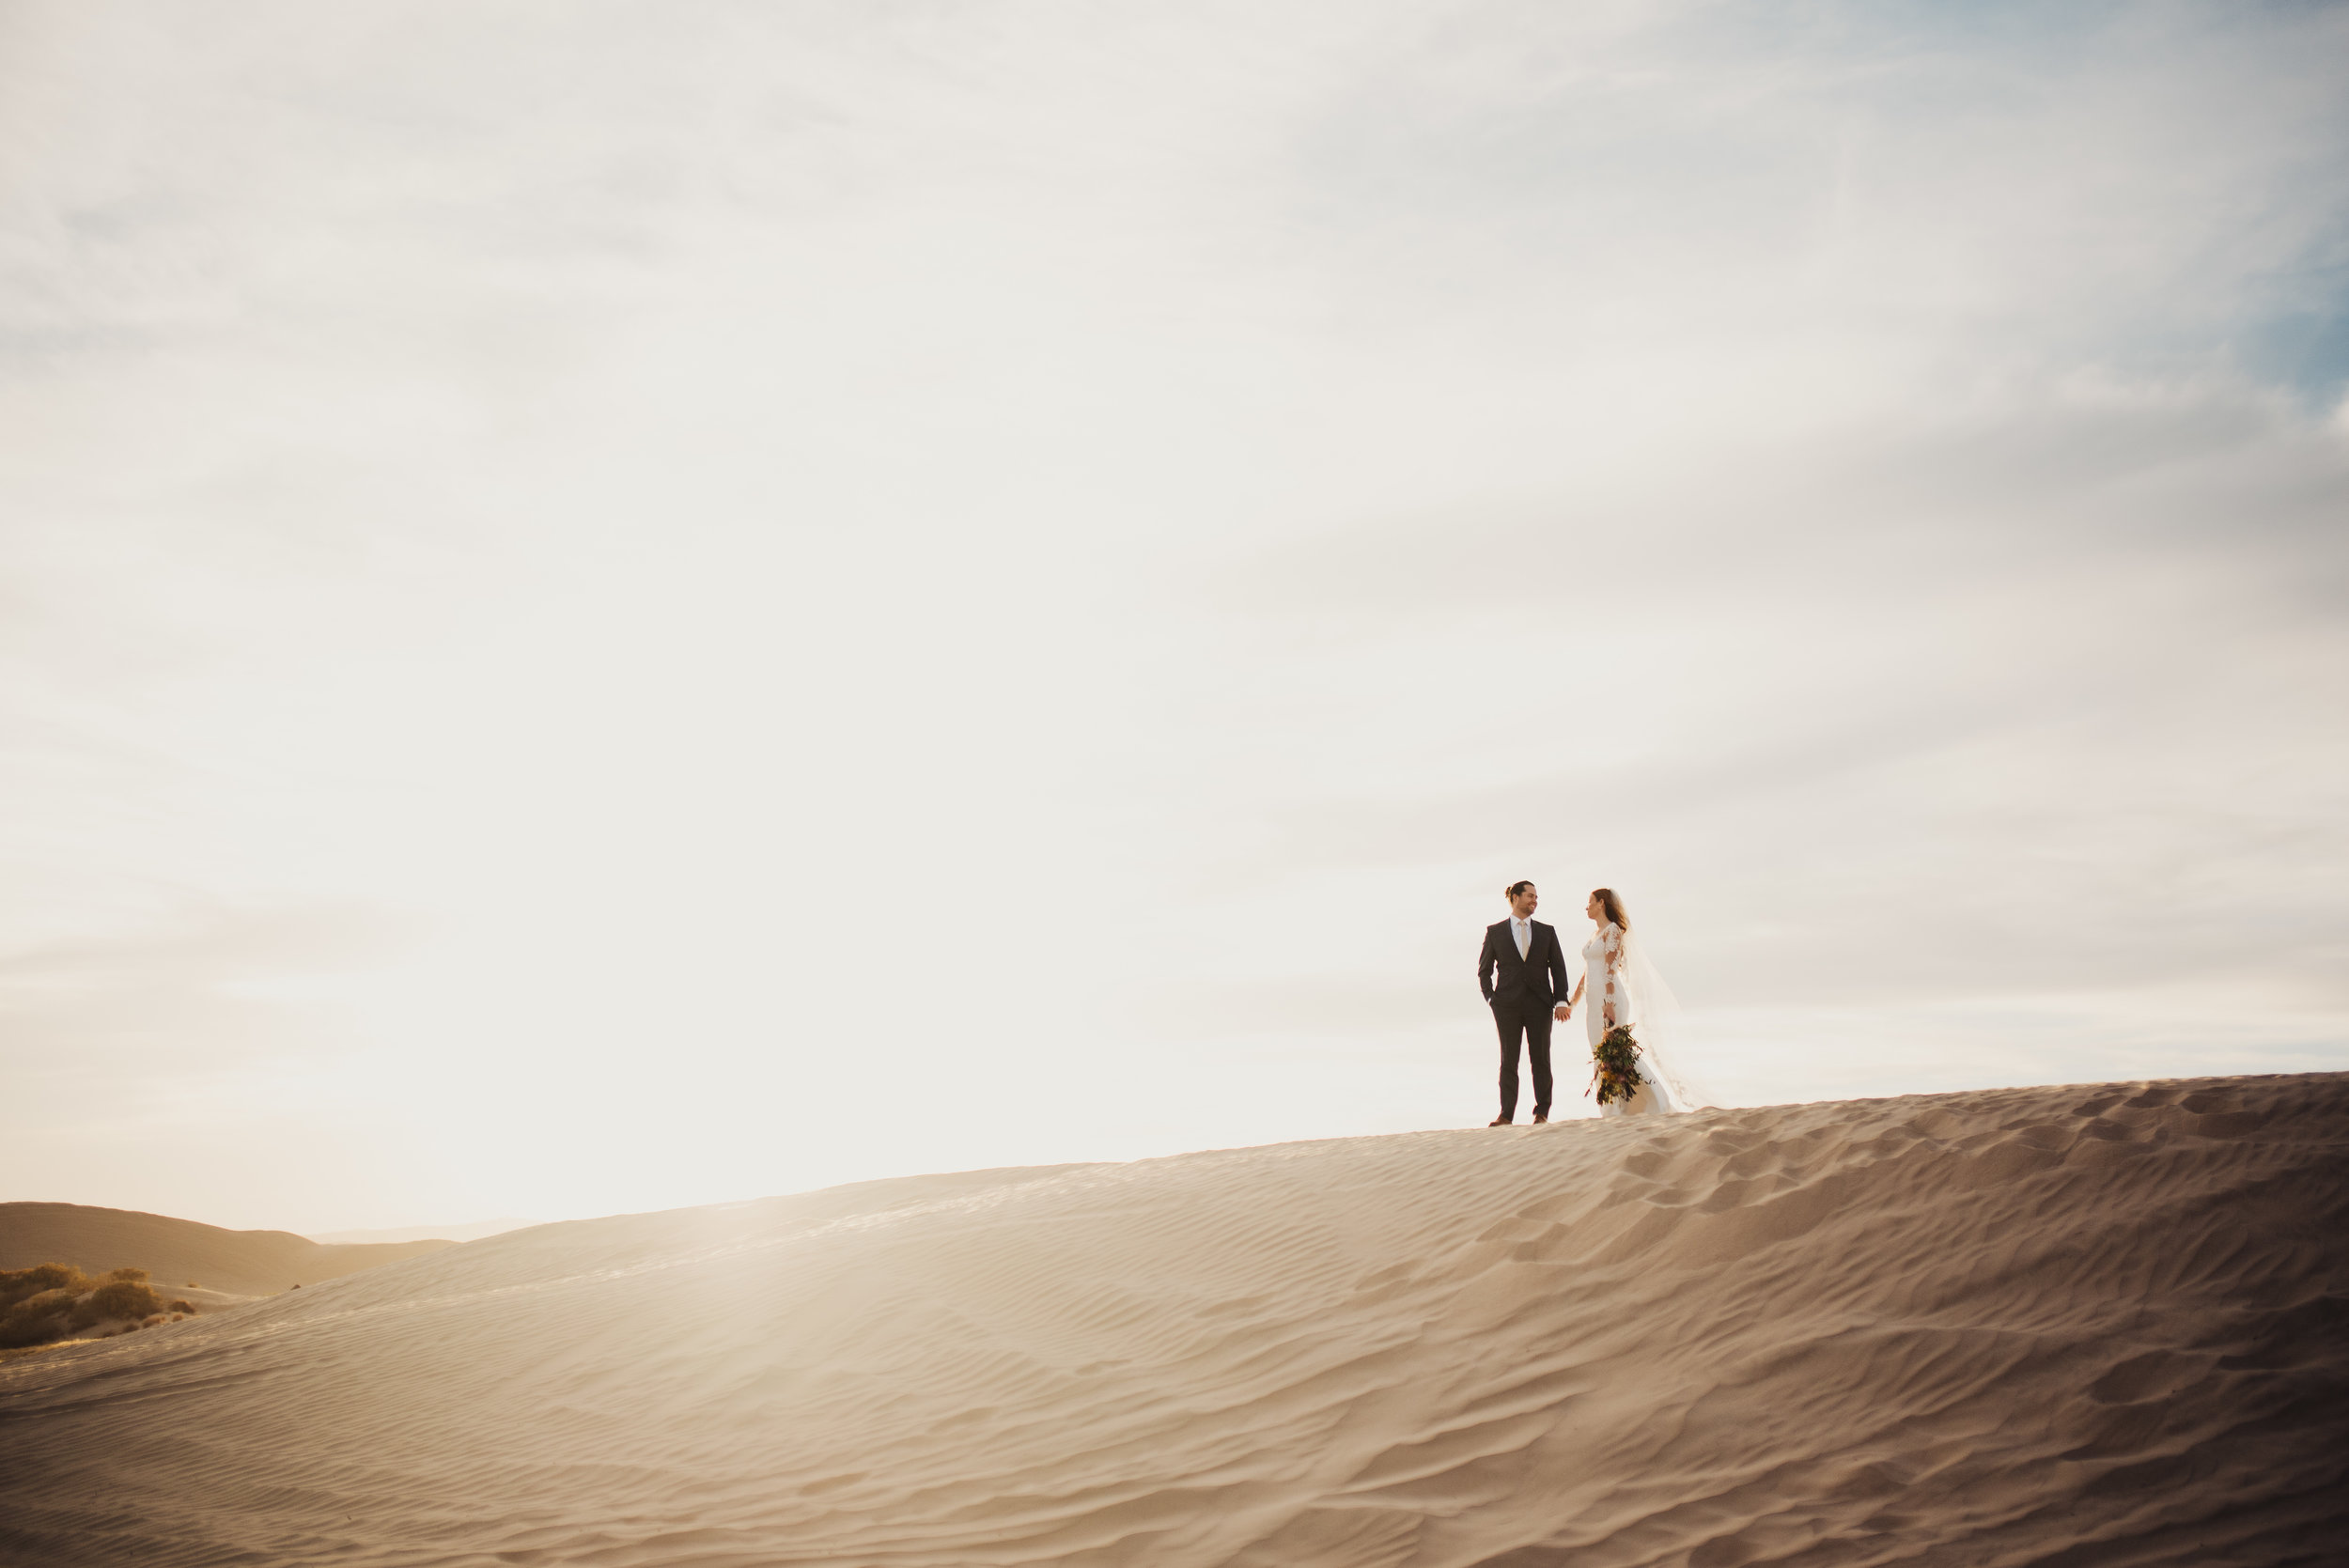
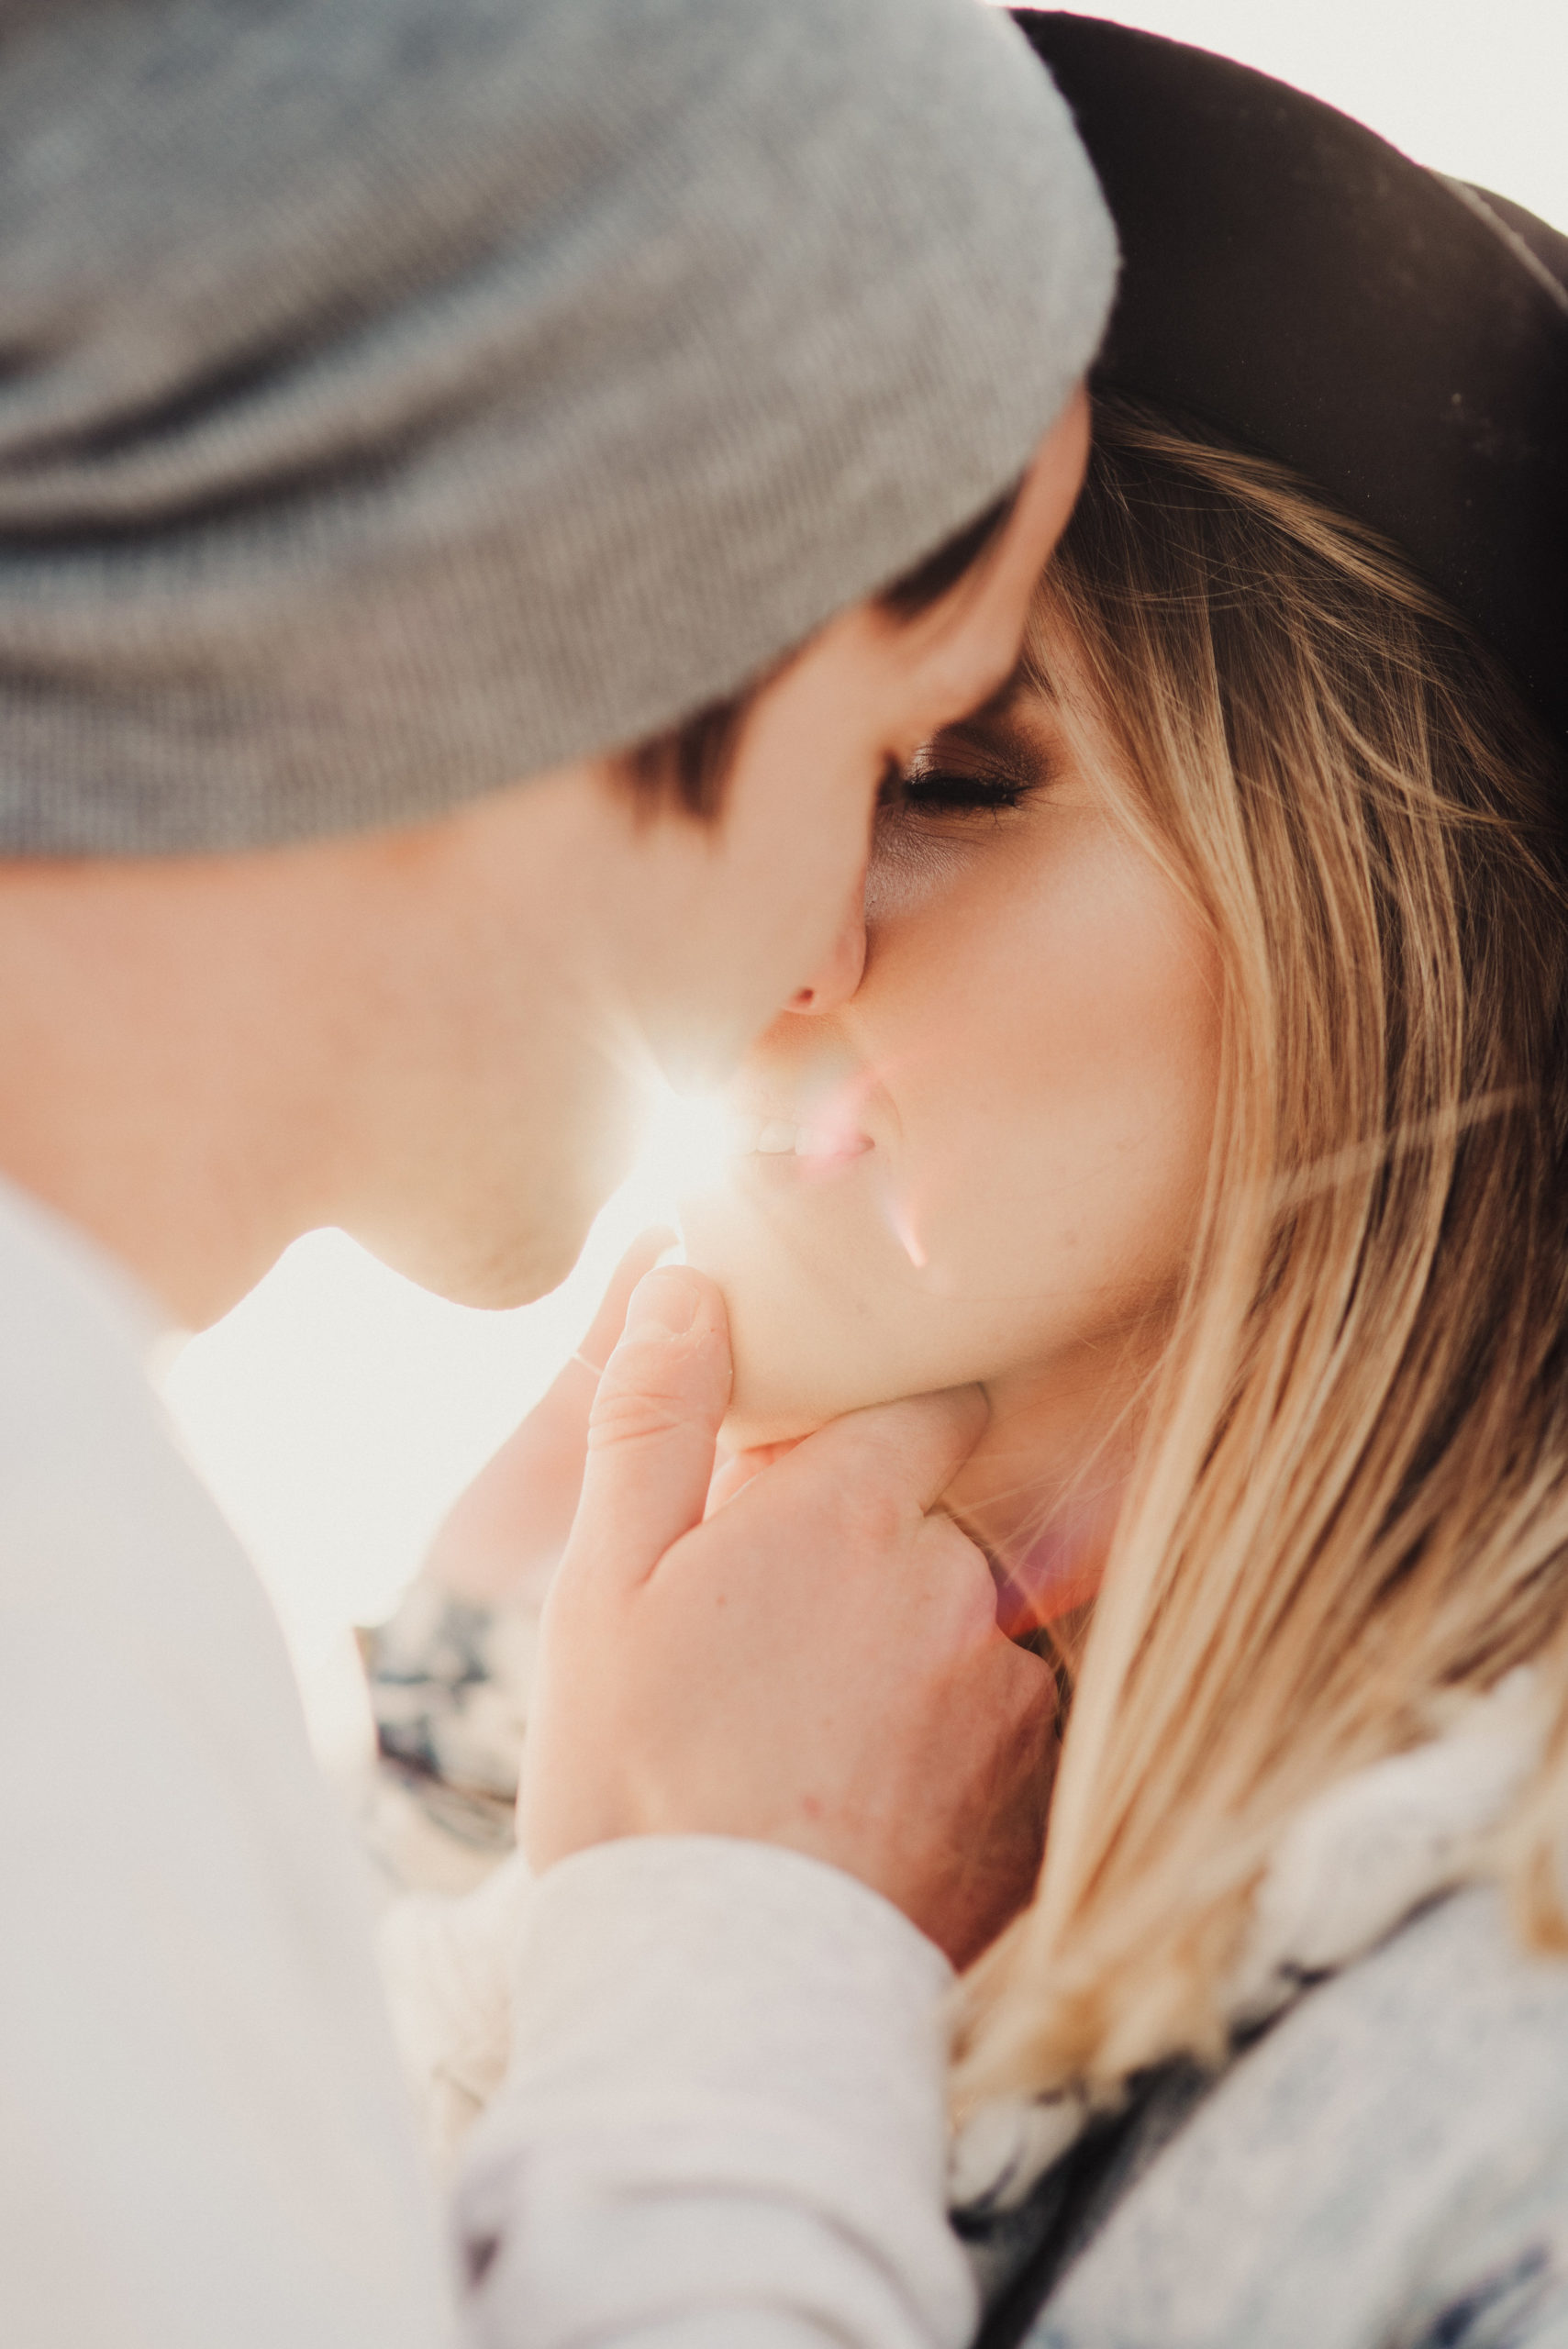
If I could go back to 2015 Eden jumping into the photography business, I would tell her to stop focusing on location and focus strictly on lighting. I would also hand her a Carmello because I didn’t have enough of those back then. But, seriously, LIGHTING. Your locations may be gorgeous, your clients stunning, and your camera gear fantastic- but if your lighting is off then heyoooo none of that is going to matter. Pinky promise.
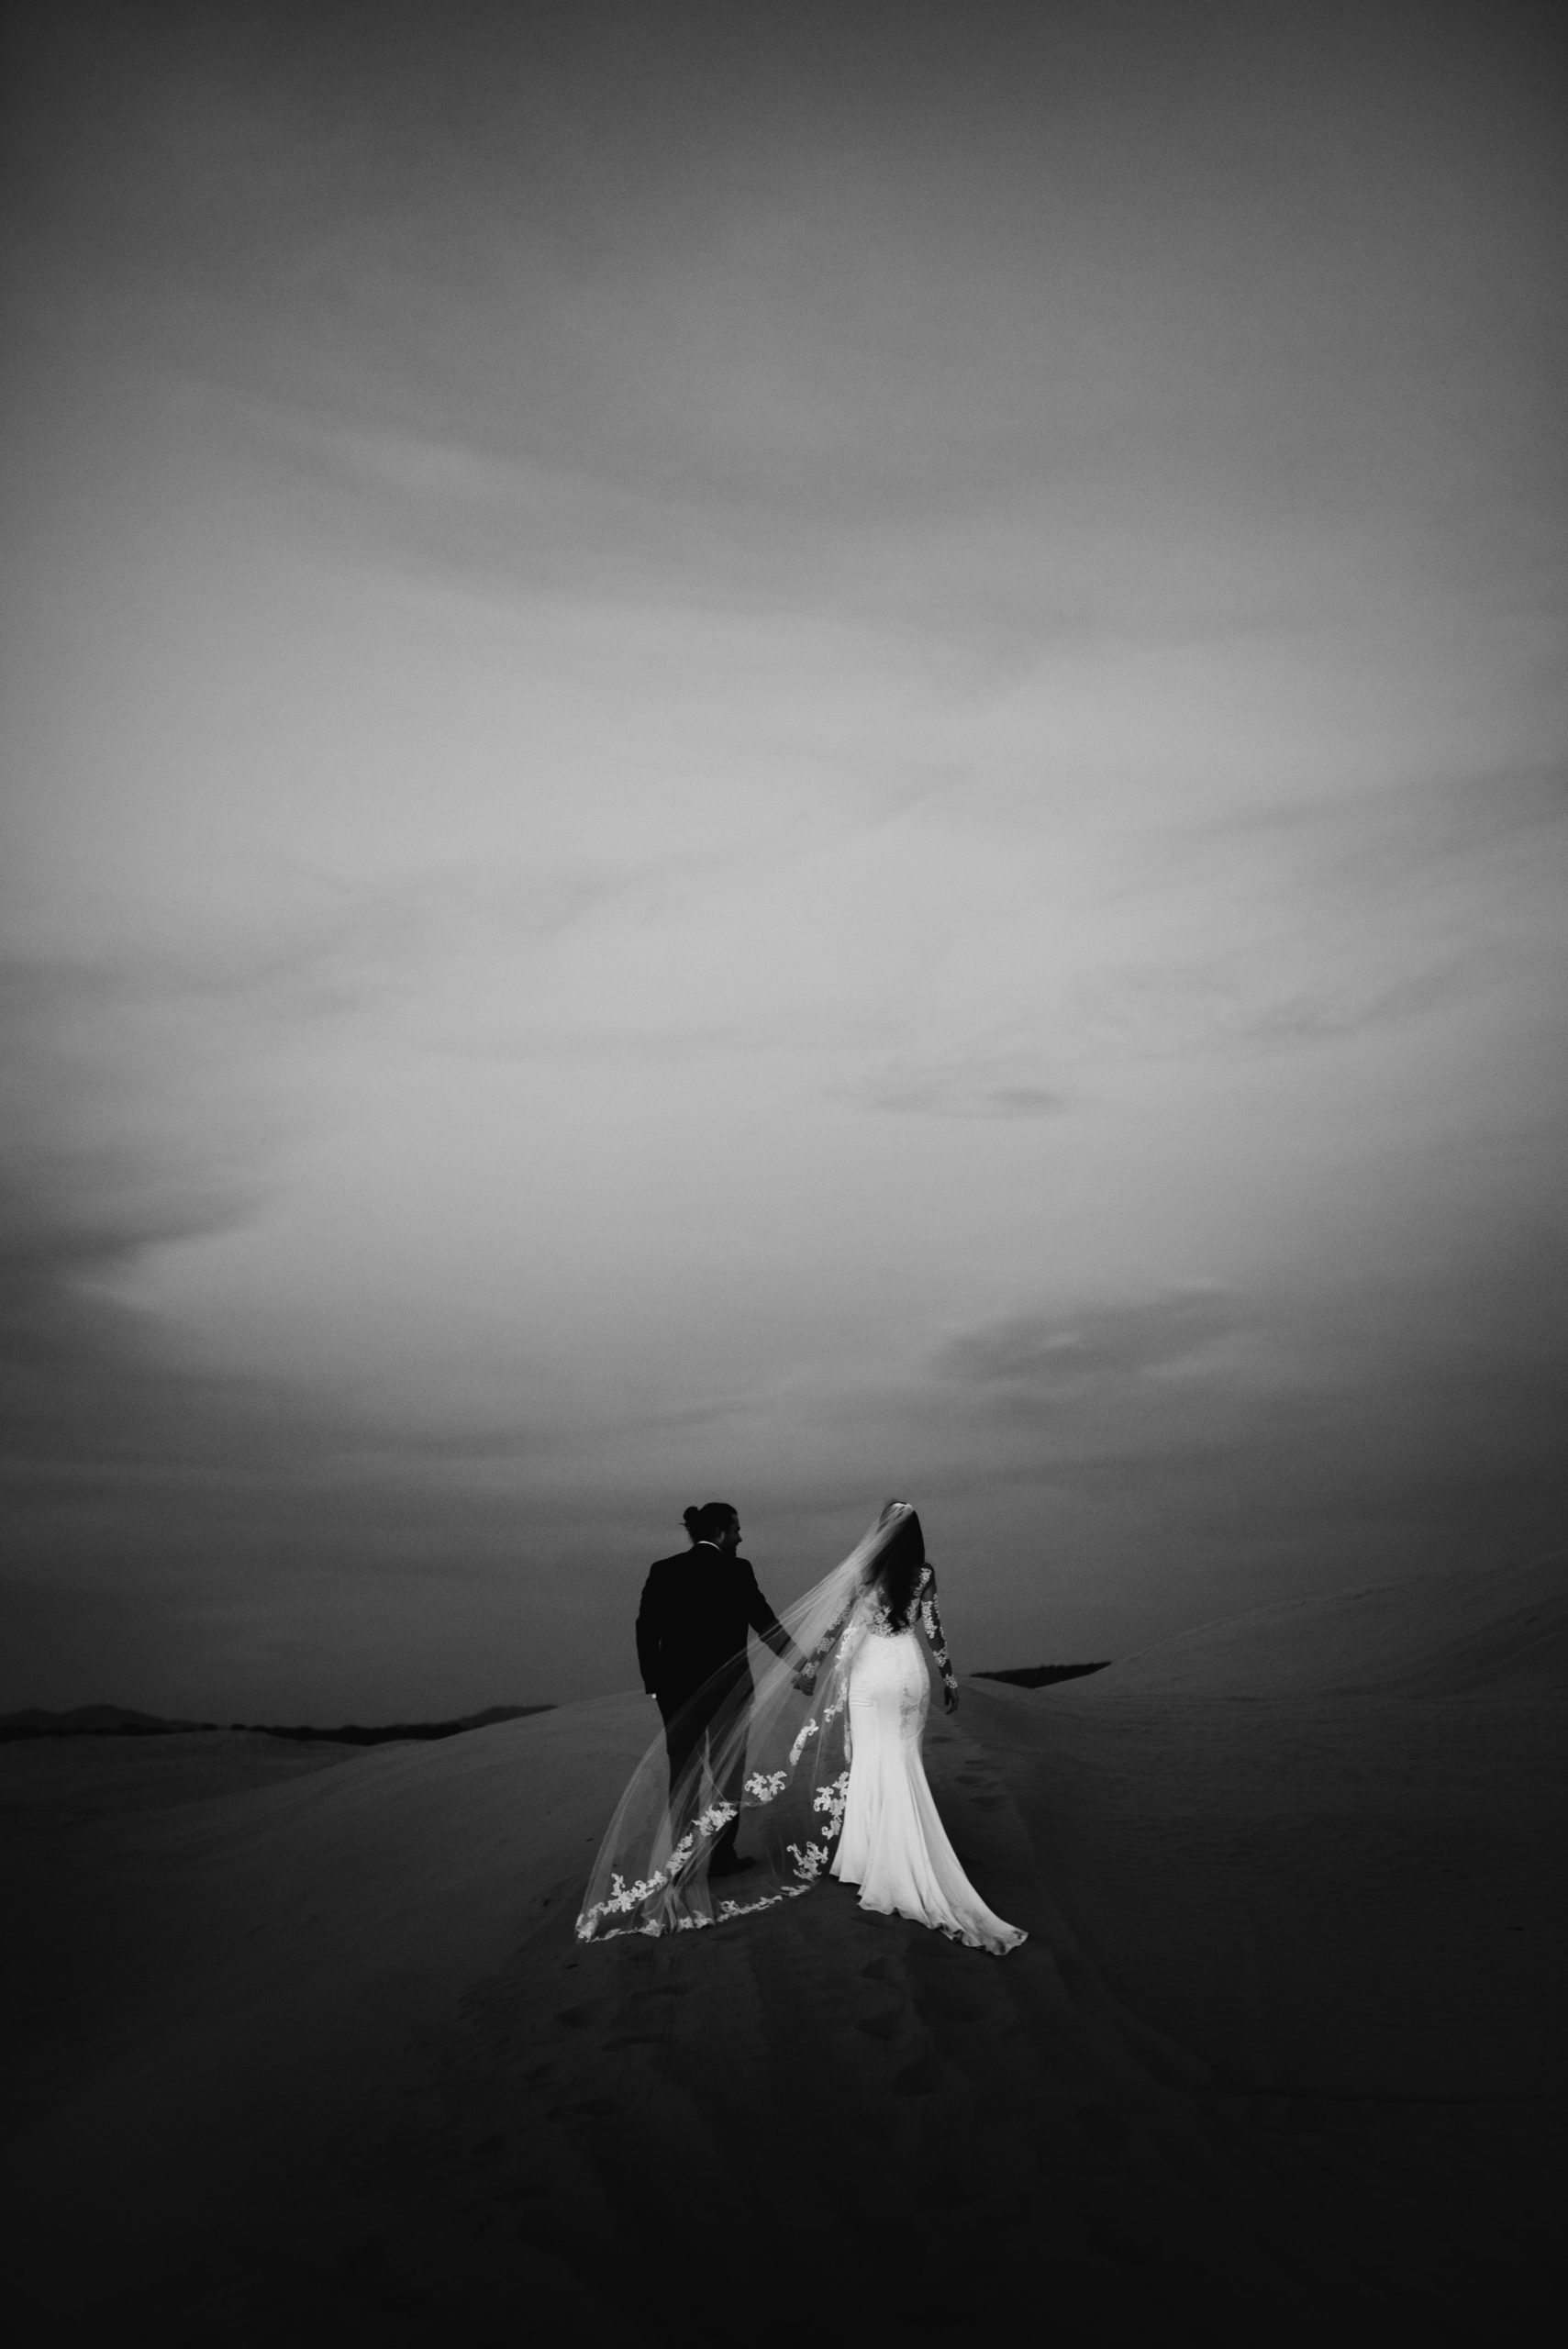
As soon as I arrive on location (typically 15 minutes early so I can scout out spots) I try to analyze what the light is currently looking like, and where it will be an hour into the session. Although lighting preference is a matter of style, I personally love shooting in shady areas that are backlit when up the canyons (1), or 45 minutes prior to sunset when in more open locations (2). My favorite lighting, like jumping-up-and-down-squealing lighting, is when its overcast or the 15 minutes of ambient light after the sun has set (3). It creates gorgeous, subtle colors and tones. If shooting after the sun has set or when overcast, I always face my subject towards the sun (or where the sun set 😉
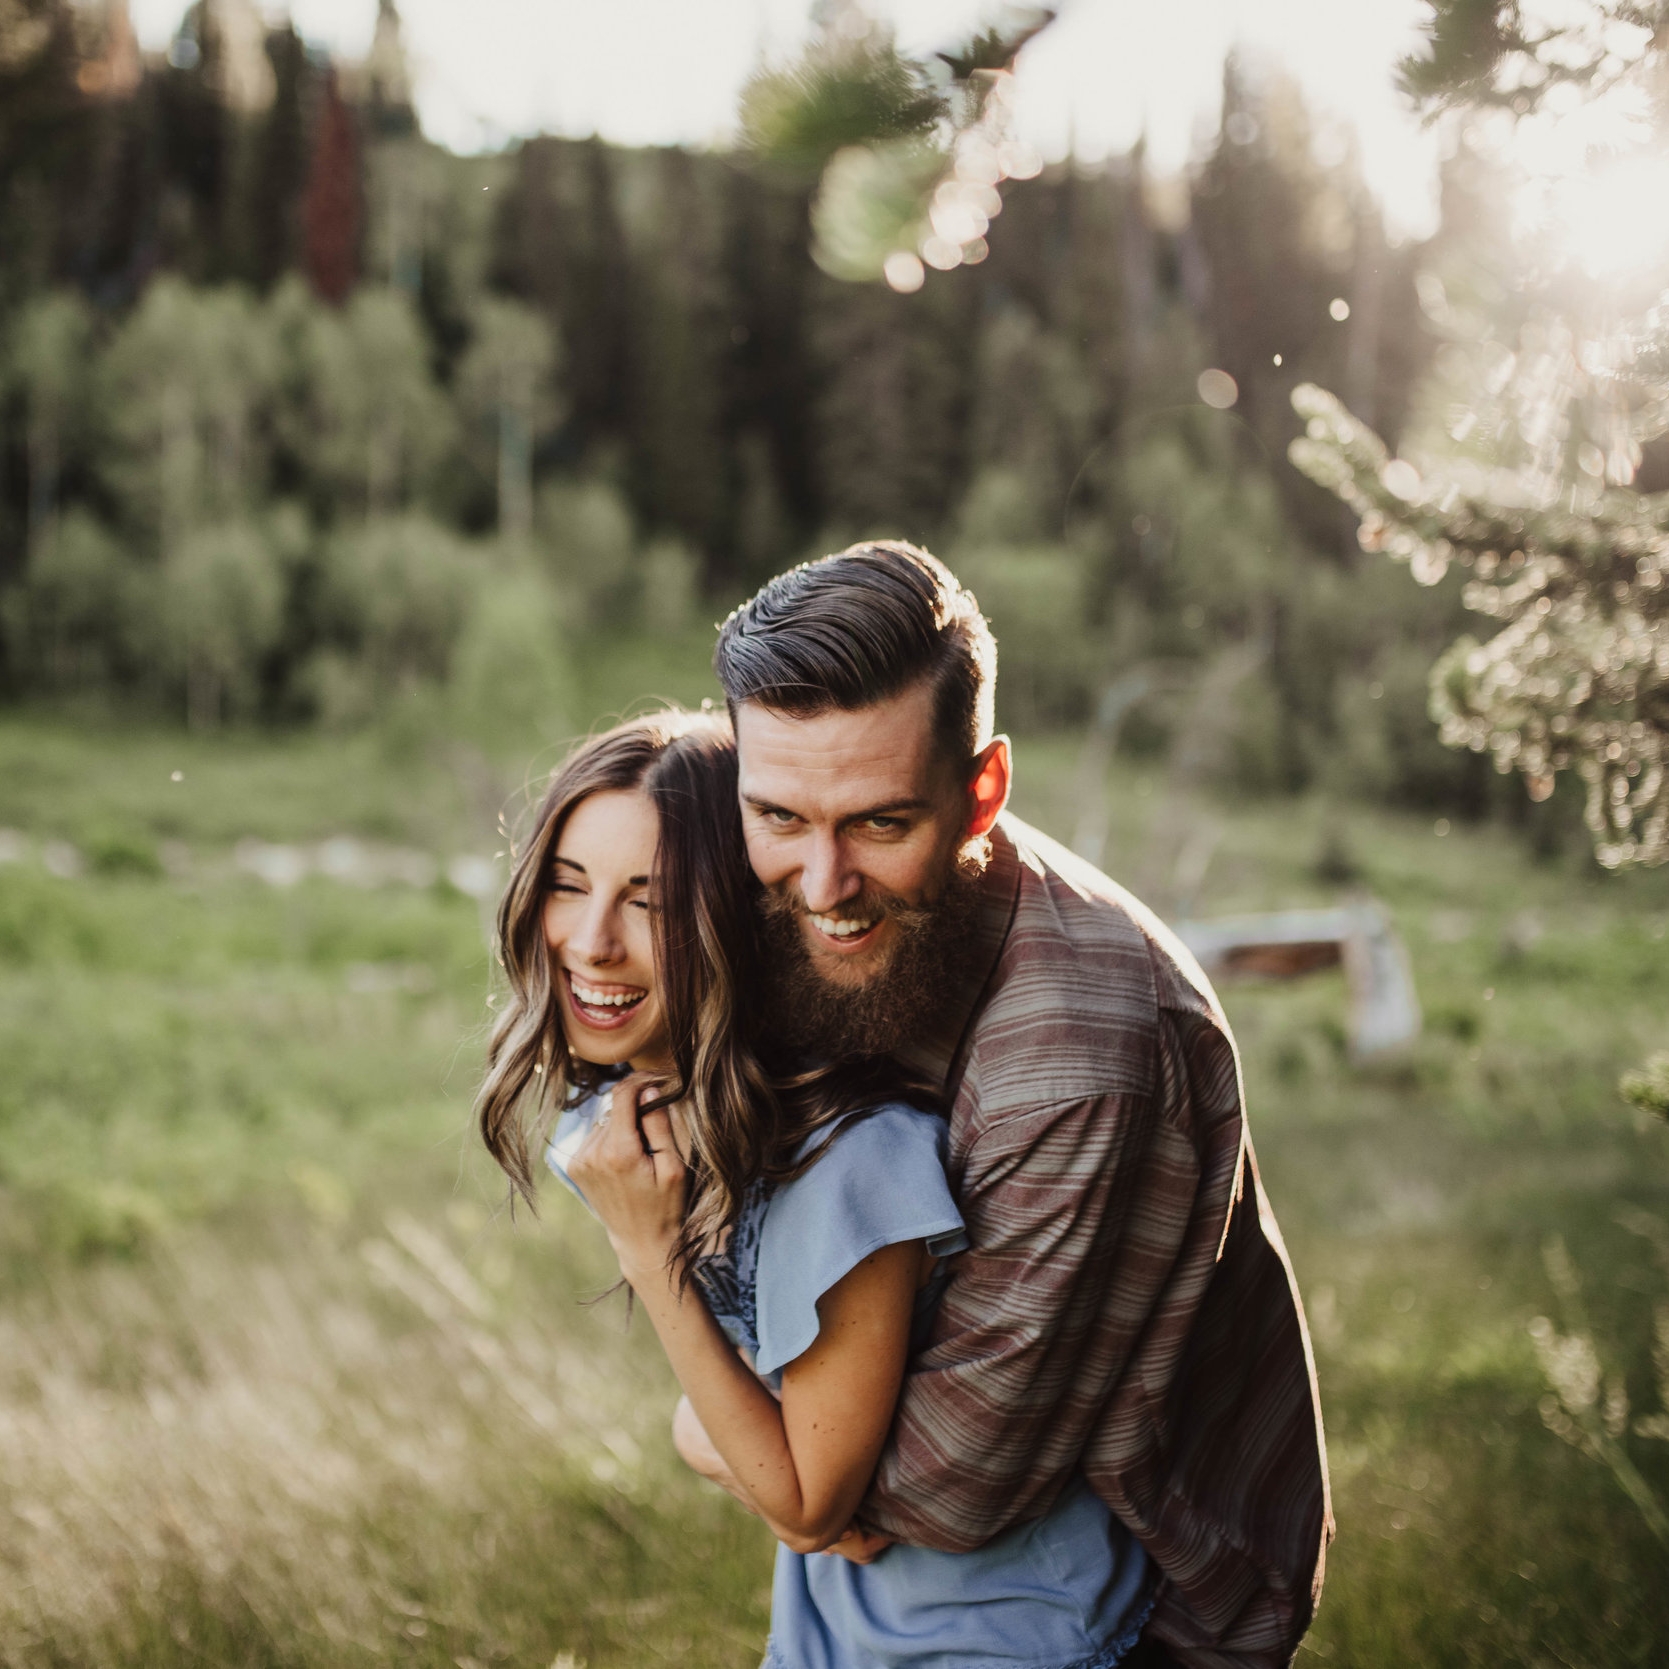
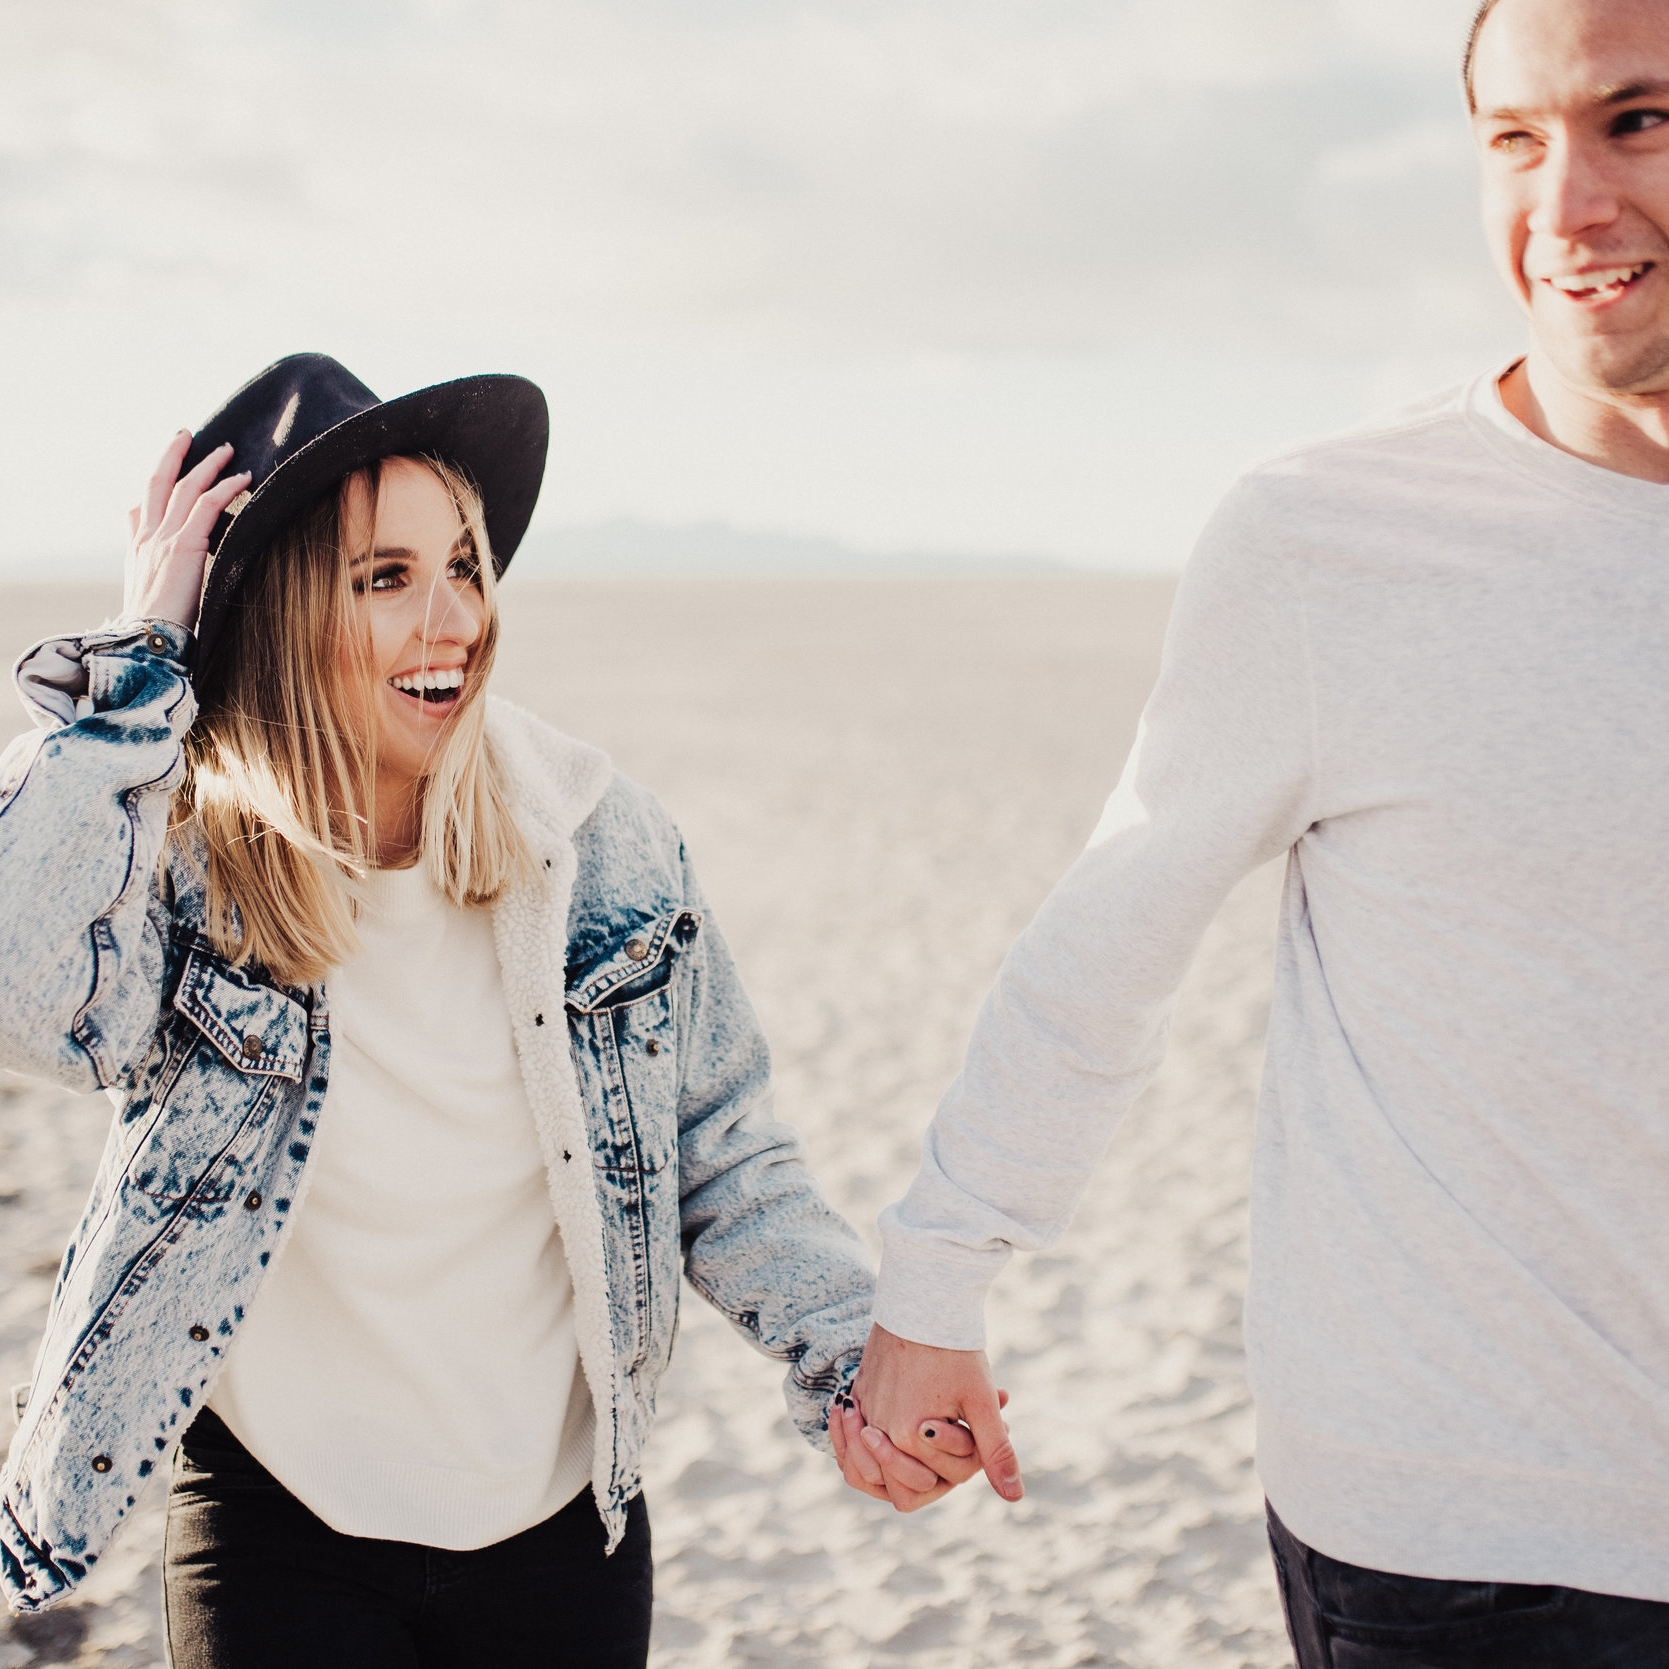
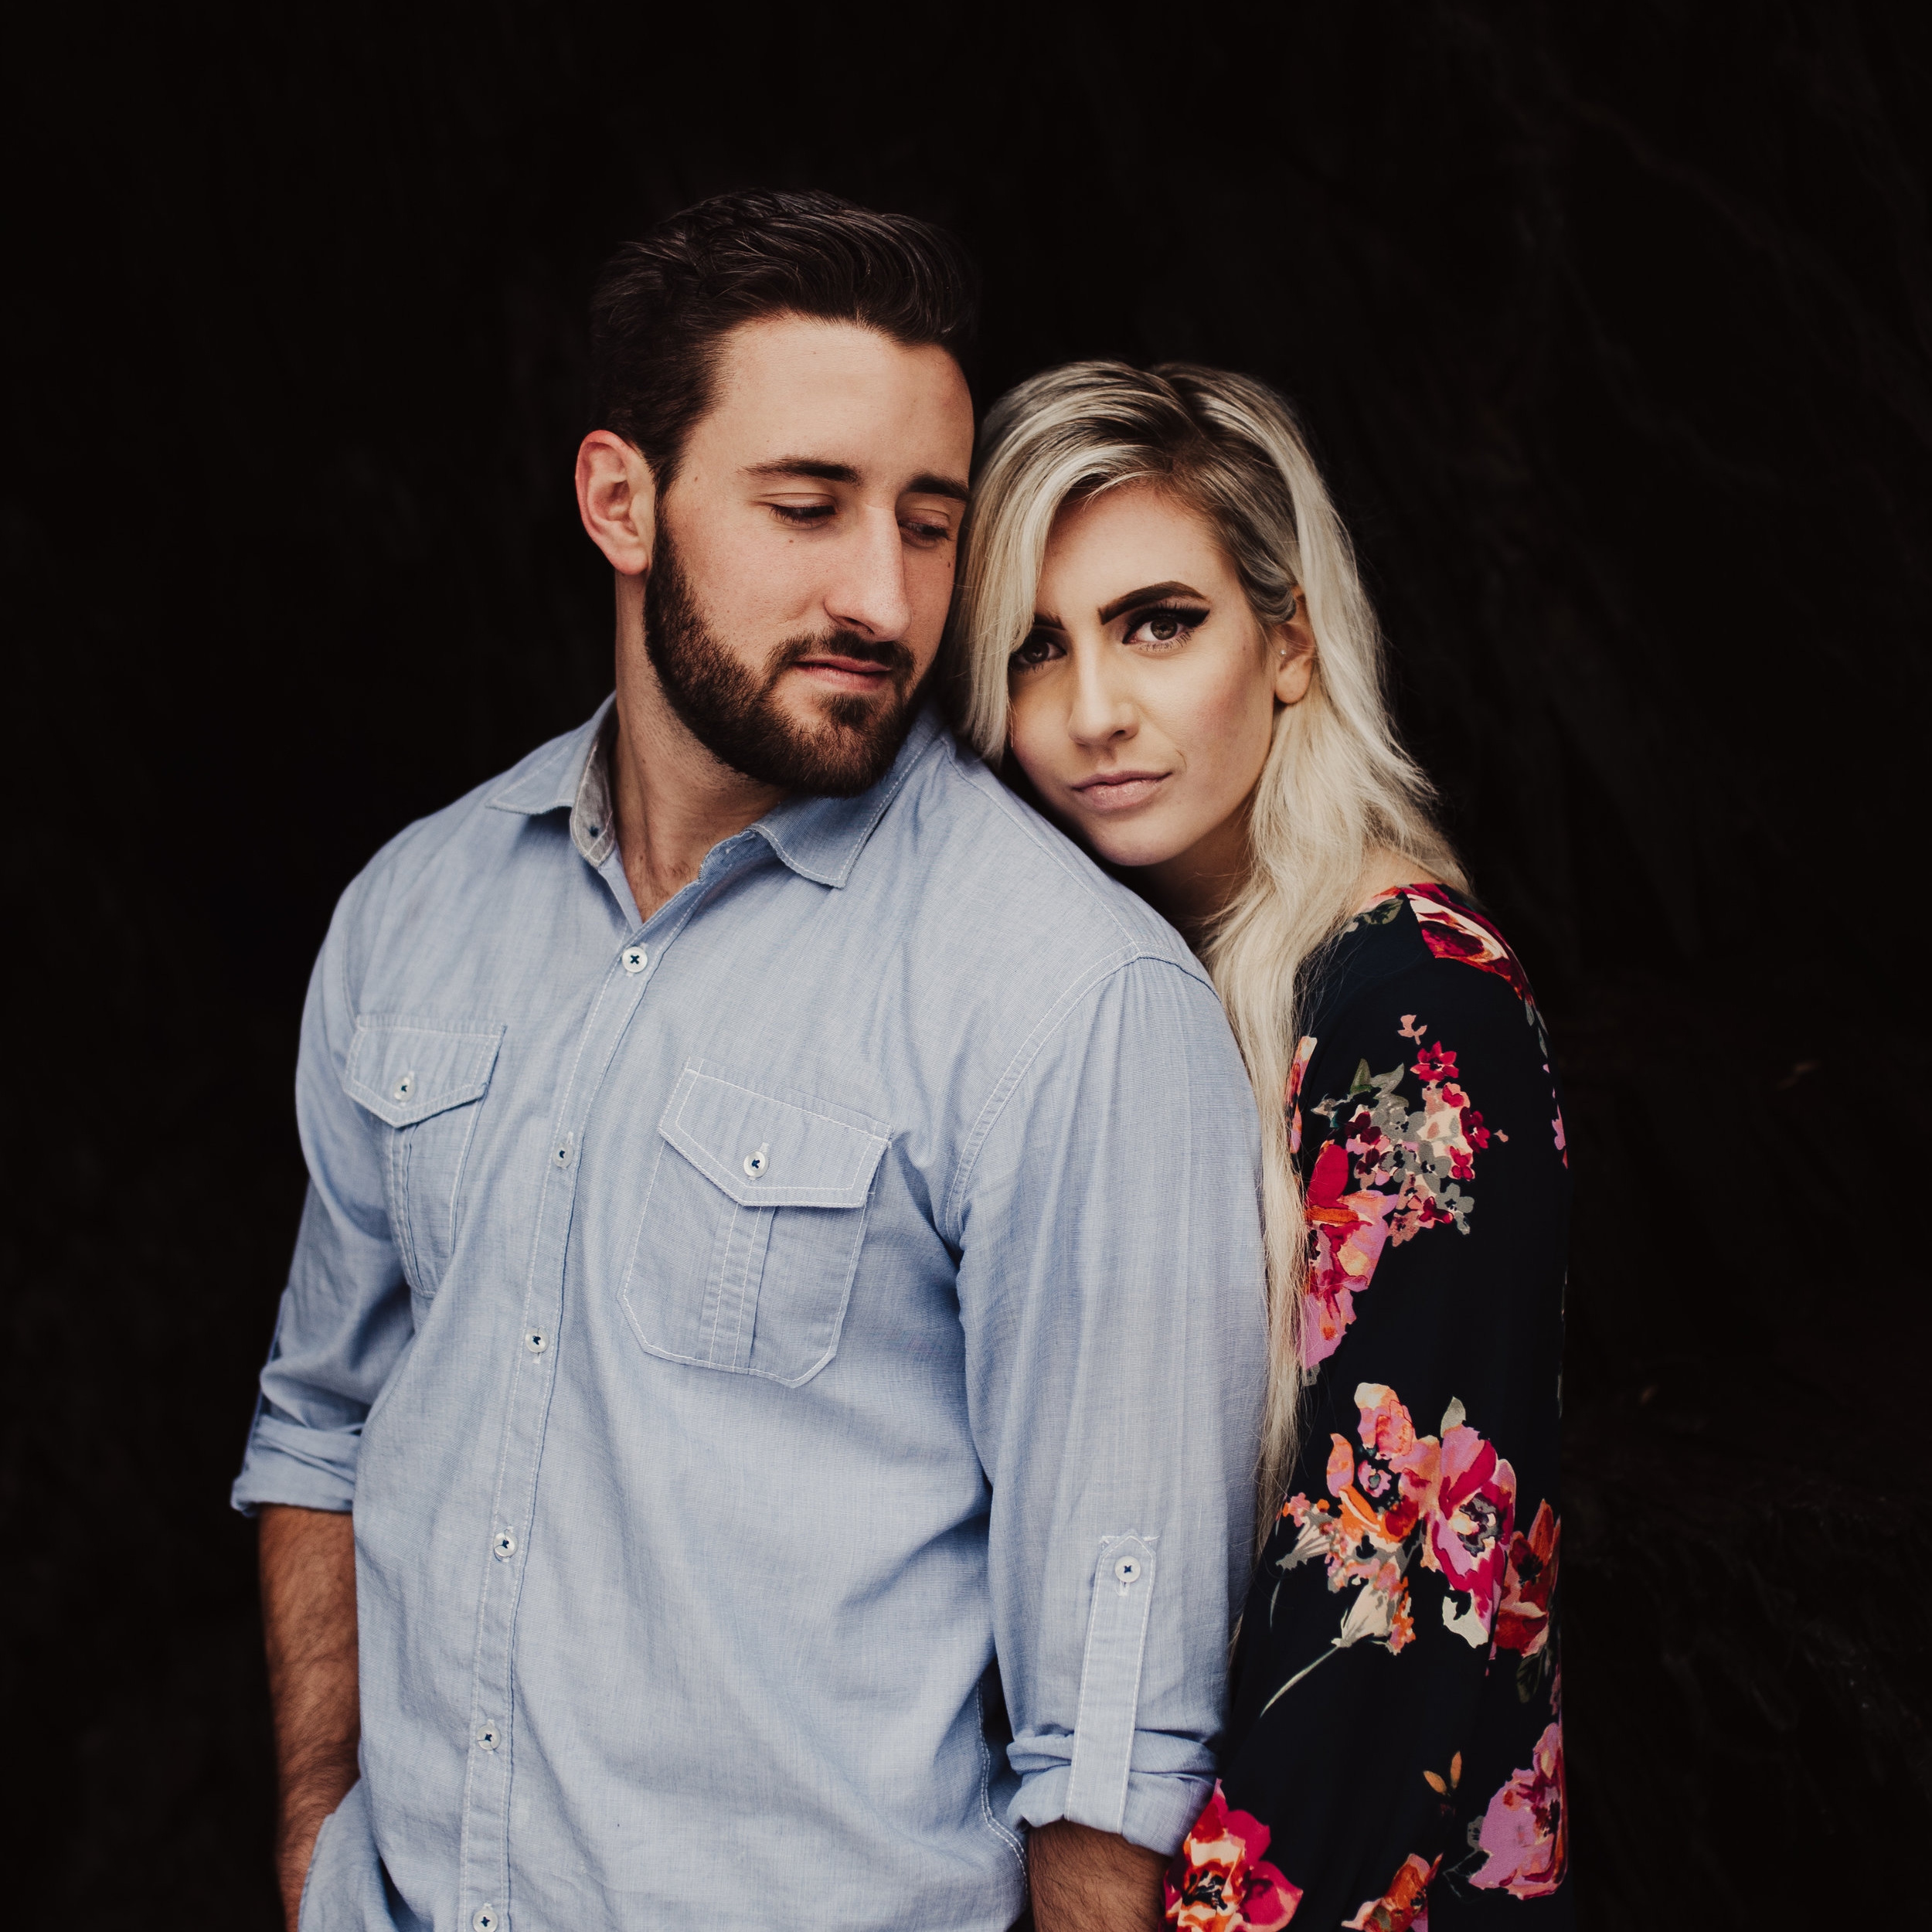
More than anything, try to avoid blasting both your clients and backgrounds with harsh, neon-color-creating sunlight. Your clients should be in similar lighting as the background so you’re not blowing out the details behind them. When in situations where the lighting is harsh, I tend to underexpose so I can save my highlight details while editing- Yay for RAW!
EDITING
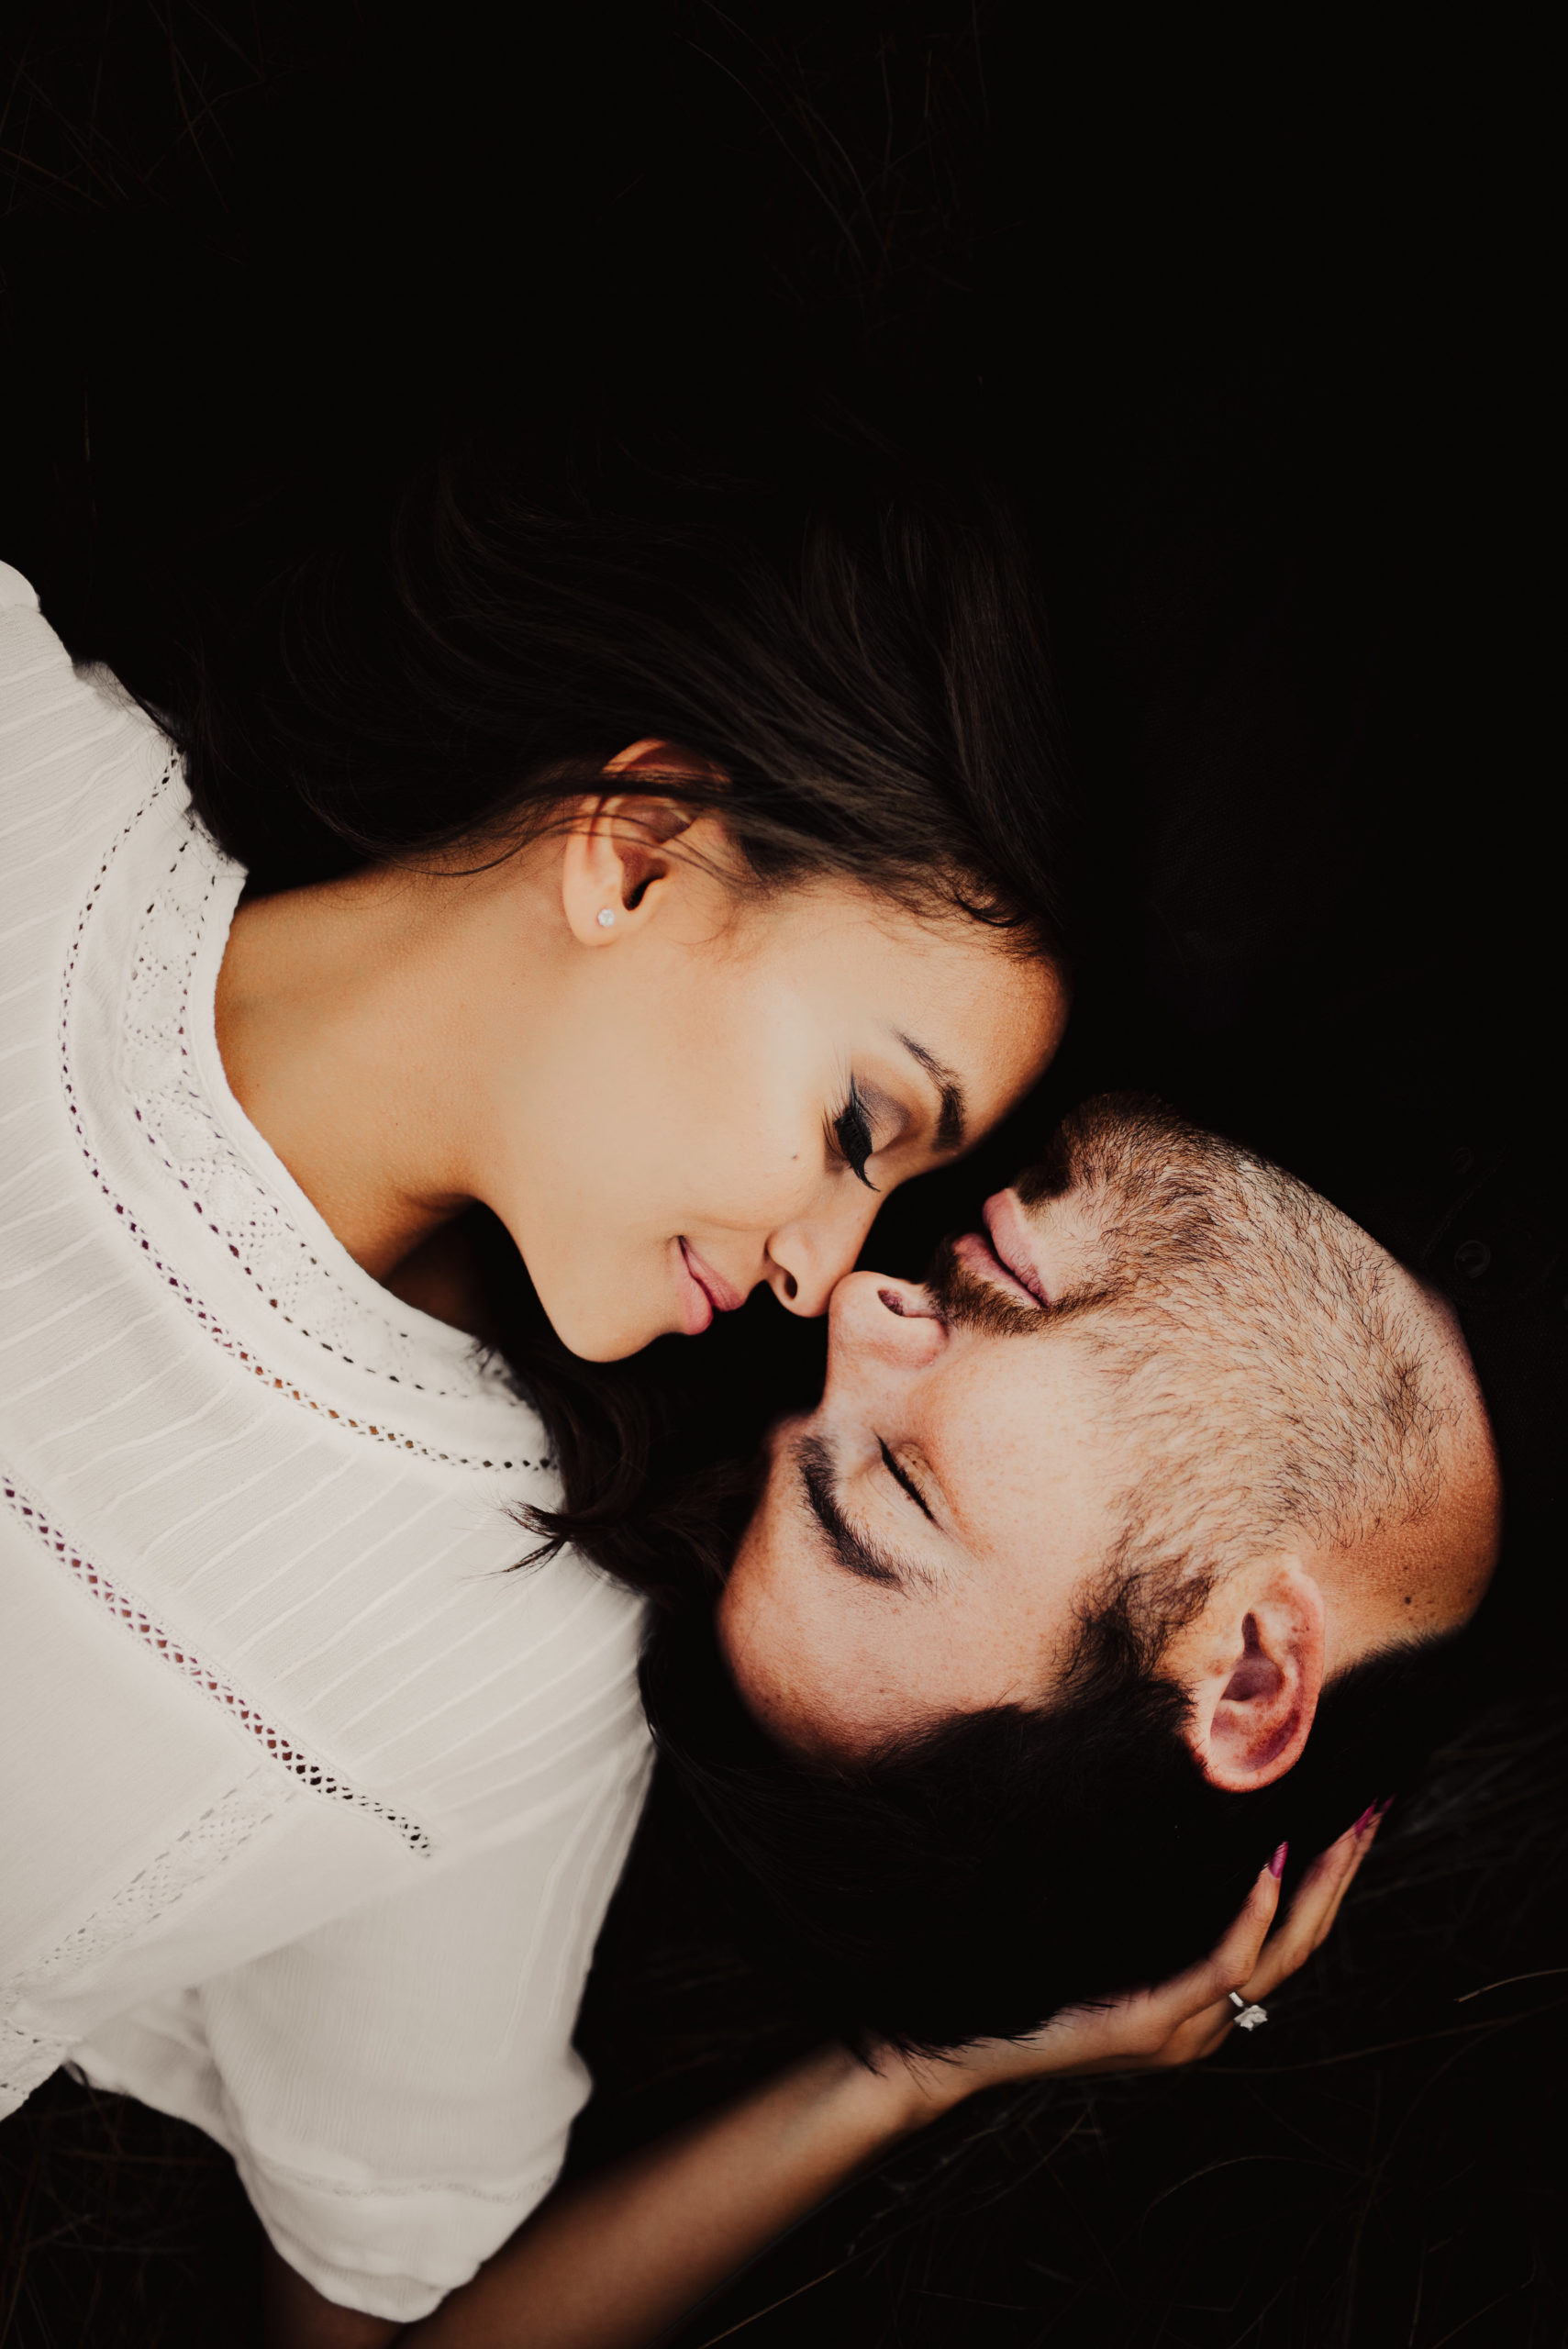
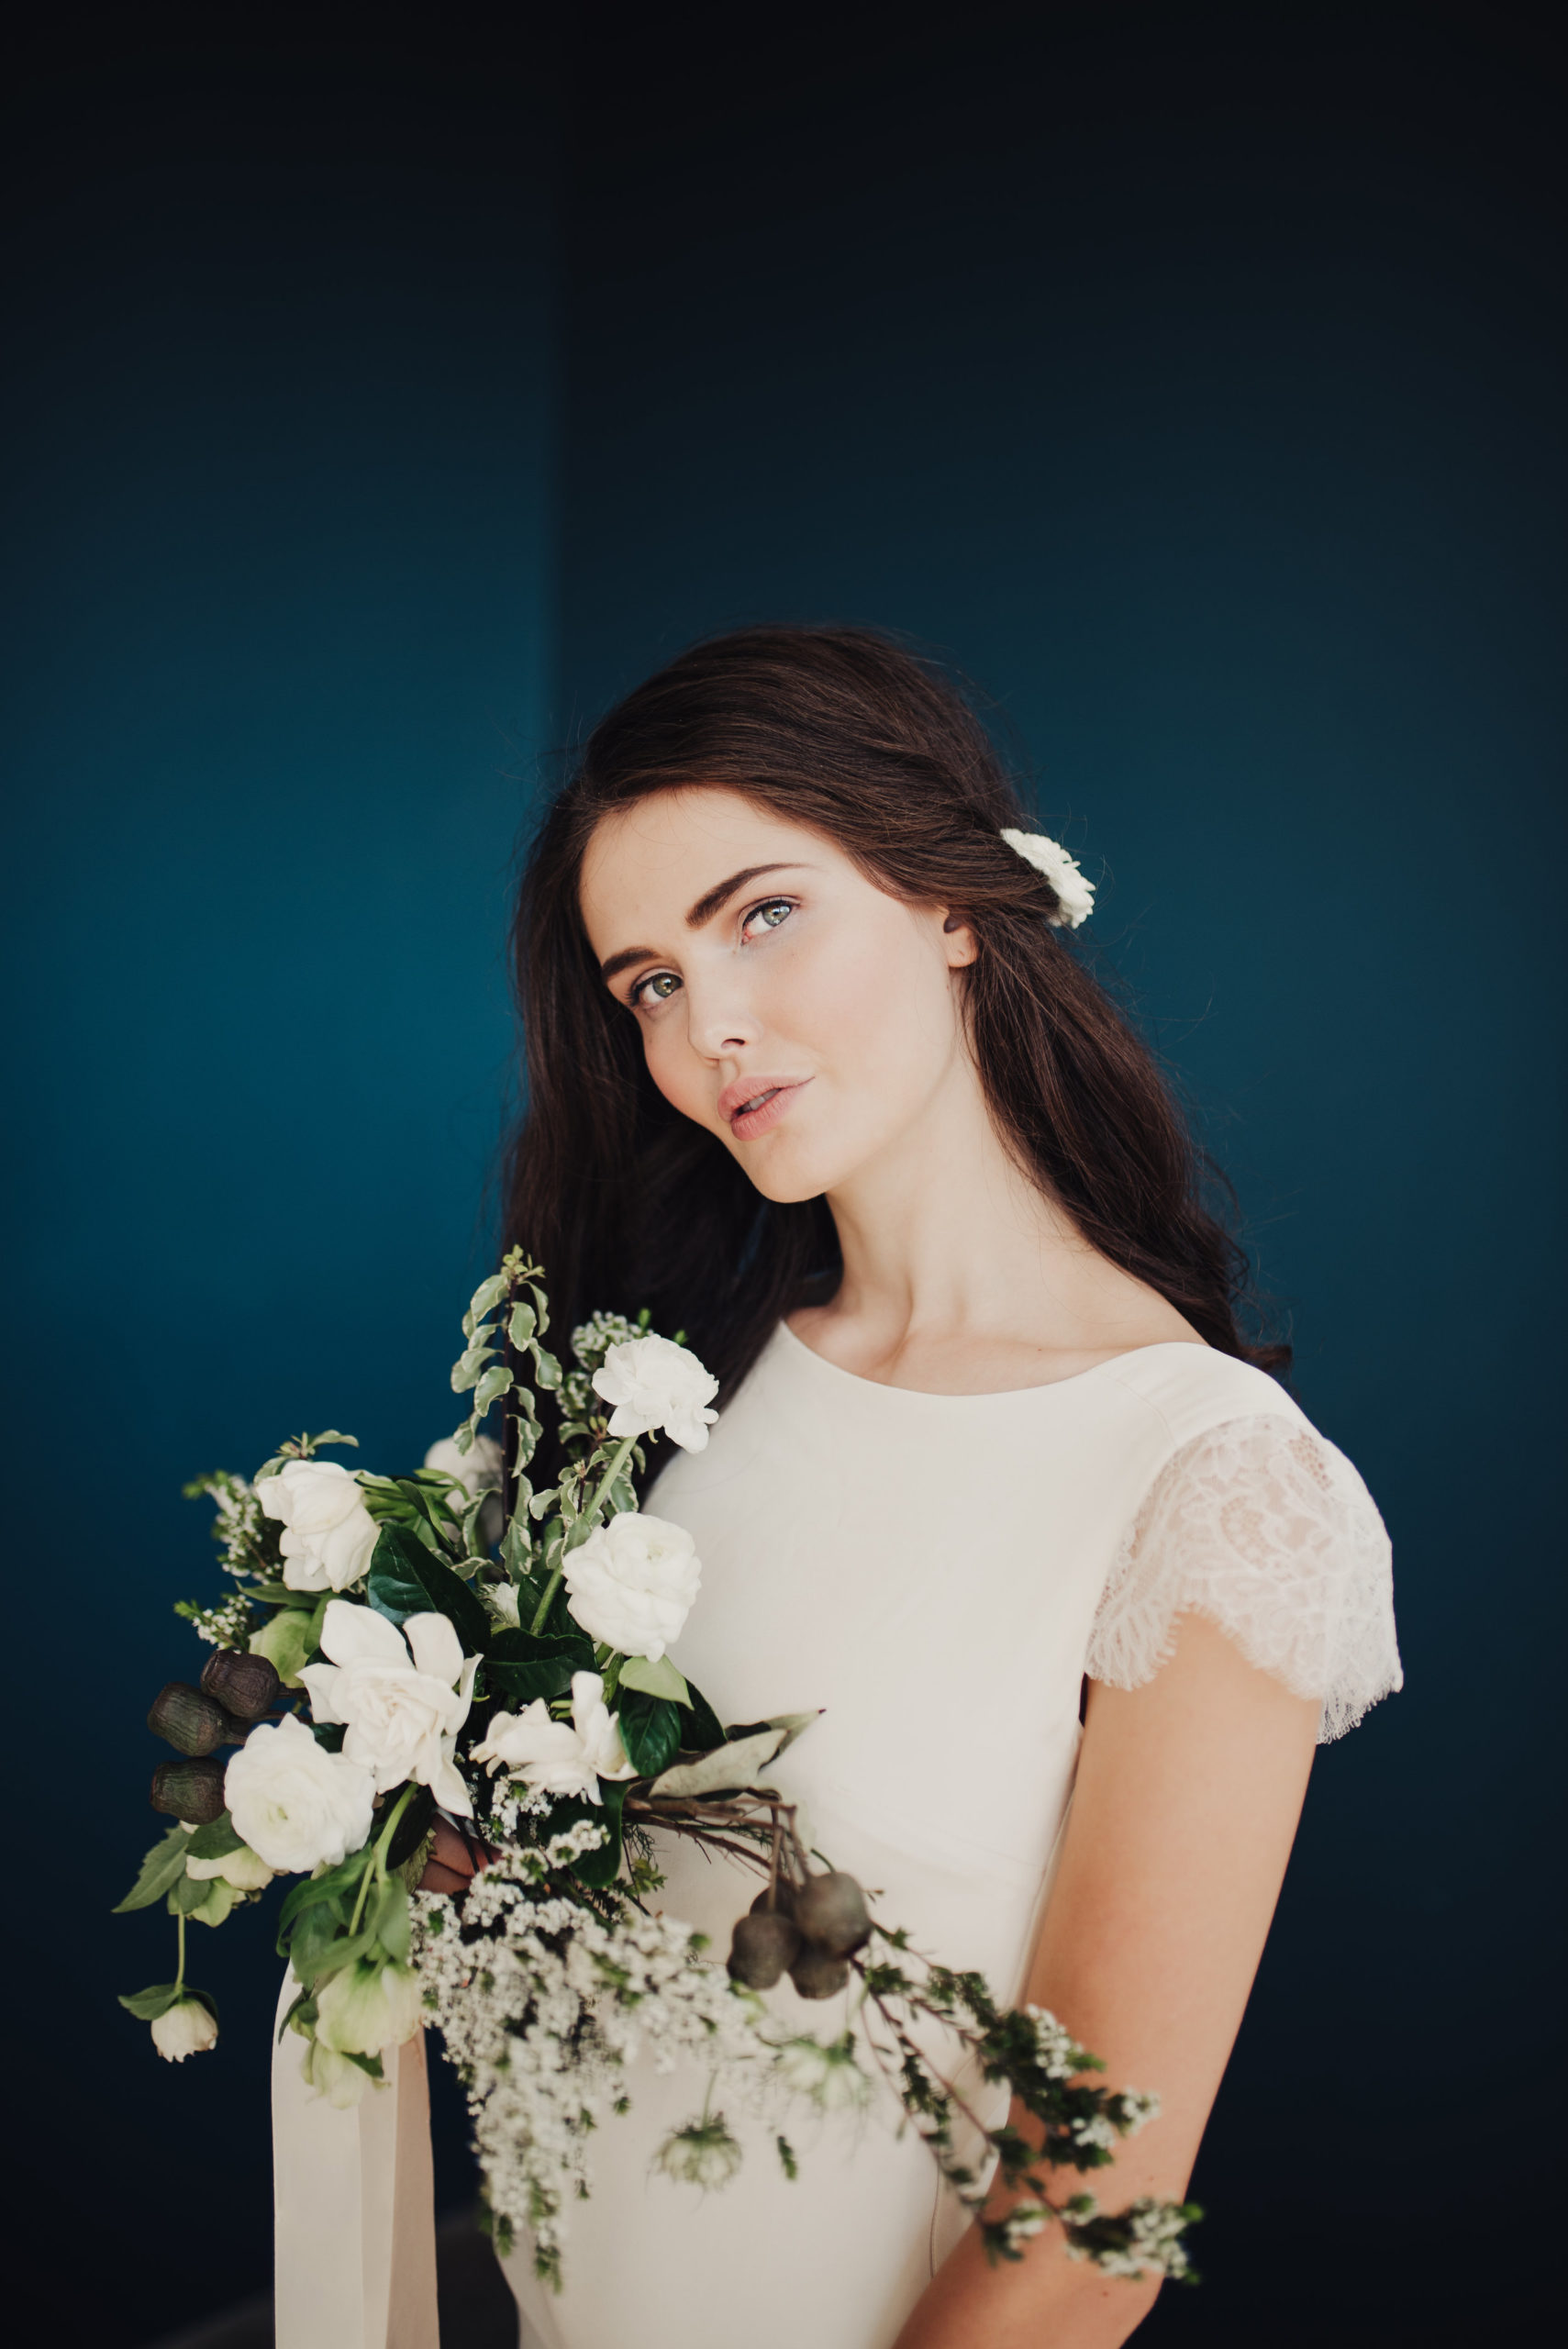
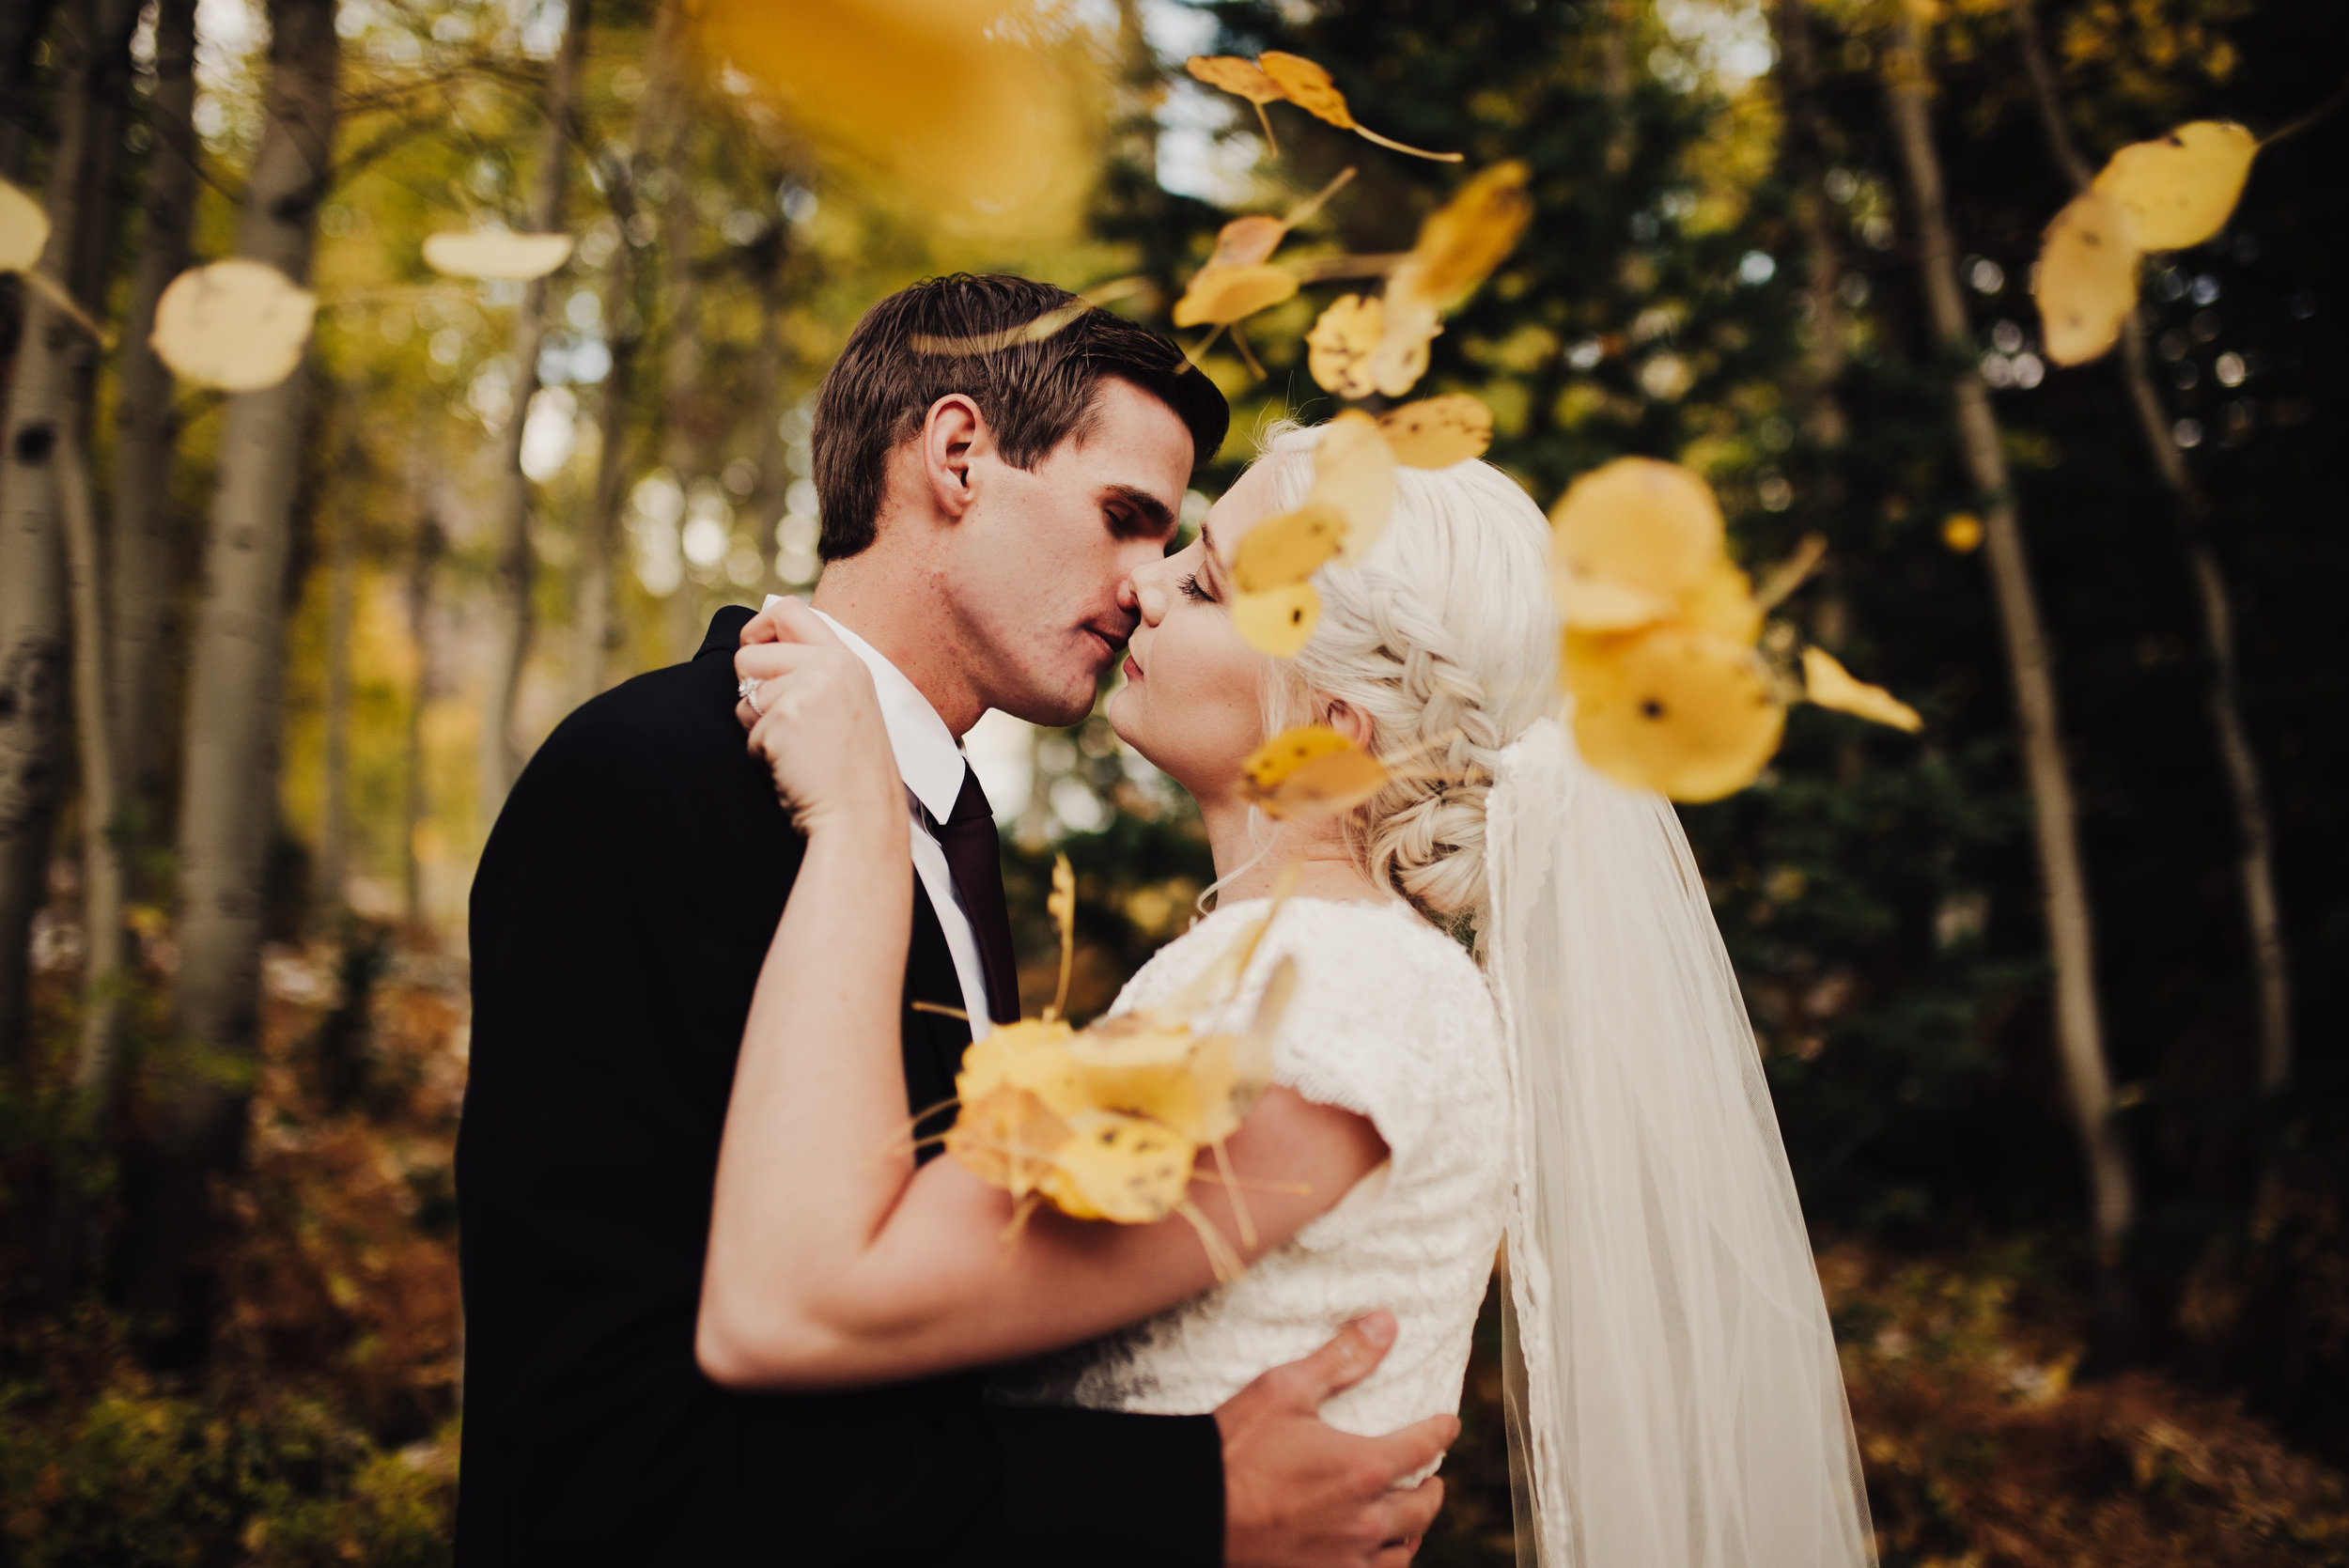
“What presets do you use?” is easily the most frequent question I receive. When I first started out, I wanted to save as much money as possible and bought the cheapest presets I could find. And *spoiler* I hated all of them. Surprise! I wasted hundreds of dollars. Don’t be like 2015 Eden (looks like we’ll be referring to her a couple times throughout this).
When it comes to editing, this is the second step of your artistic process on your images. Figure out what style you’d like to emulate through your work, and take the time to develop it. Is there a photographer who’s style you especially love? Great! Reach out and see if they’re willing to share details or if they sell their presets. Keep in mind, however, presets are a Photographers art. My editing settings have taken hours to days to weeks to months to develop, and are practically my babies. Photographers have spent hundreds of hours honing in on exact settings for their presets, and they may not want to share every detail of their process. And that’s okay! Take any tips they’re willing to share and develop your own style from there. Photography is an art, and you should try to create your own rather than duplicate someone else’s. This is something I’m extremely passionate about, and I hope you will be too! Please do not reach out to photographers with the intention of receiving every setting in their process- art is art because it is unique. It’s great to ask for tips if someone’s style is similar to the one you want to achieve, but you should be working towards developing your own style as well. Here are a few basics of my editing process:
VSCO 06
My presets are based exclusively off VSCO 06, although they have been tweaked beyond belief. I also own packs 01 and 05, which have amazing presets as well! Using a VSCO base typically takes a couple (hundred) tweaks in order to achieve the look you want- be patient and play around with them. For instance- I like to pull both my shadows and blacks as close to zero as possible, and typically pull my highlights down a few notches.
TONES
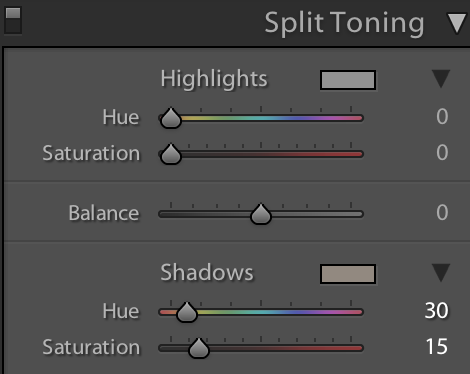
If editing in Lightroom, take advantage of split toning! Here is what mine look like on nearly every photograph (orange for the shadows saturation at 15 when the photo was taken in a heavy shadow, or 10 in normal, well-lit, images). Depending on what your lighting looks like, you may need to desaturate your oranges or cool down your temperature in order to compensate for the orange bump in the shadows. When it comes to editing, skin tones are my #1 priority. Play with the HSL sliders to achieve a more natural look after working with split toning.
HUES
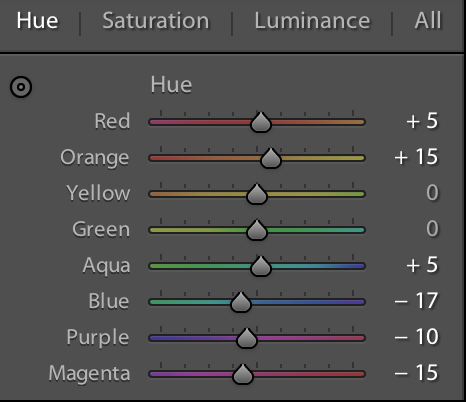
As a general rule, I keep my oranges bumped a big more on the yellow side, and my blues looking more teal. Try keeping your colors as true to life as possible while also matching your wanted style! Again, there’s no right way to edit- do what fits the look you want to achieve. It takes all kinds.
DOUBLE EXPOSURES
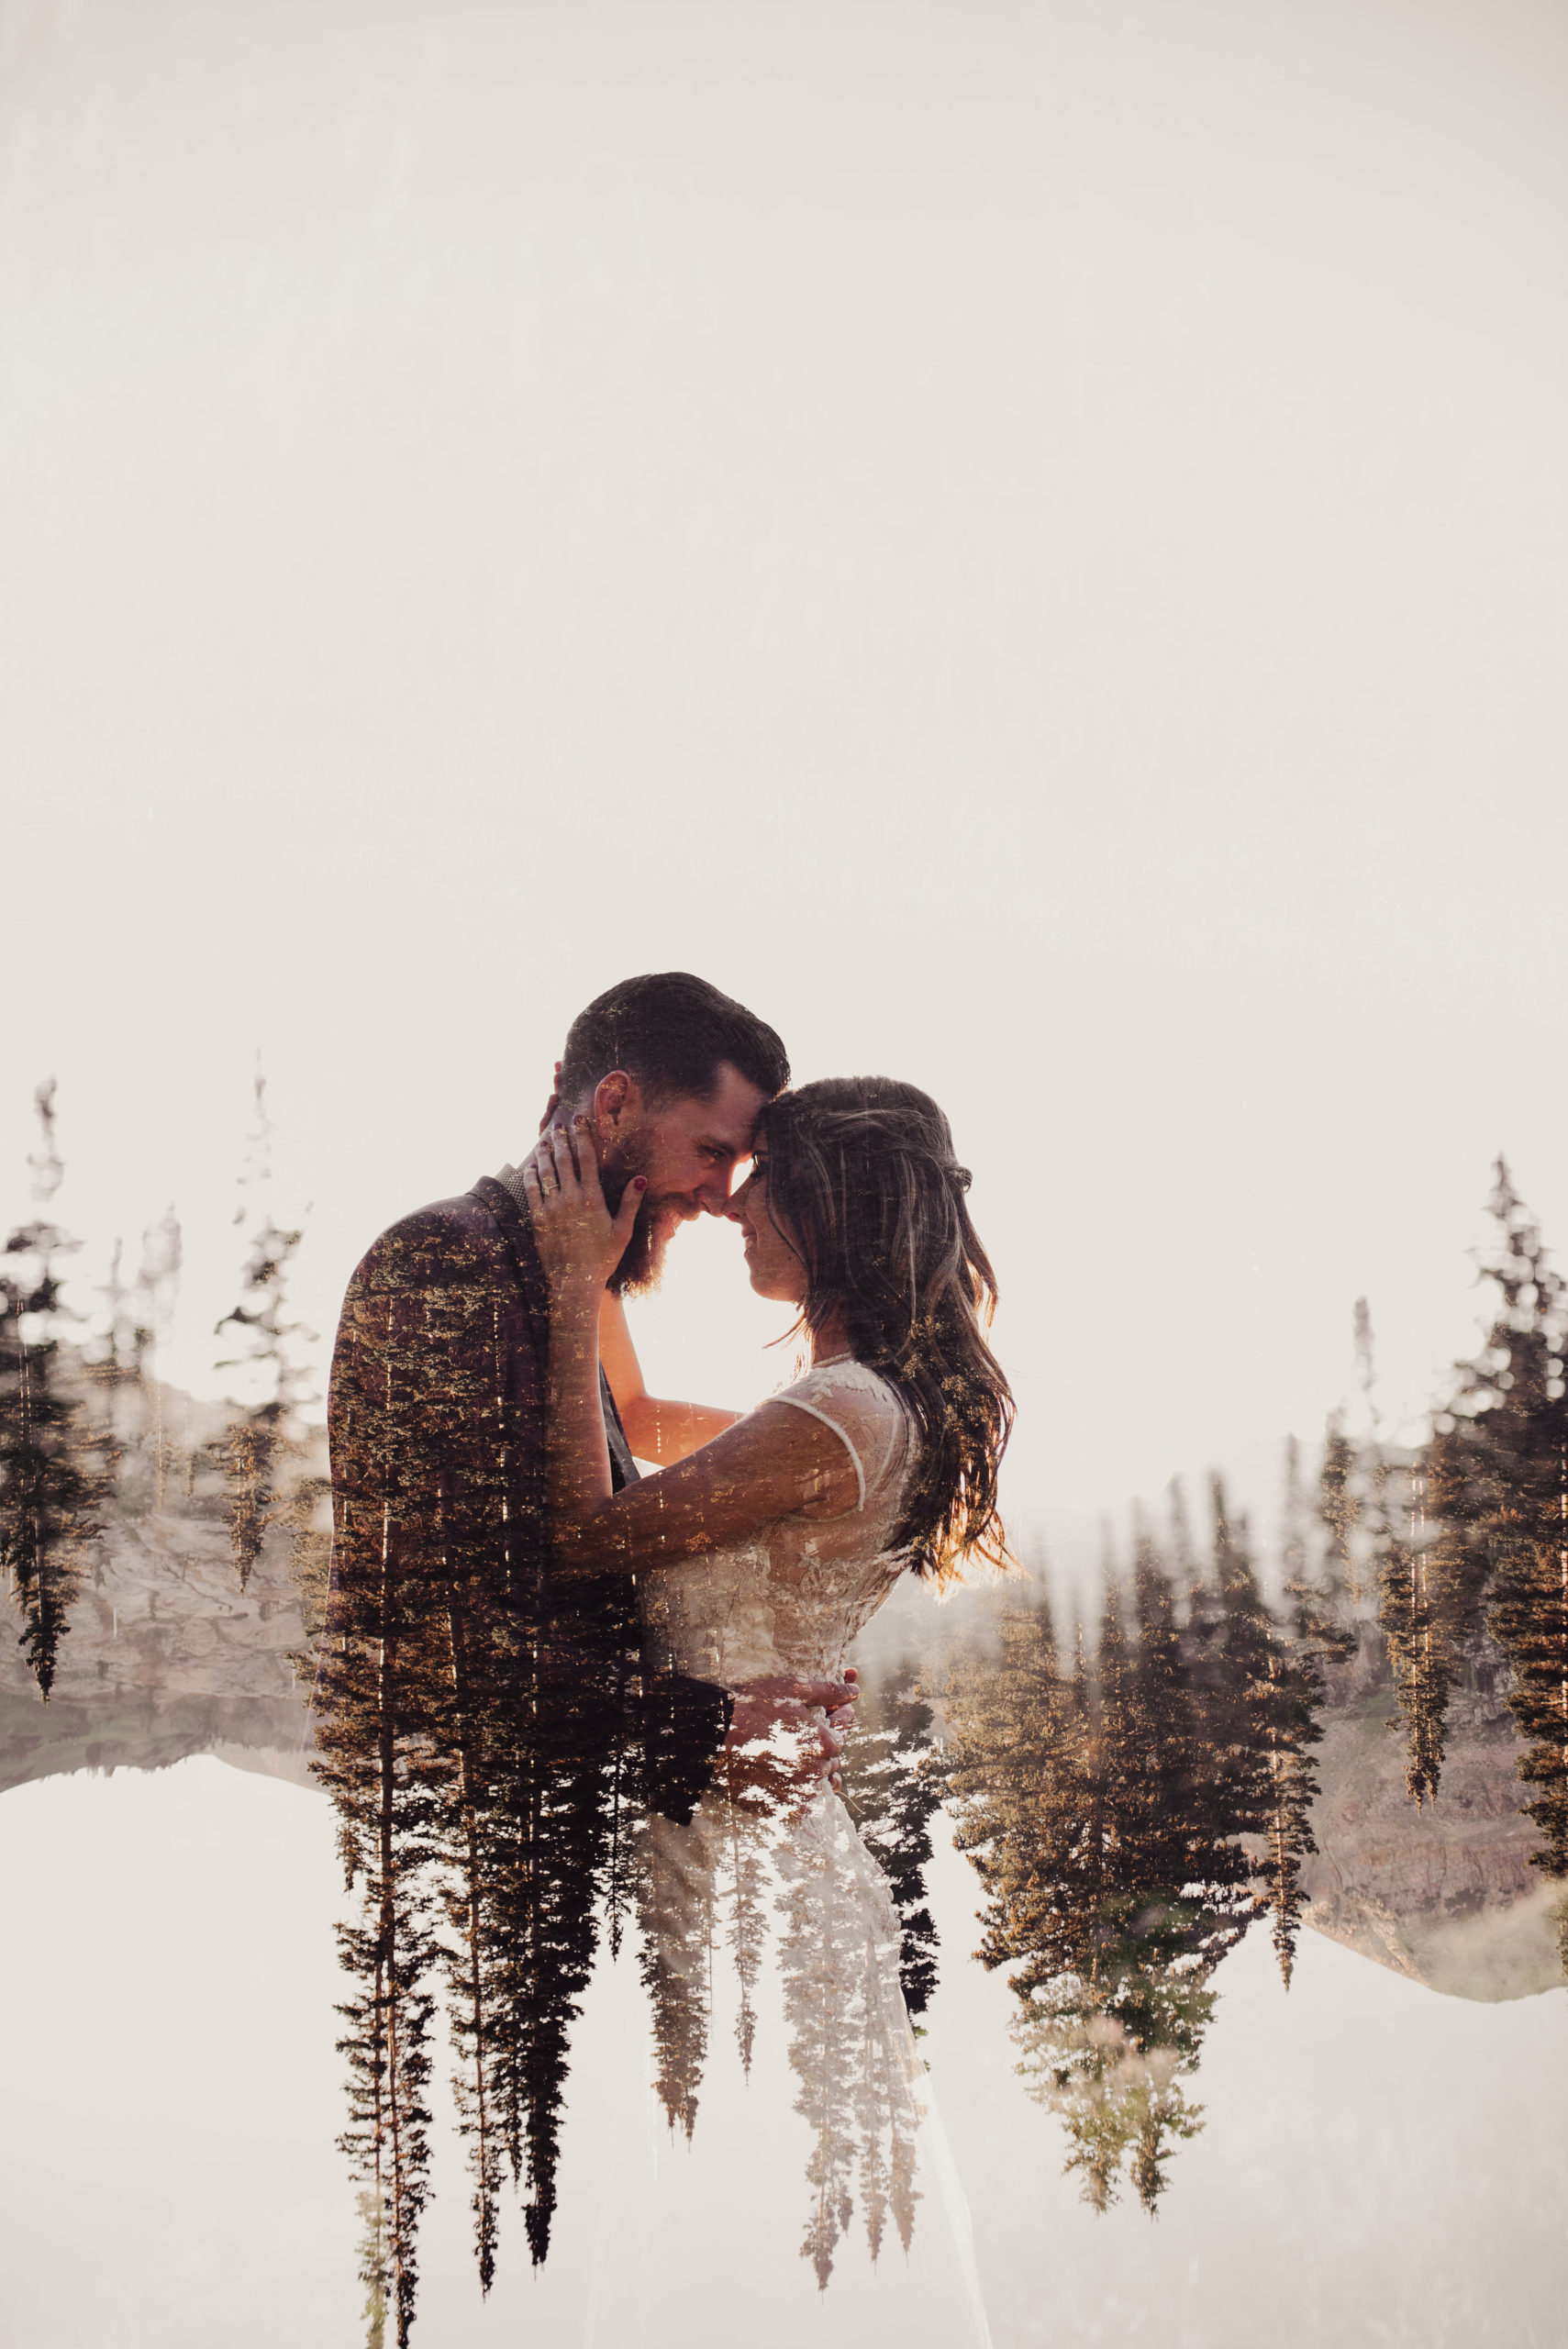
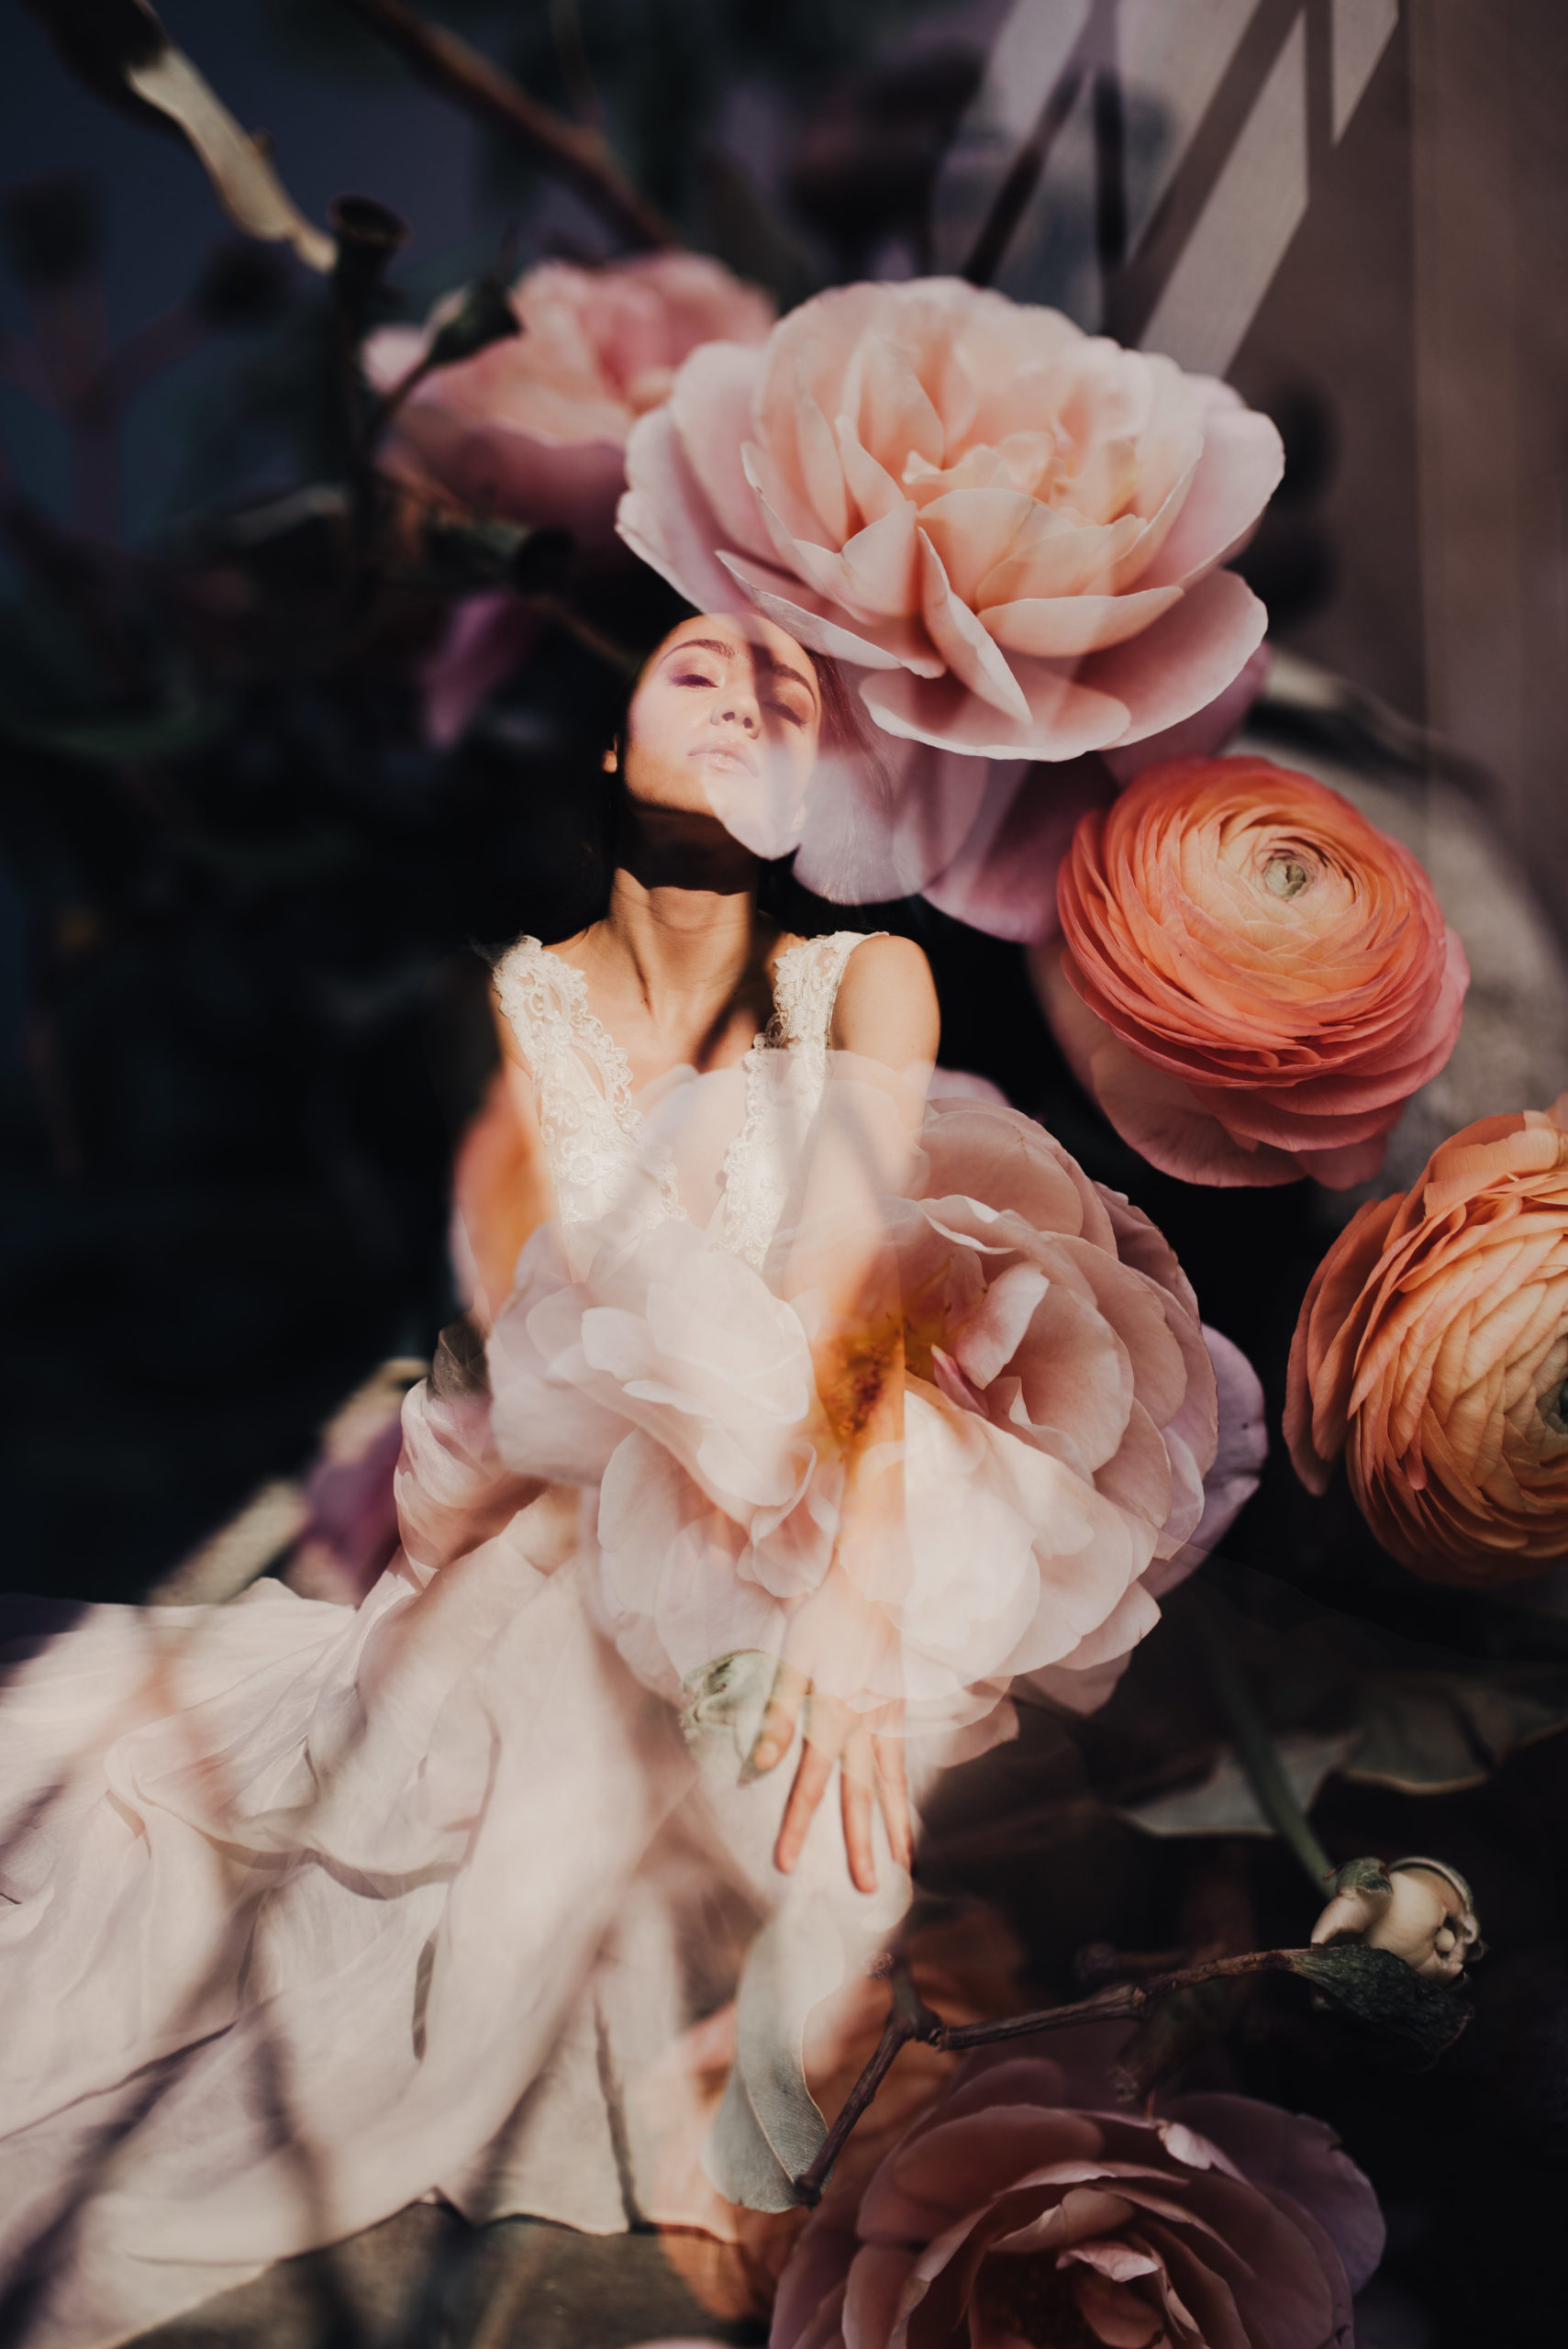
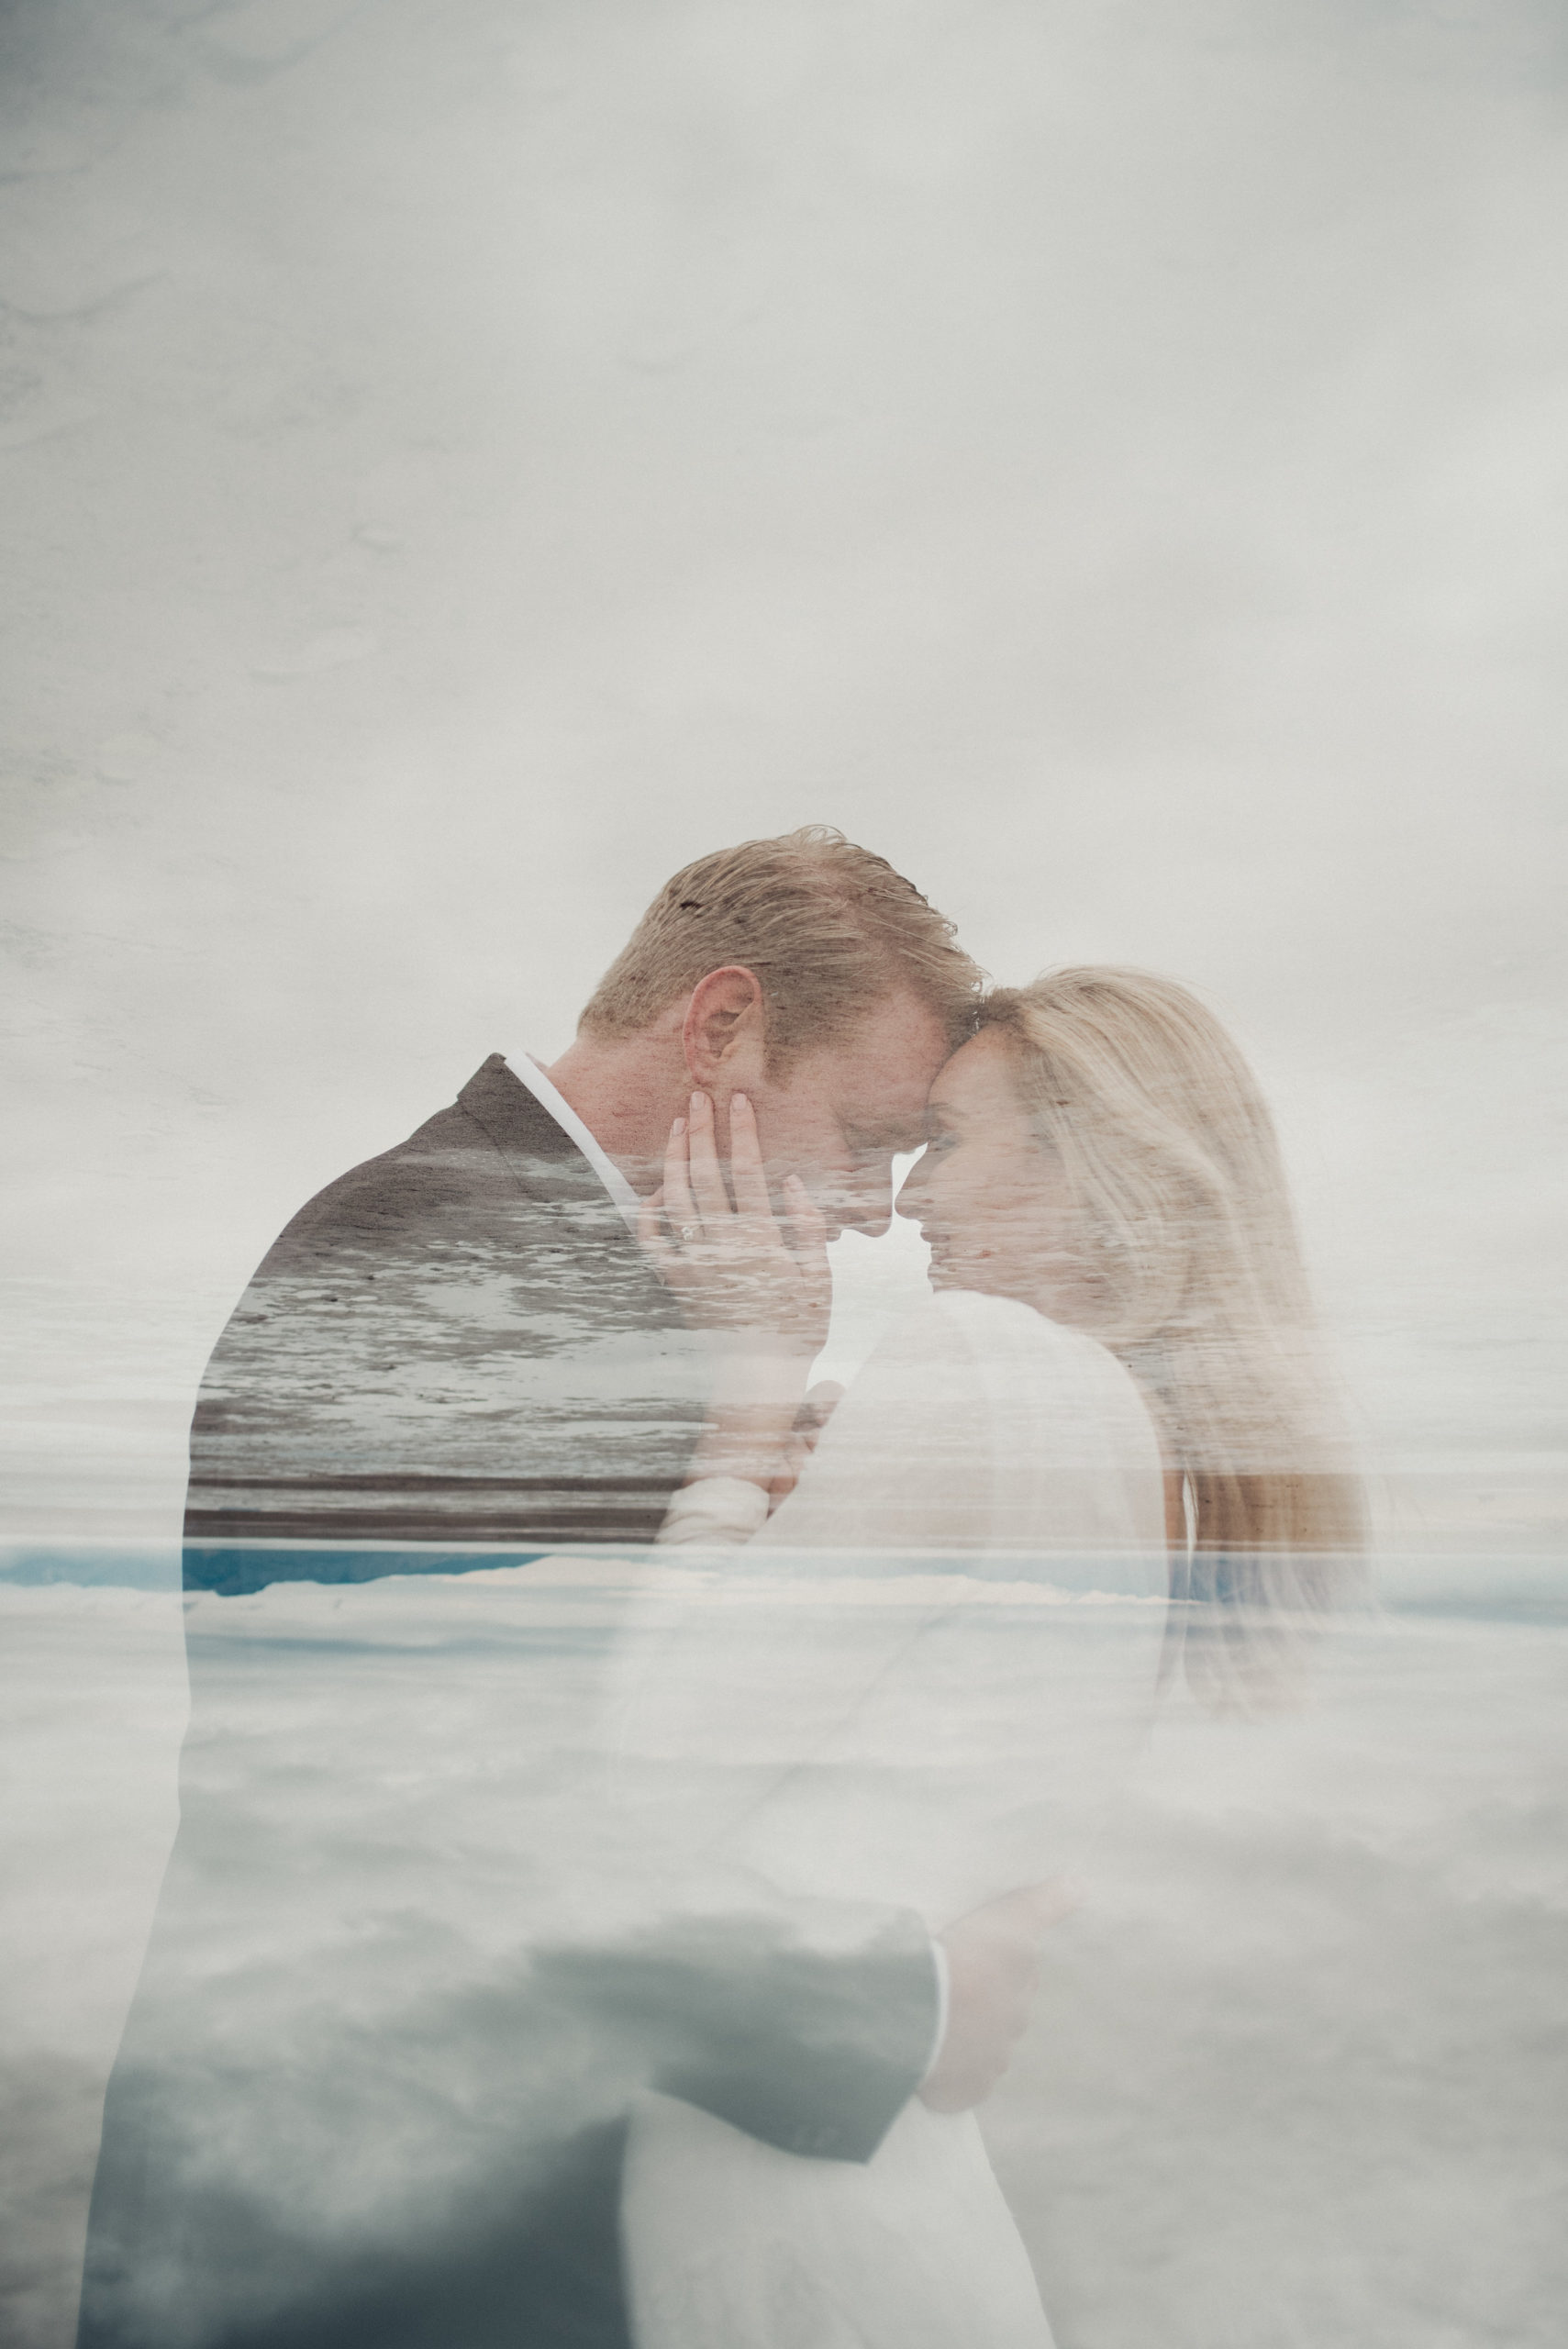
Whoooooo! Double exposures. They’re my jam, you guys. They’re my favorite artistic expression in photography. BUT, they are hard. Real hard. Honestly, my double exposure success rate is around 20%- I do them all in camera, and they take lots of time and lots of practice.
Here’s what it comes down to: In your first image, whatever is dark will be what holds the dark areas in your second image. For example- If your first image is a silhouetted couple against a white background, and your second image is of pines, the pines will appear within the silhouette. The second image may appear slightly in the lighter sections if they weren’t completely white, but only minimally. After you take your first image, try to then line up your lights with lights and darks with darks for the second. It’s easier to show than describe in words- but just play around with them! Try switching up the layout, flip your camera upside down, get funky. It definitely takes some time, and they’re not meant to be perfect. That’s what makes them fun!
WHAT’S IN MY BAG?
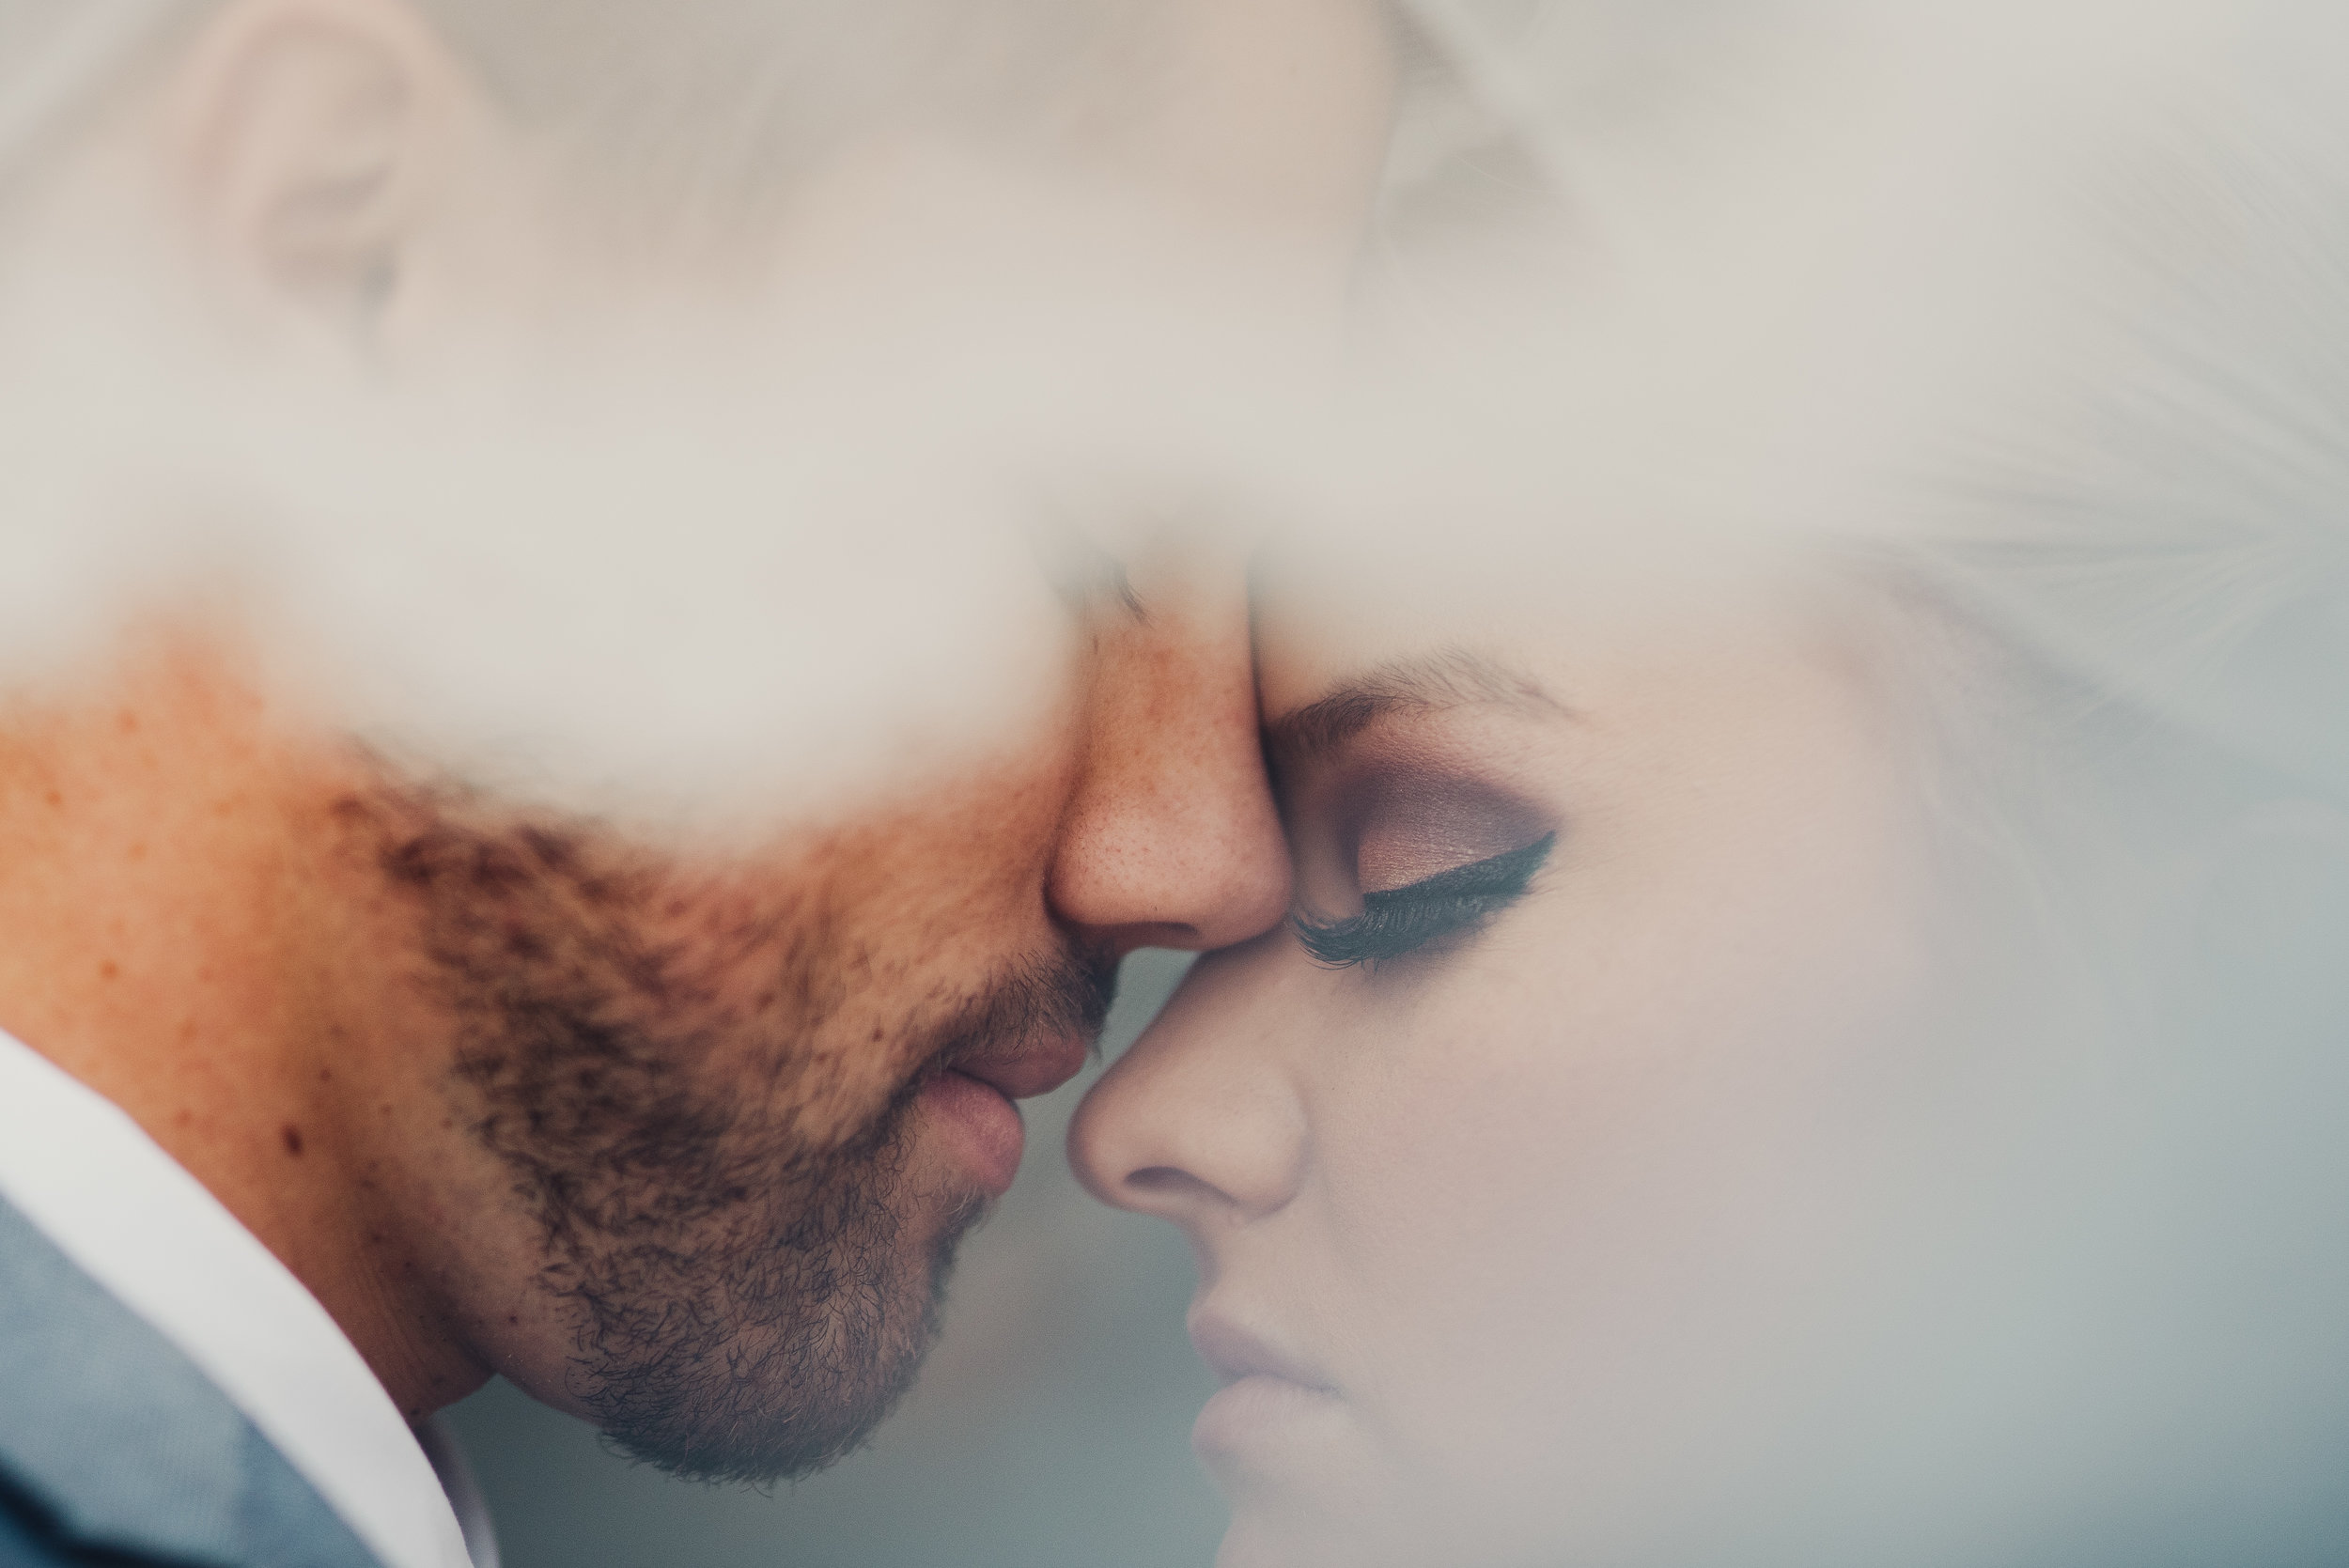
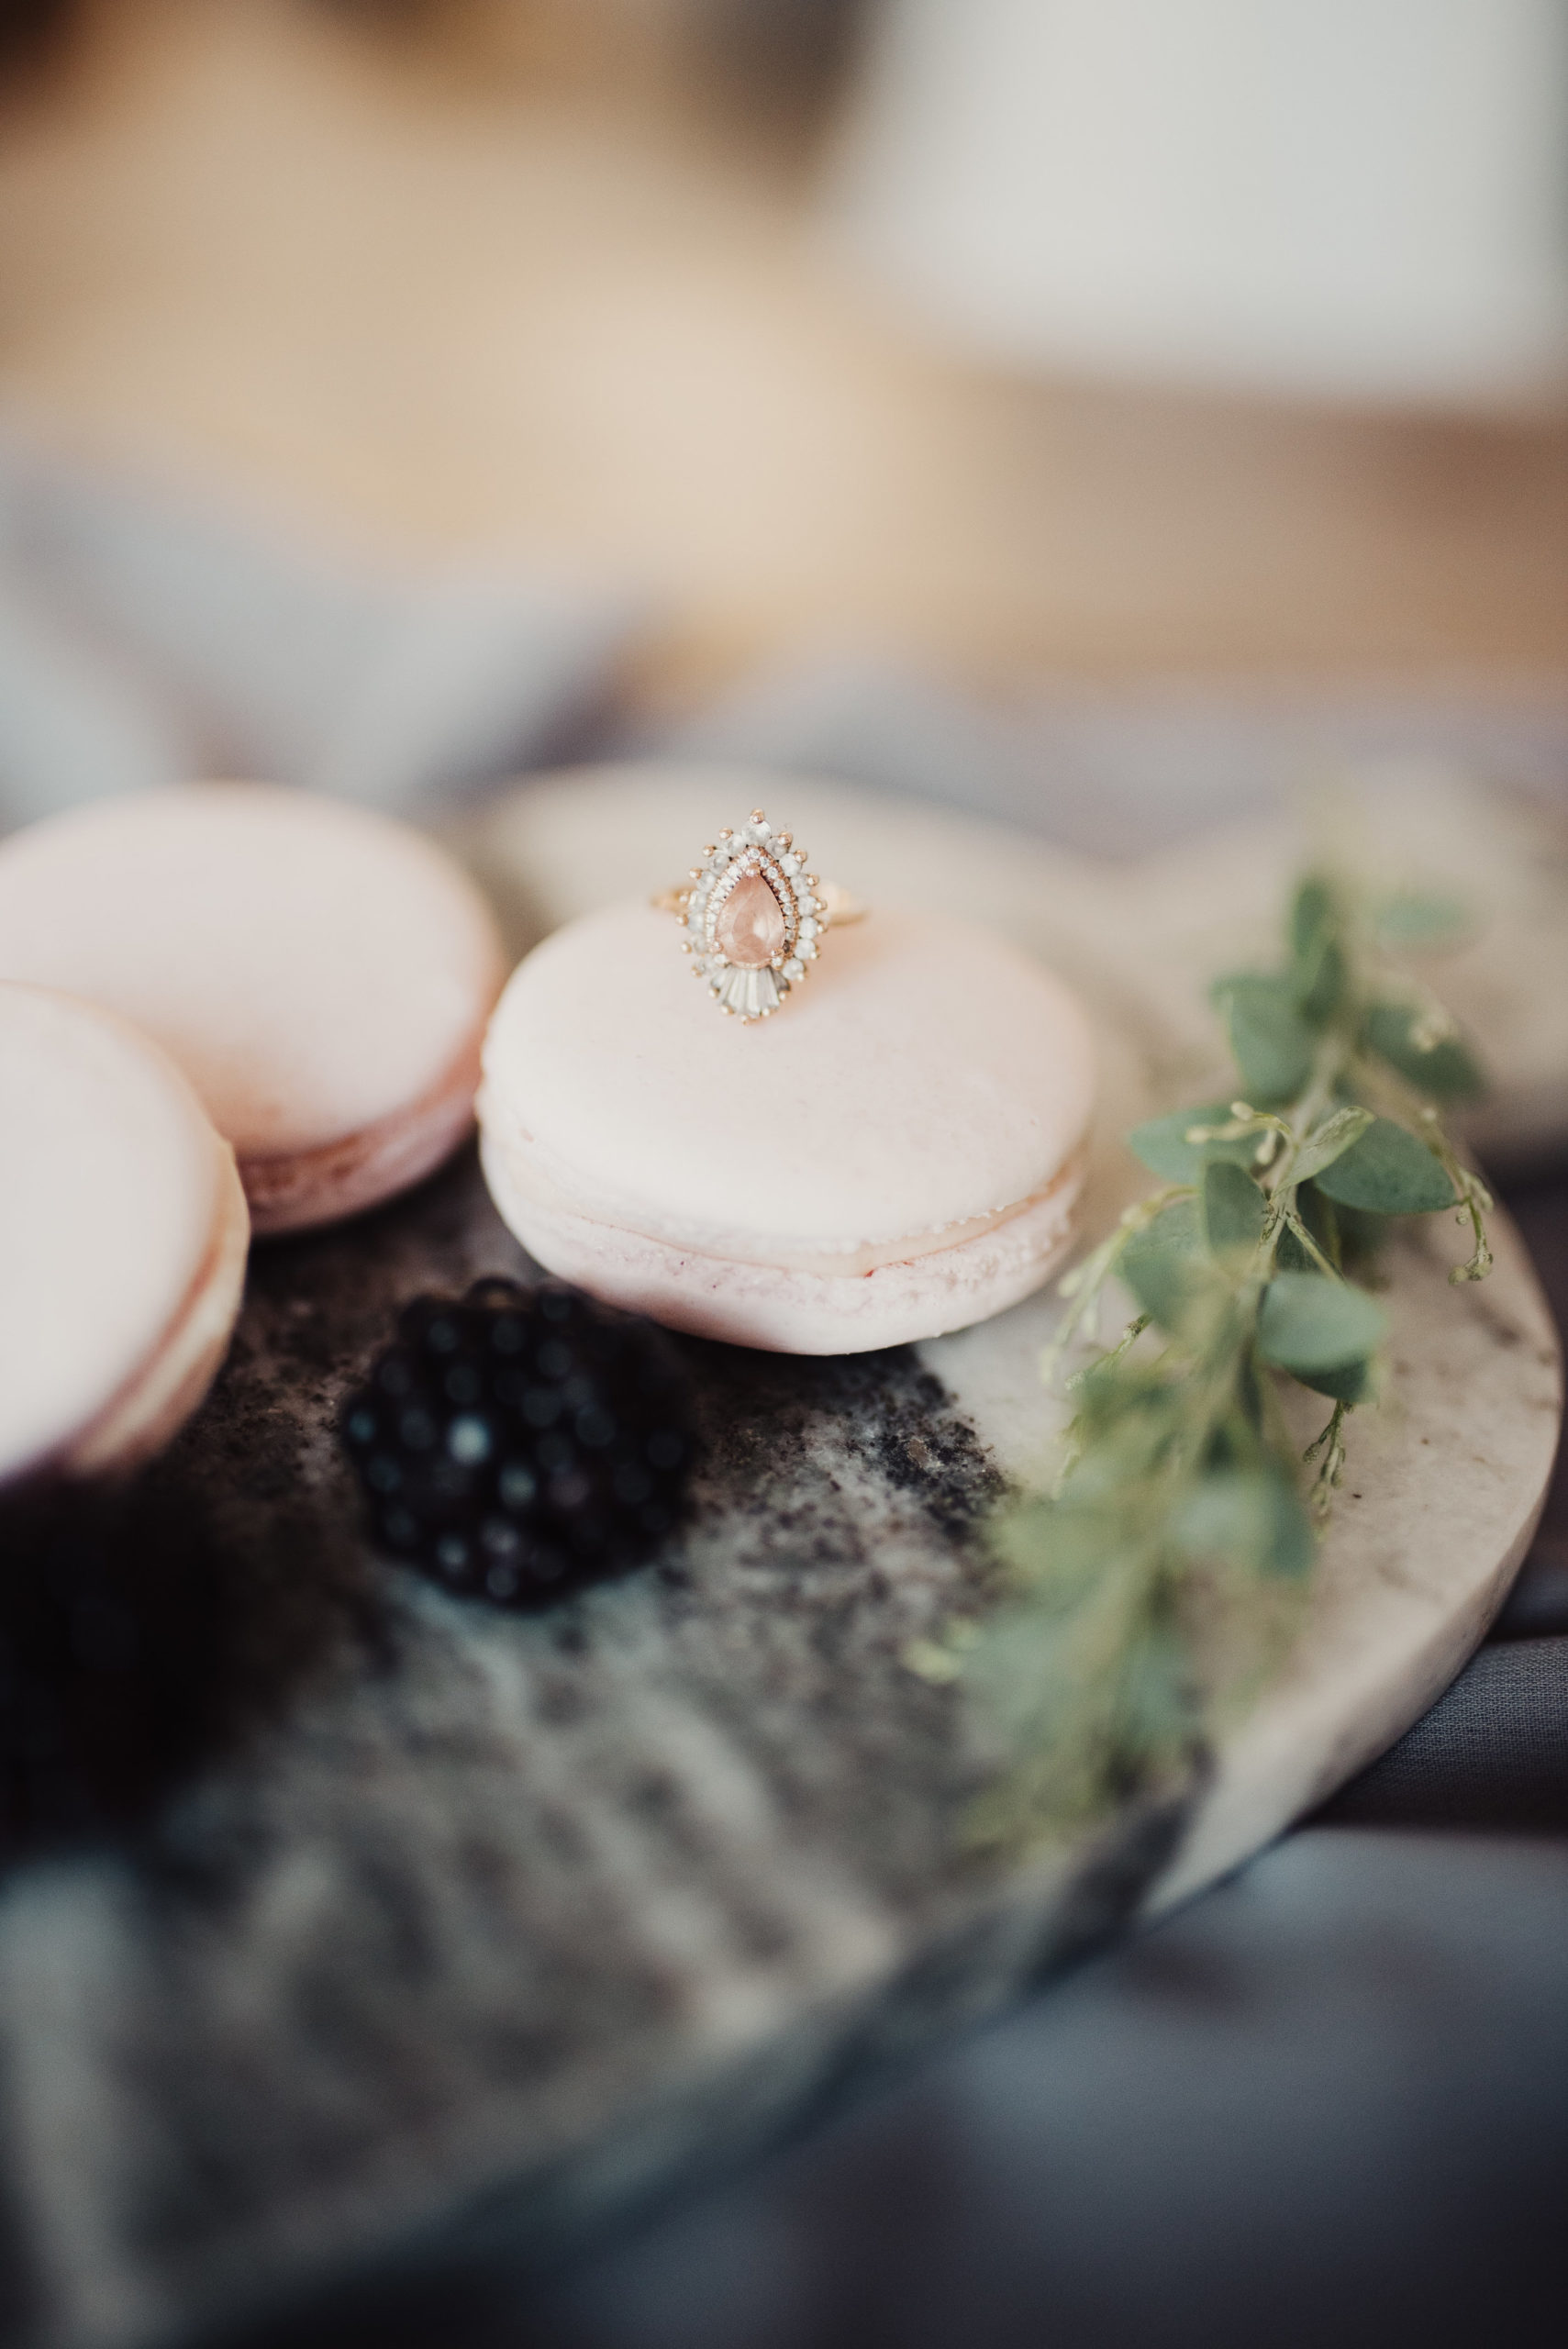
My gear is more minimalistic- who has time (or the strength) to carry 50 pounds of gear? NOT ME, FOLKS. I shoot on a Nikon D750 with both a Sigma 35mm and 85mm. If you’re looking for a great starter lens, I highly recommend a 35mm 1.4- I shot on this lens exclusively for a few months! That ring shot? 35mm. Who would’ve thought.
What’s my dream lens? 105mm. Or tilt shift. Those things are absolute magic. Still gotta justify $2,000+ on one lens to the hubs 😉
GETTING INTO THE WEDDING INDUSTRY
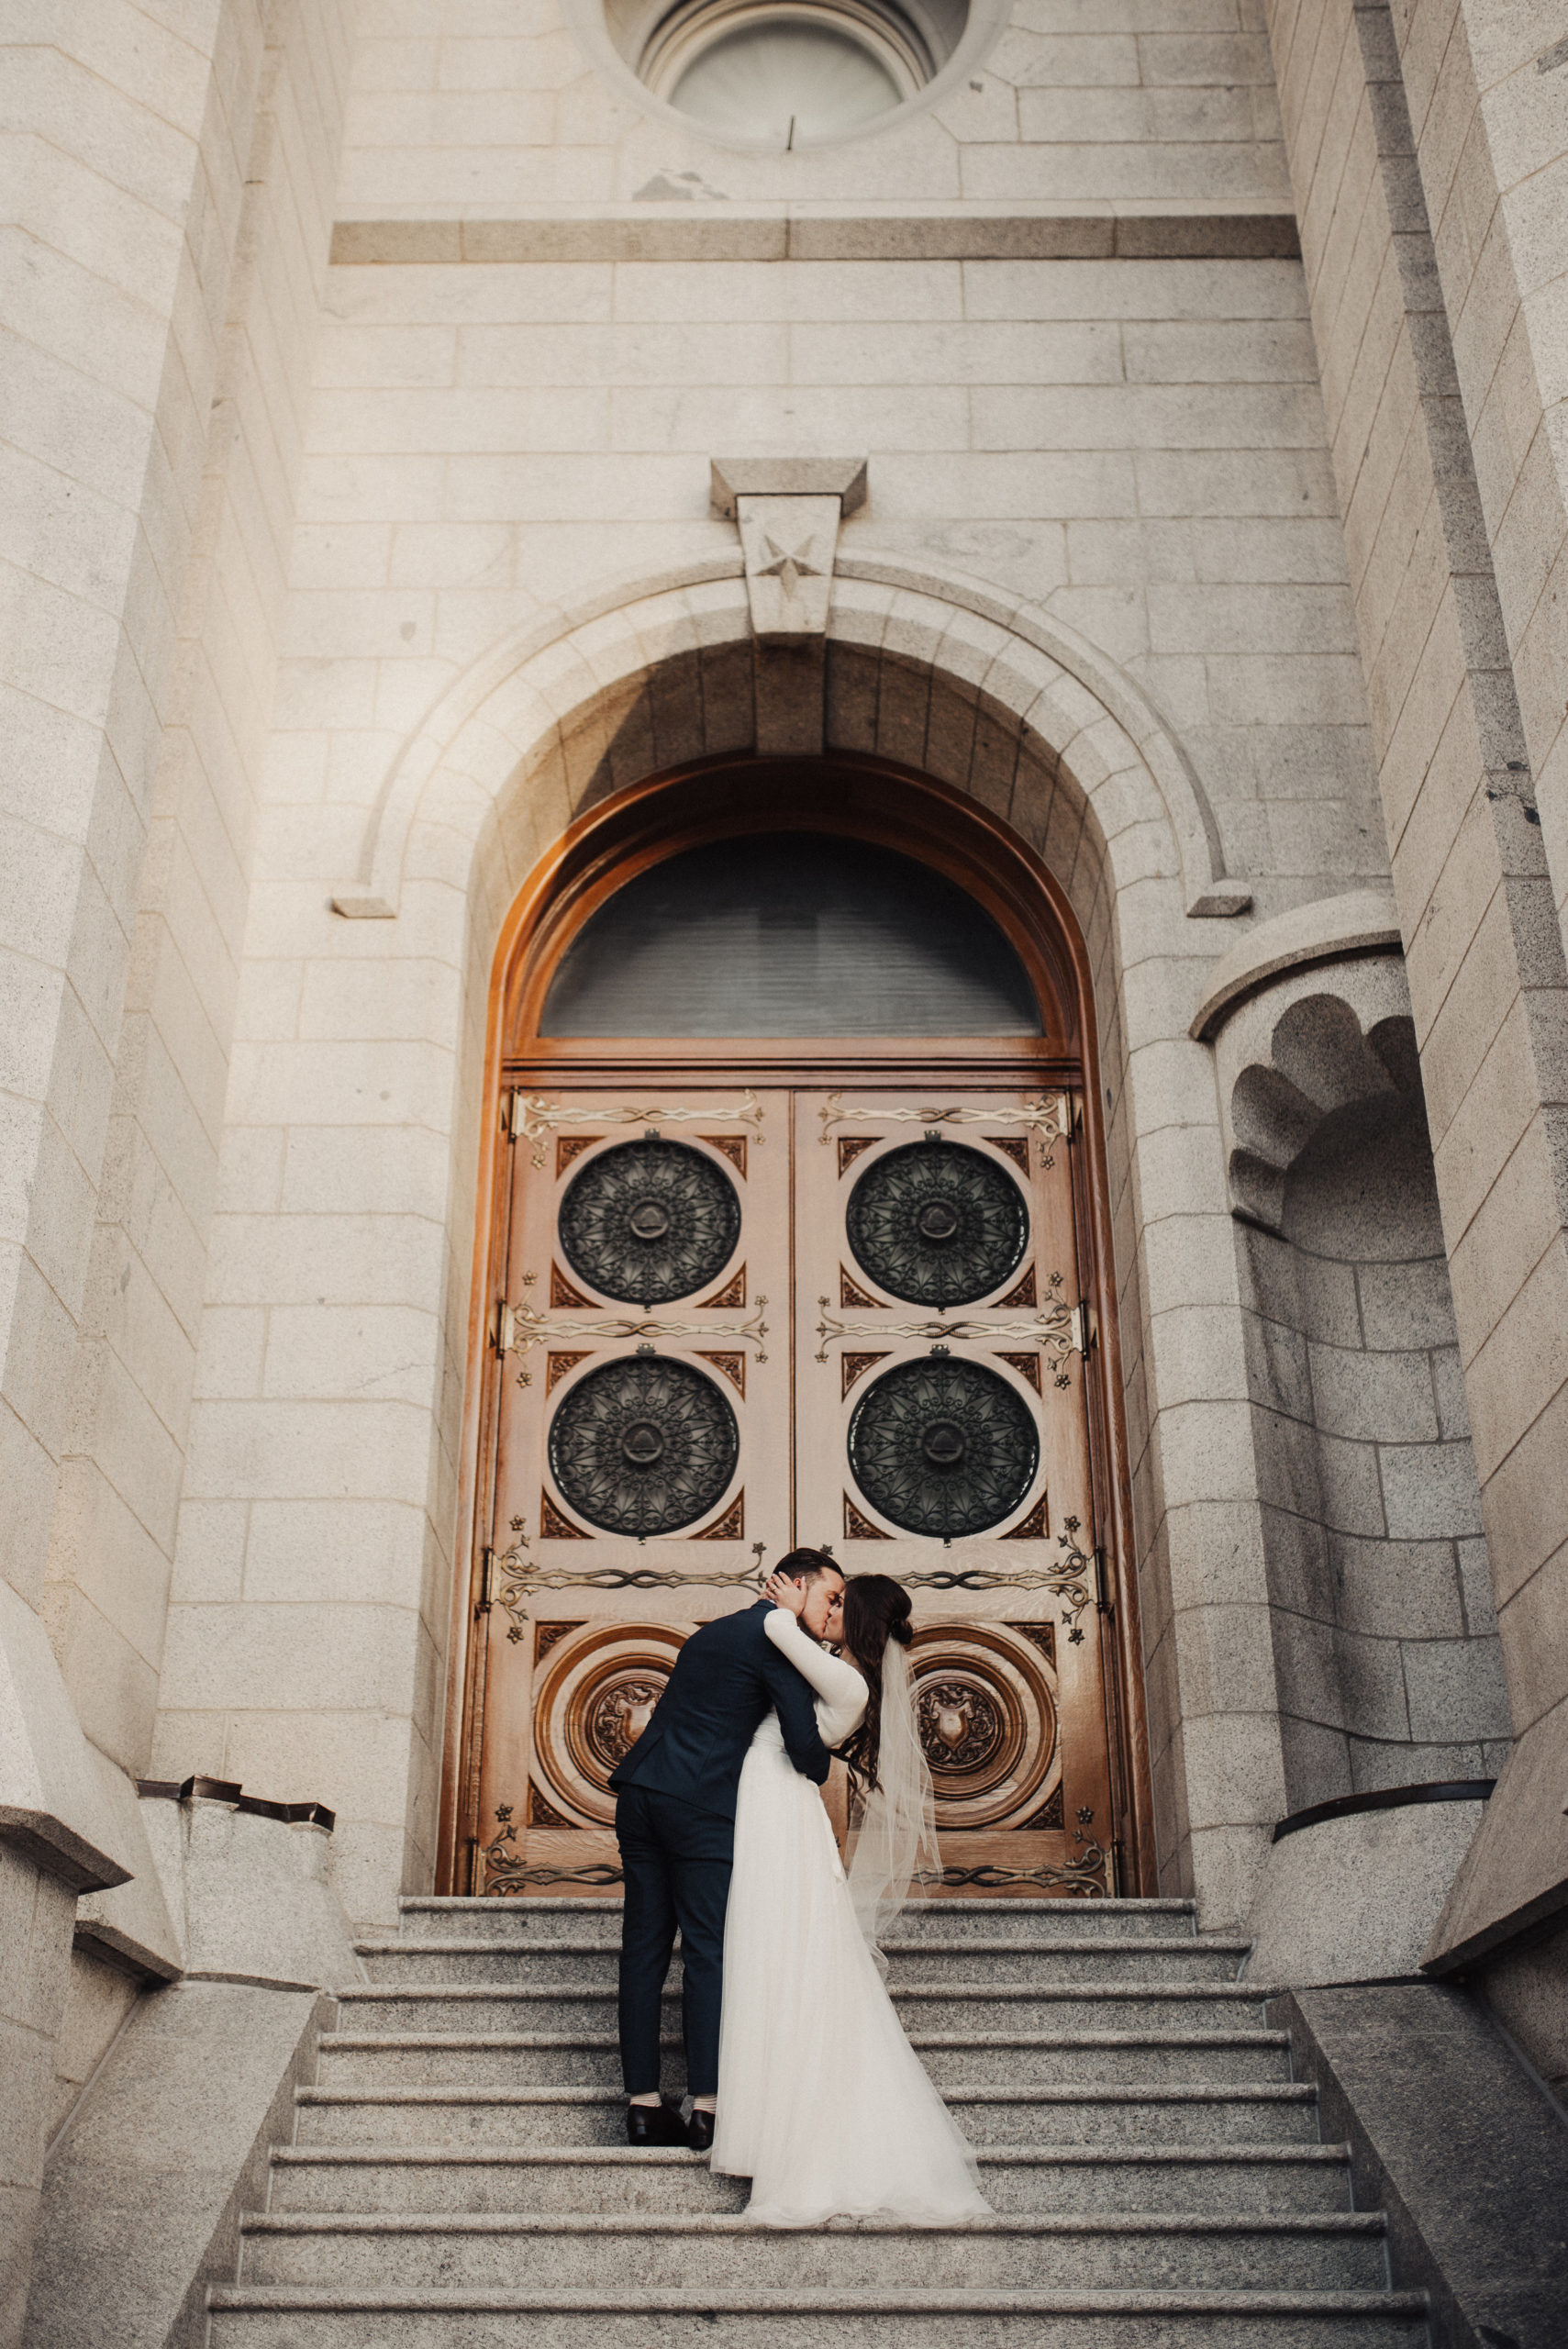
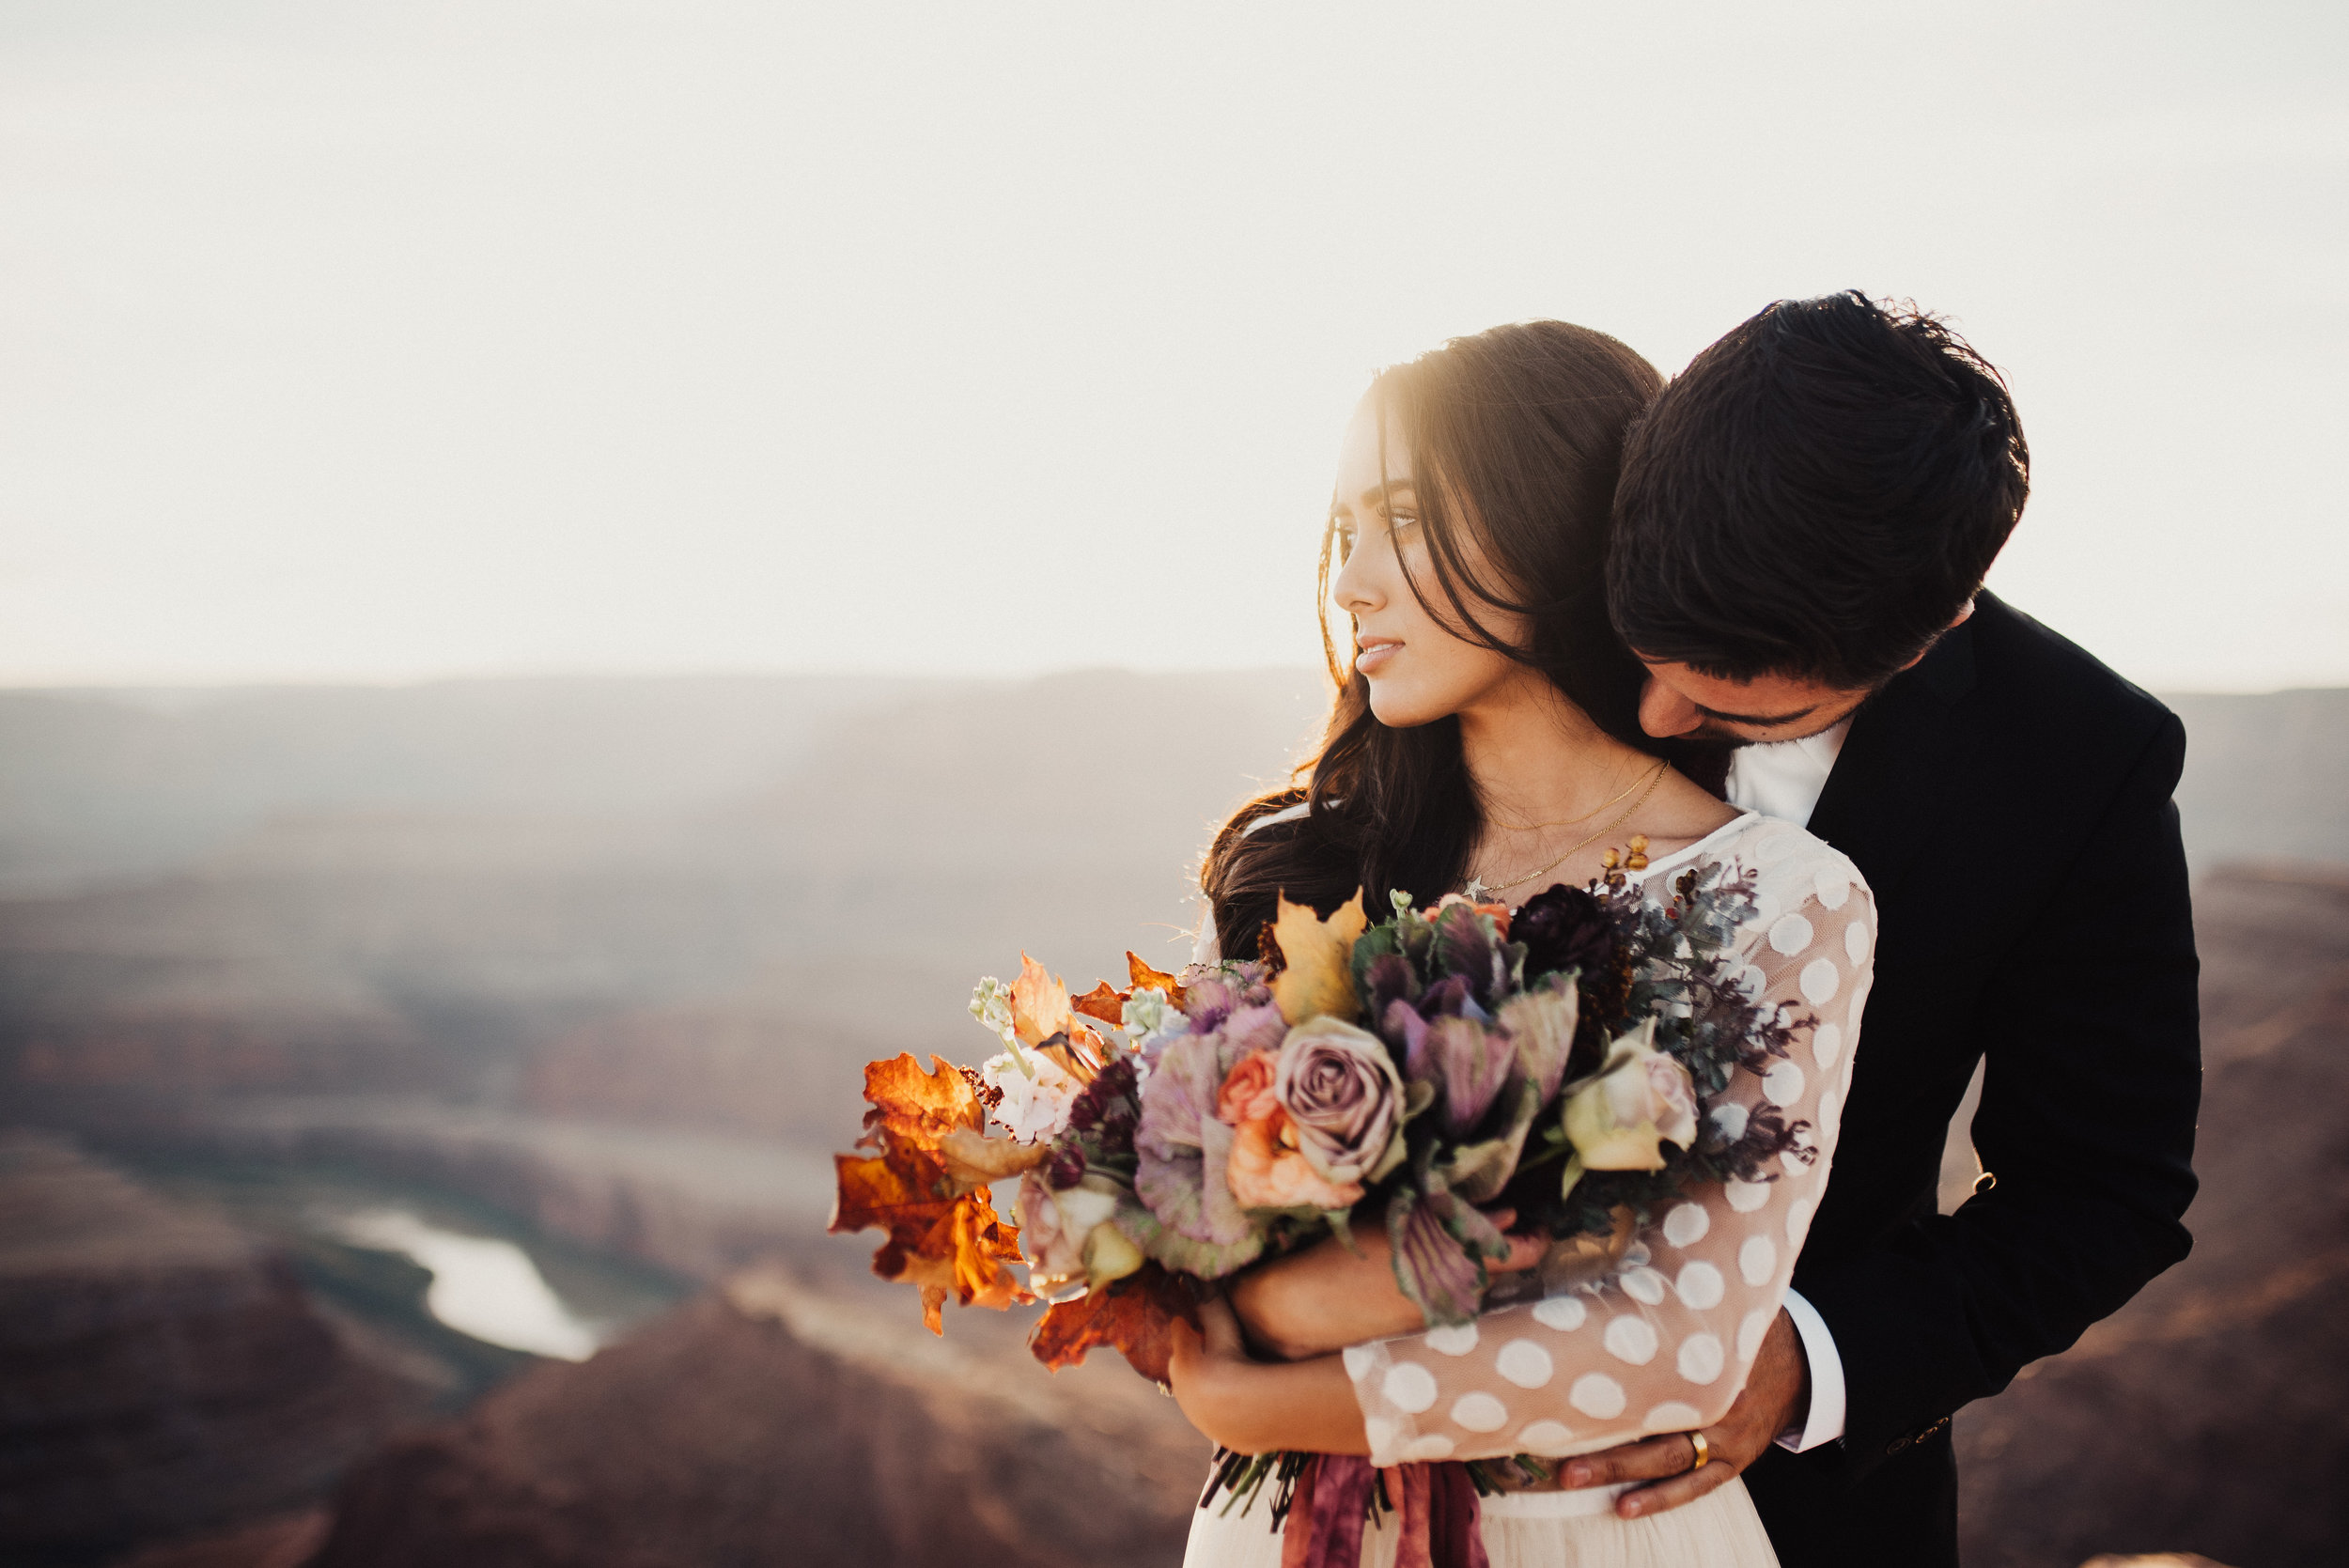
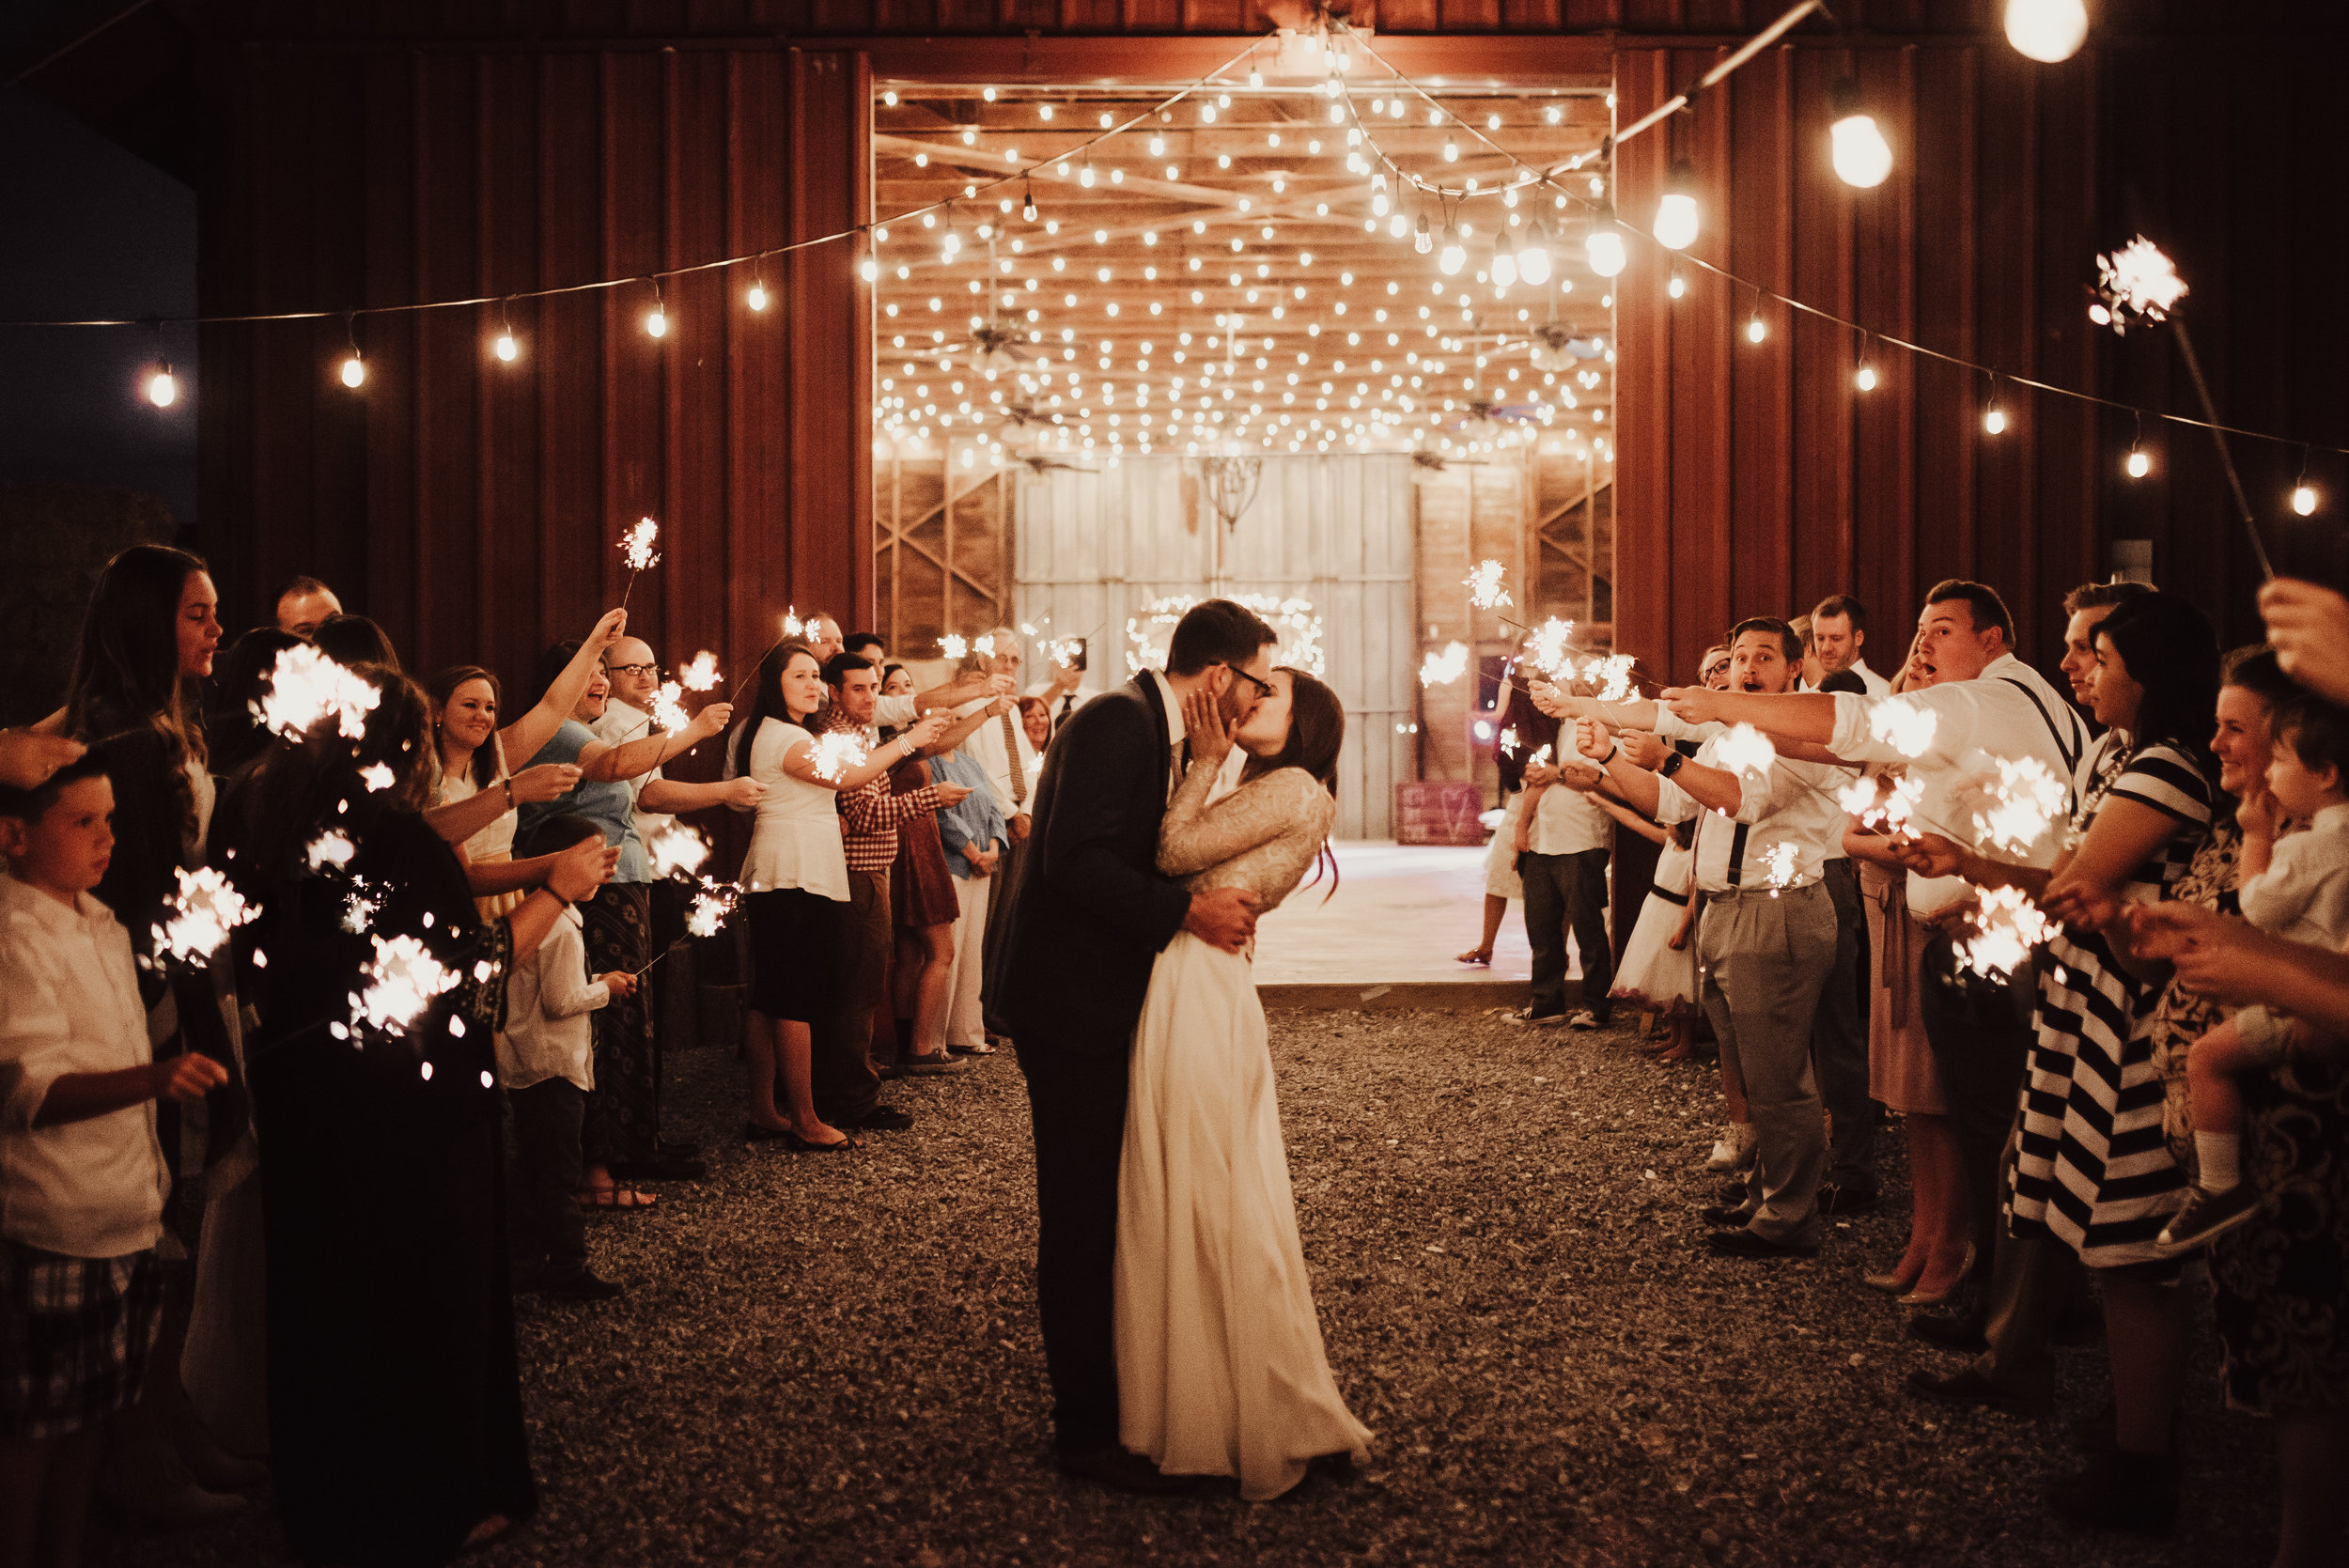
I thought about this question quite a bit when I first started out, and now it’s one I get asked often. The photography industry is hard to break in to, and wedding photography? Even harder. So here is one giant, sum-all tip I can give you.
WORK YOUR ASS OFF.
Whoops, sorry, that may not be the answer you came here for- but it is the answer. Photography is hard. It’s expensive. It can be emotionally wearing. And its also the very best hobby/profession in the world. You get to create art, work with the most amazing people, and travel to new places. AND MAKE A LIVING. It’s the dream you guys. I mean that.
BUT- No one can (or does) become a wedding photographer overnight. There are no shortcuts. No presets, no Instagram techniques, no camera or lens will create a photography career quickly. You have to work.
Decide the kind of aesthetic you want to have. Organize styled shoots. Ask couples who exemplify your style to model for you. See a friend on FB get engaged? Reach out. Everyone starts somewhere (aka at the bottom), so try not to compare yourself to other photographers. Shoot, edit, advertise, reach out, do everything you can, and then do it all over again. Hustle till you drop, right? Jk don’t drop, but hustle till you get there. And I promise you, if you put in the work, you WILL get there.