For Photographers, Tips and FAQ
February 16, 2019
If you’ve been following along for a while, you’ll remember that a while ago (over two years ago! Yikes!) I posted on the blog a Tips and Tricks for Photographers! It’s one of my most visited pages, but now that it’s been nearly two years I wanted to do another post with updated information. As I’ve worked in the industry longer, I’ve grown to love the education side of things so much. It’s so rewarding to help other photographer’s find their groove in this crazy industry.
Eden Strader’s frequently asked questions – and Tips and Trick for Photographers.
let’s dive in.
WHAT’S IN MY BAG
I shoot with two Nikon 750‘s (Yes! Nikon!). I’ve always shot Nikon and I love the 750’s range, specifically in low light. If you are a wedding photographer, a low light camera is essential in my eyes. I frequently shoot up to 4000 ISO and it’s still gorgeous- obviously grain is introduced, but the images are still incredibly sharp. I don’t shoot ISO this high often, but when it’s needed I know my 750 can handle the job.
I recently purchased a 24 mm and that’s starting to replace my 35 mm throughout my work- in addition to my 24mm, I shoot a Nikon 50mm 1.4 and 70-200 2.8. I’m not one to have tons of gear, I love keeping in light and simple (though the 70-200 is a bit of a beast!). I use a dual camera strap that my husband made- no official website, but he does take custom orders so if you’re interested shoot me a DM! I feel that the 24, 50, 70-200 give me the versatility I need to match my gear to the mood while keeping my gear from getting too extensive. I buy all my gear from Pictureline in SLC, and they are INCREDIBLE and so helpful. I do have some artificial lighting gear that I buy off Amazon as well which you can find everything HERE!
WHERE DO YOU GET YOUR BACKDROPS?
WHAT RANDOM GEAR DO YOU HAVE?
This question has been pouring into my inbox like crazy lately. I get allll my backdrops at Pictureline! They’re in Downtown SLC- I’ve found that it’s better to purchase backdrops if you’re going to use them more than once. They’re inexpensive, and last forever! I typically purchase the 107” as the smaller can really only work for portraits. I also use the Photoflex multi disk reflector– I’ve tried so many reflectors and this one is a Godsend. I’ll never go back. The gold/white patterned side makes things so perfectly toned while keeping it from looking too artificial. This is the biggest issue I’ve found with other reflectors- the gold is too warm, the silver too cool. This patterned side has absolutely saved my life. If you ever plan on shooting outside golden hour- do yourself a favor and order that now!
I also purchase the majority of my flash gear off Amazon (Prime, baby!). My flash gear is SO affordable while doing everything I need- there’s no excuse to be avoiding artificial lighting. You can find the list here!
DO YOU USE PRESETS?
I do! They’re my own. When I first built them I started off a preset in VSCO 06 and it’s been tweaked over and over from there! If you follow me literally anywhere, you know how passionate I am about finding your own artistic voice (which is what my online workshop is entirely about!), I get asked often if I’ll sell my presets and the answer is always the same: NOPE. Not because I’m stingy, or I think my editing is the best of all time, but because it’s mine. I’ve worked hard to develop editing that reflects me as an artist. And I want you to find YOUR own voice as well. I’m so passionate about helping others find their own style. I think of photography as an art, and I think it’s incredibly important to make art that reflects you as well as your clients. So who does it help to try to make your art look like someone else’s? It’s SO boring when we all have the same looking work, and I’m convinced you’ll never be happier with your work than when you make it your own. And bad news- if your work looks like everyone else’s, the only thing separating you from the competition is PRICING. Trust me, you don’t want to work for less just because that’s the only thing that sets you apart.
HOW DO YOU PREP YOUR SESSIONS?
HOW DO YOU PROMPT NATURAL POSES?
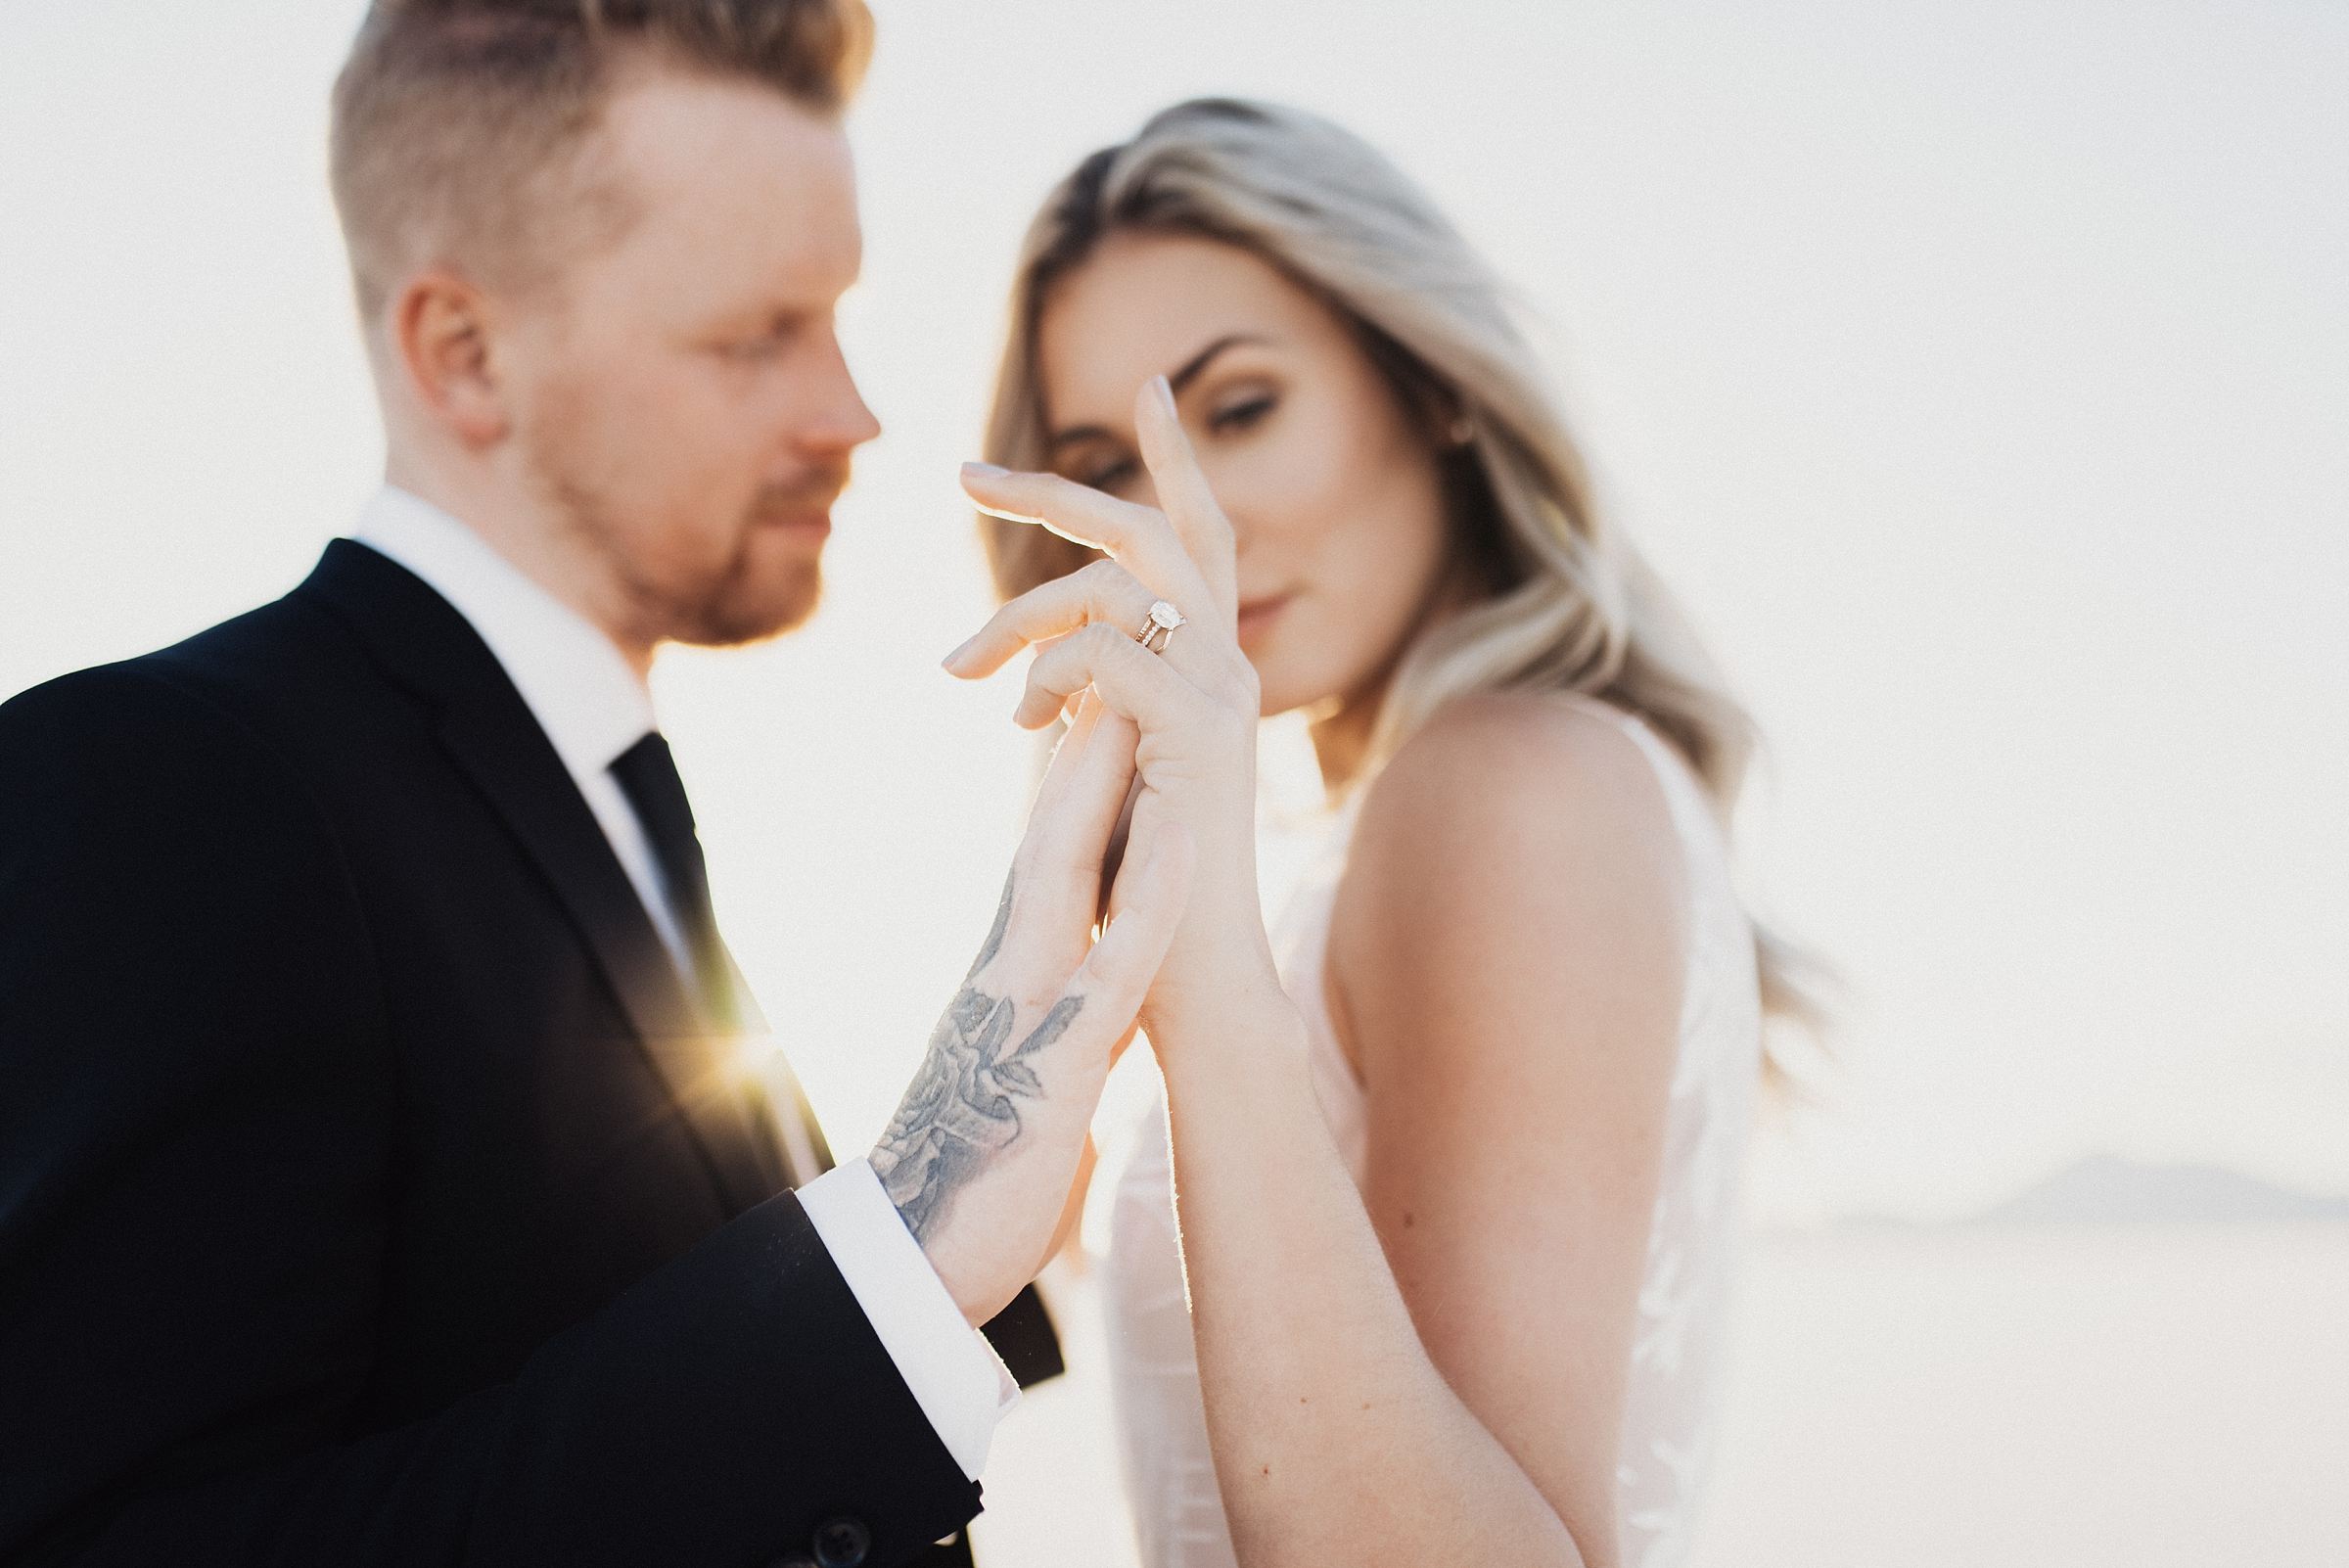
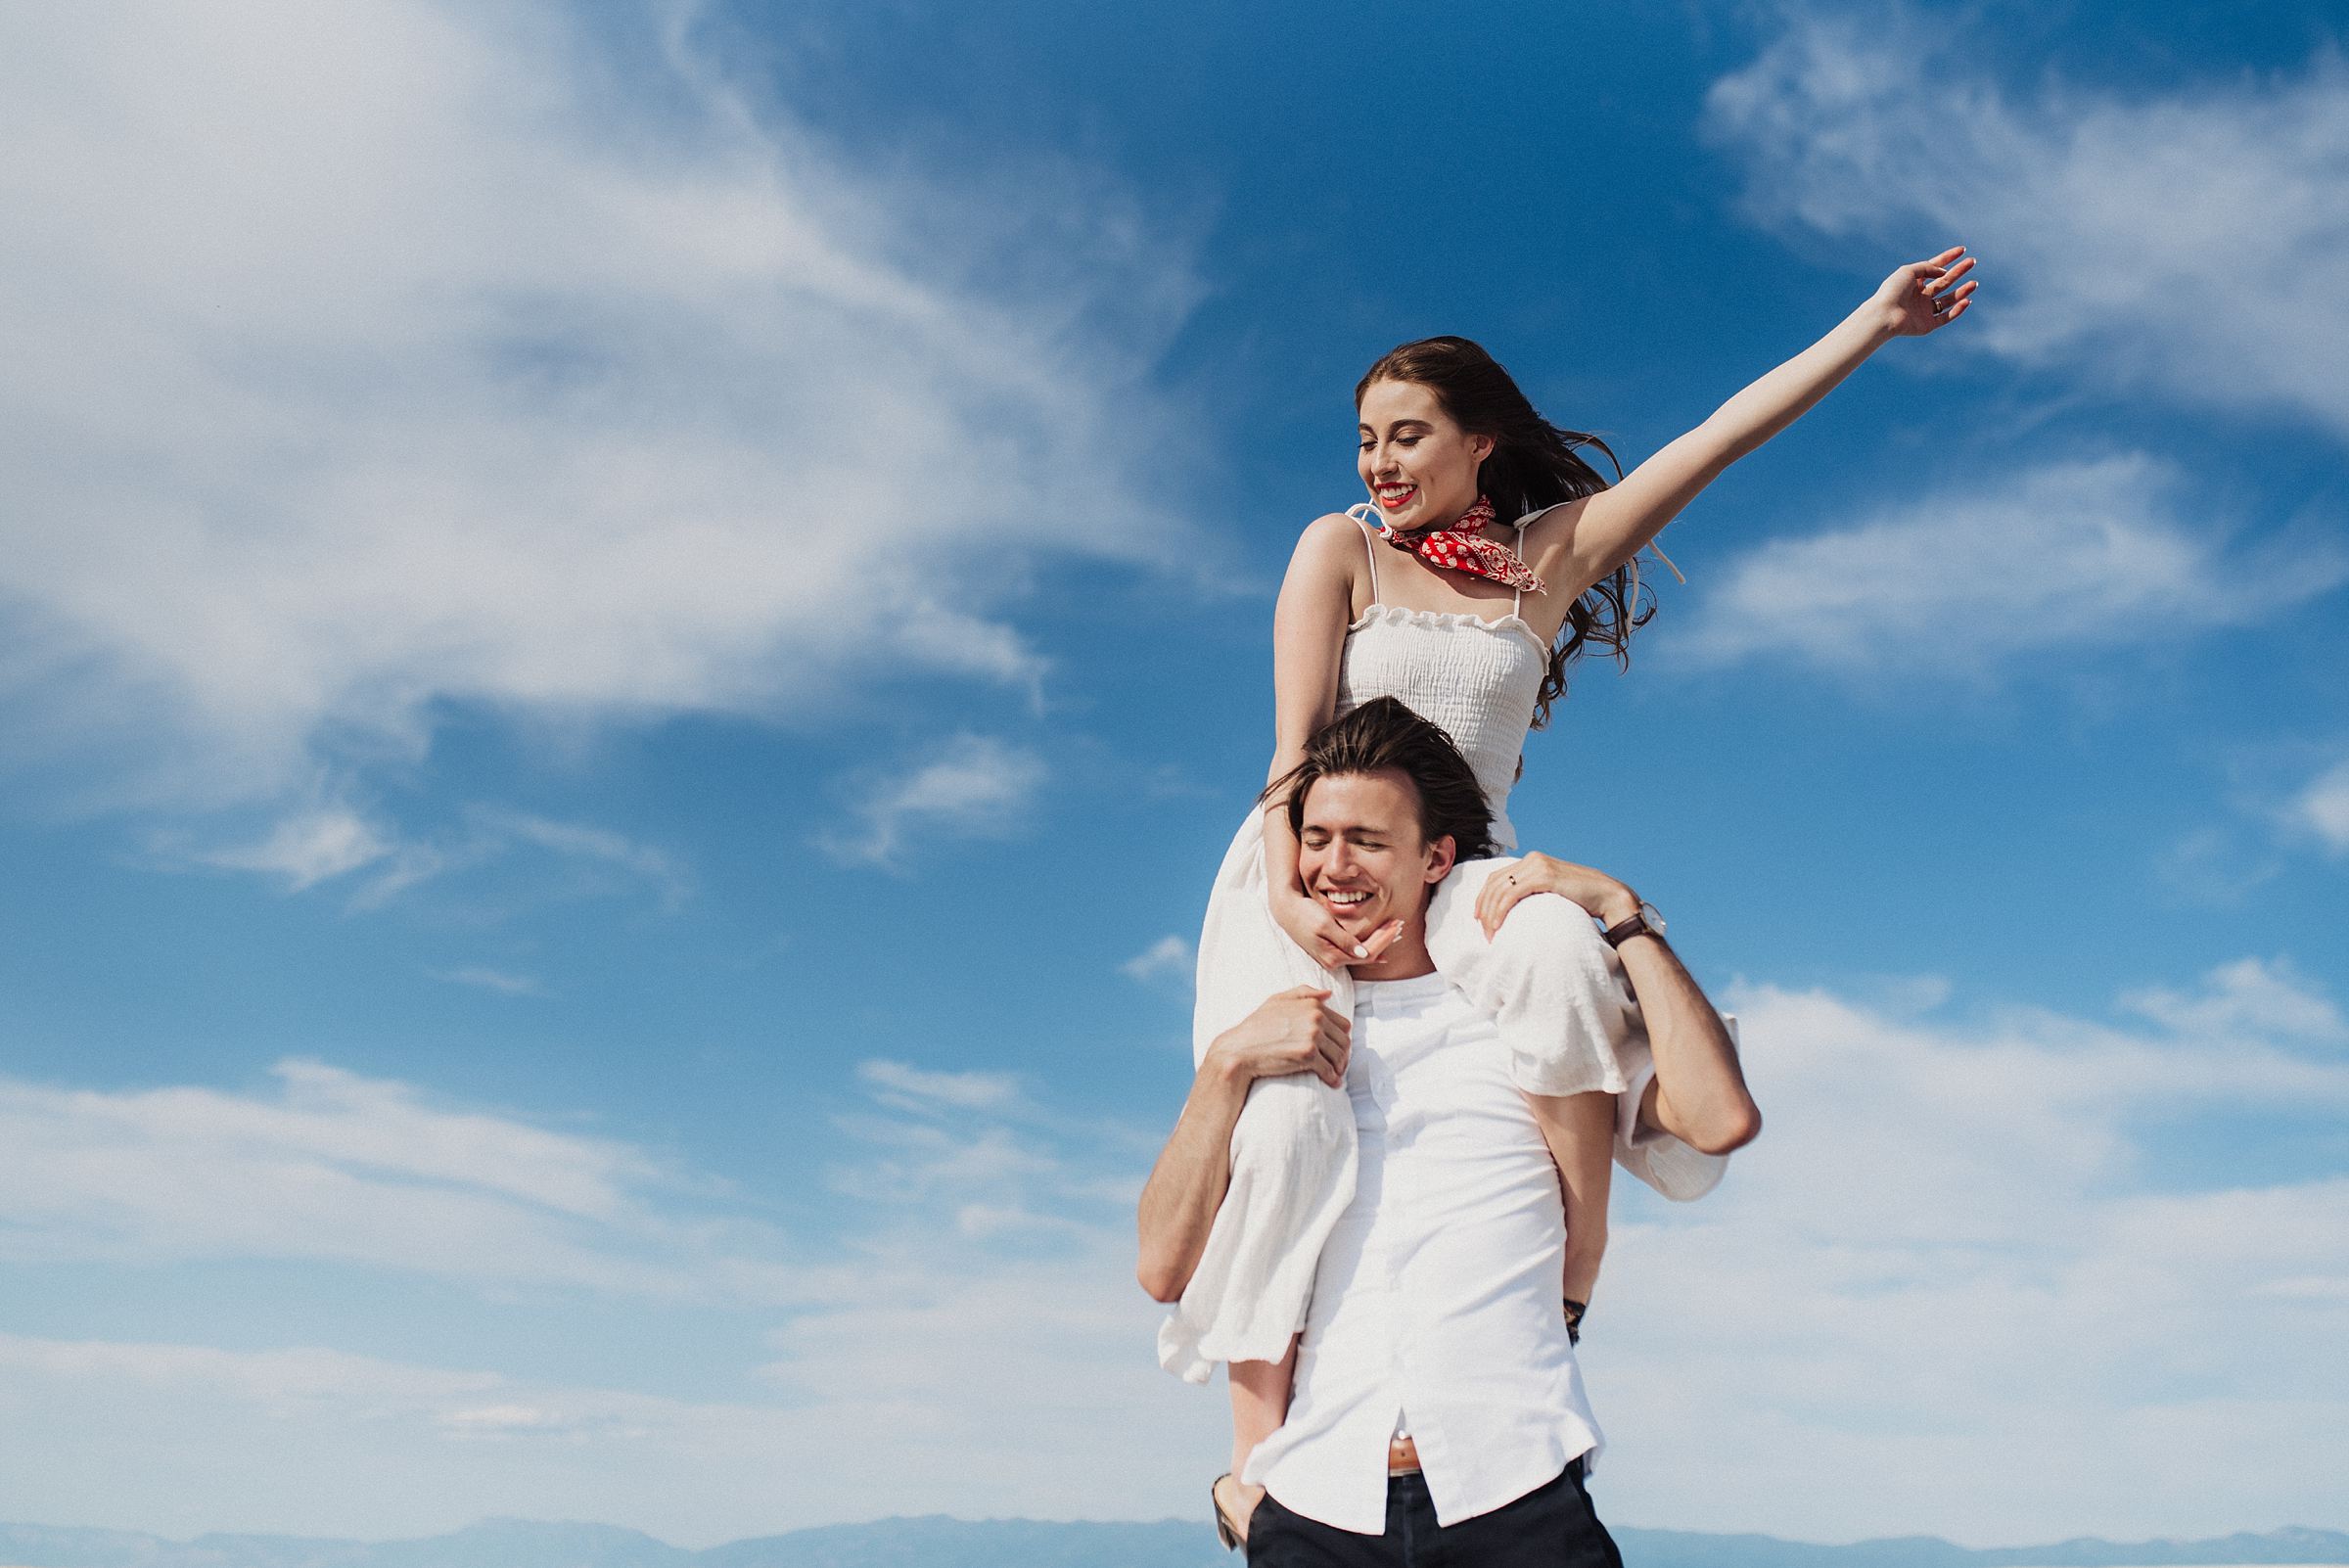
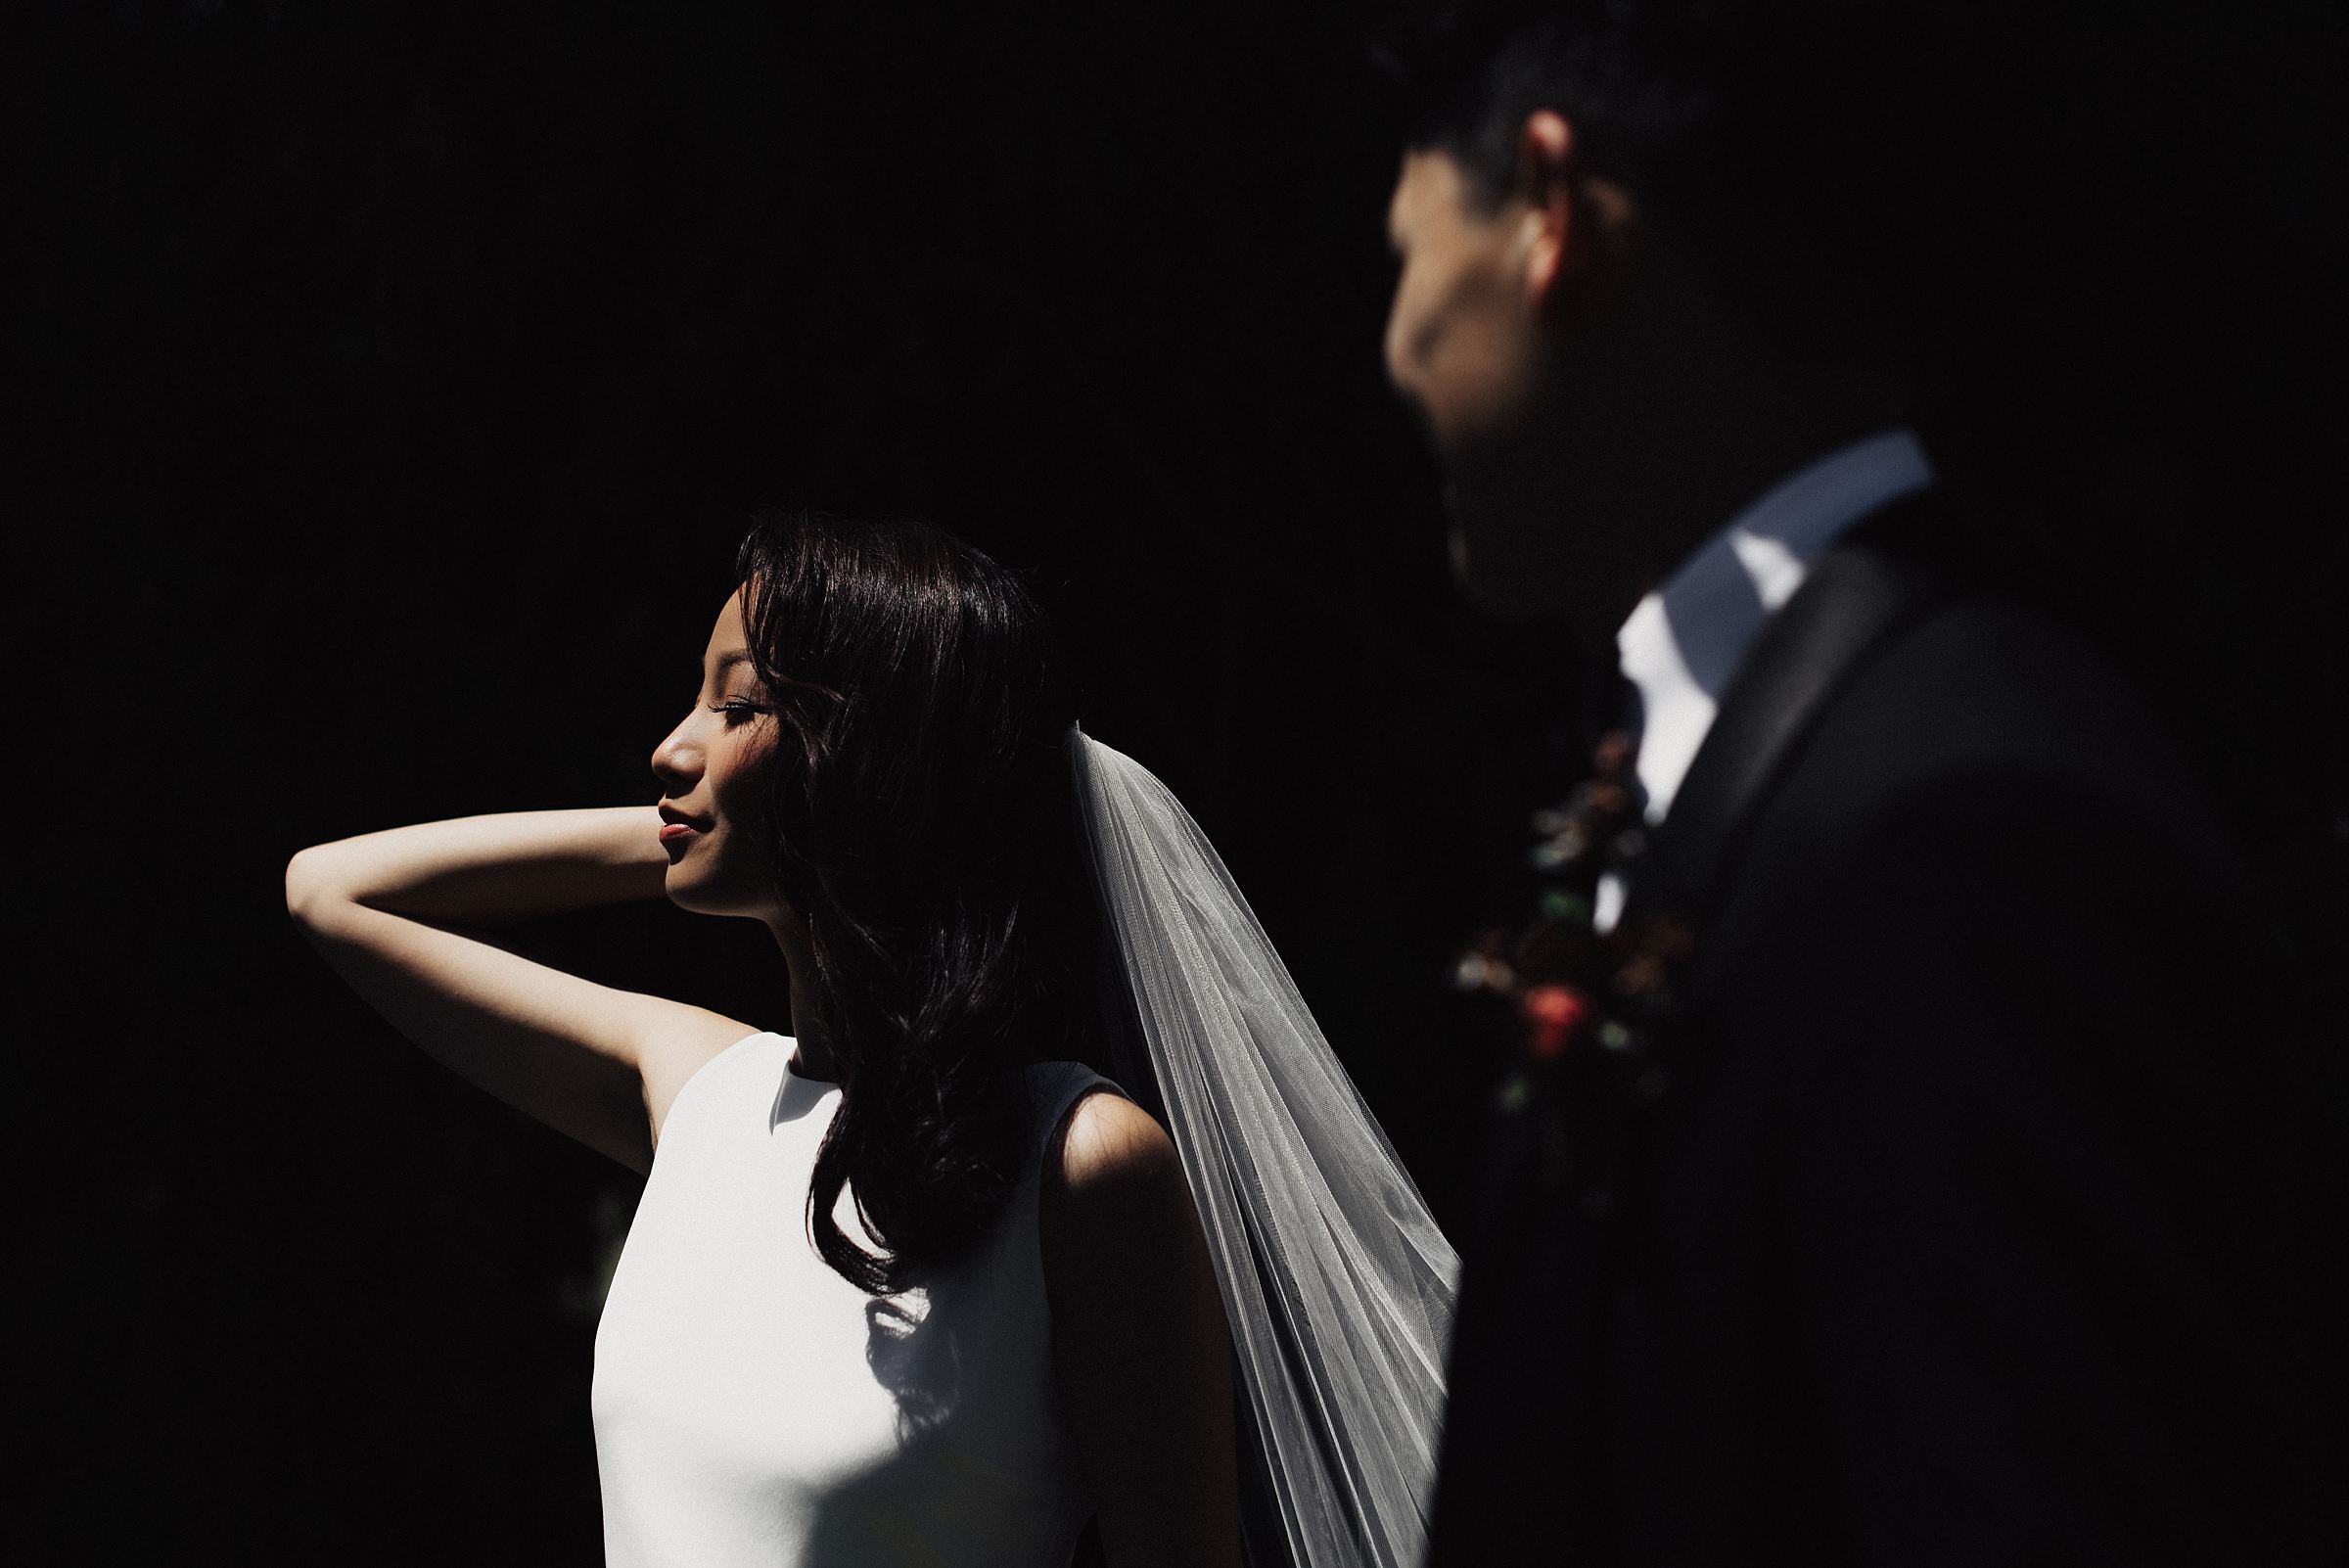
Prior to engagement sessions my clients all receive a welcome email- it goes over a location guide, outfit advice and inspiration, as well as gives them an idea of what to expect. This helps them get an idea of what we’ll be doing before I stick my camera in their face! Once we arrive on location, I always give them a little pep talk about what we’ll be doing.
“There’s nothing you can do wrong. I’ve got this. I’ll tell you what to do, you just focus on your partner and I promise I’ll take care of the rest.”
When working with your clients, I think it’s incredibly important to try to get to know them and their relationship so you can pose them in a way that reflects them as a couple. Keeping your clients moving will keep their poses looking natural. Even small prompts, like sniff here, rub his arm here, brush your hair back, etc. will keep your images looking much more natural and genuine than just sticking your clients into stiff poses! Don’t try to put your clients in a box, create images that fit their personalities, and posing will become a million times easier. Poses will never look natural if it’s something they would never do normally.
WHAT ARE YOUR MAIN PRINCIPLES ON A SHOOT?
HOW DO YOU FIND YOUR IDEAL CLIENT?
I put these two questions together because they both resonate with similar principles to me. I think the view of “ideal clients” has become incredibly skewed. It’s so easy to find teachers that will tell that you need to find a demographic and serve only a specific “type” or person. My thoughts of this? BORING. Lazy (sorry). If you can only make your work look good if someone is wearing neutrals at sunset or in open shade, then you are a lazy artist. I said it. (I actually have a freebie on ideal clients which you can find here!)
Great artists can make anyone look beautiful. Great artists should make everyone feel beautiful.
When I begin my sessions I want to get a feel to who my clients are- similar to the previous question on this post! I don’t want to put my clients in some ideal “Eden Strader” box. I want to capture their relationship and personalities through “Eden Strader Images” rather than selecting “Eden Strader Clients”. I can go ooooon and on about this- but I am so passionate about creating an ideal client based on what they want out of their session, not where they shop, where they live, or how much they make annually.
HOW DO YOU ACHIEVE NATURAL AND CREAMY SKIN TONES?
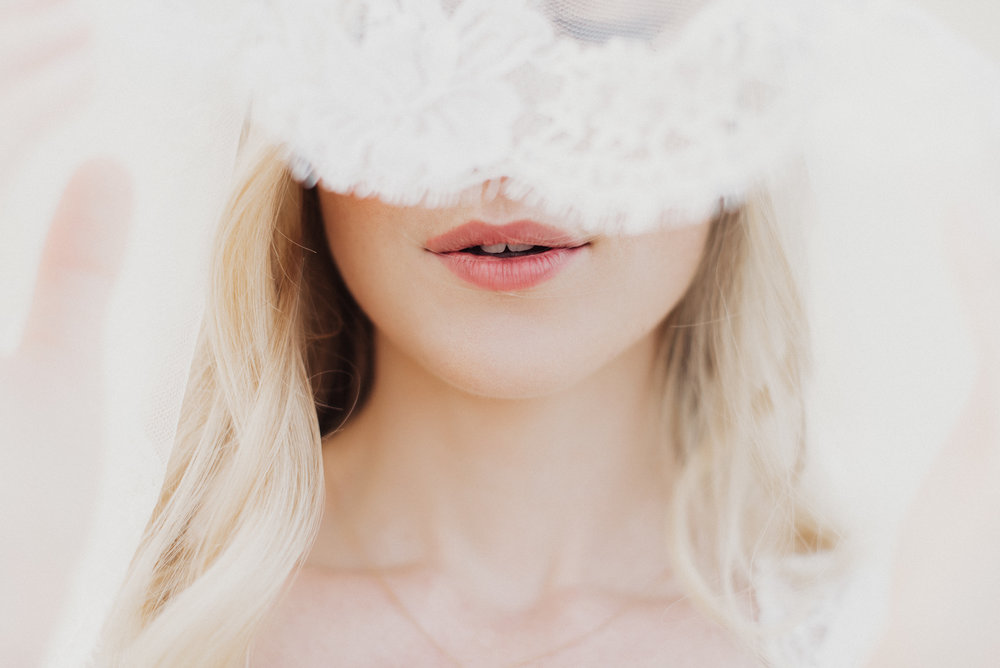
While skin tones are helped by editing, creamy skin is MADE with the way you shoot. Sorry! Lighting plays such an integral role in skin, and if you’re not sure how to evenly use your light, you cannot make natural skin tones + texture magically appear in post production. Your lighting has to be used intentionally, and evenly, to keep skin looking smooth. There’s no quick fix, no preset, that will cure your blotchy skin tones if you didn’t set up the shot purposefully before. If you’re interested in learning more about how I shoot harsh light scenarios to keep skin clean, click here to learn more about my Harsh Light Workshop.
To edit skin in post, I use a technique called frequency separation. This makes things look much more natural than lowering clarity in Lightroom. There are lots of tutorials on YouTube, or I personally took a course from Jessica Janae.
WHERE DO MOST OF YOUR CLIENTS COME FROM?
The days of Instagram are fading, friends. While a lot of my clients still find me on the gram, the majority is from word of mouth and Pinterest as well! More website traffic comes to my website monthly via Pinterest than Instagram. Can you believe it? I believe that Pinterest is one of the most underutilized tools we have at our disposal, which is why I released my online guide alll about Building a Profitable Pinterest! I’m biased, but it’s helped people grow their business incredibly- I’ve seen people jump by thousands of viewers in less than a week. But regardless, don’t put all your eggs in one basket. The only thing you truly own is your website, and I see that being ignored so. often. Instagram bit the dust with the algorithm, so don’t assume all other social medias are going to remain the same. Work on building a steady system on several platforms!
I use Facebook, Instagram, Pinterest, Blogging (SEO), etc.
How do you take your double exposures?
Are they in camera or done in post?
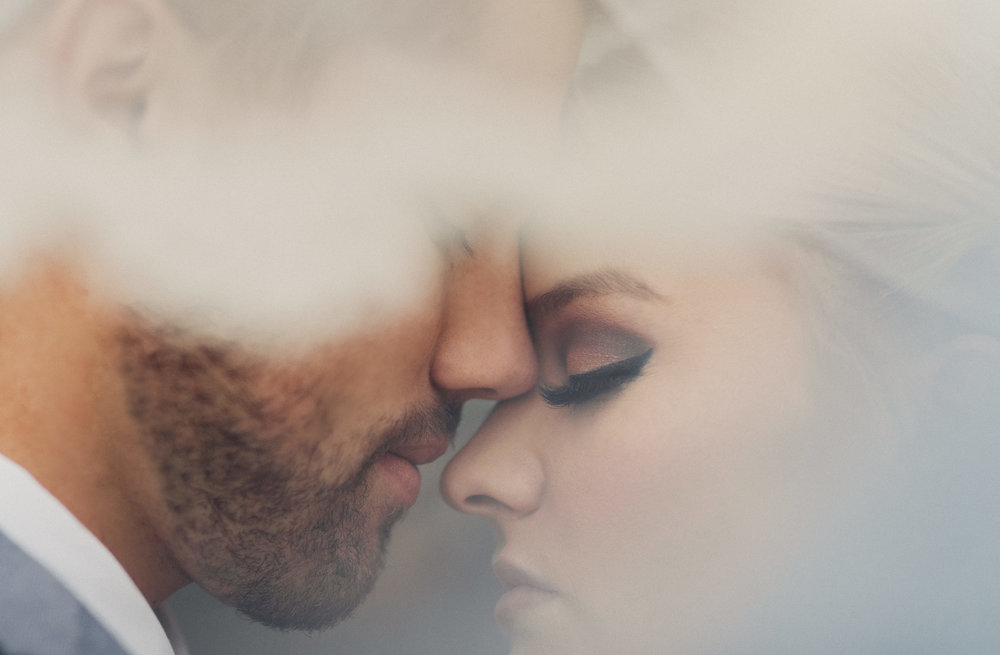
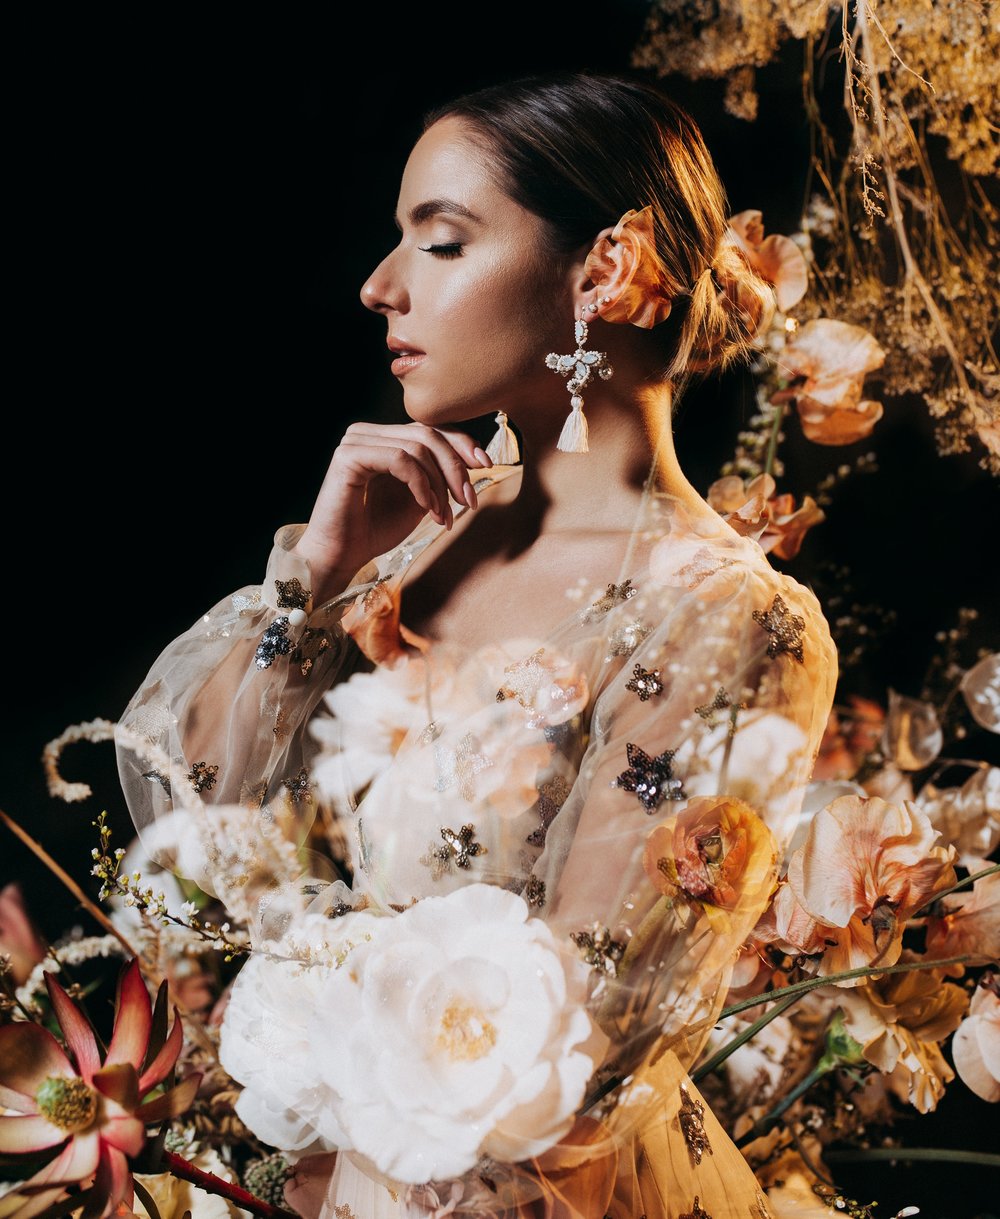
All my double exposures are completed in camera! From what I hear, Canon does have an option to live view during double exposures so you can see how everything lines up. However, if you’re on team Nikon like me, that unfortunately is not an option. You’ll have to be VERY precise- it takes a lot of practice and always a few tries. I have yet to get my perfect double exposure on shot one, I typically have to do a few tries to see how things are lining up.
Ultimately, double exposures take a lot of practice. Your first few (dozens 😉 will be trial and error. I typically take my portrait first, followed by my detail photo (florals, mountains, etc.). You’ll want a very distinct different in contrast in the images- I like to have my subject either be well lit with a dark backdrop, or almost silhouetted with a white background. For your photo of details- whatever was light in the first image will show minimal detail, and whatever was dark will shot the details of your second shot. For example- the above photo was taken with artificial lighting. The bride was illuminated with a black backdrop, and then the bouquet was photographed also with the black backdrop. The black area was lined up with her facial features so it would stay clean- then the illuminated florals showed up in the darker areas. As you can see on parts of her dress, light on light will occasionally show up.
Light on Light = Equal visibility.
Dark on Light (or Light on Dark) = High Visibility
Dark on Dark = Little to No visibility.
Have more questions?
Drop them below! For more free education, be sure to subscribe to our email list (no spam, promise!) and check out our education opportunities here. Thanks for being here, see you soon! xx