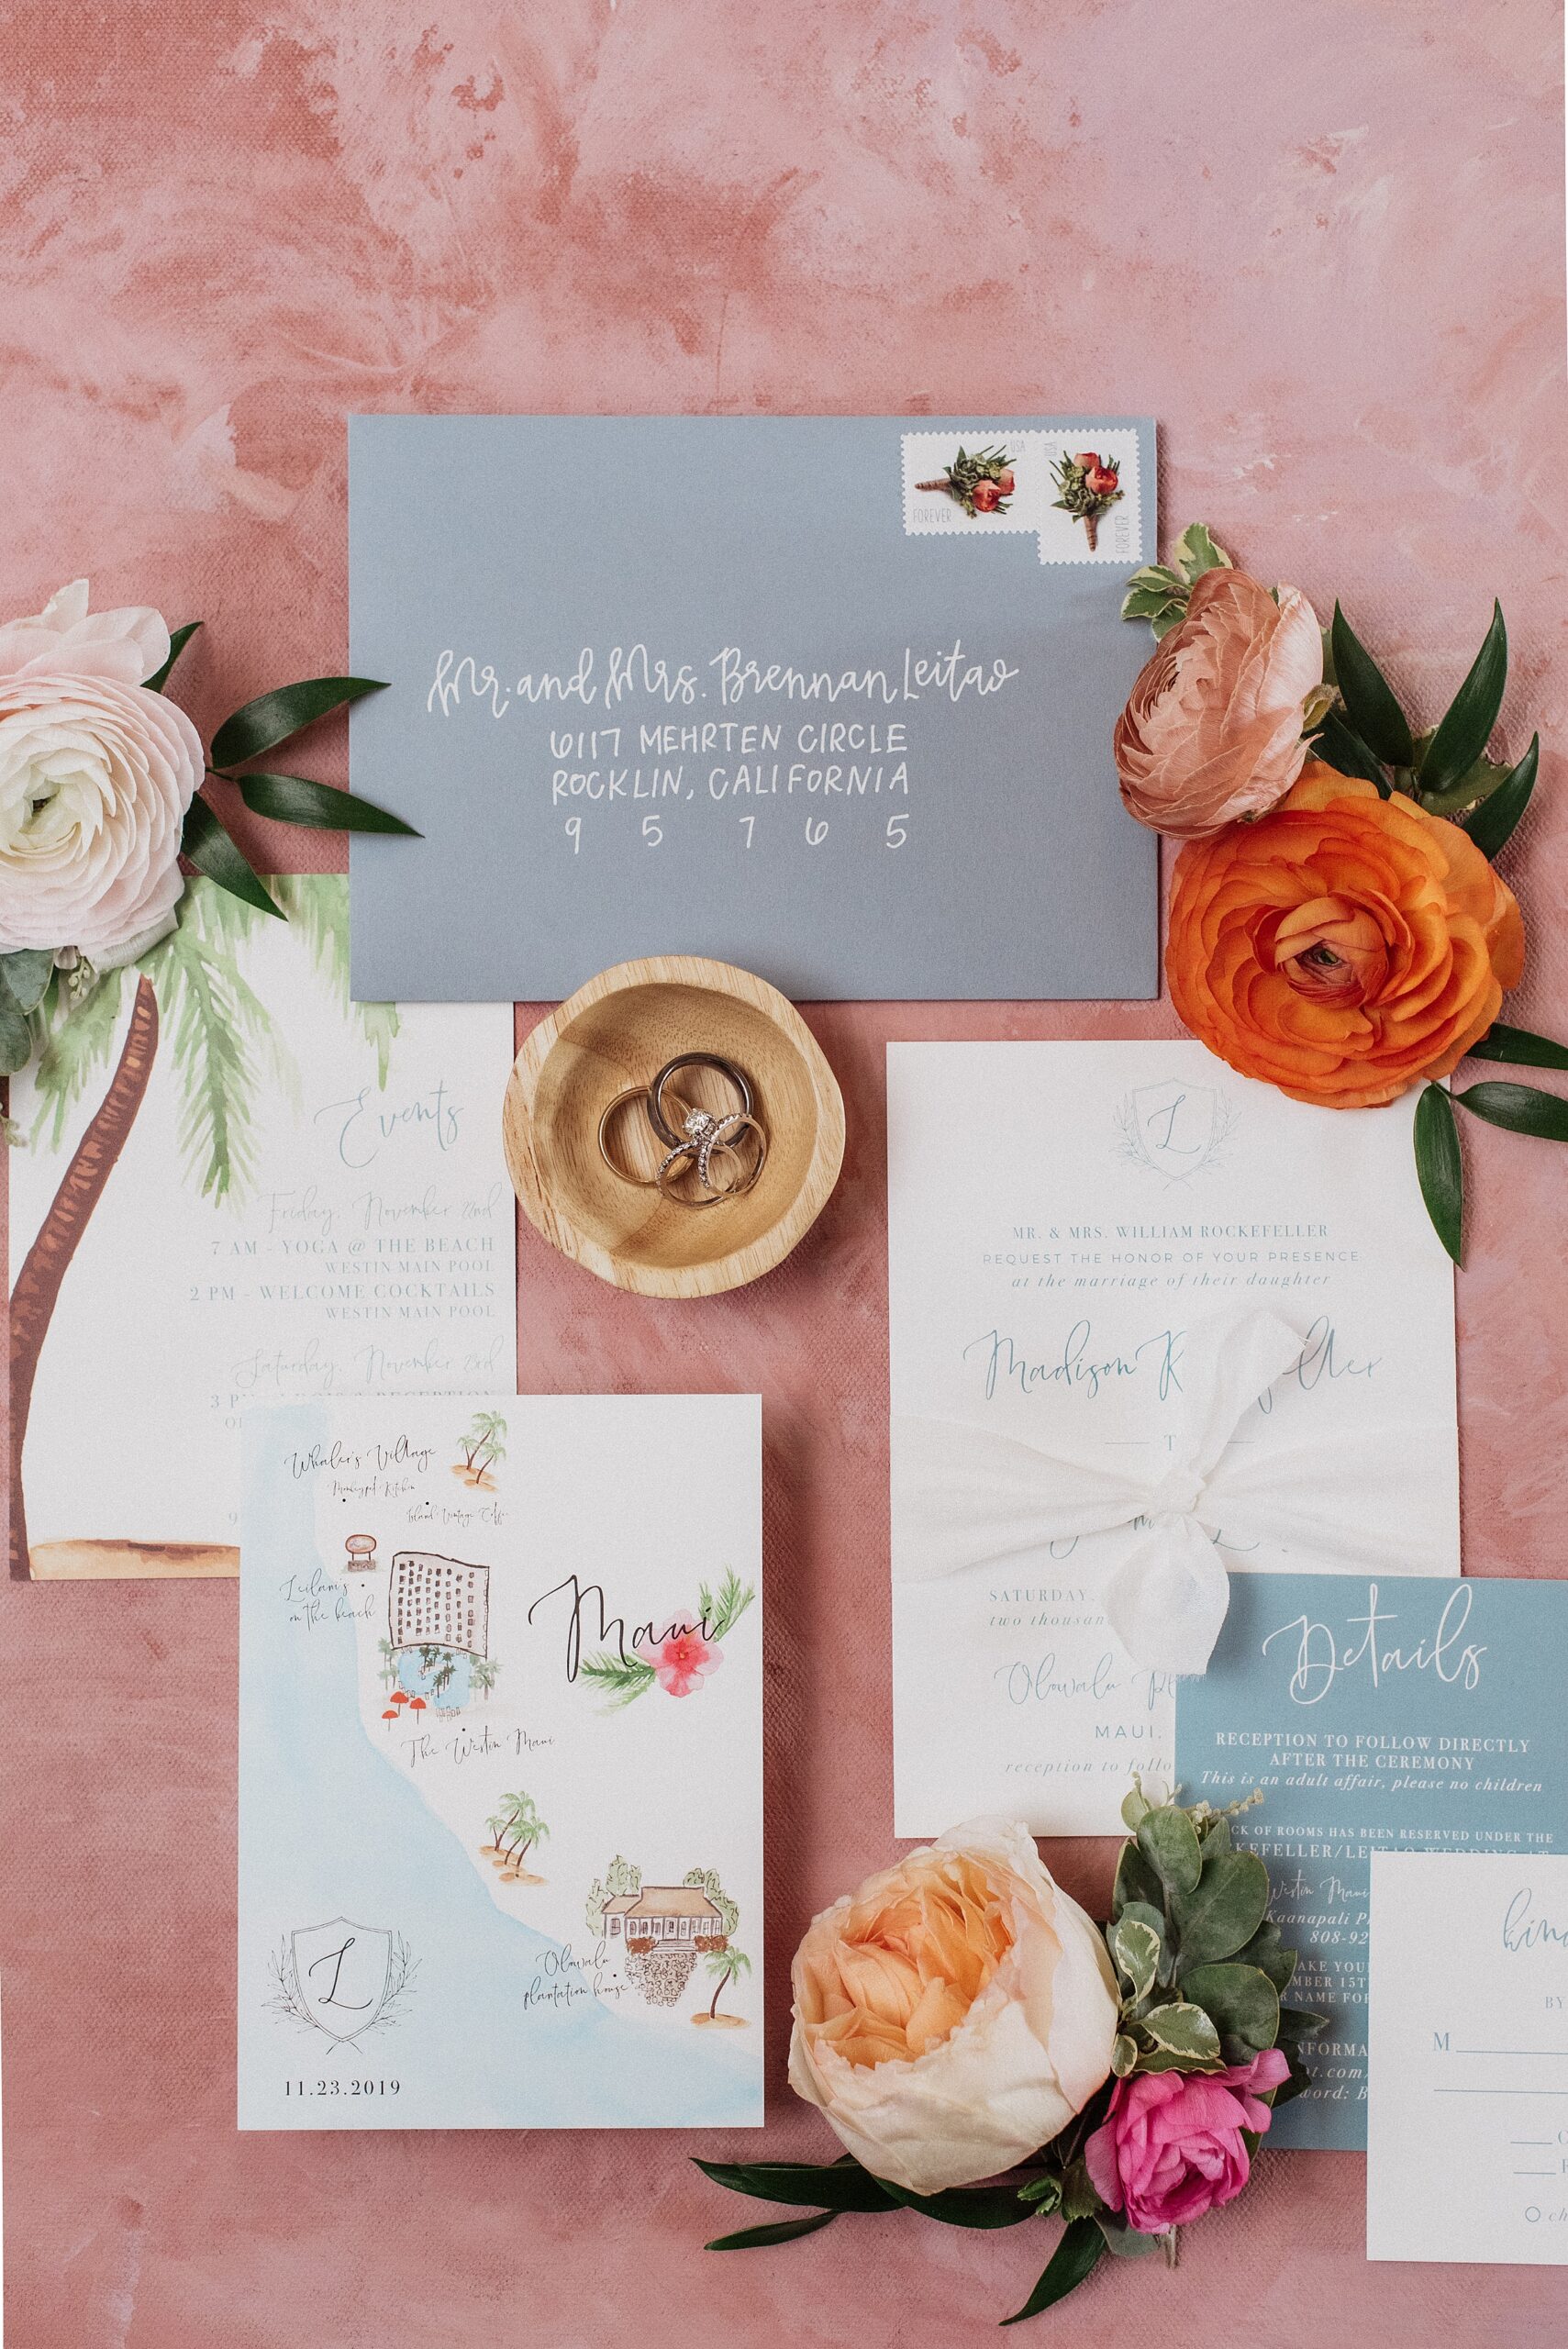
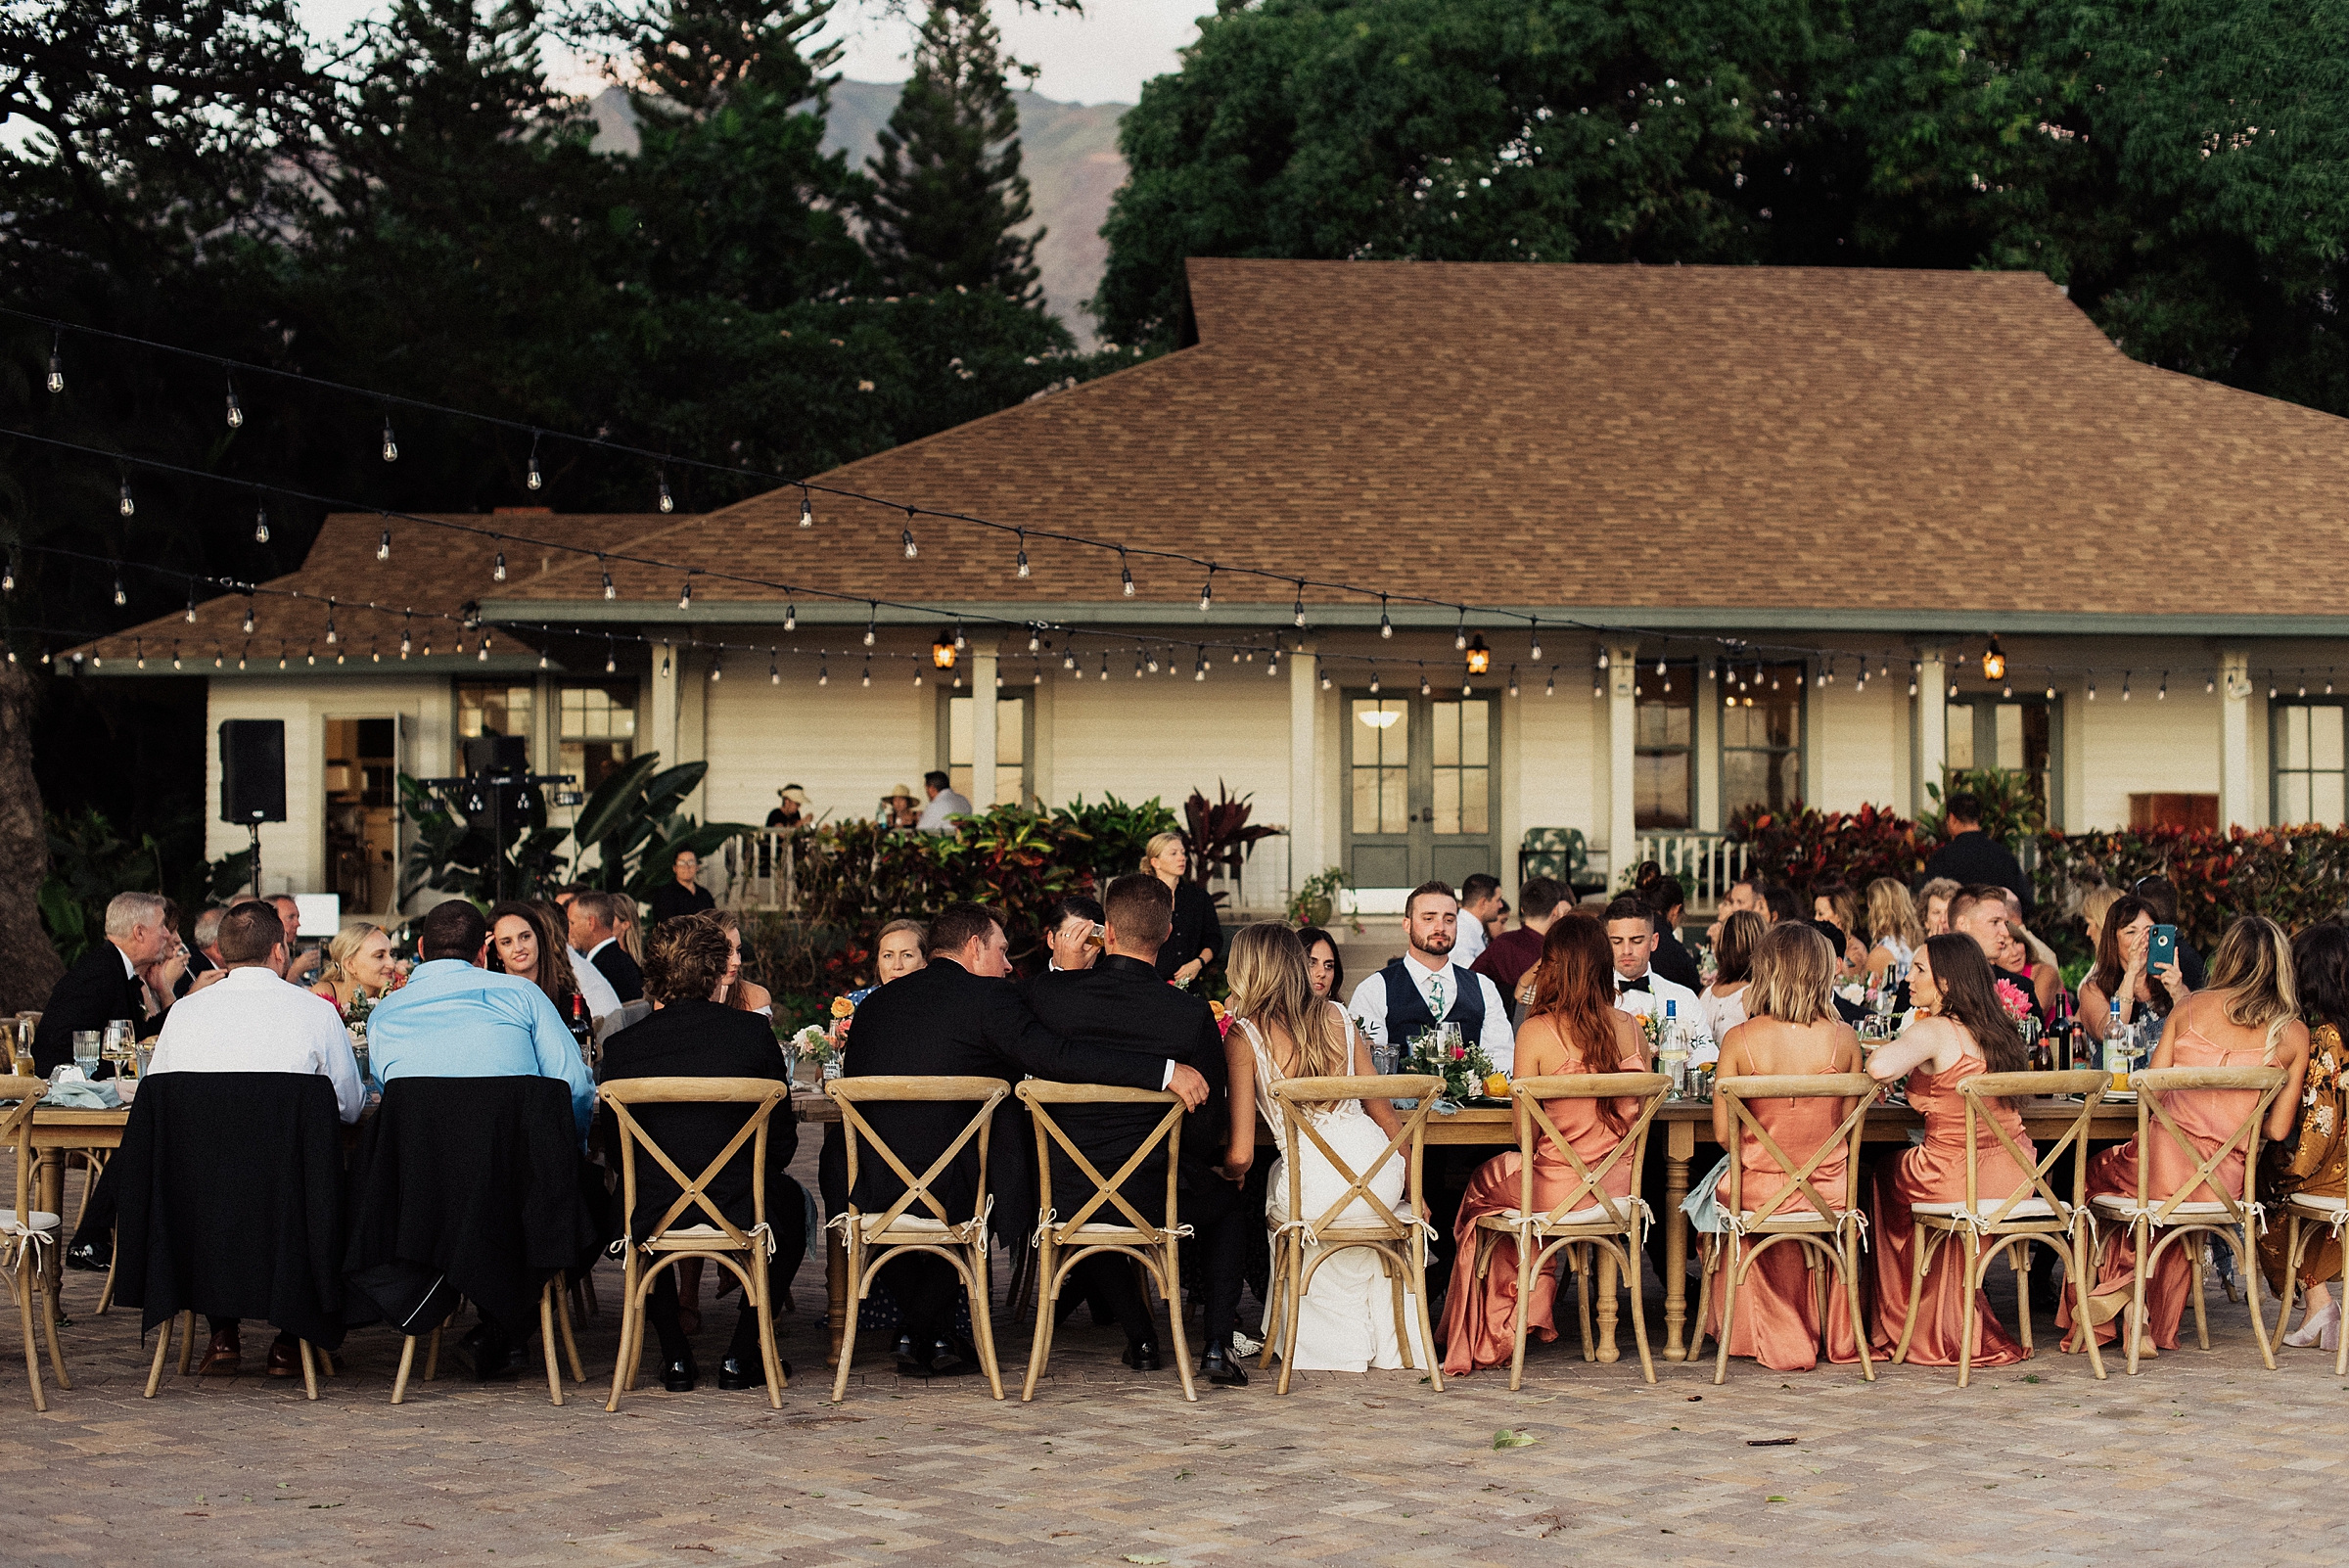
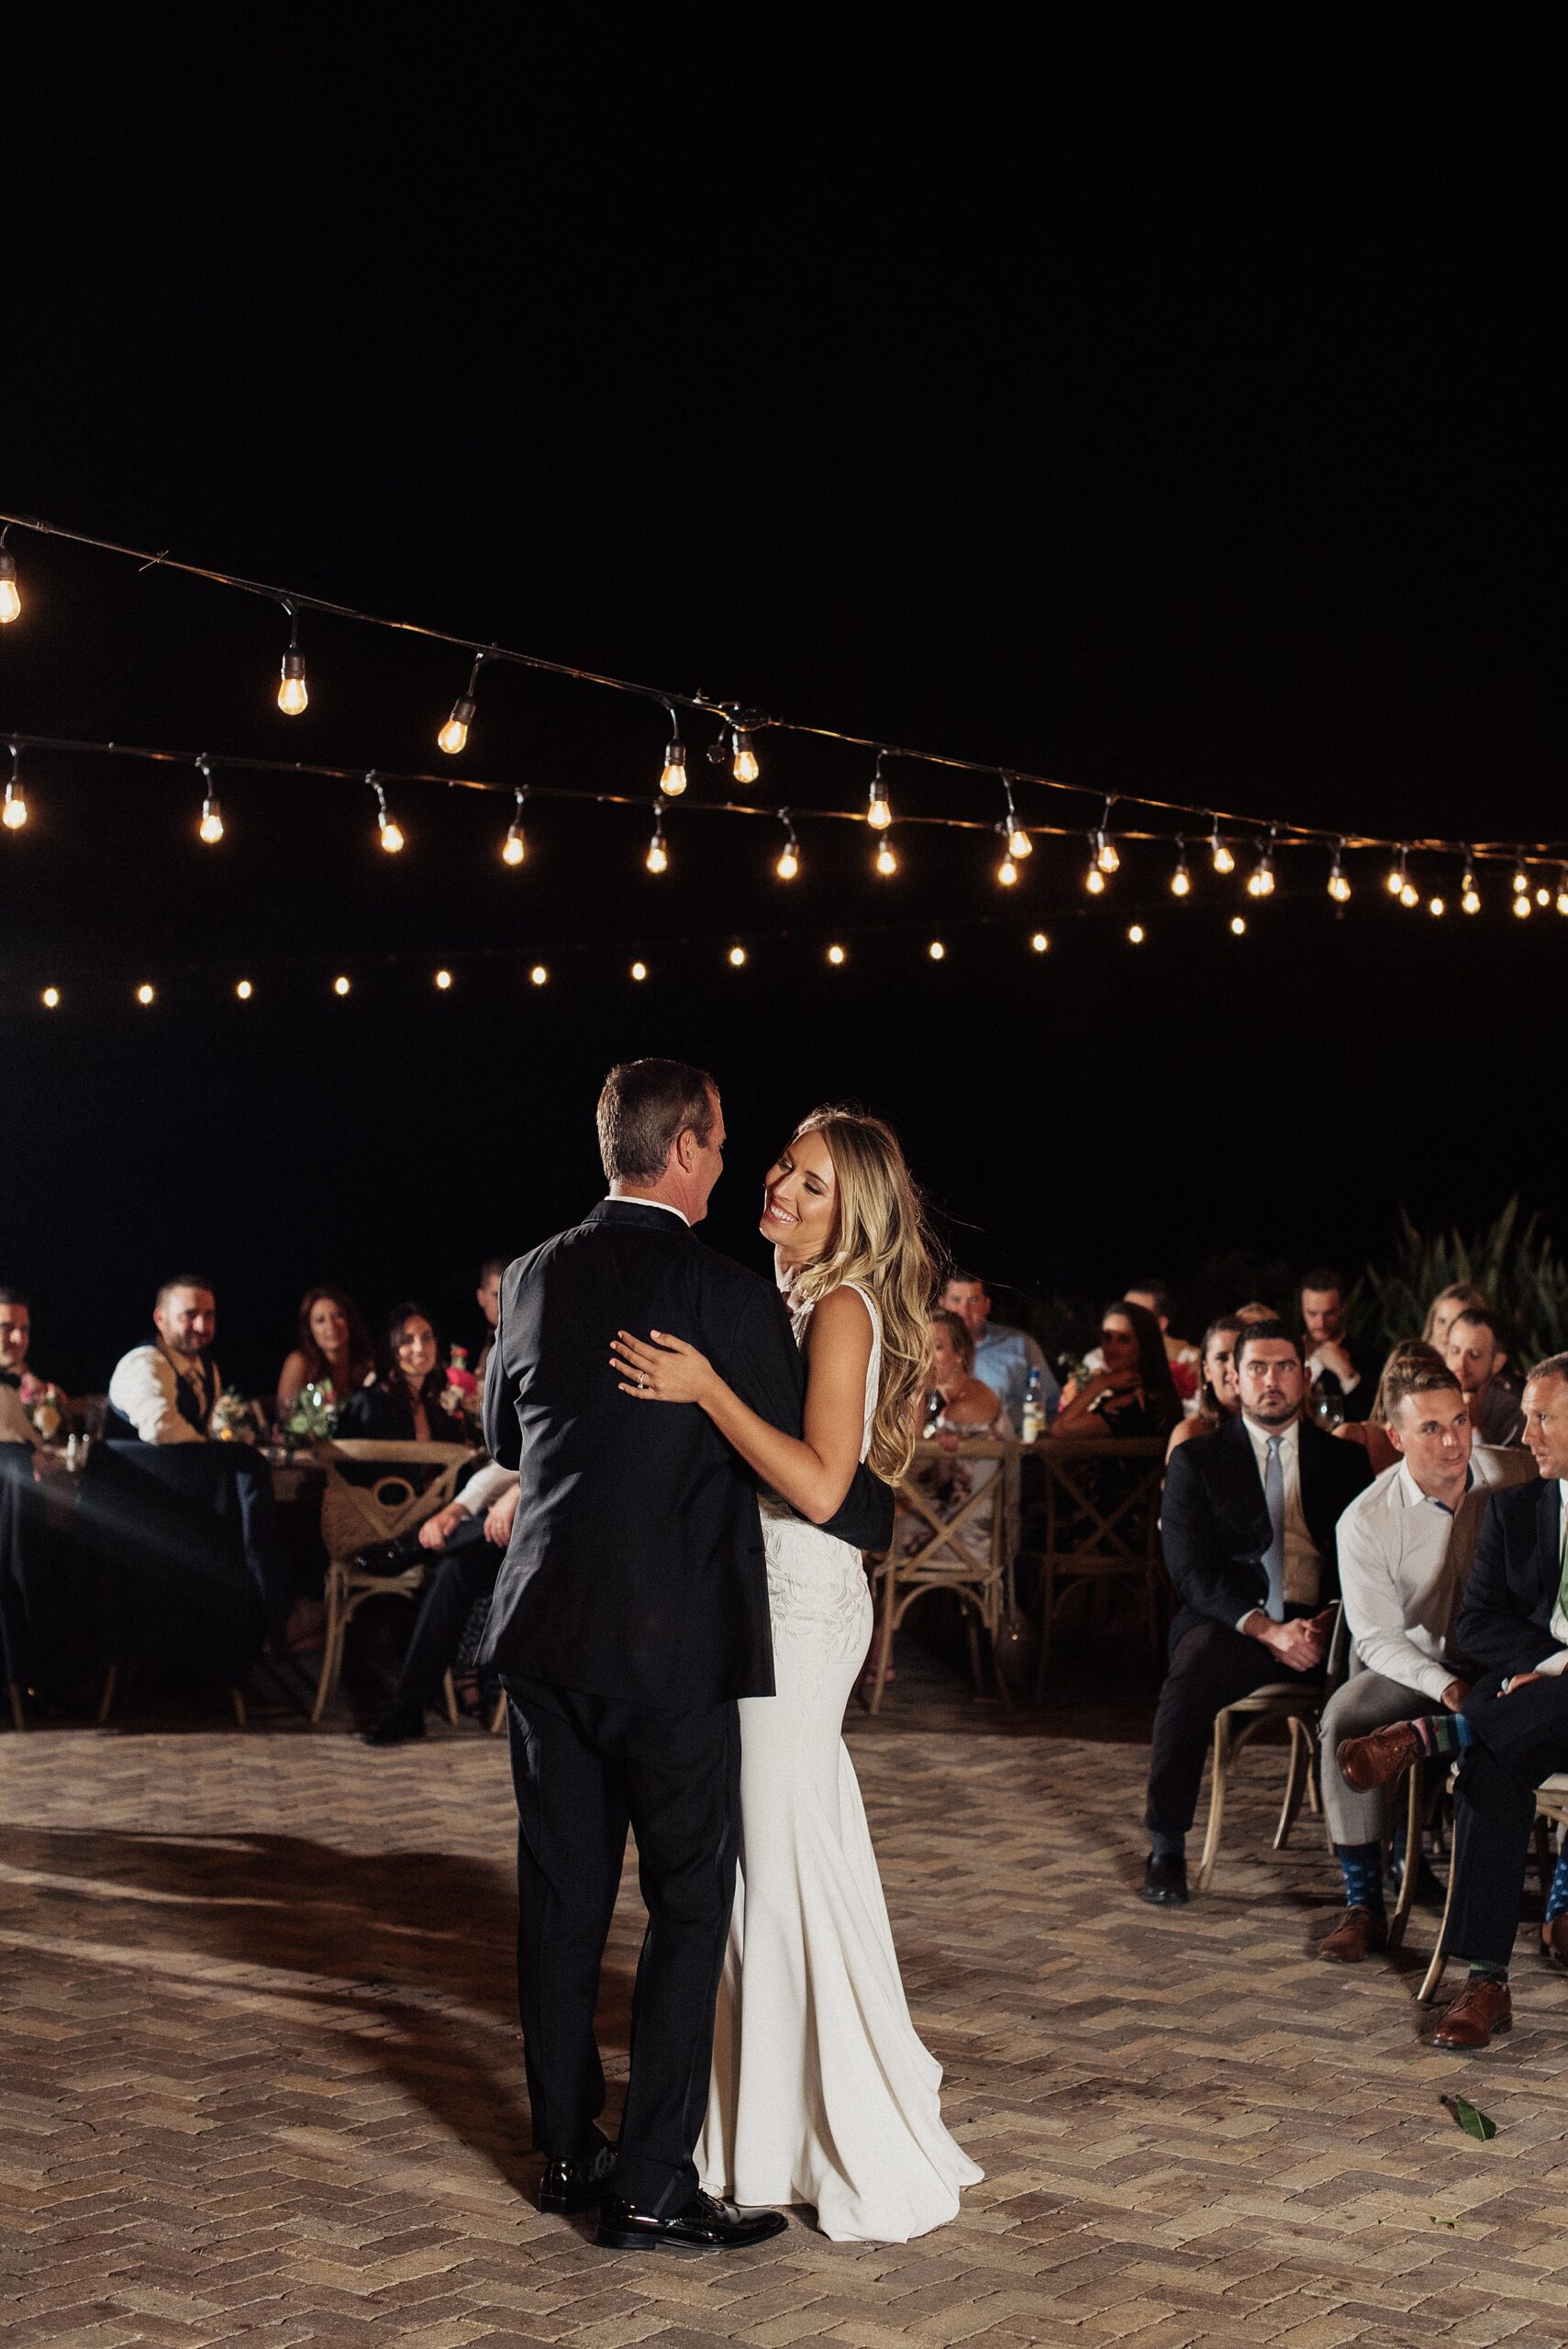
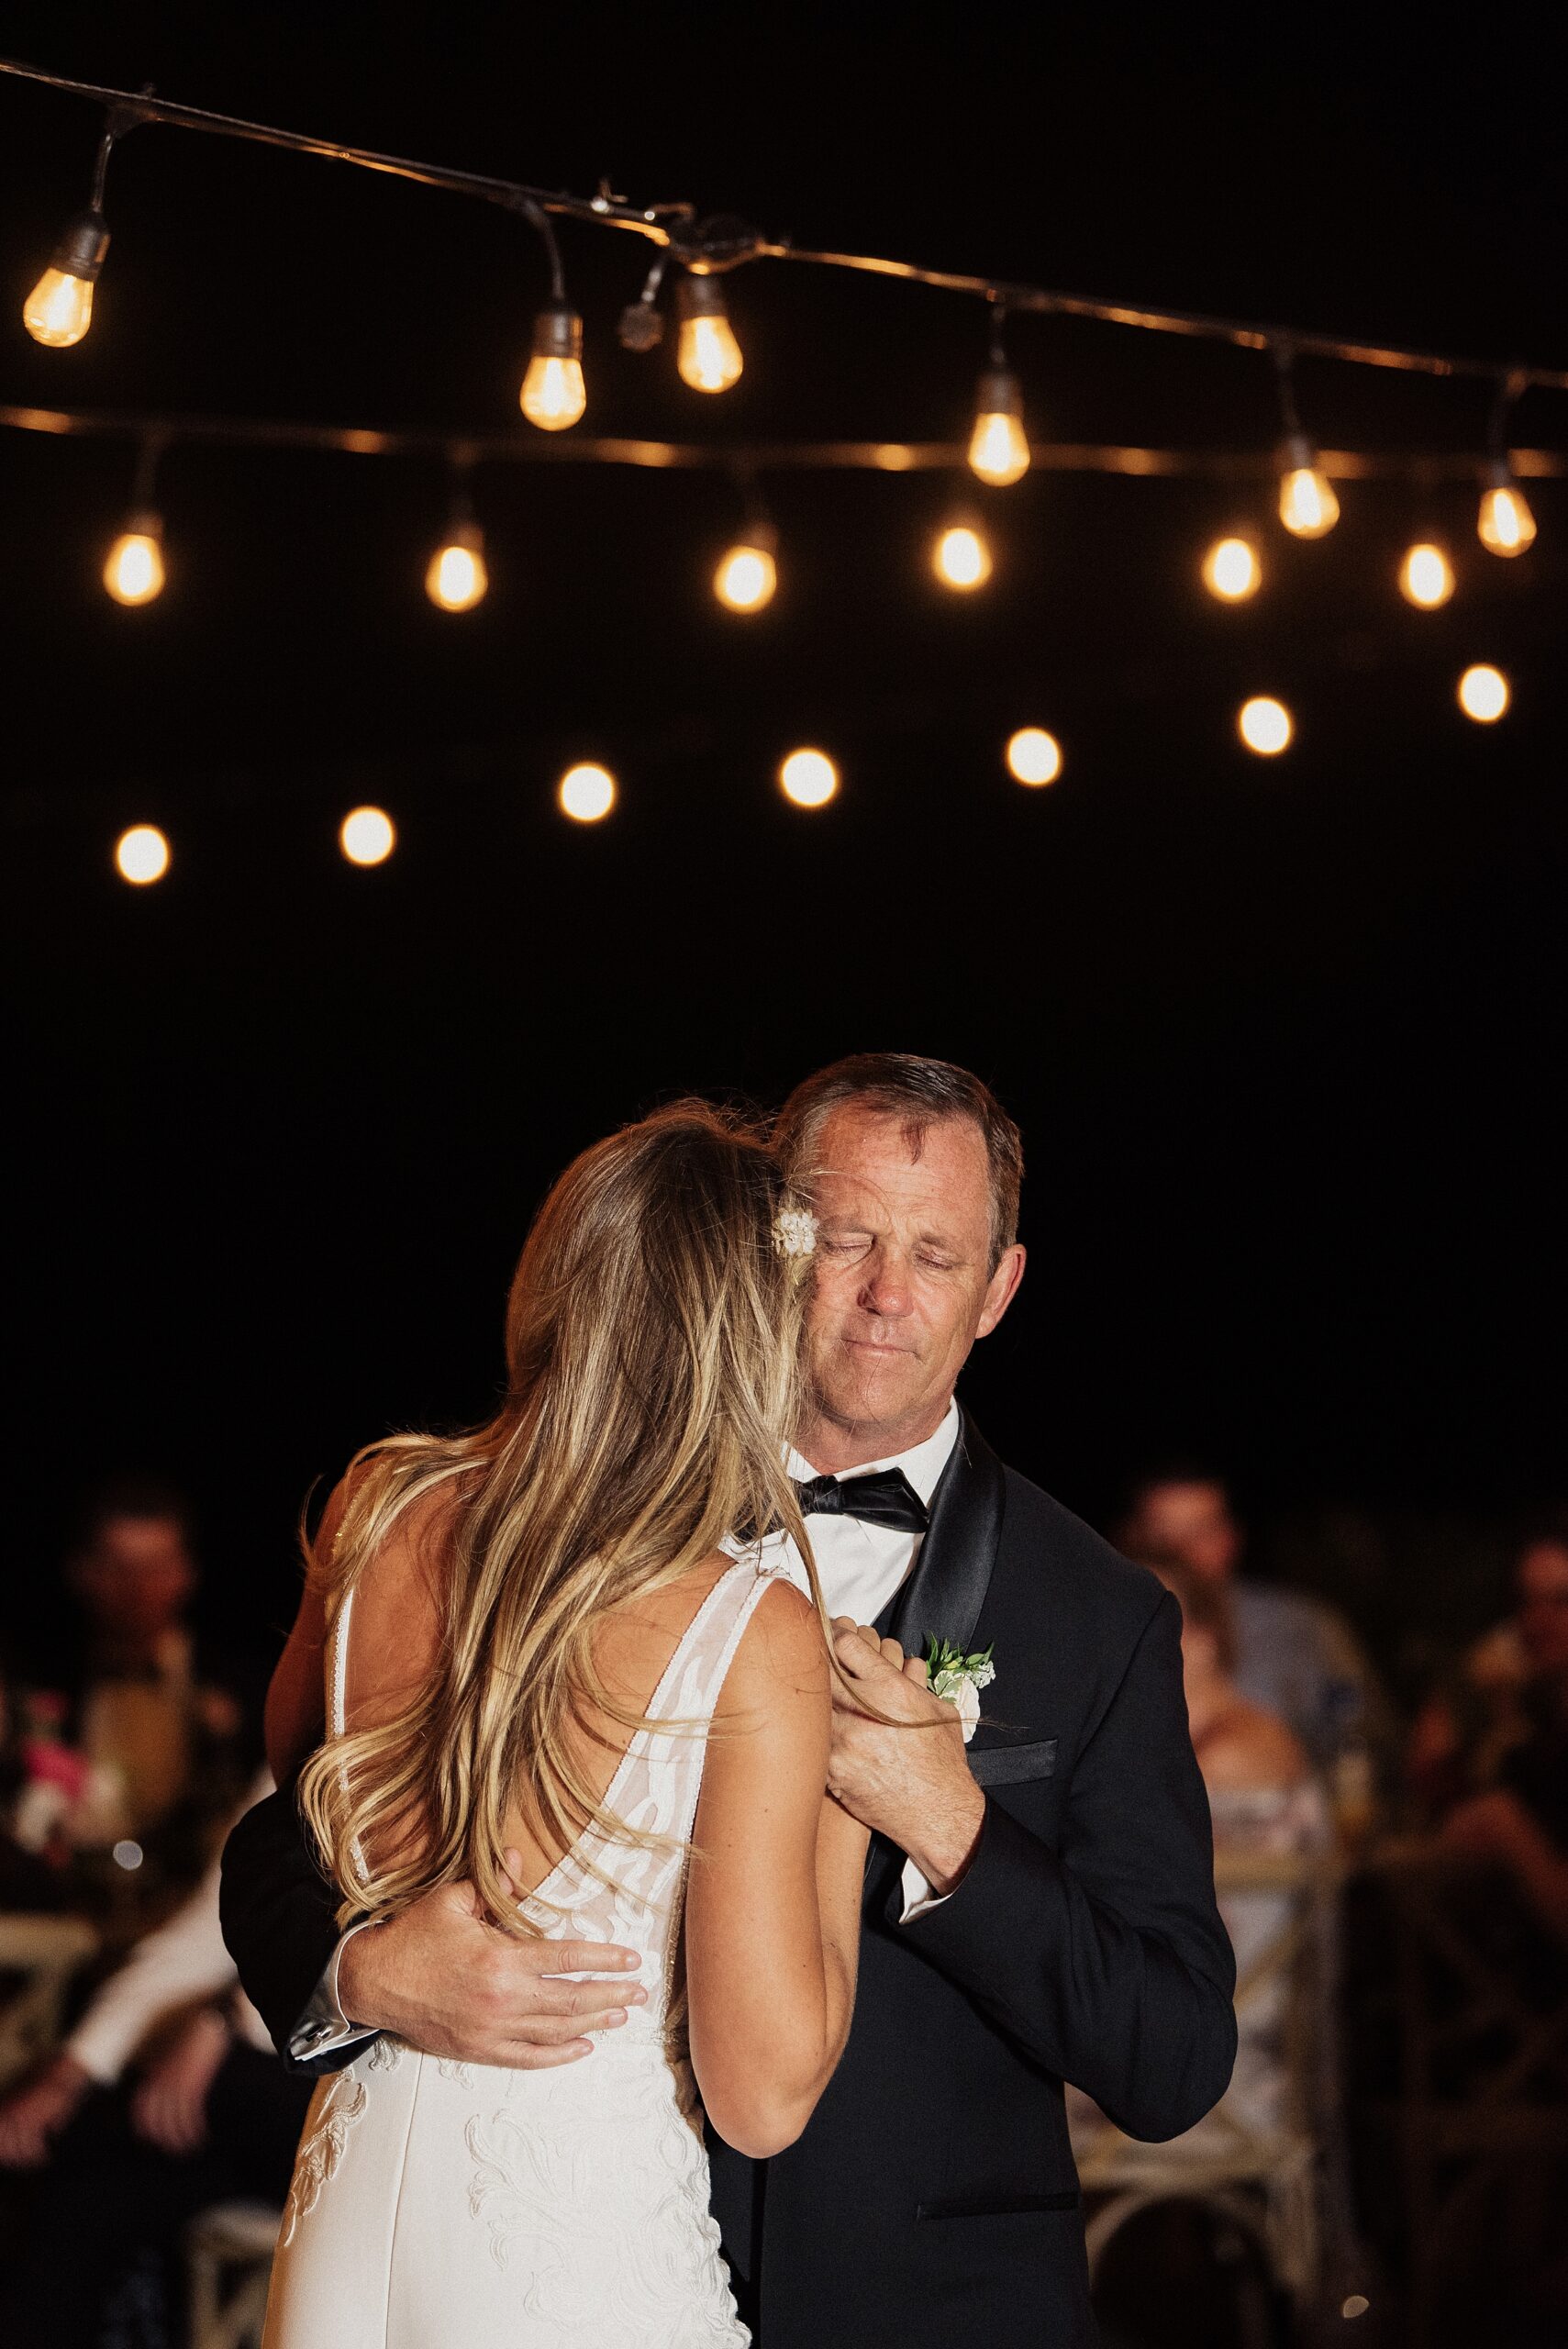
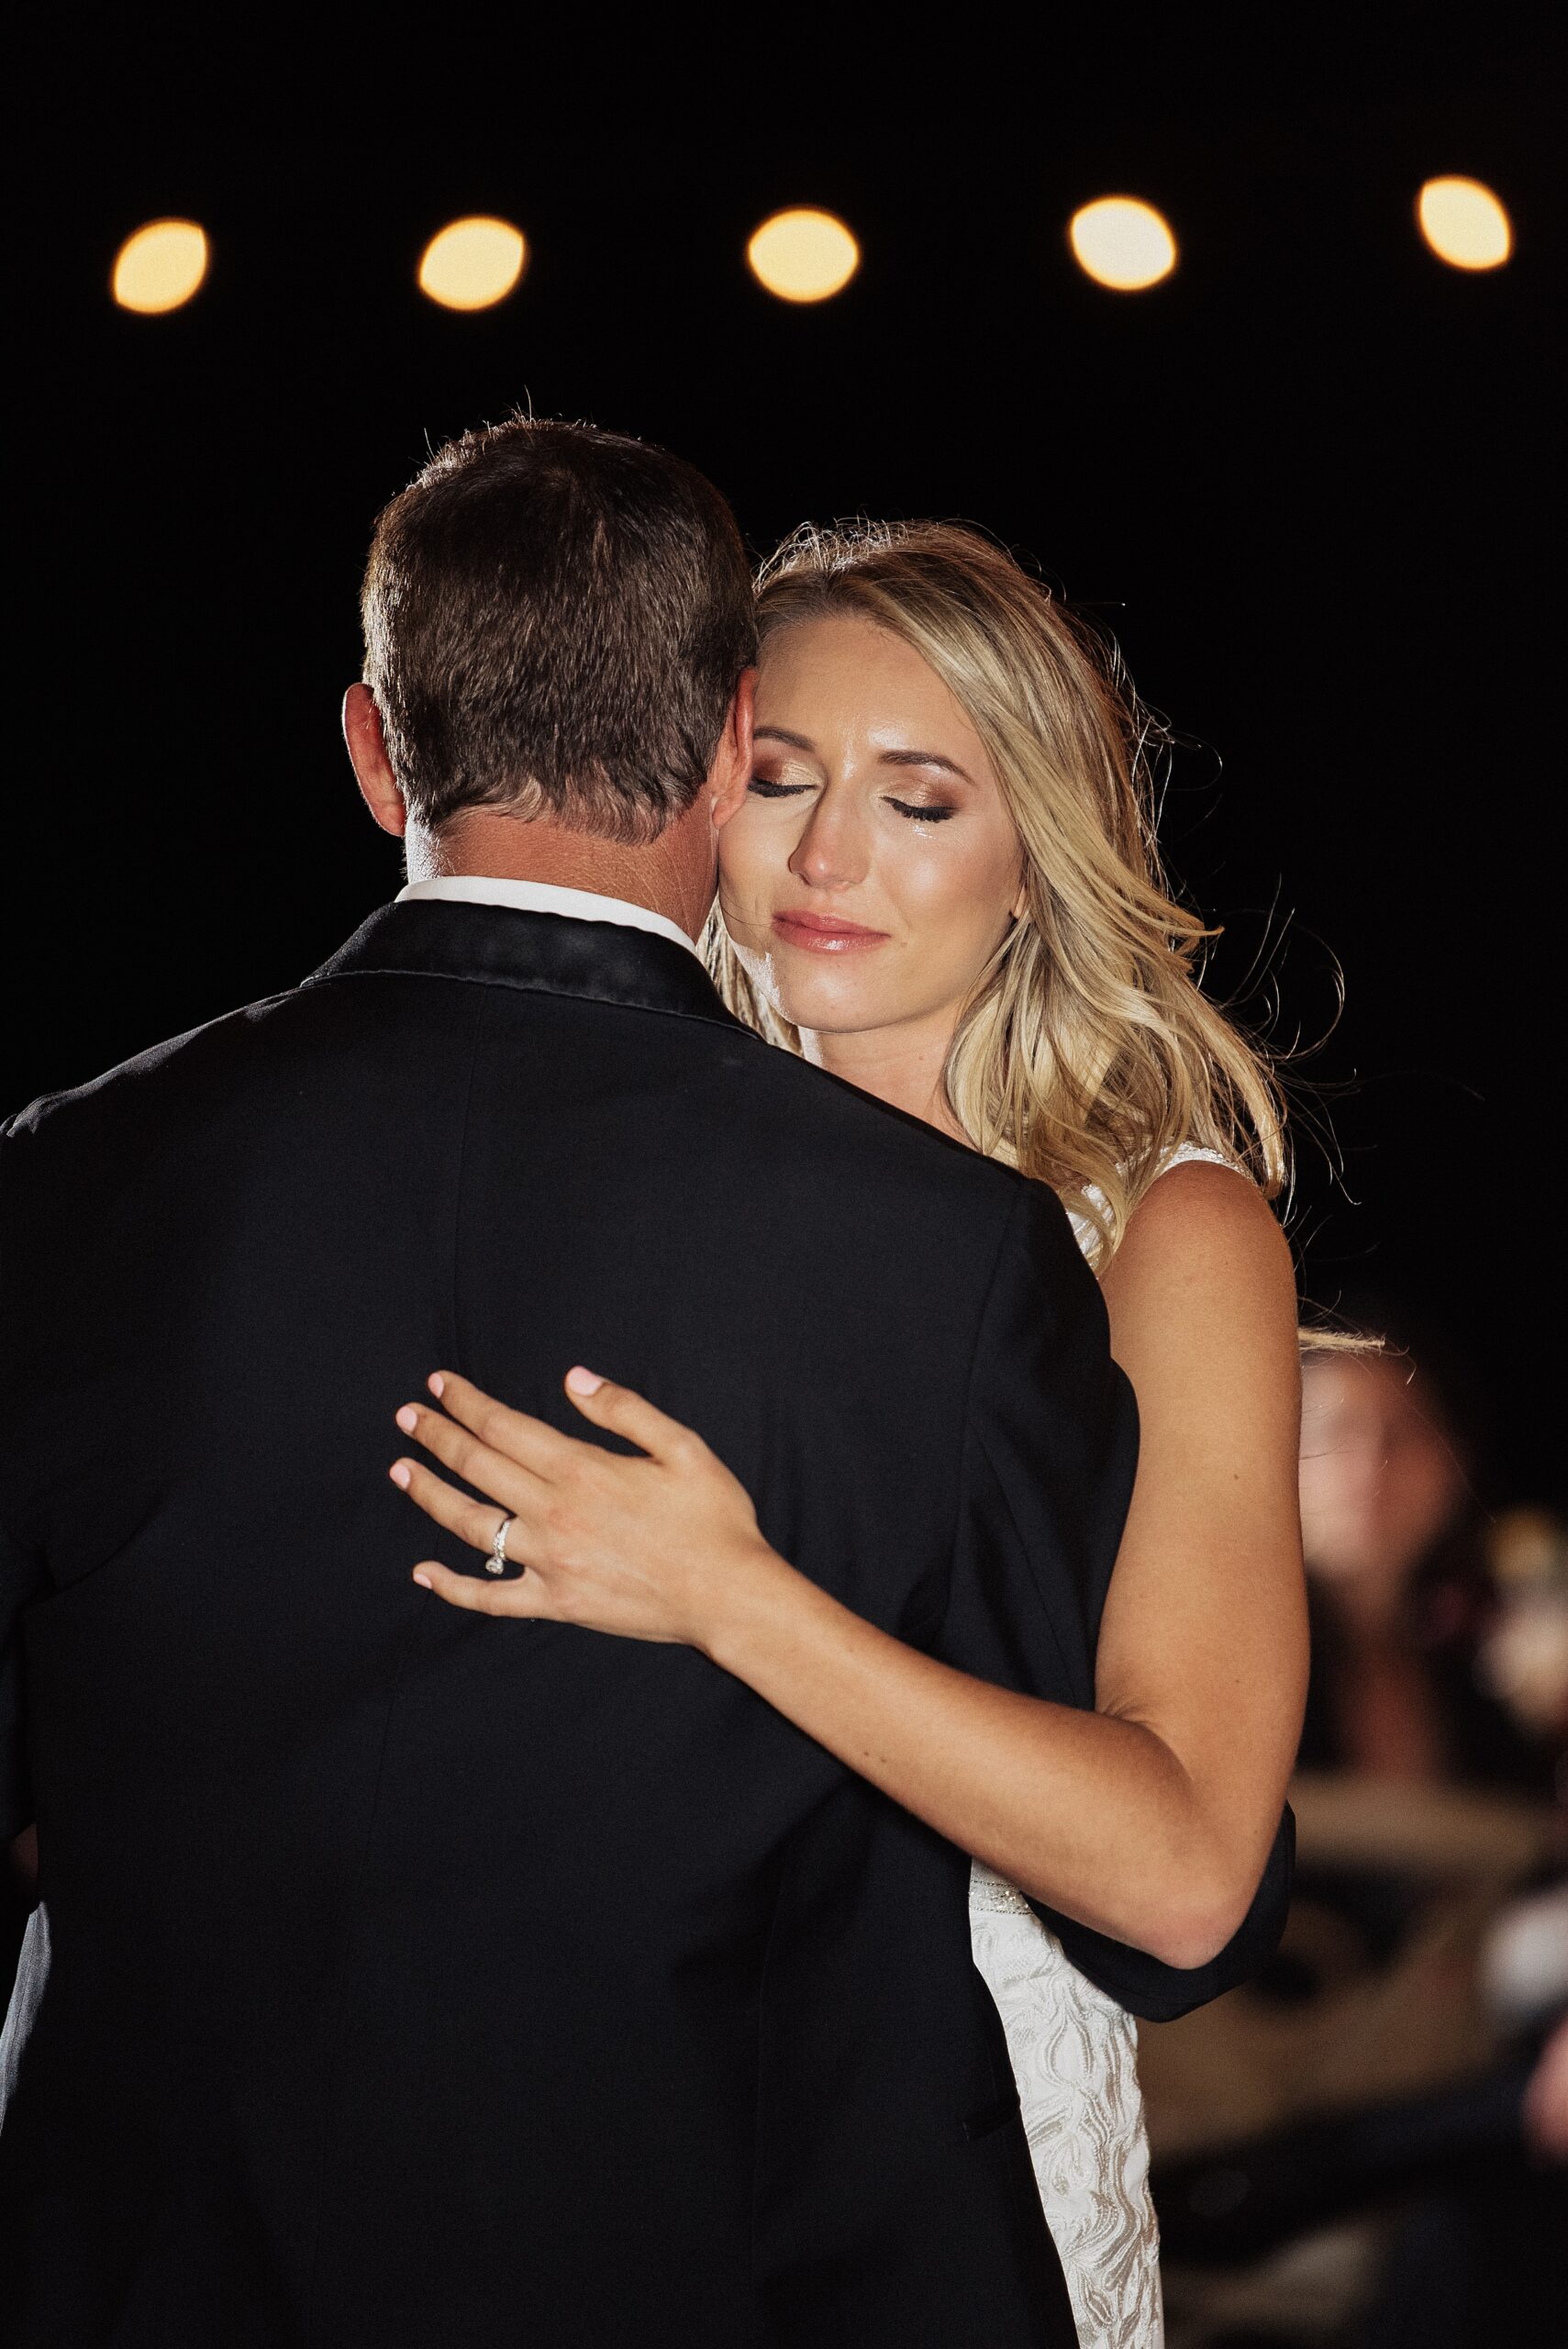
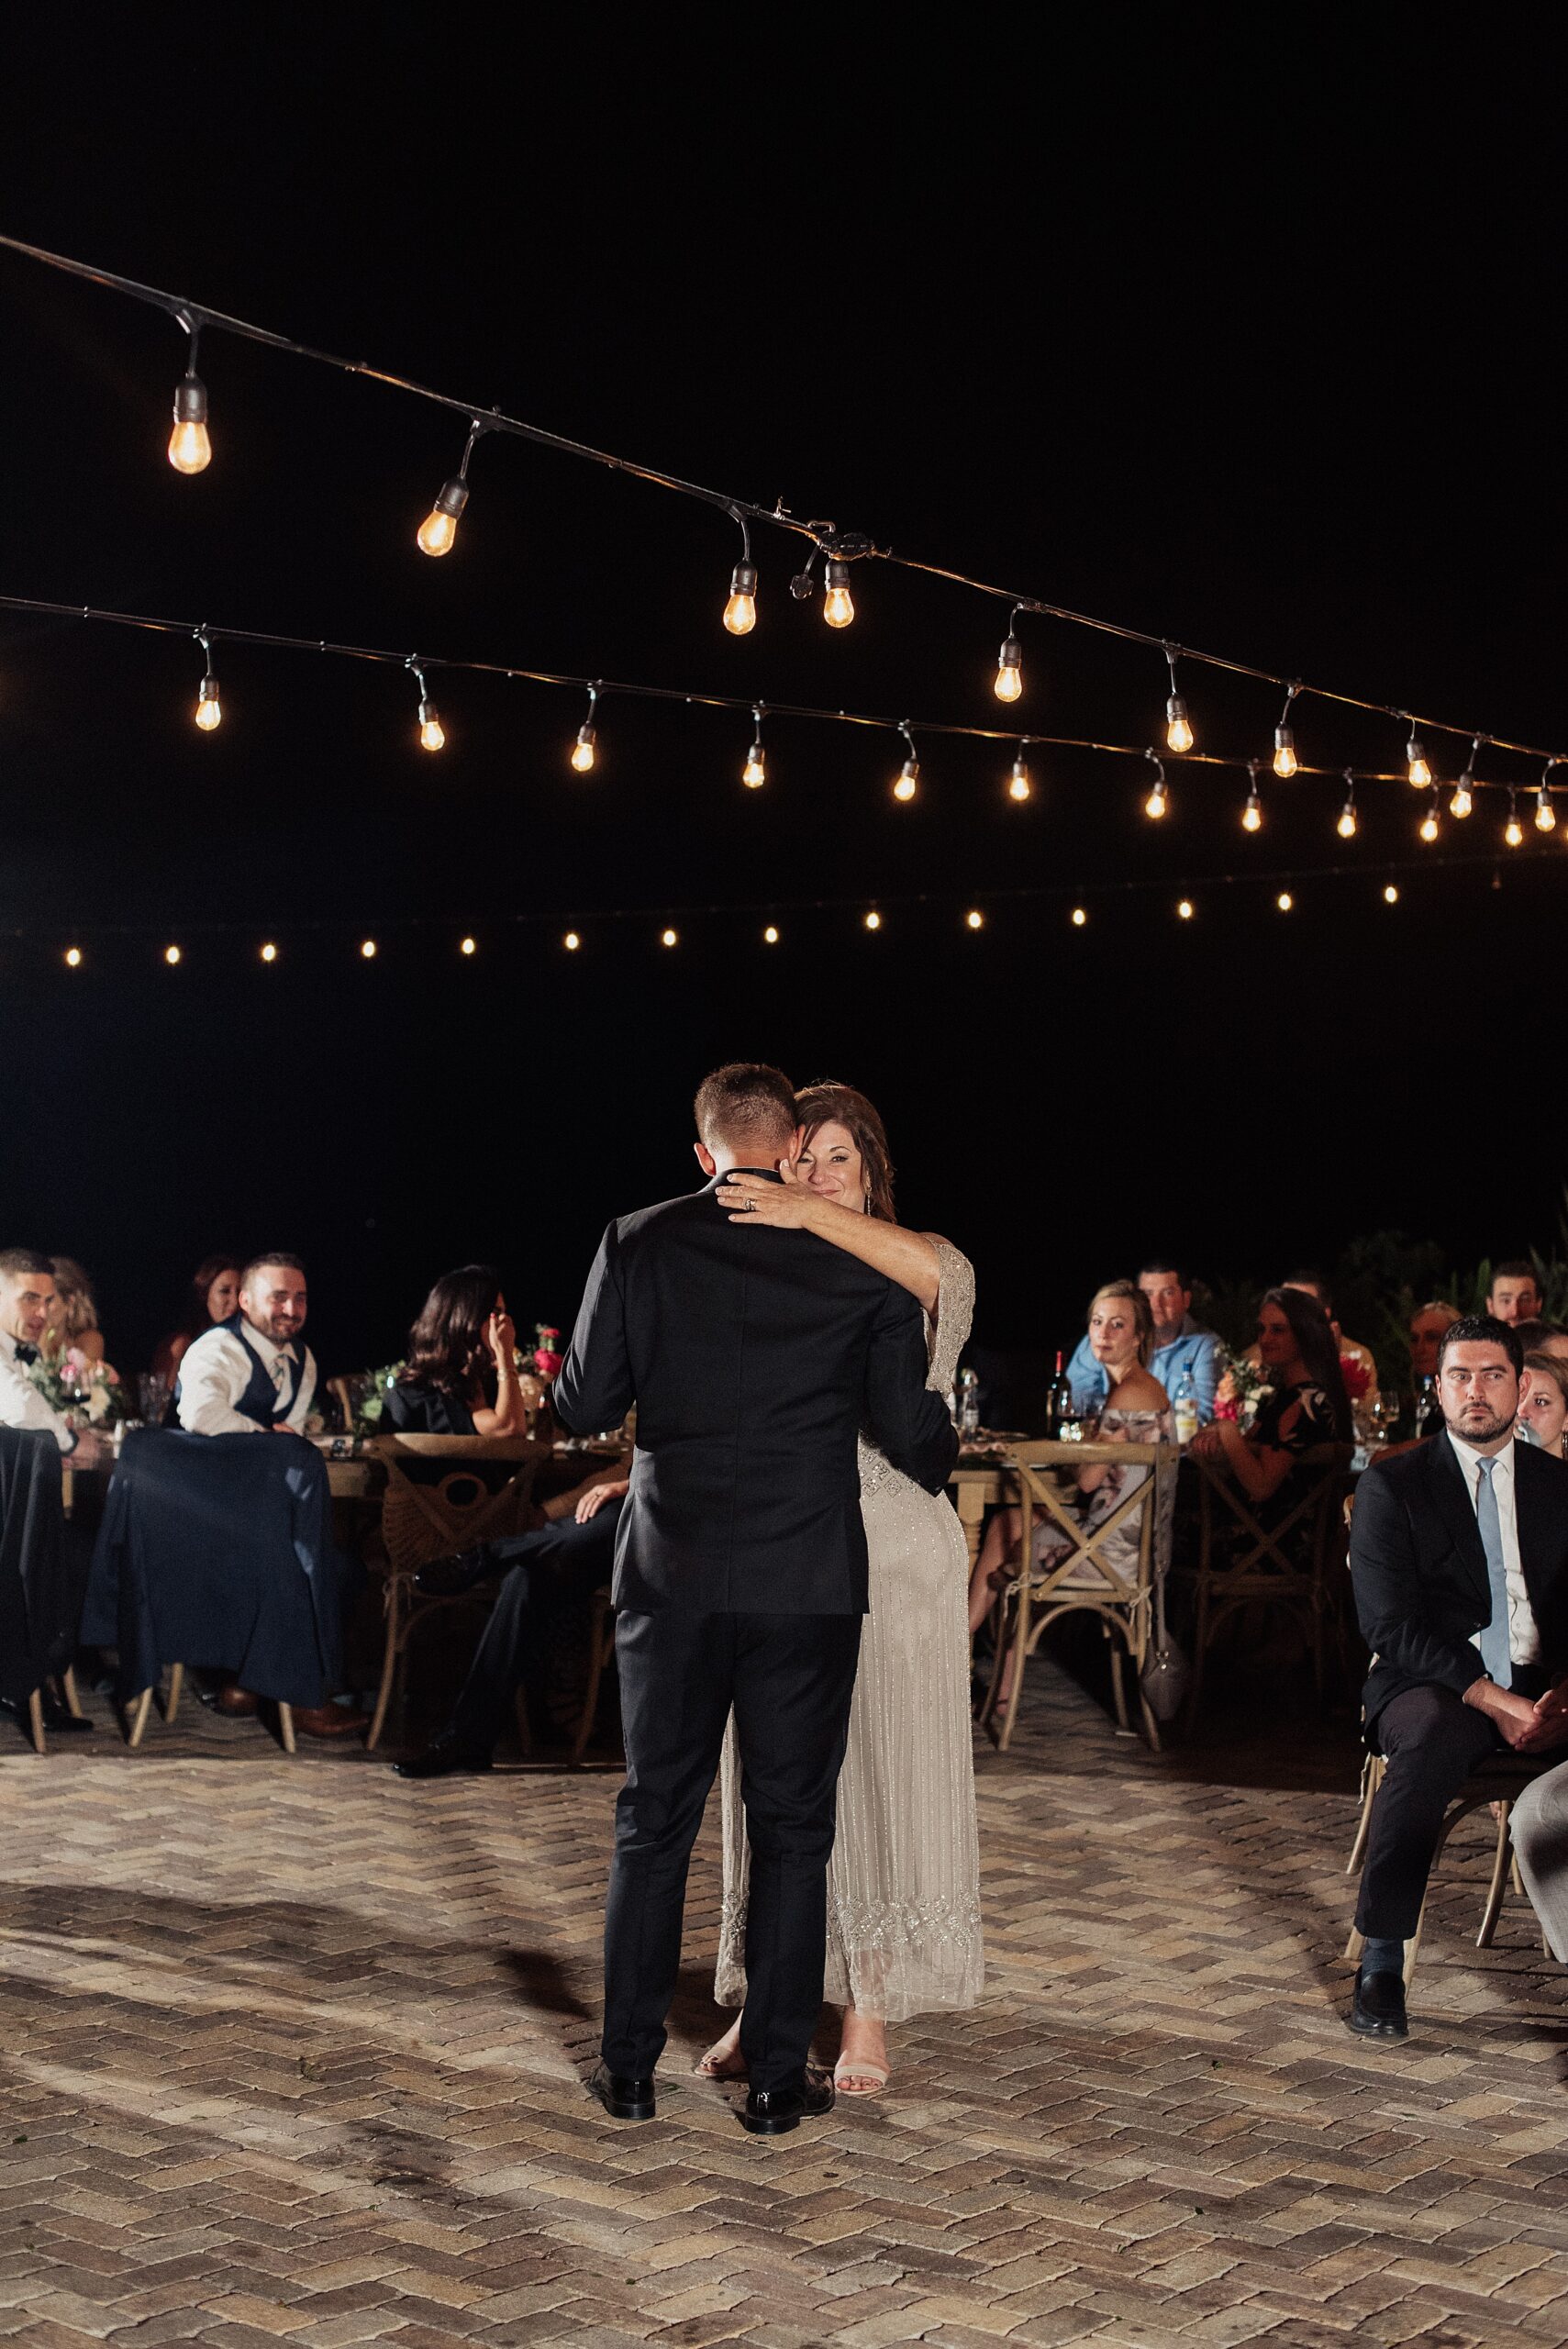
Best flash settings for indoor wedding receptions
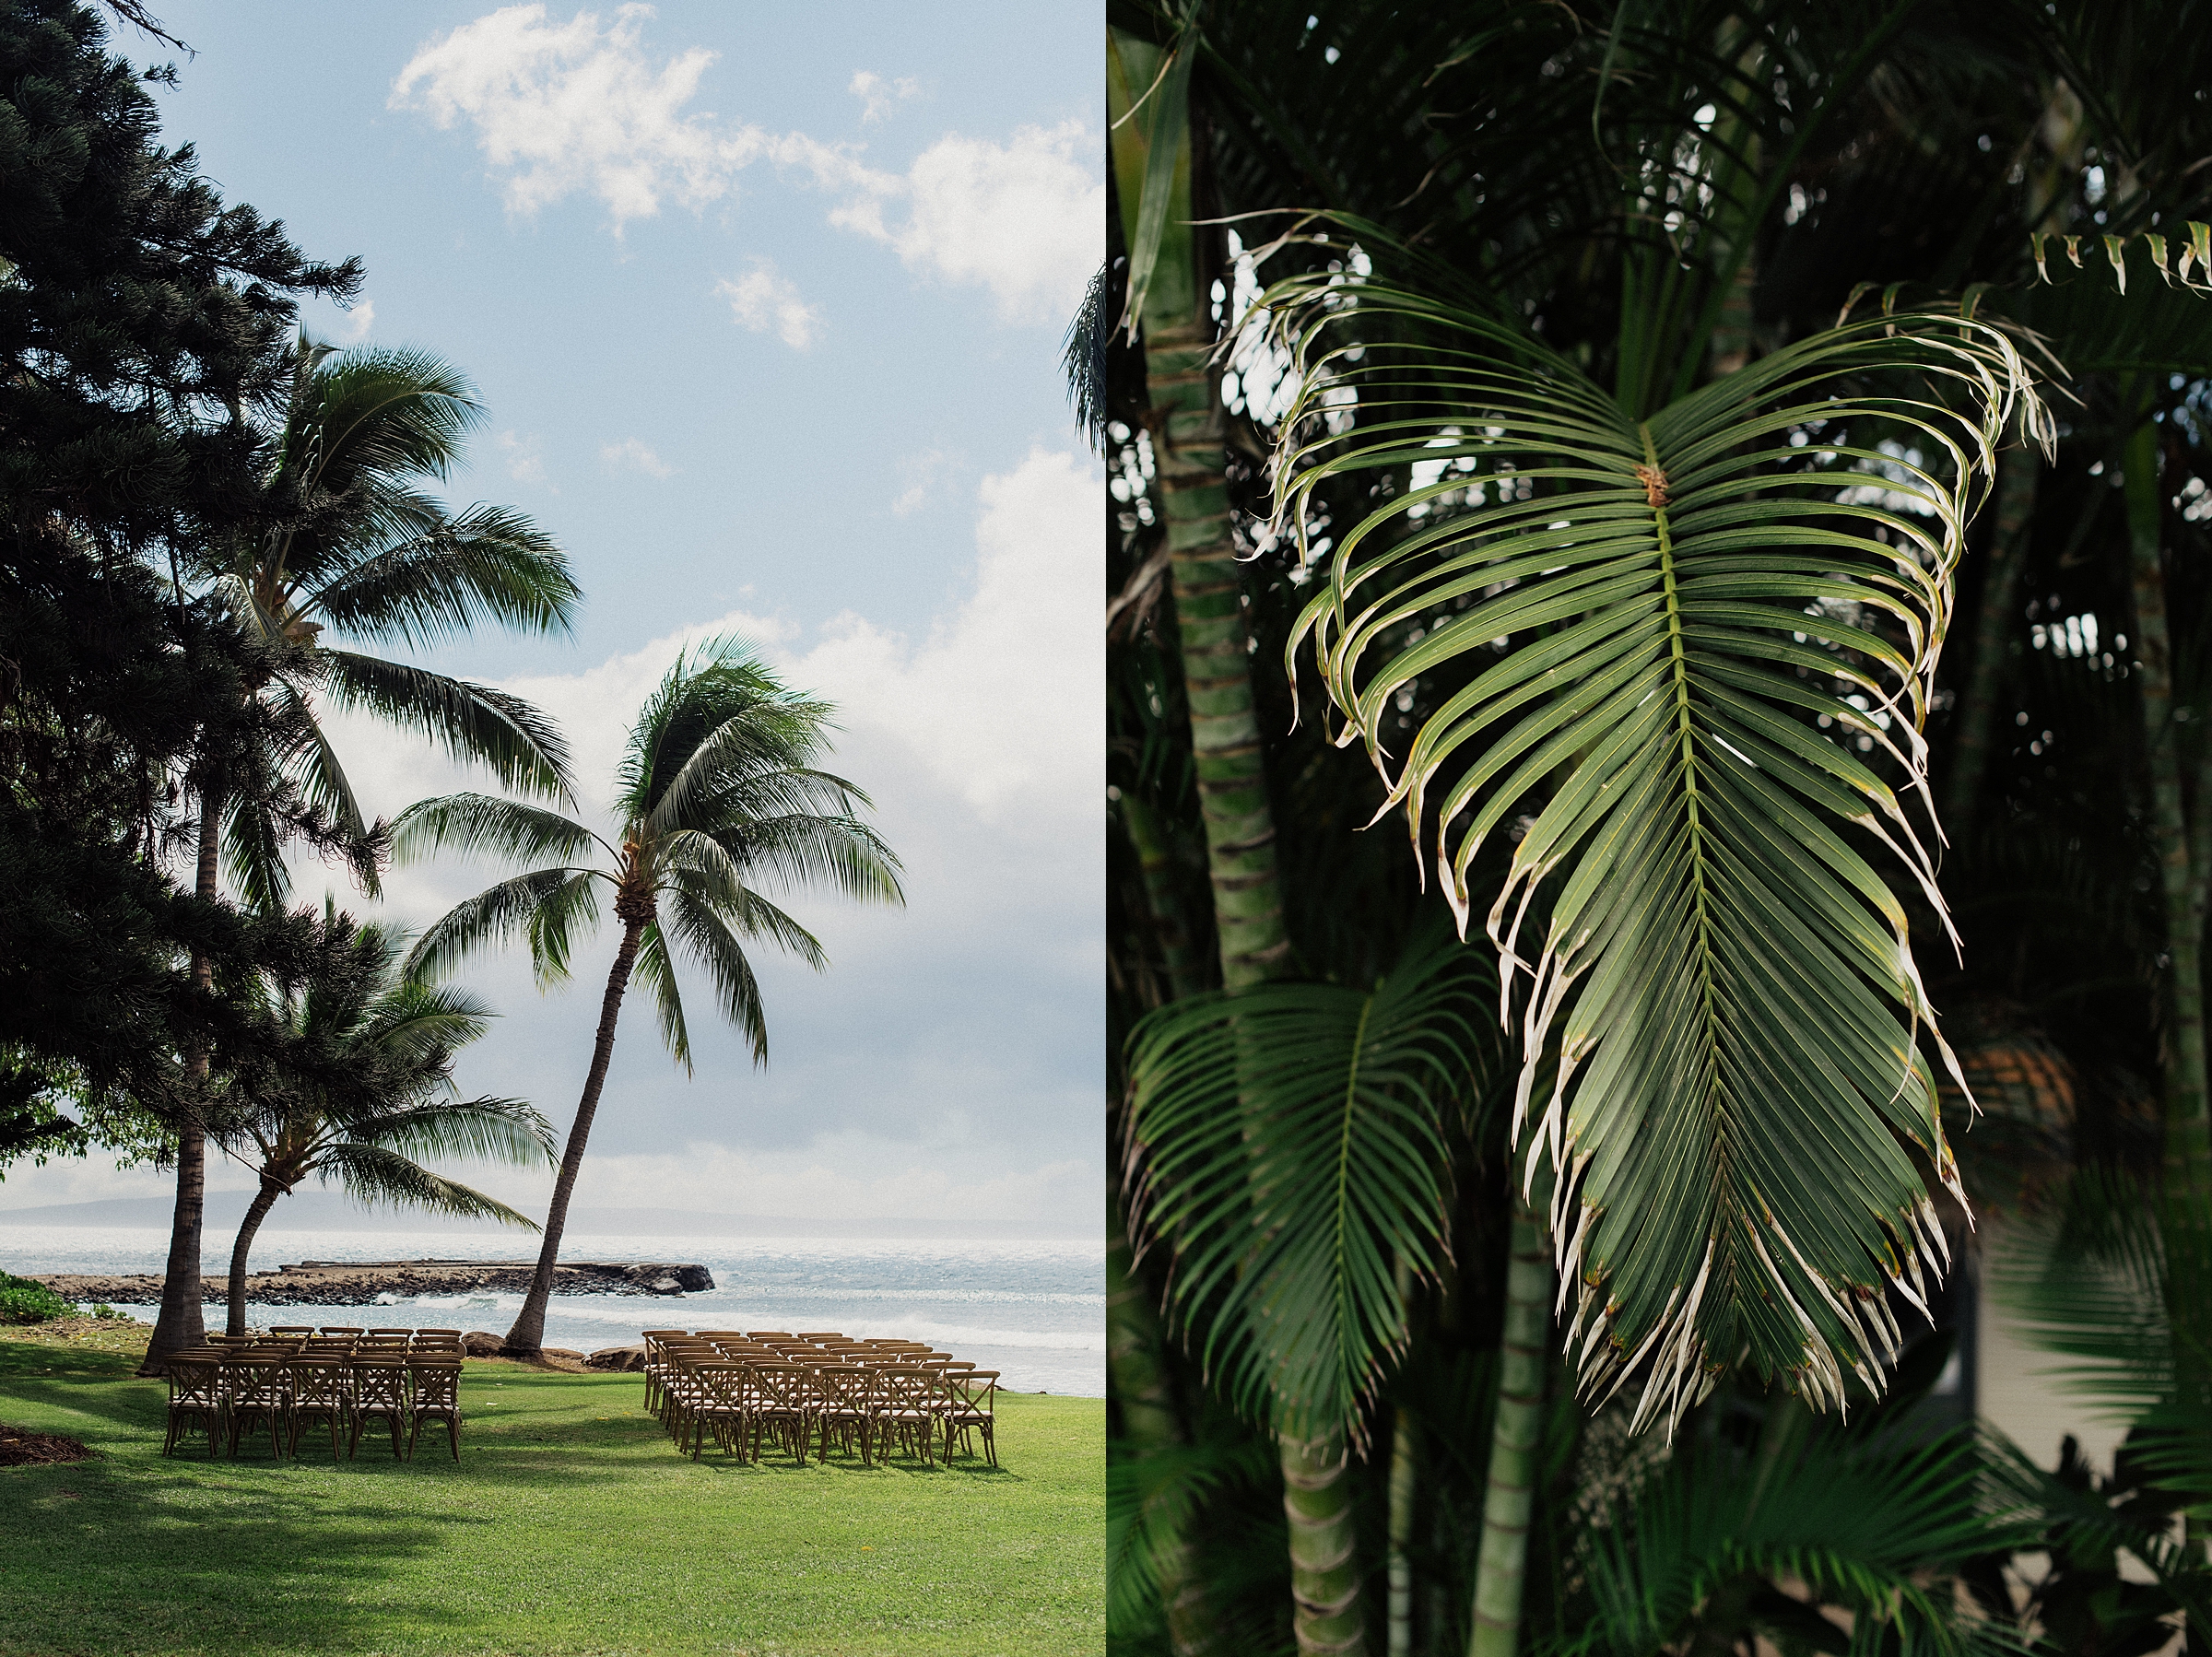
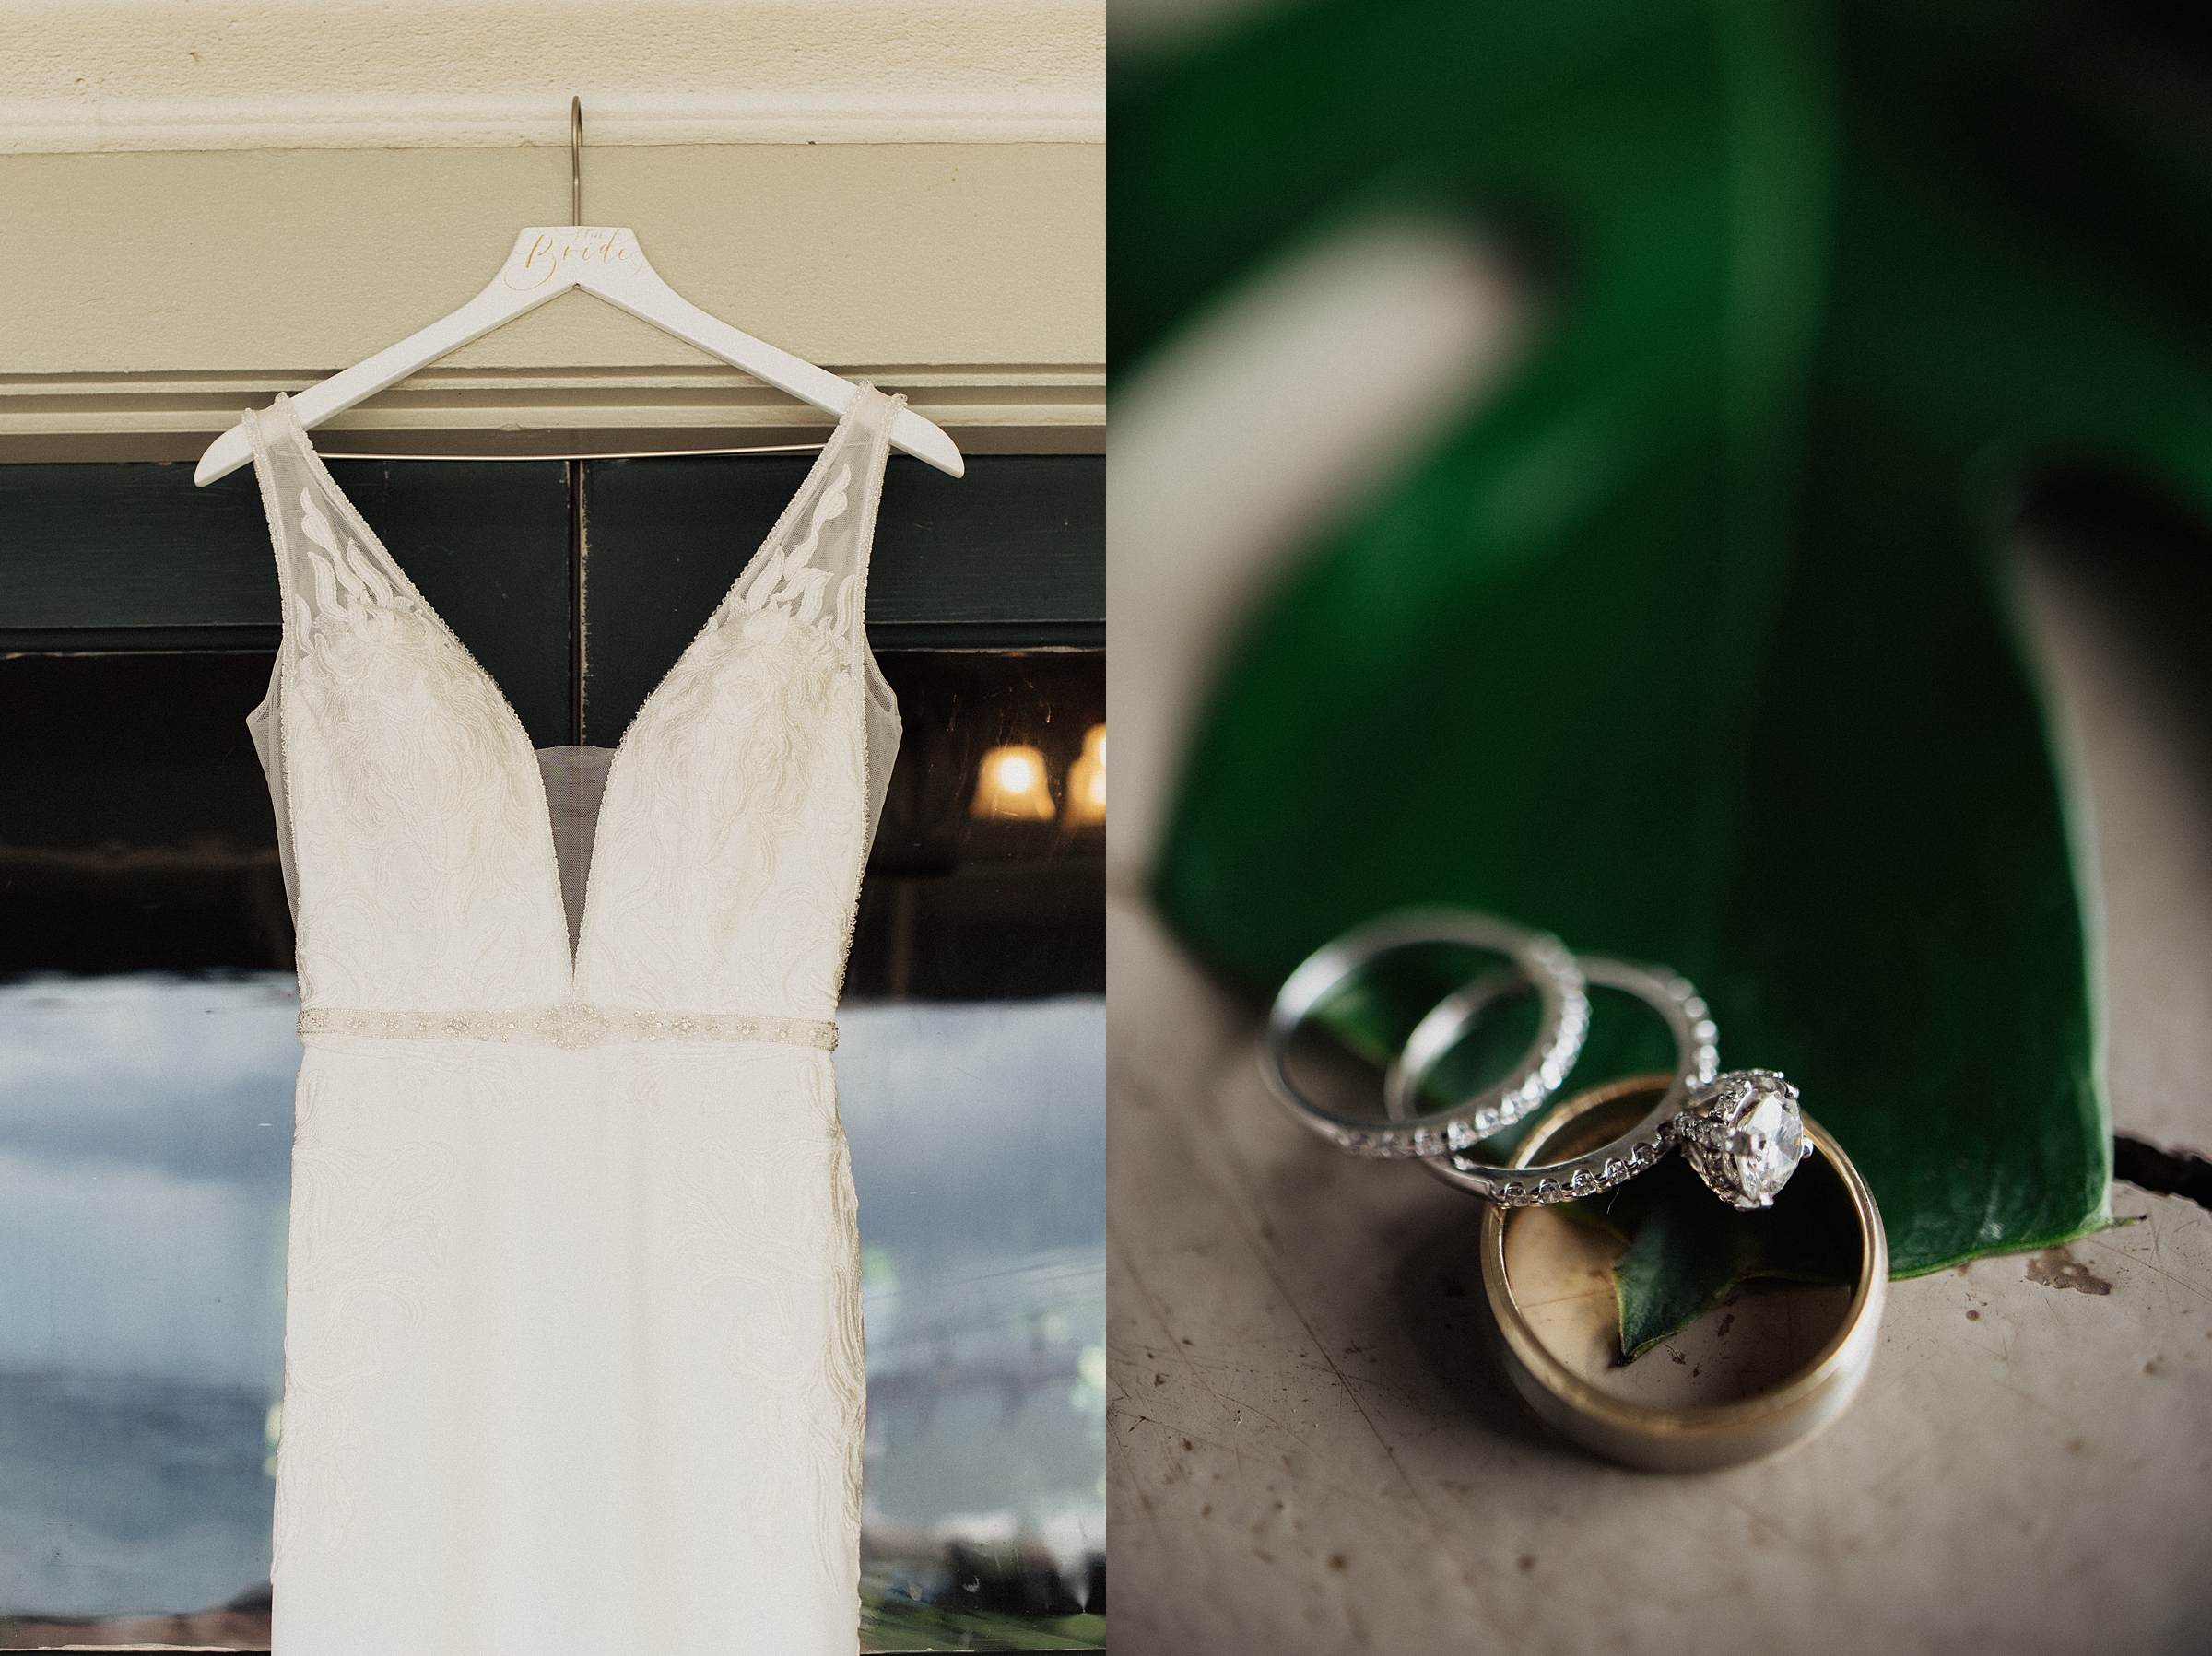
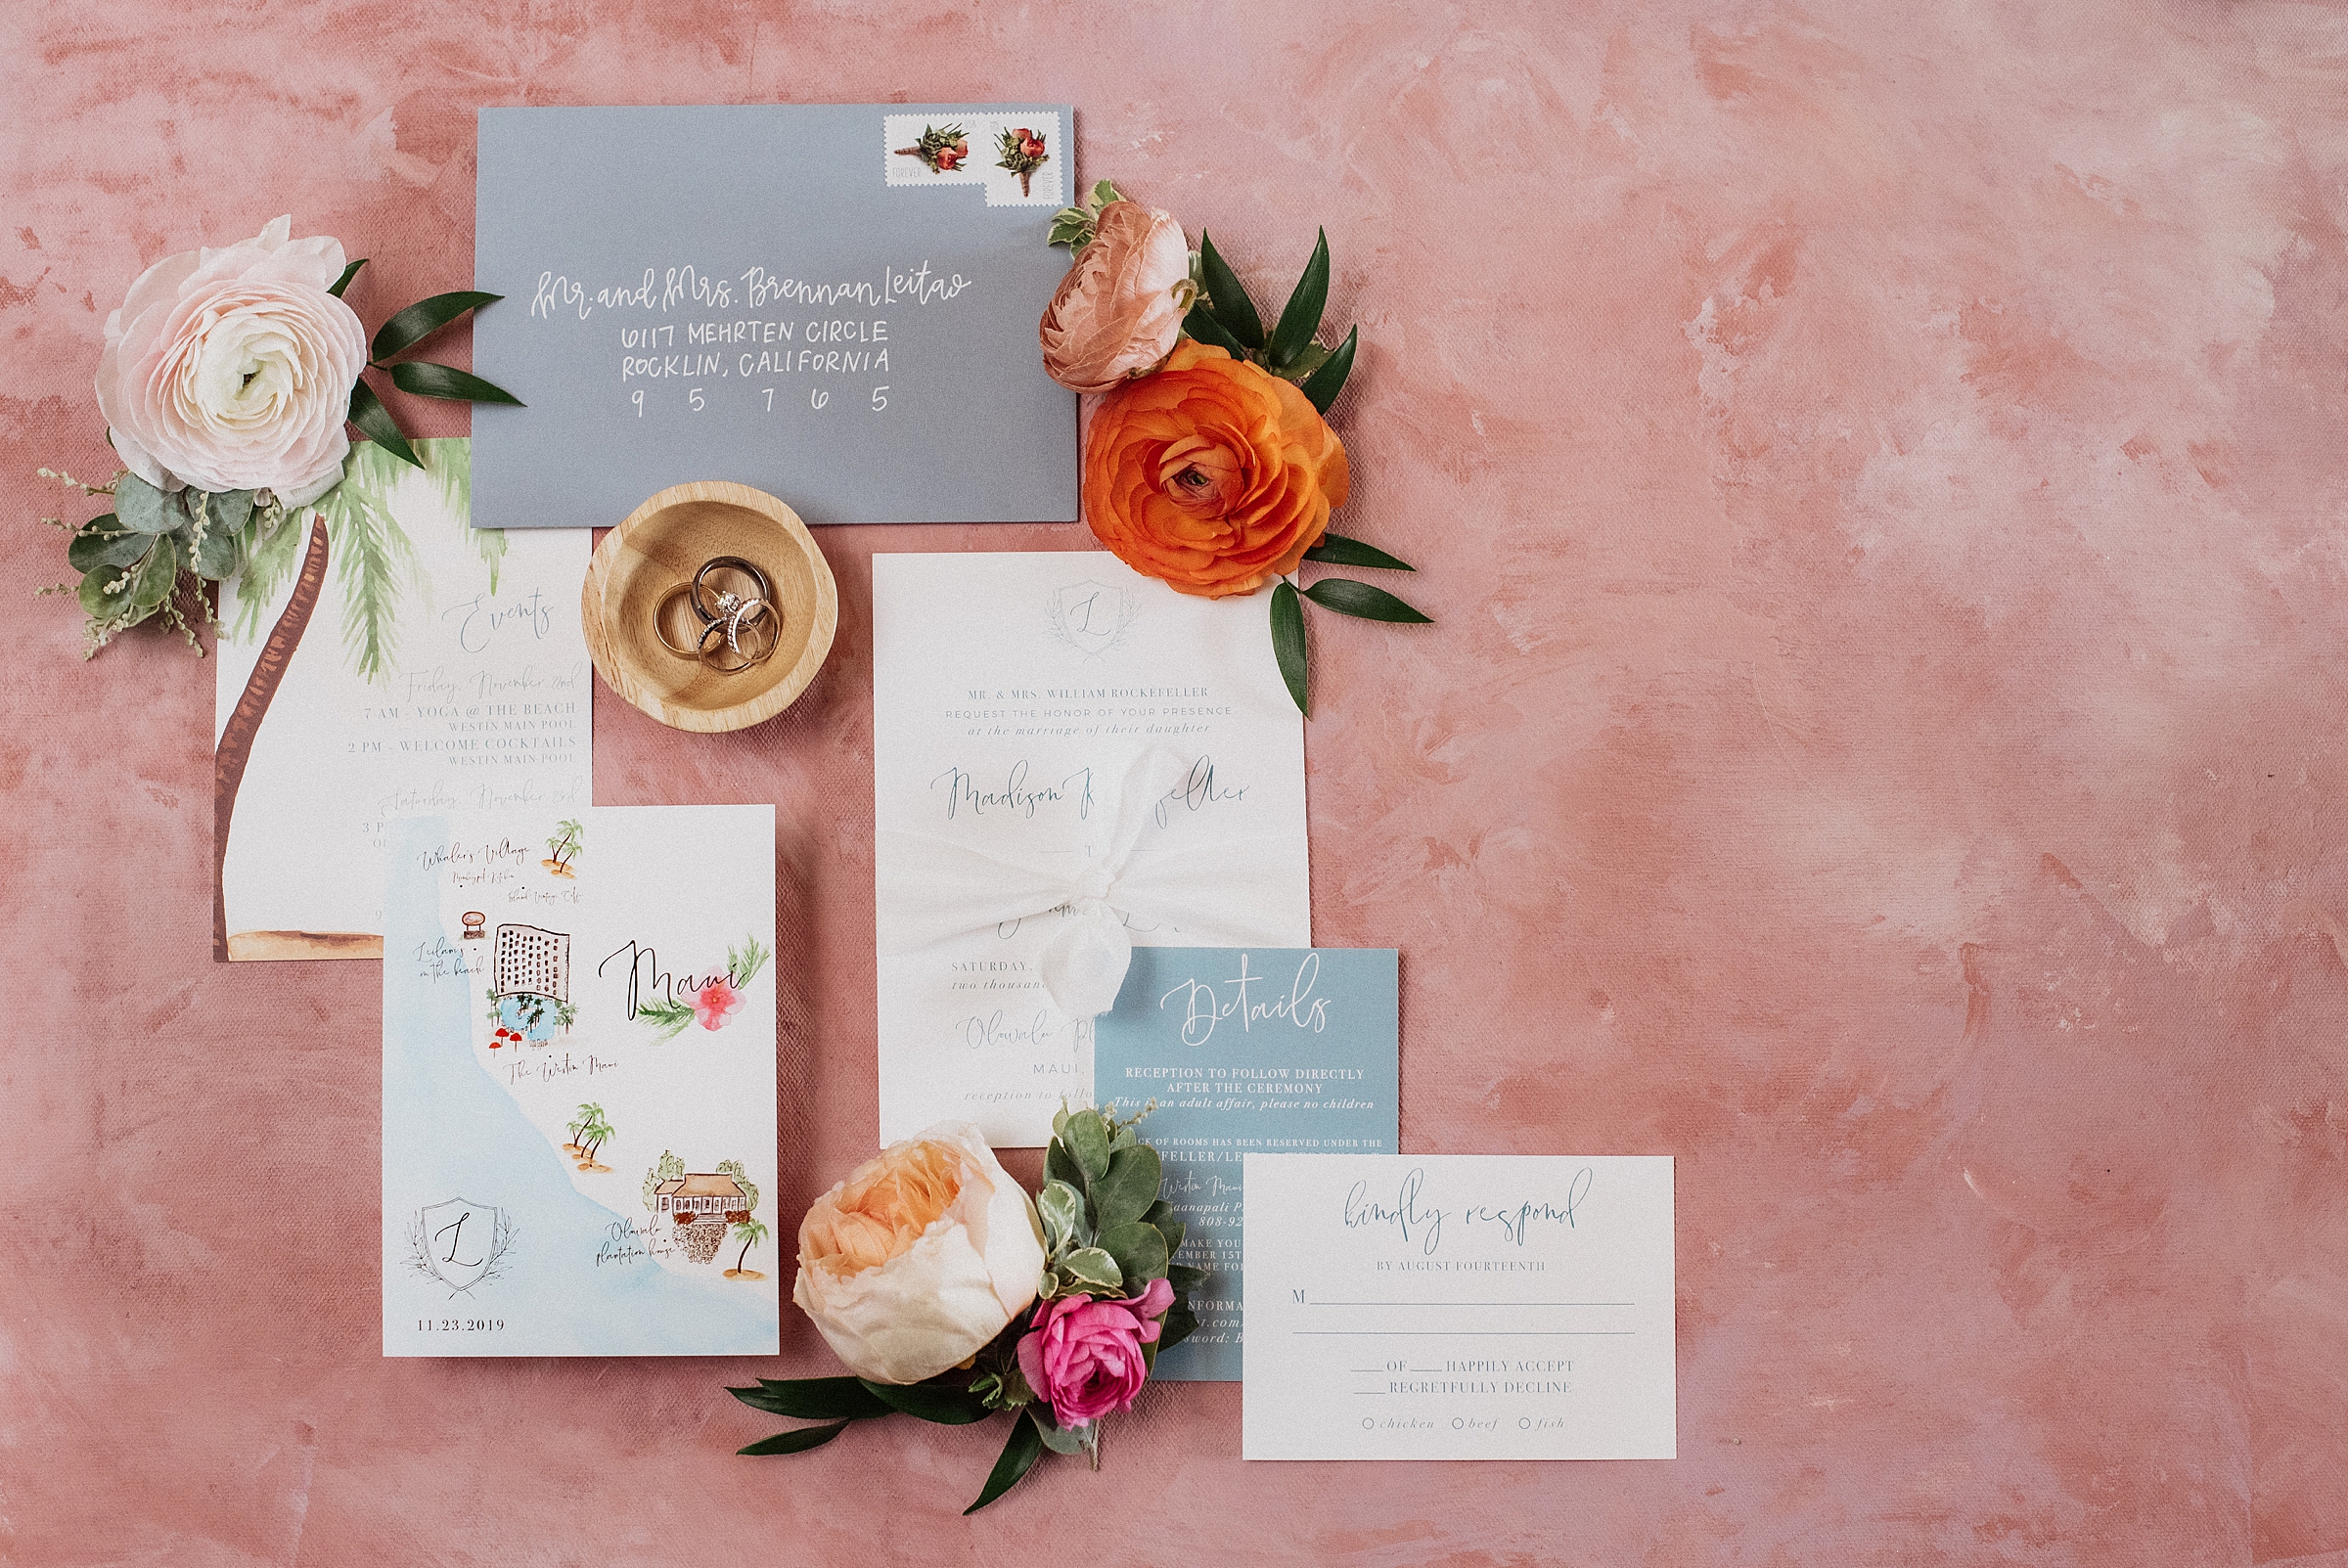
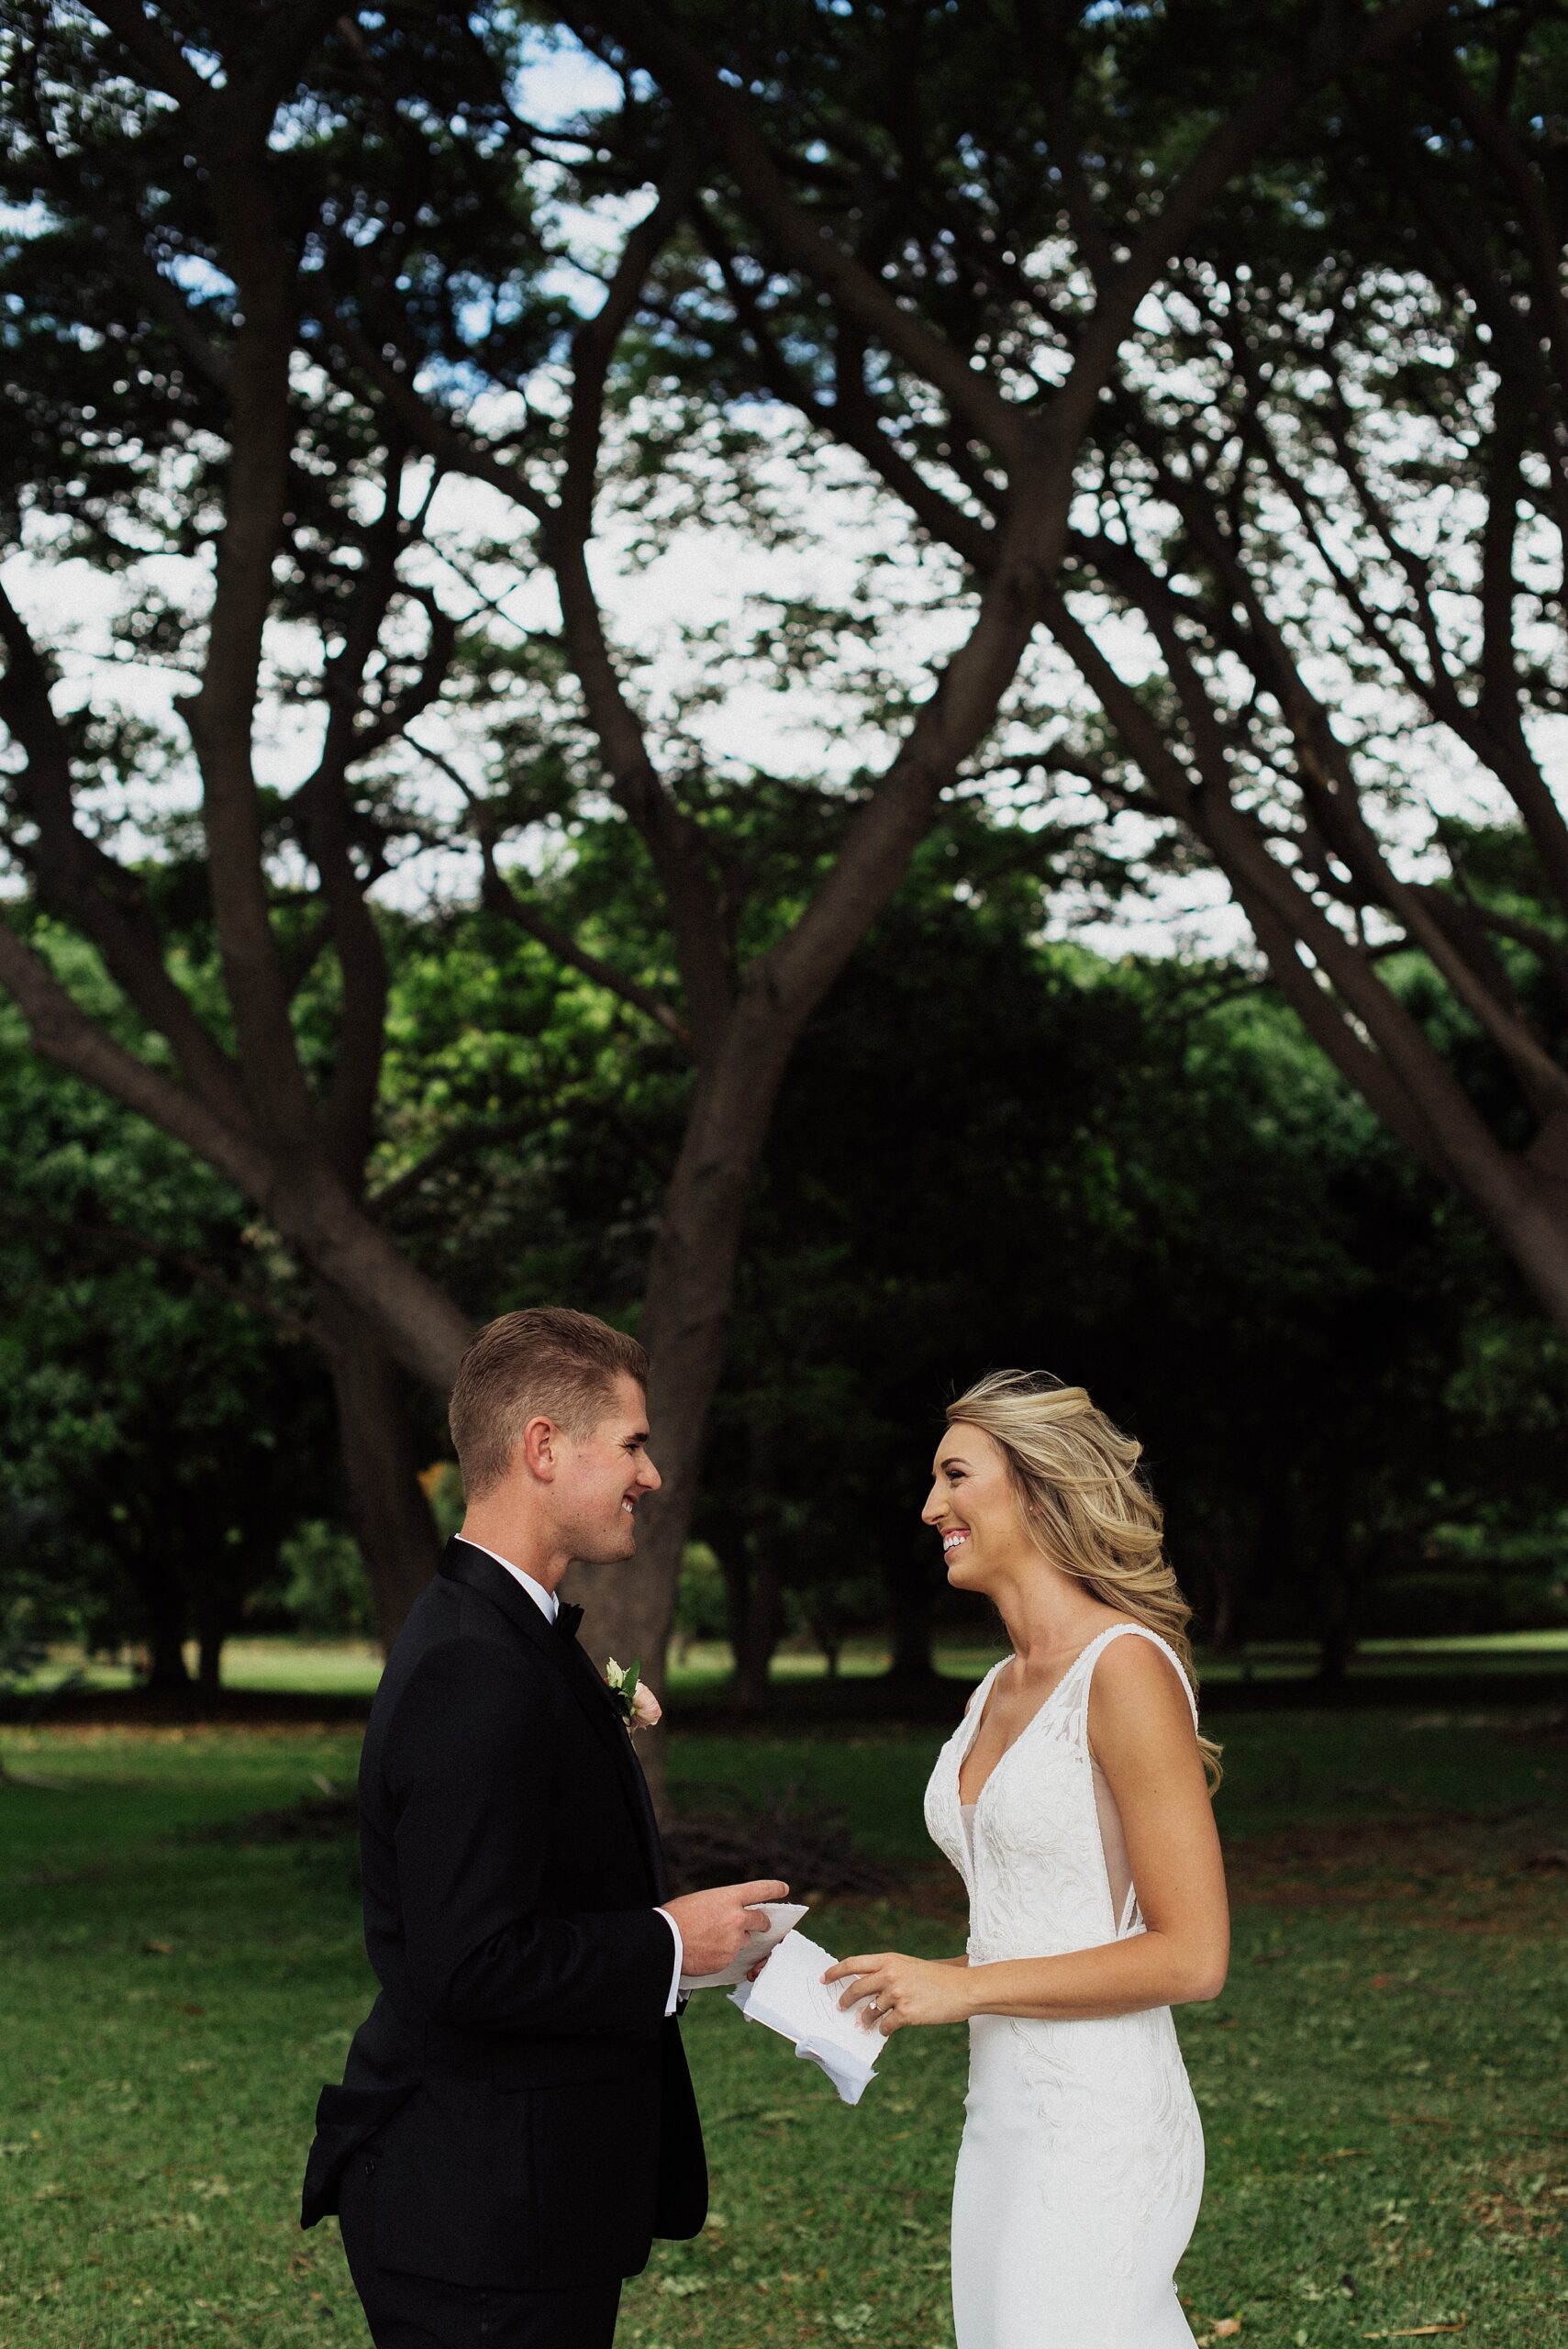
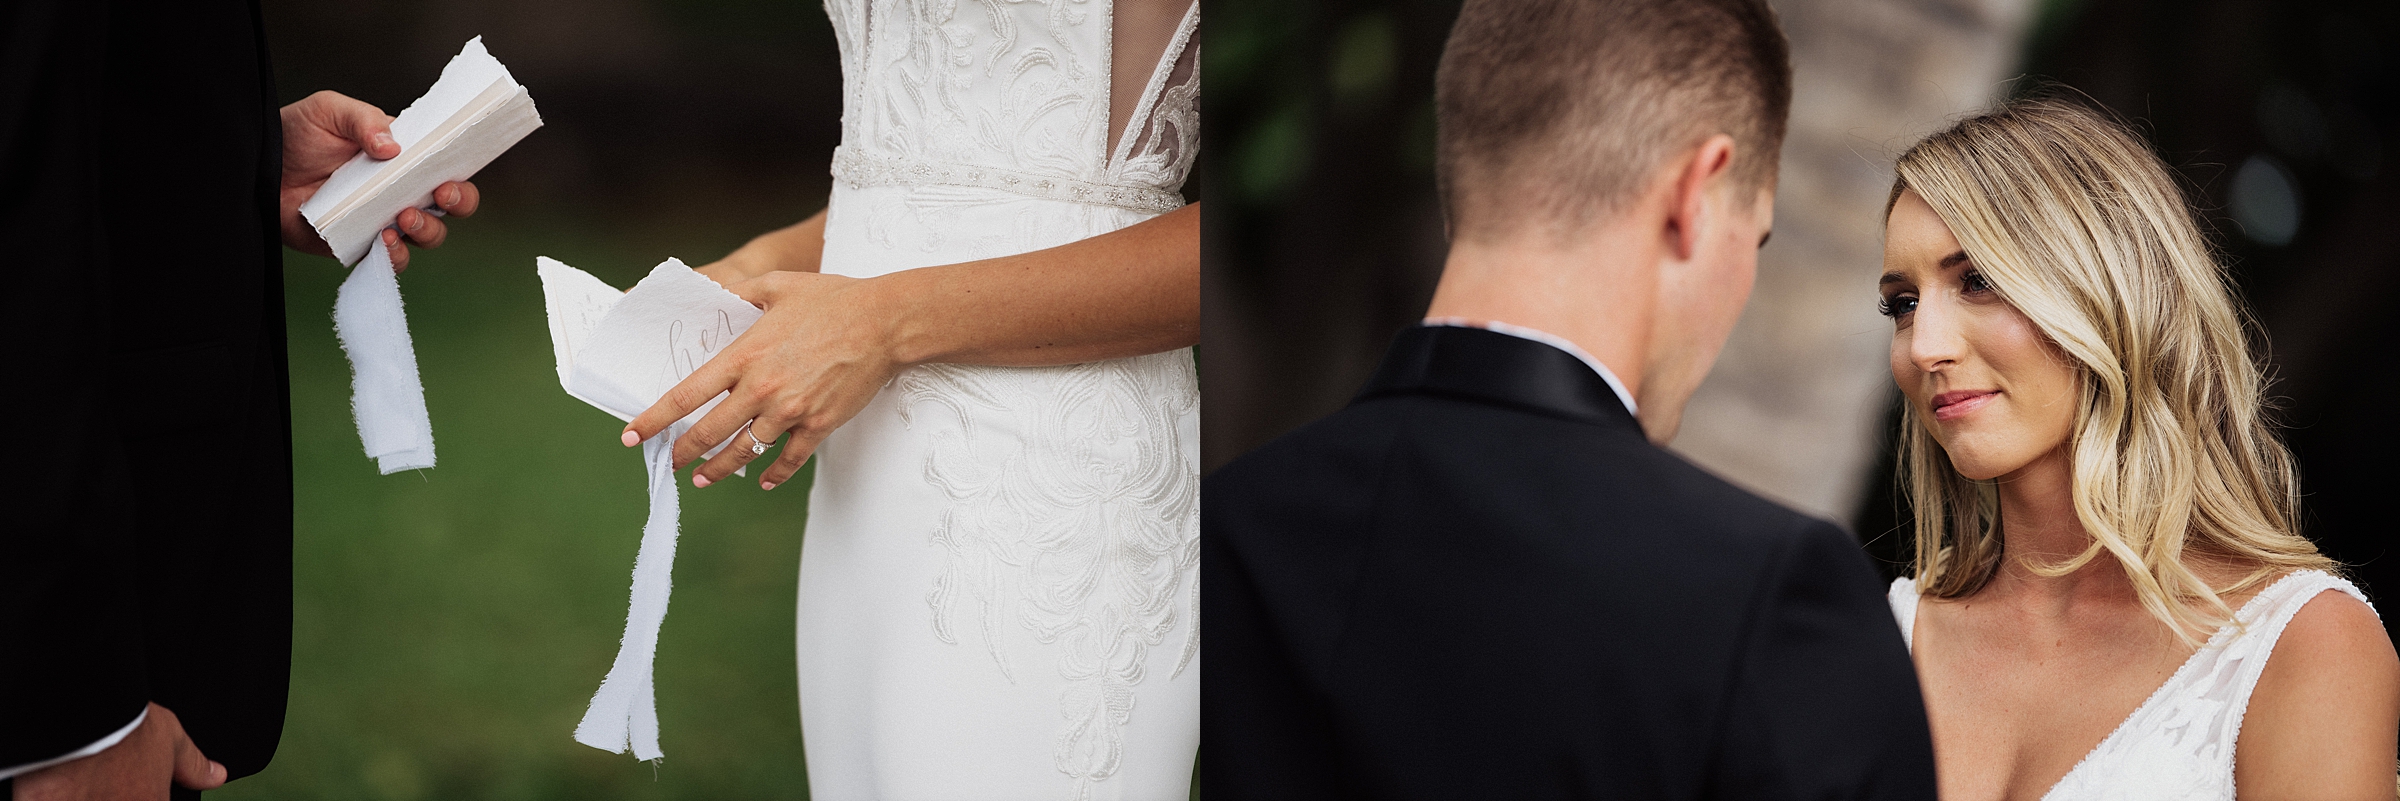
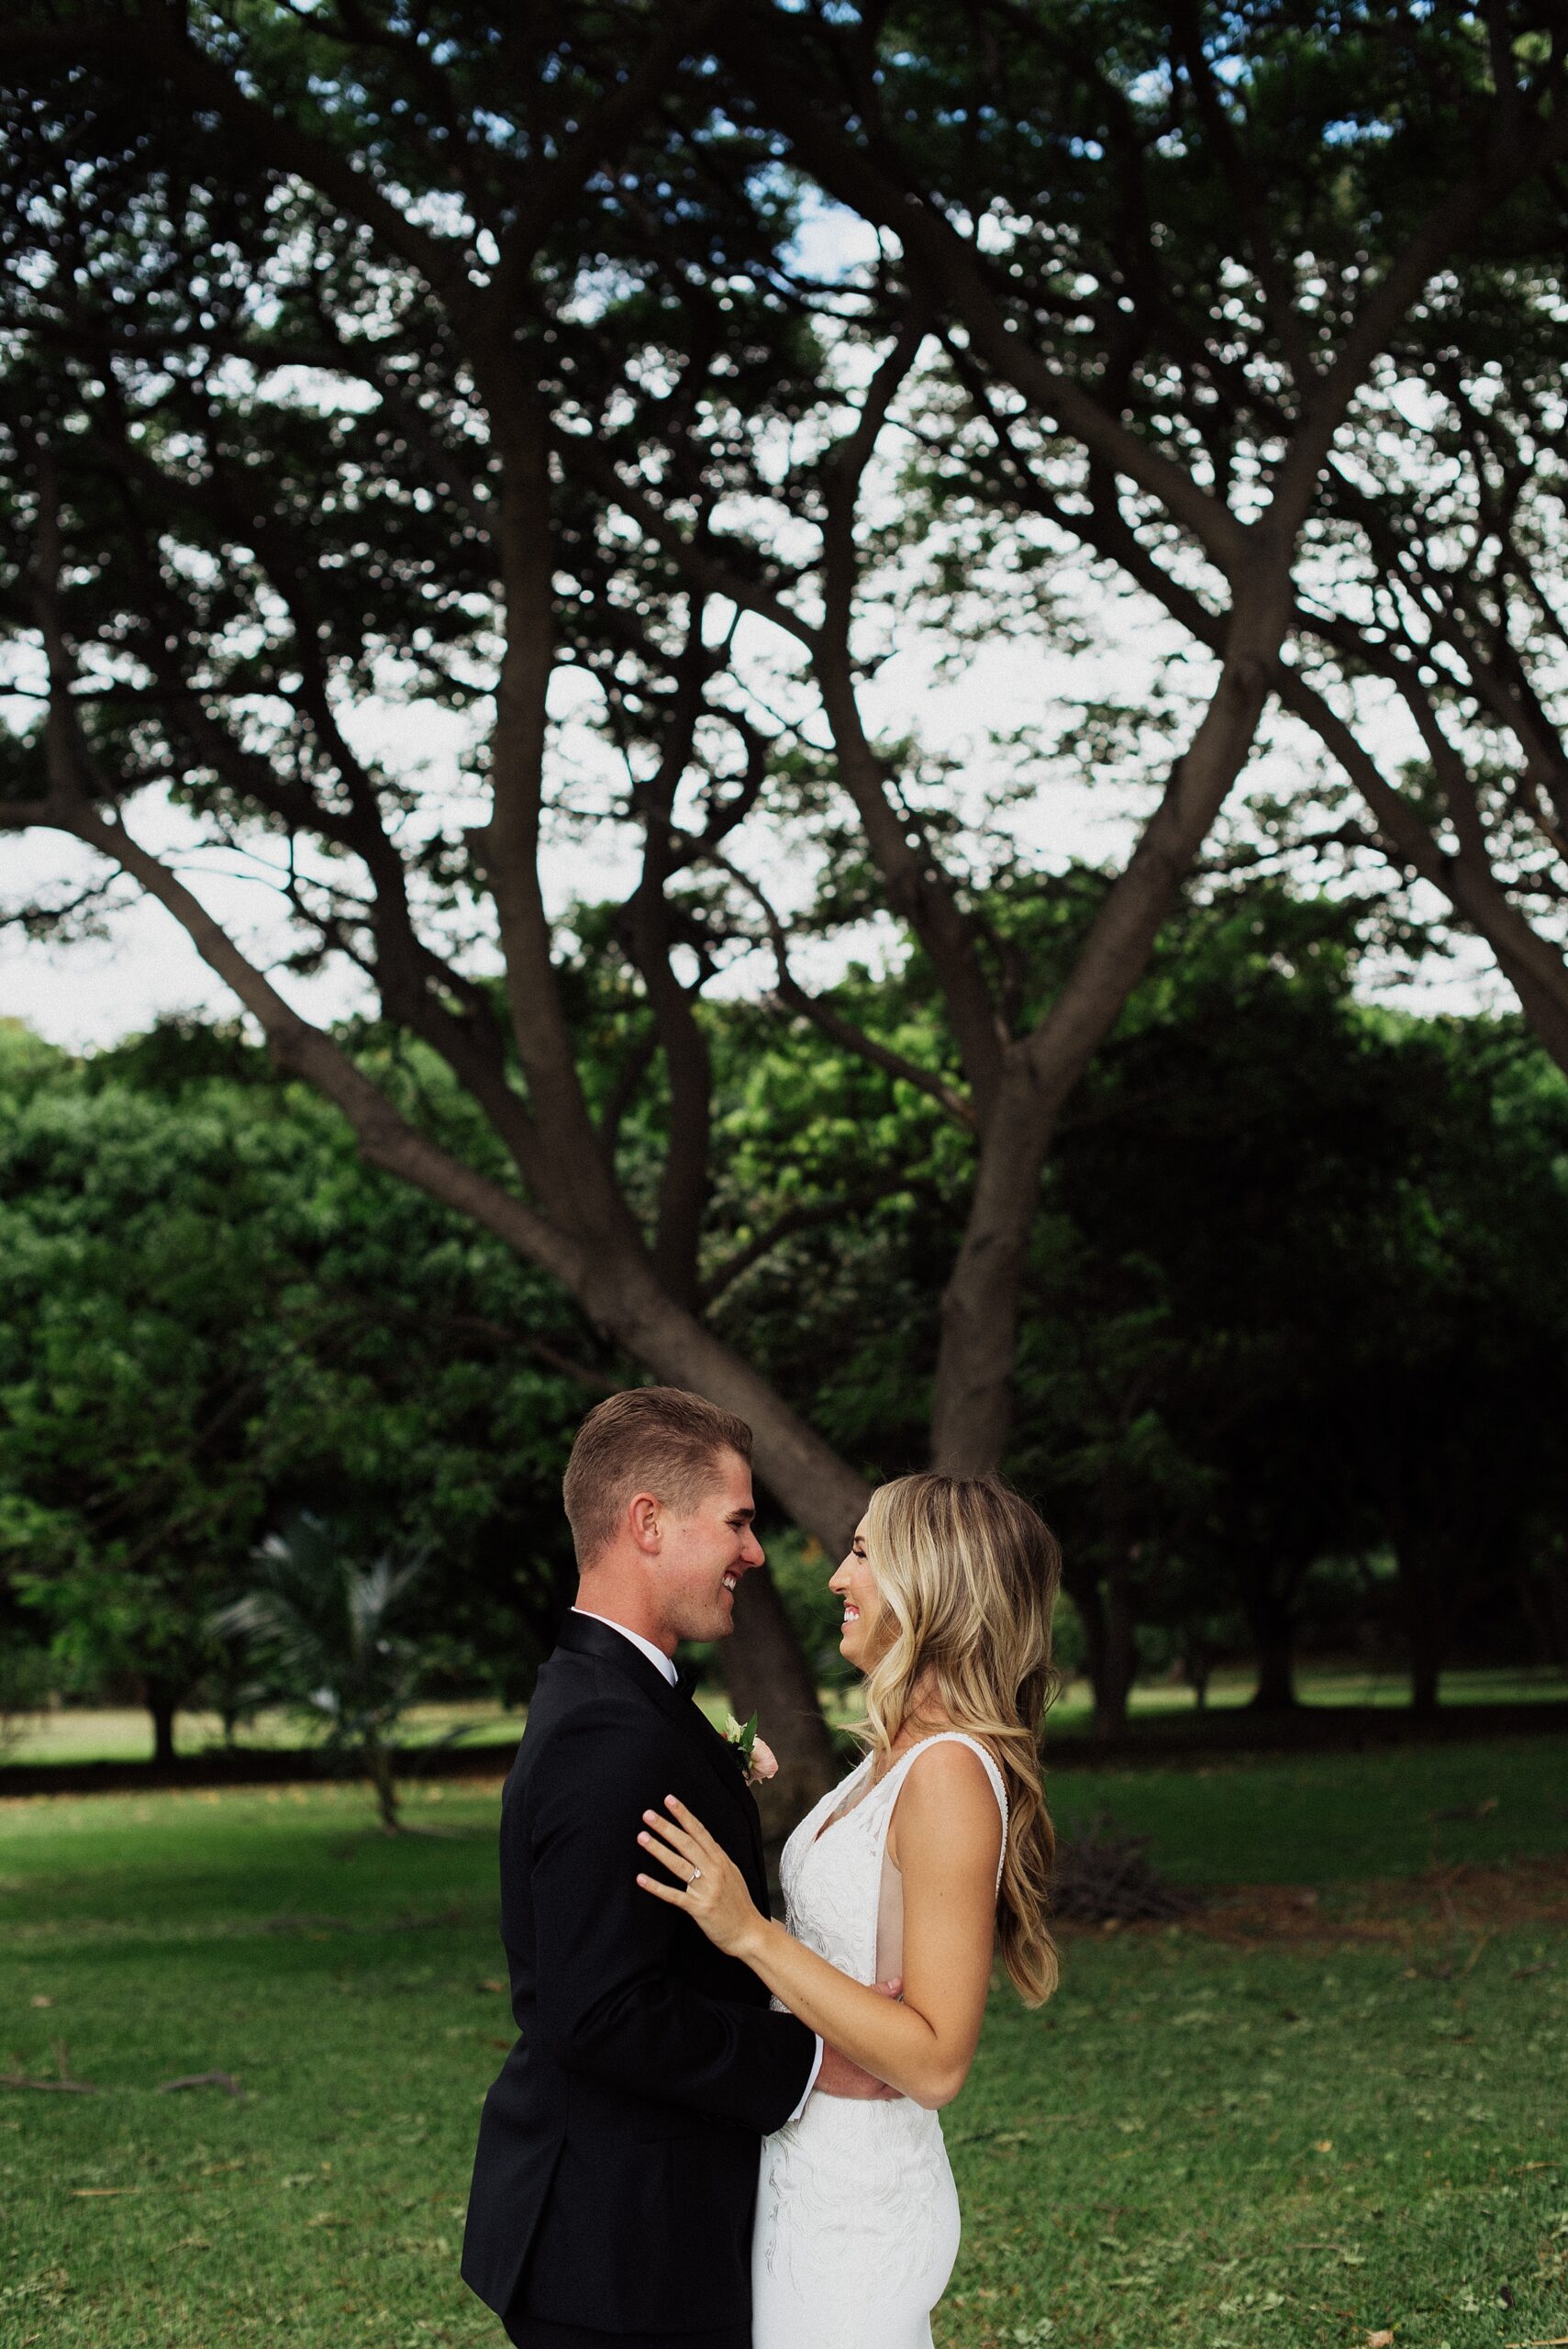
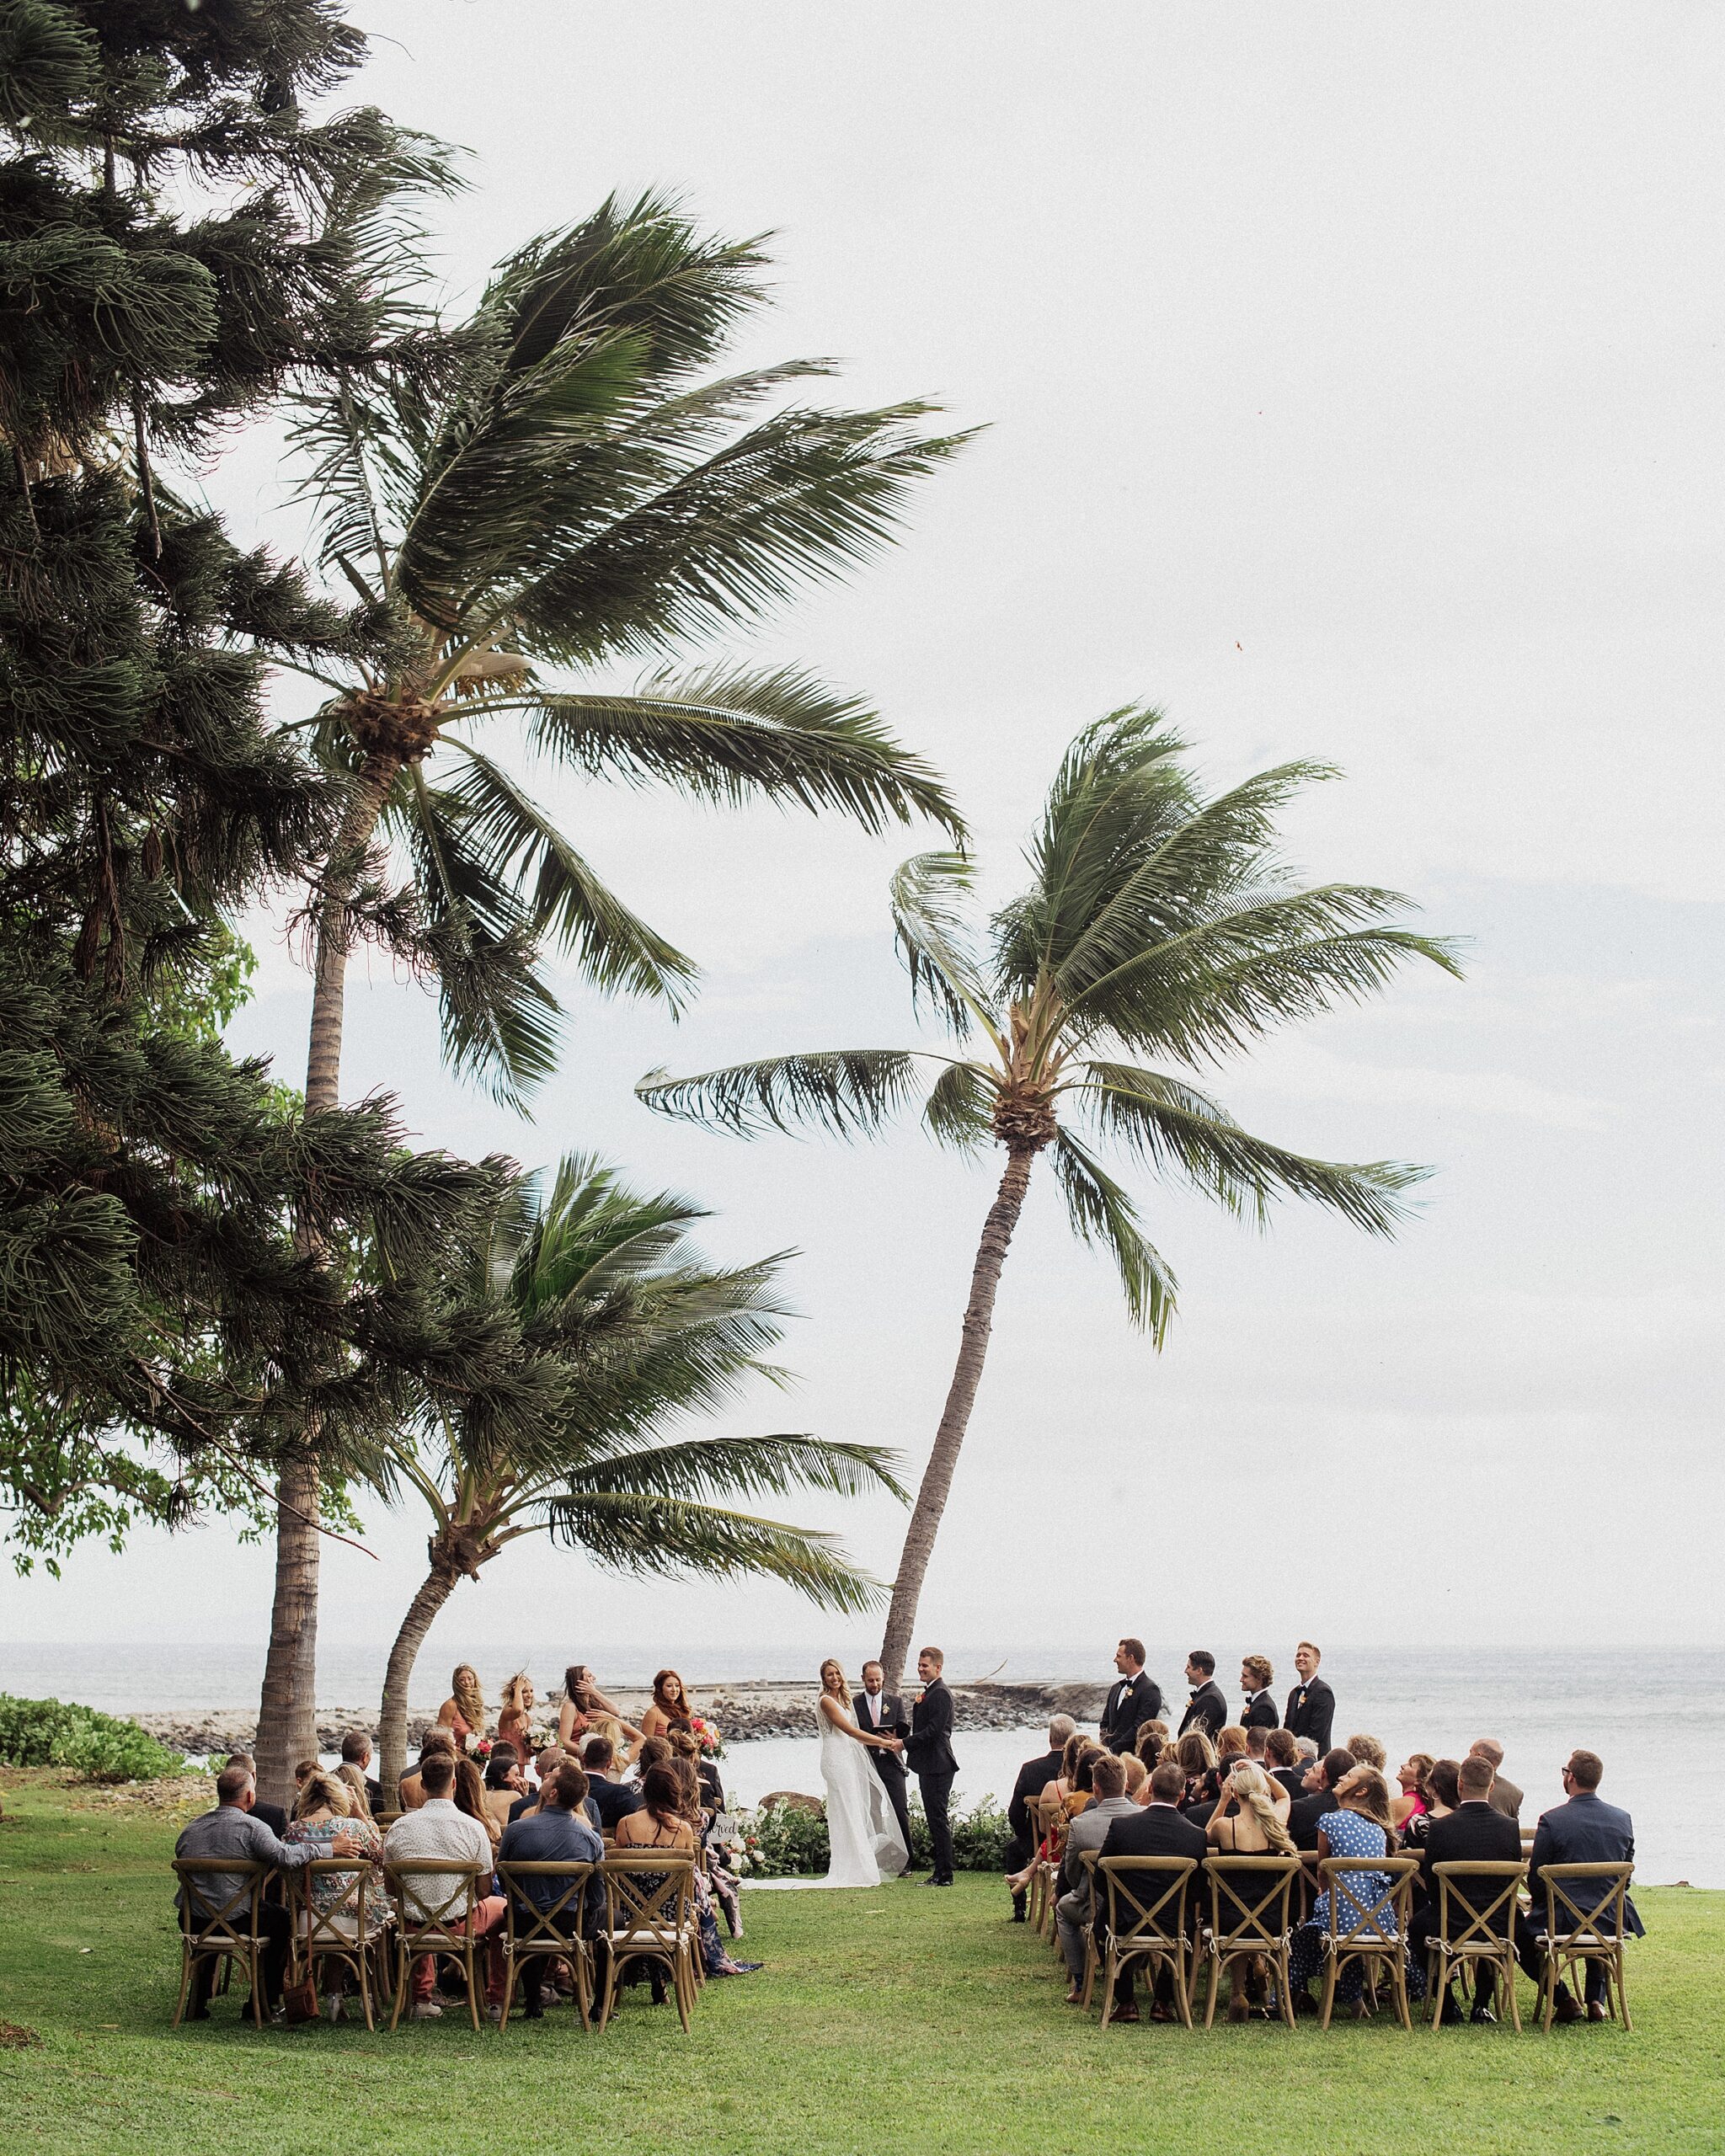
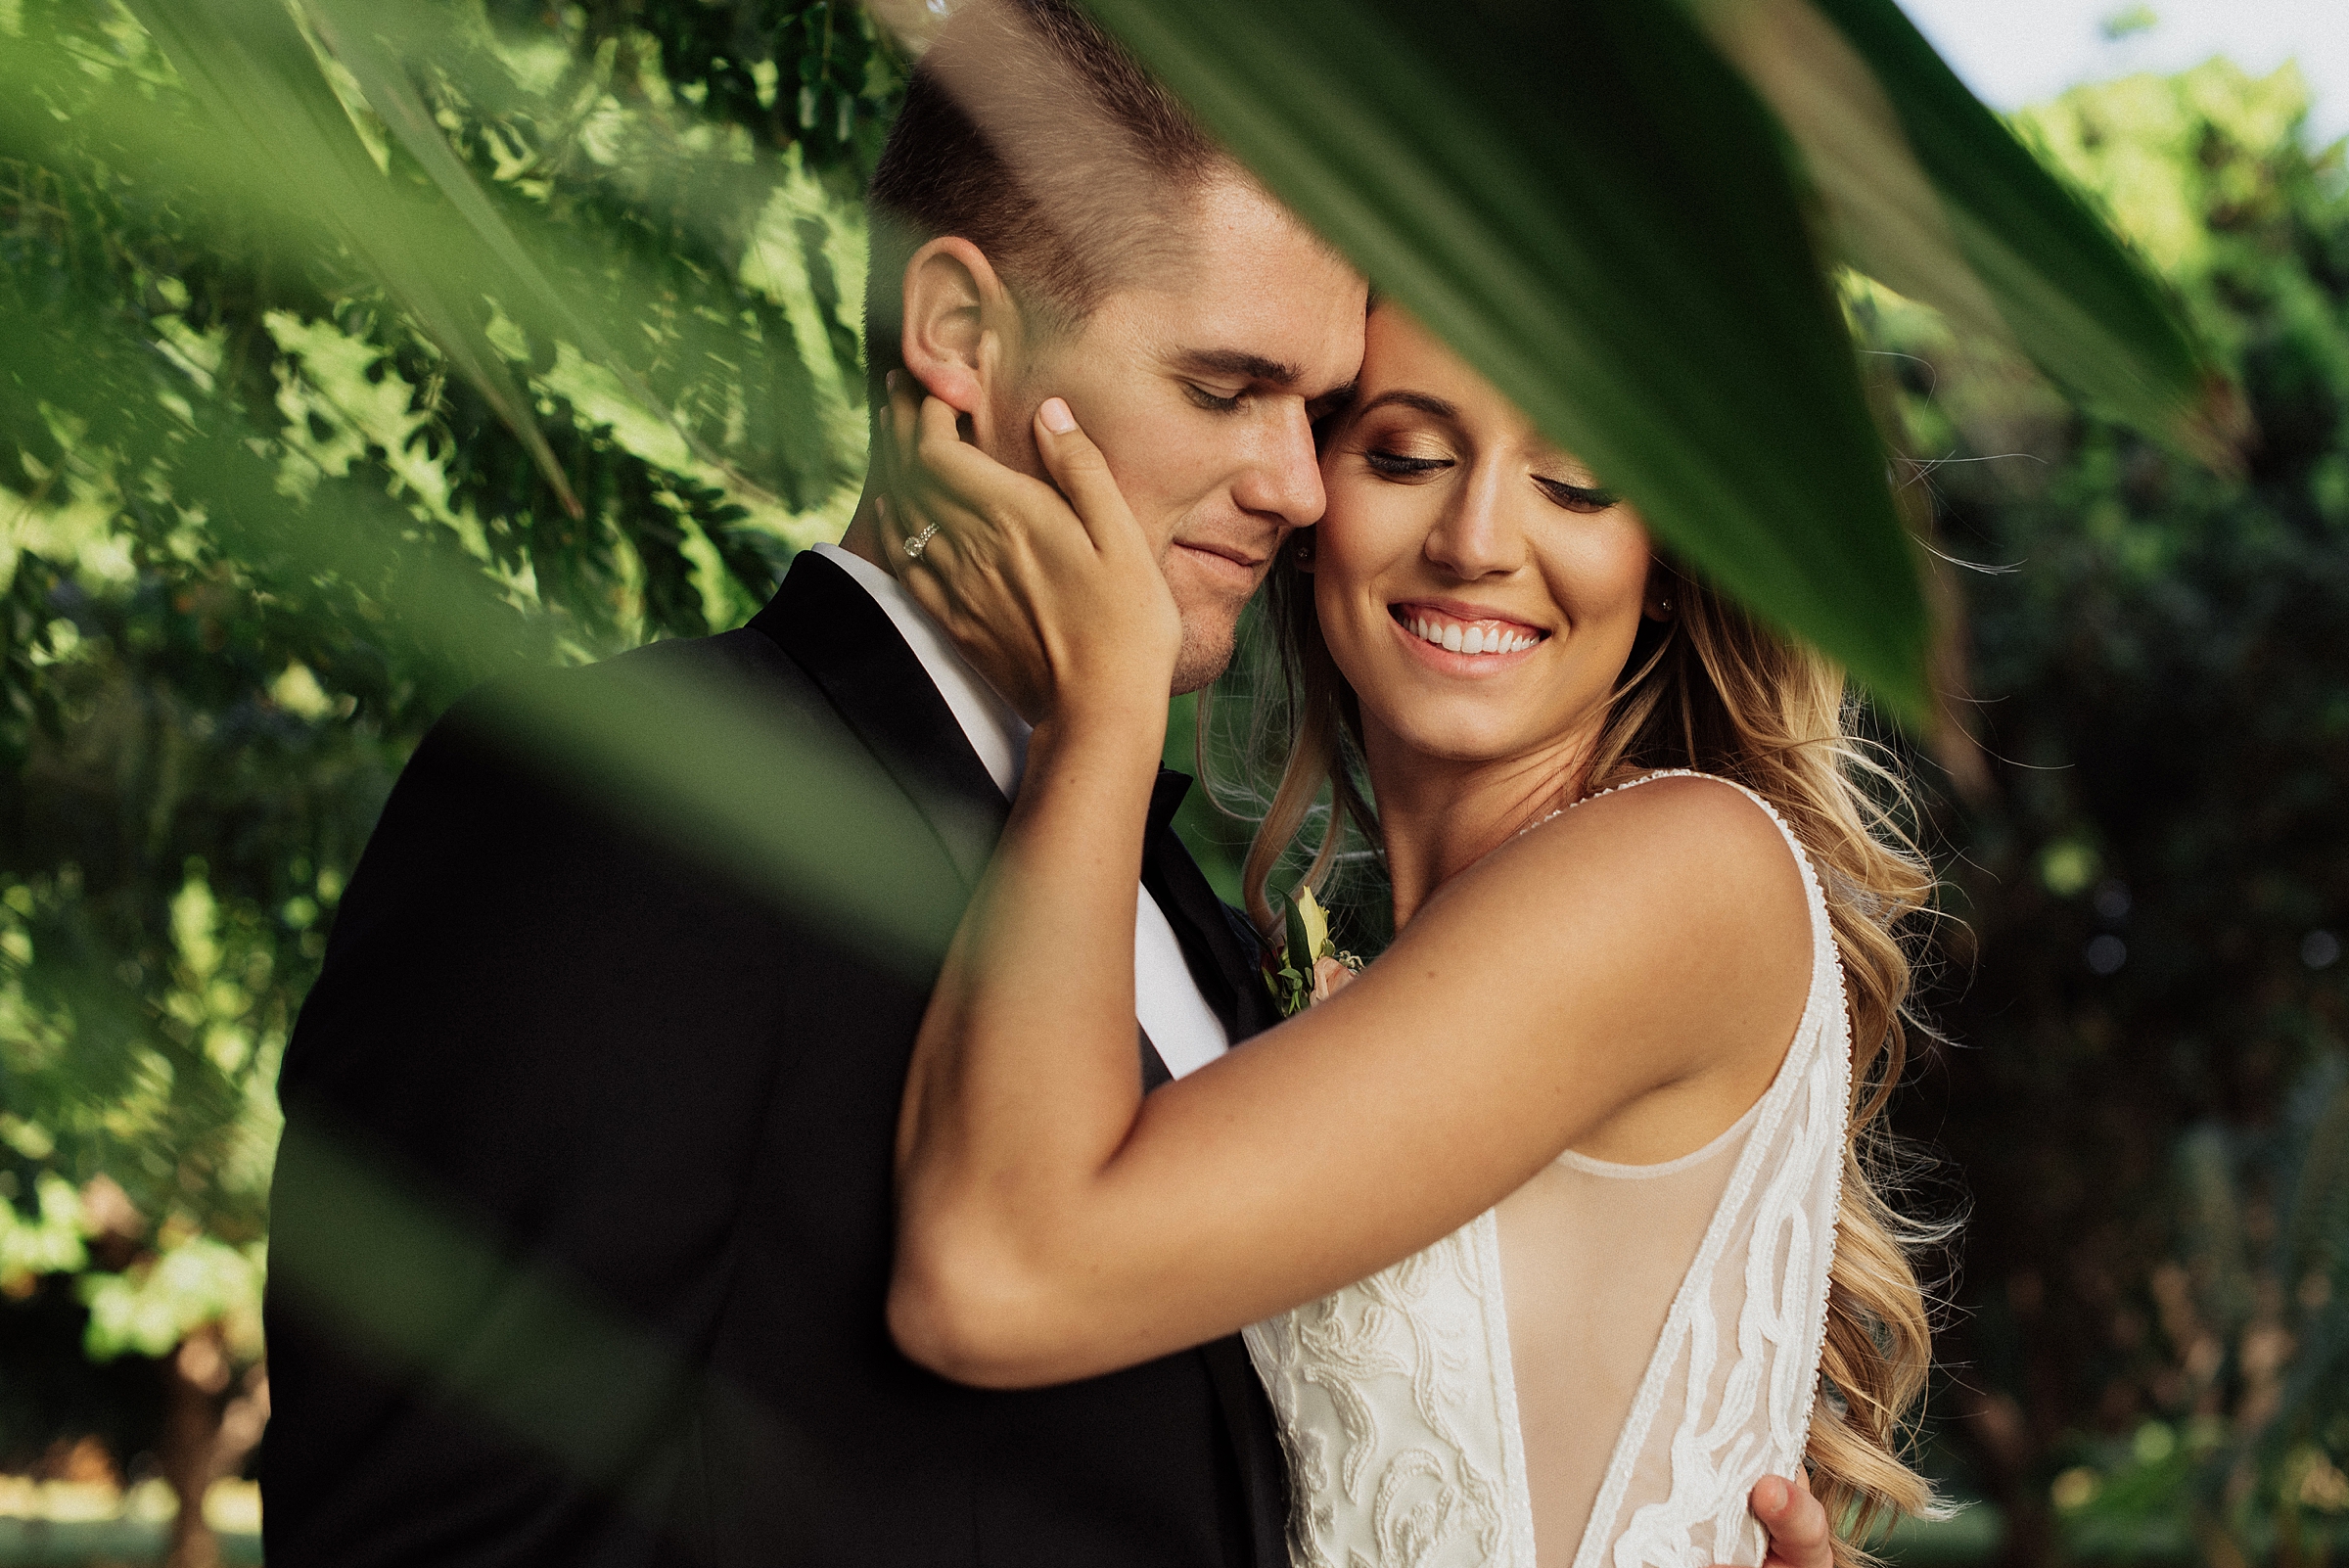
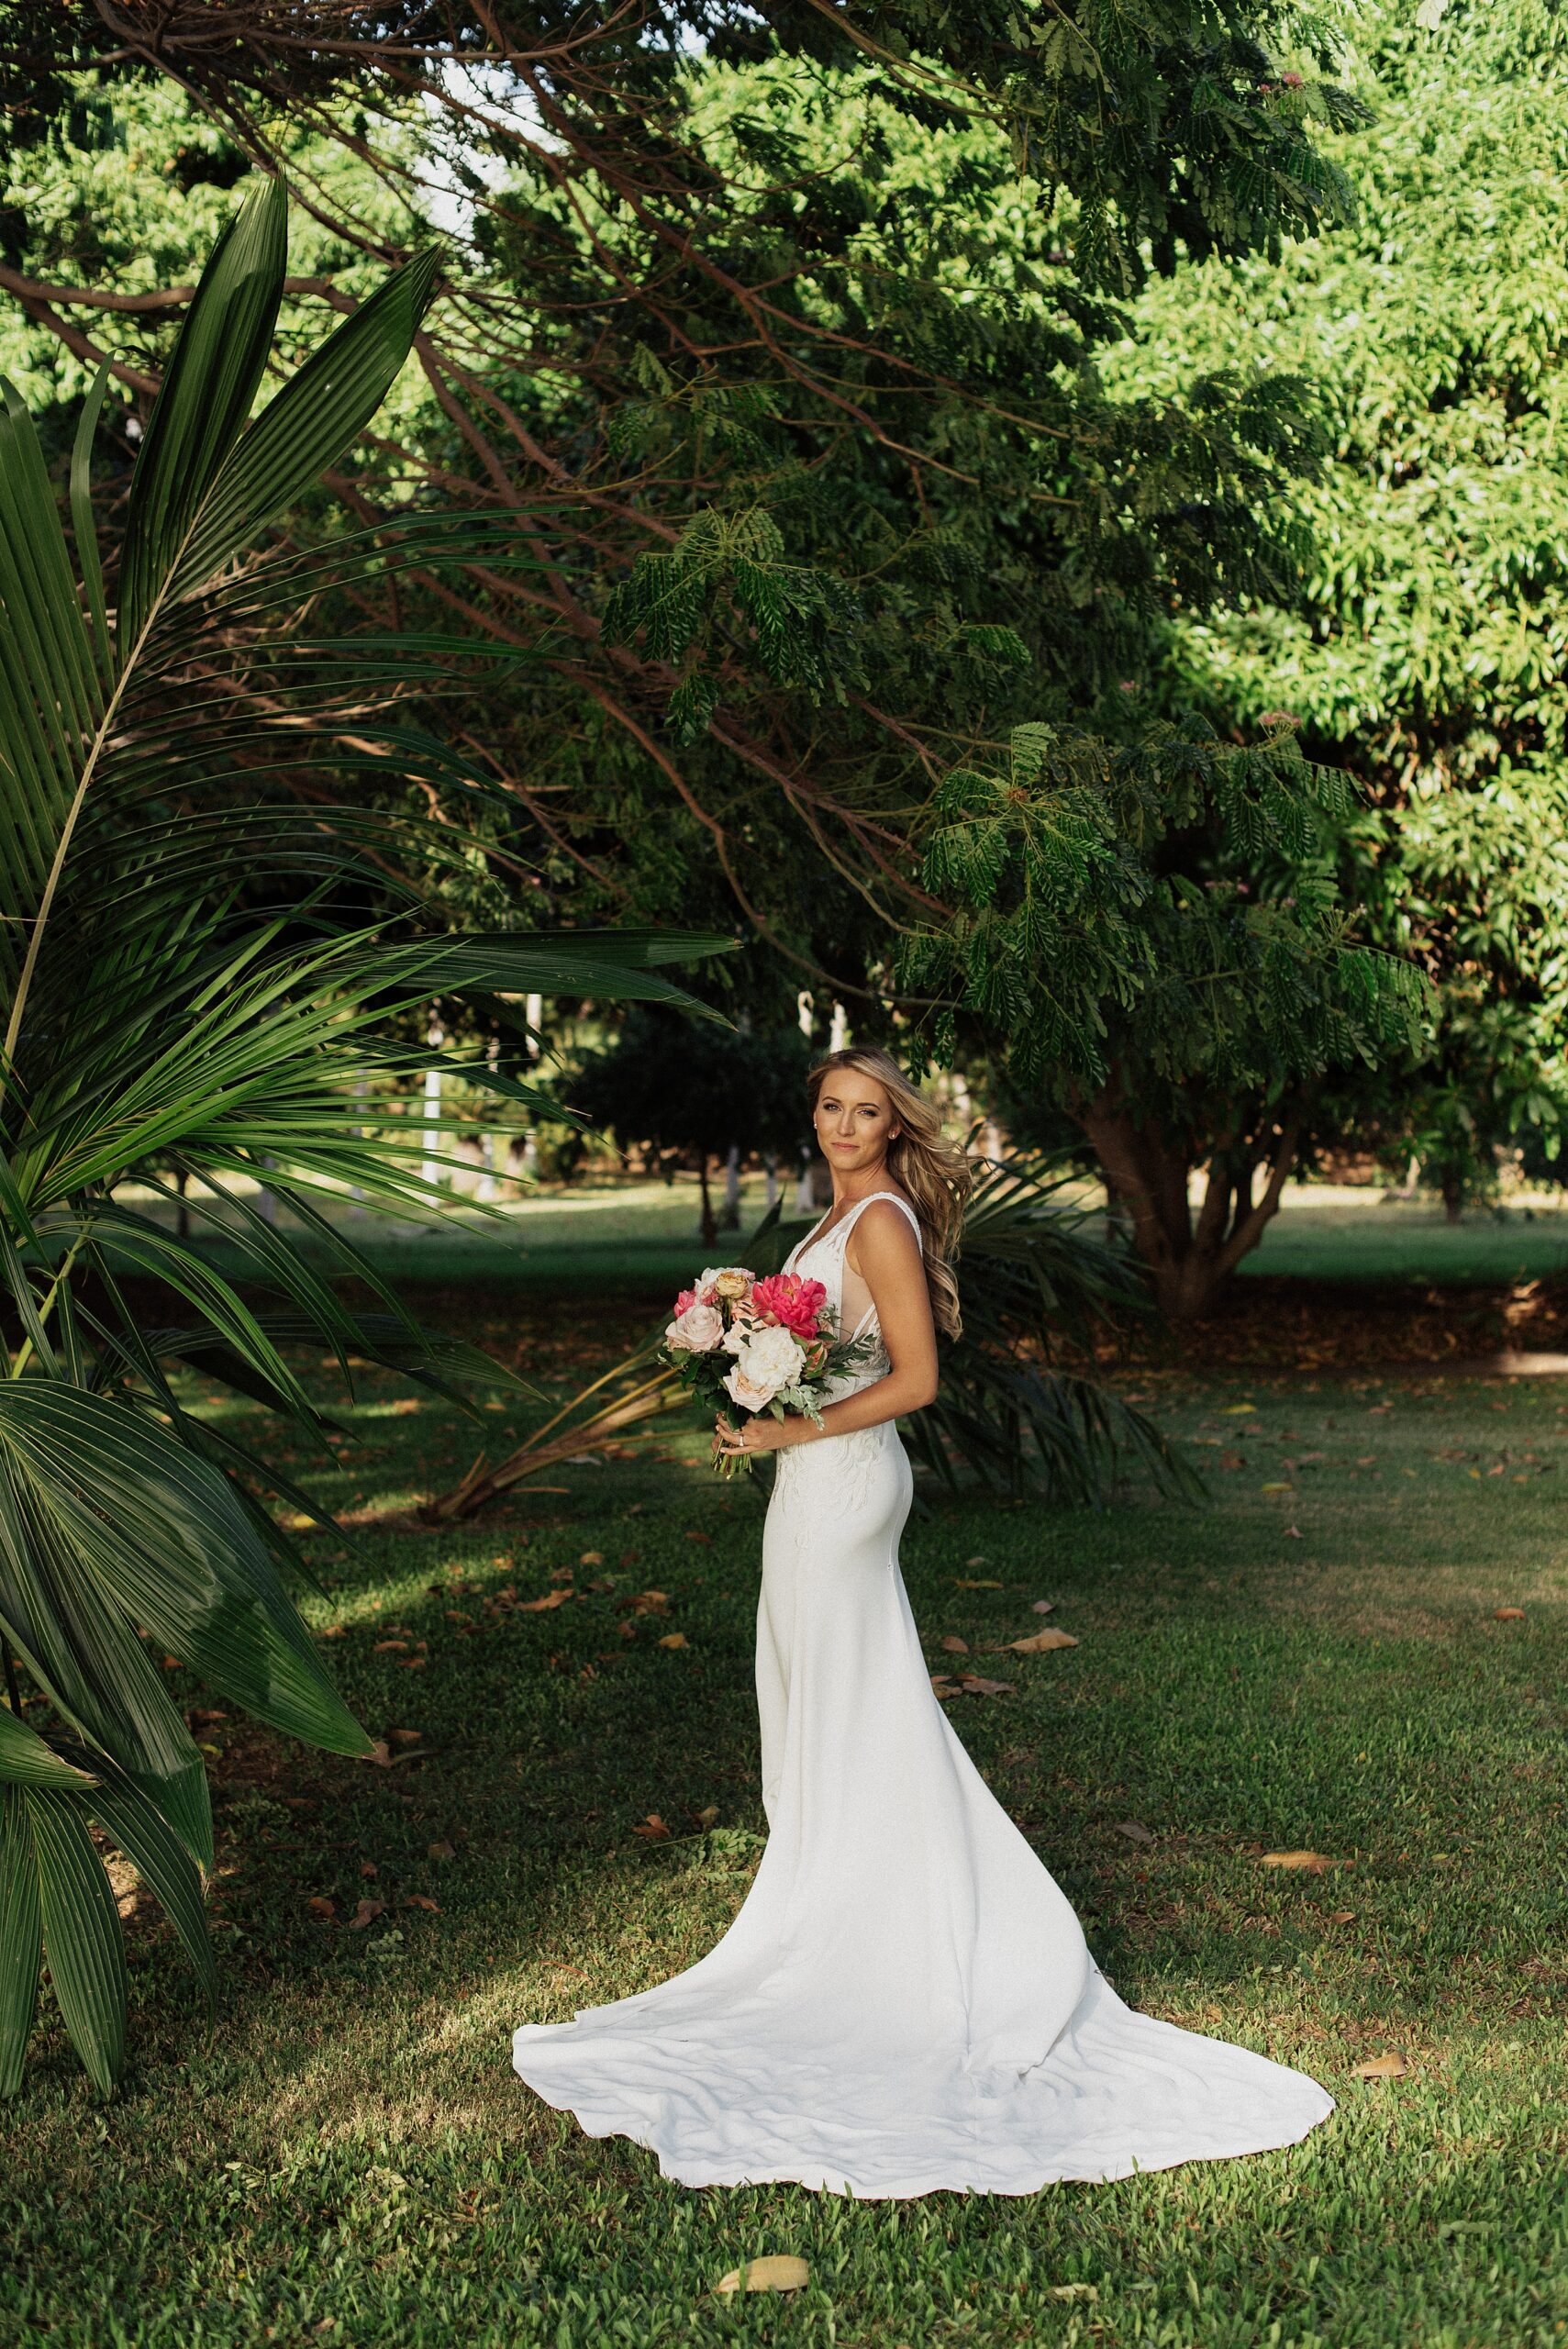
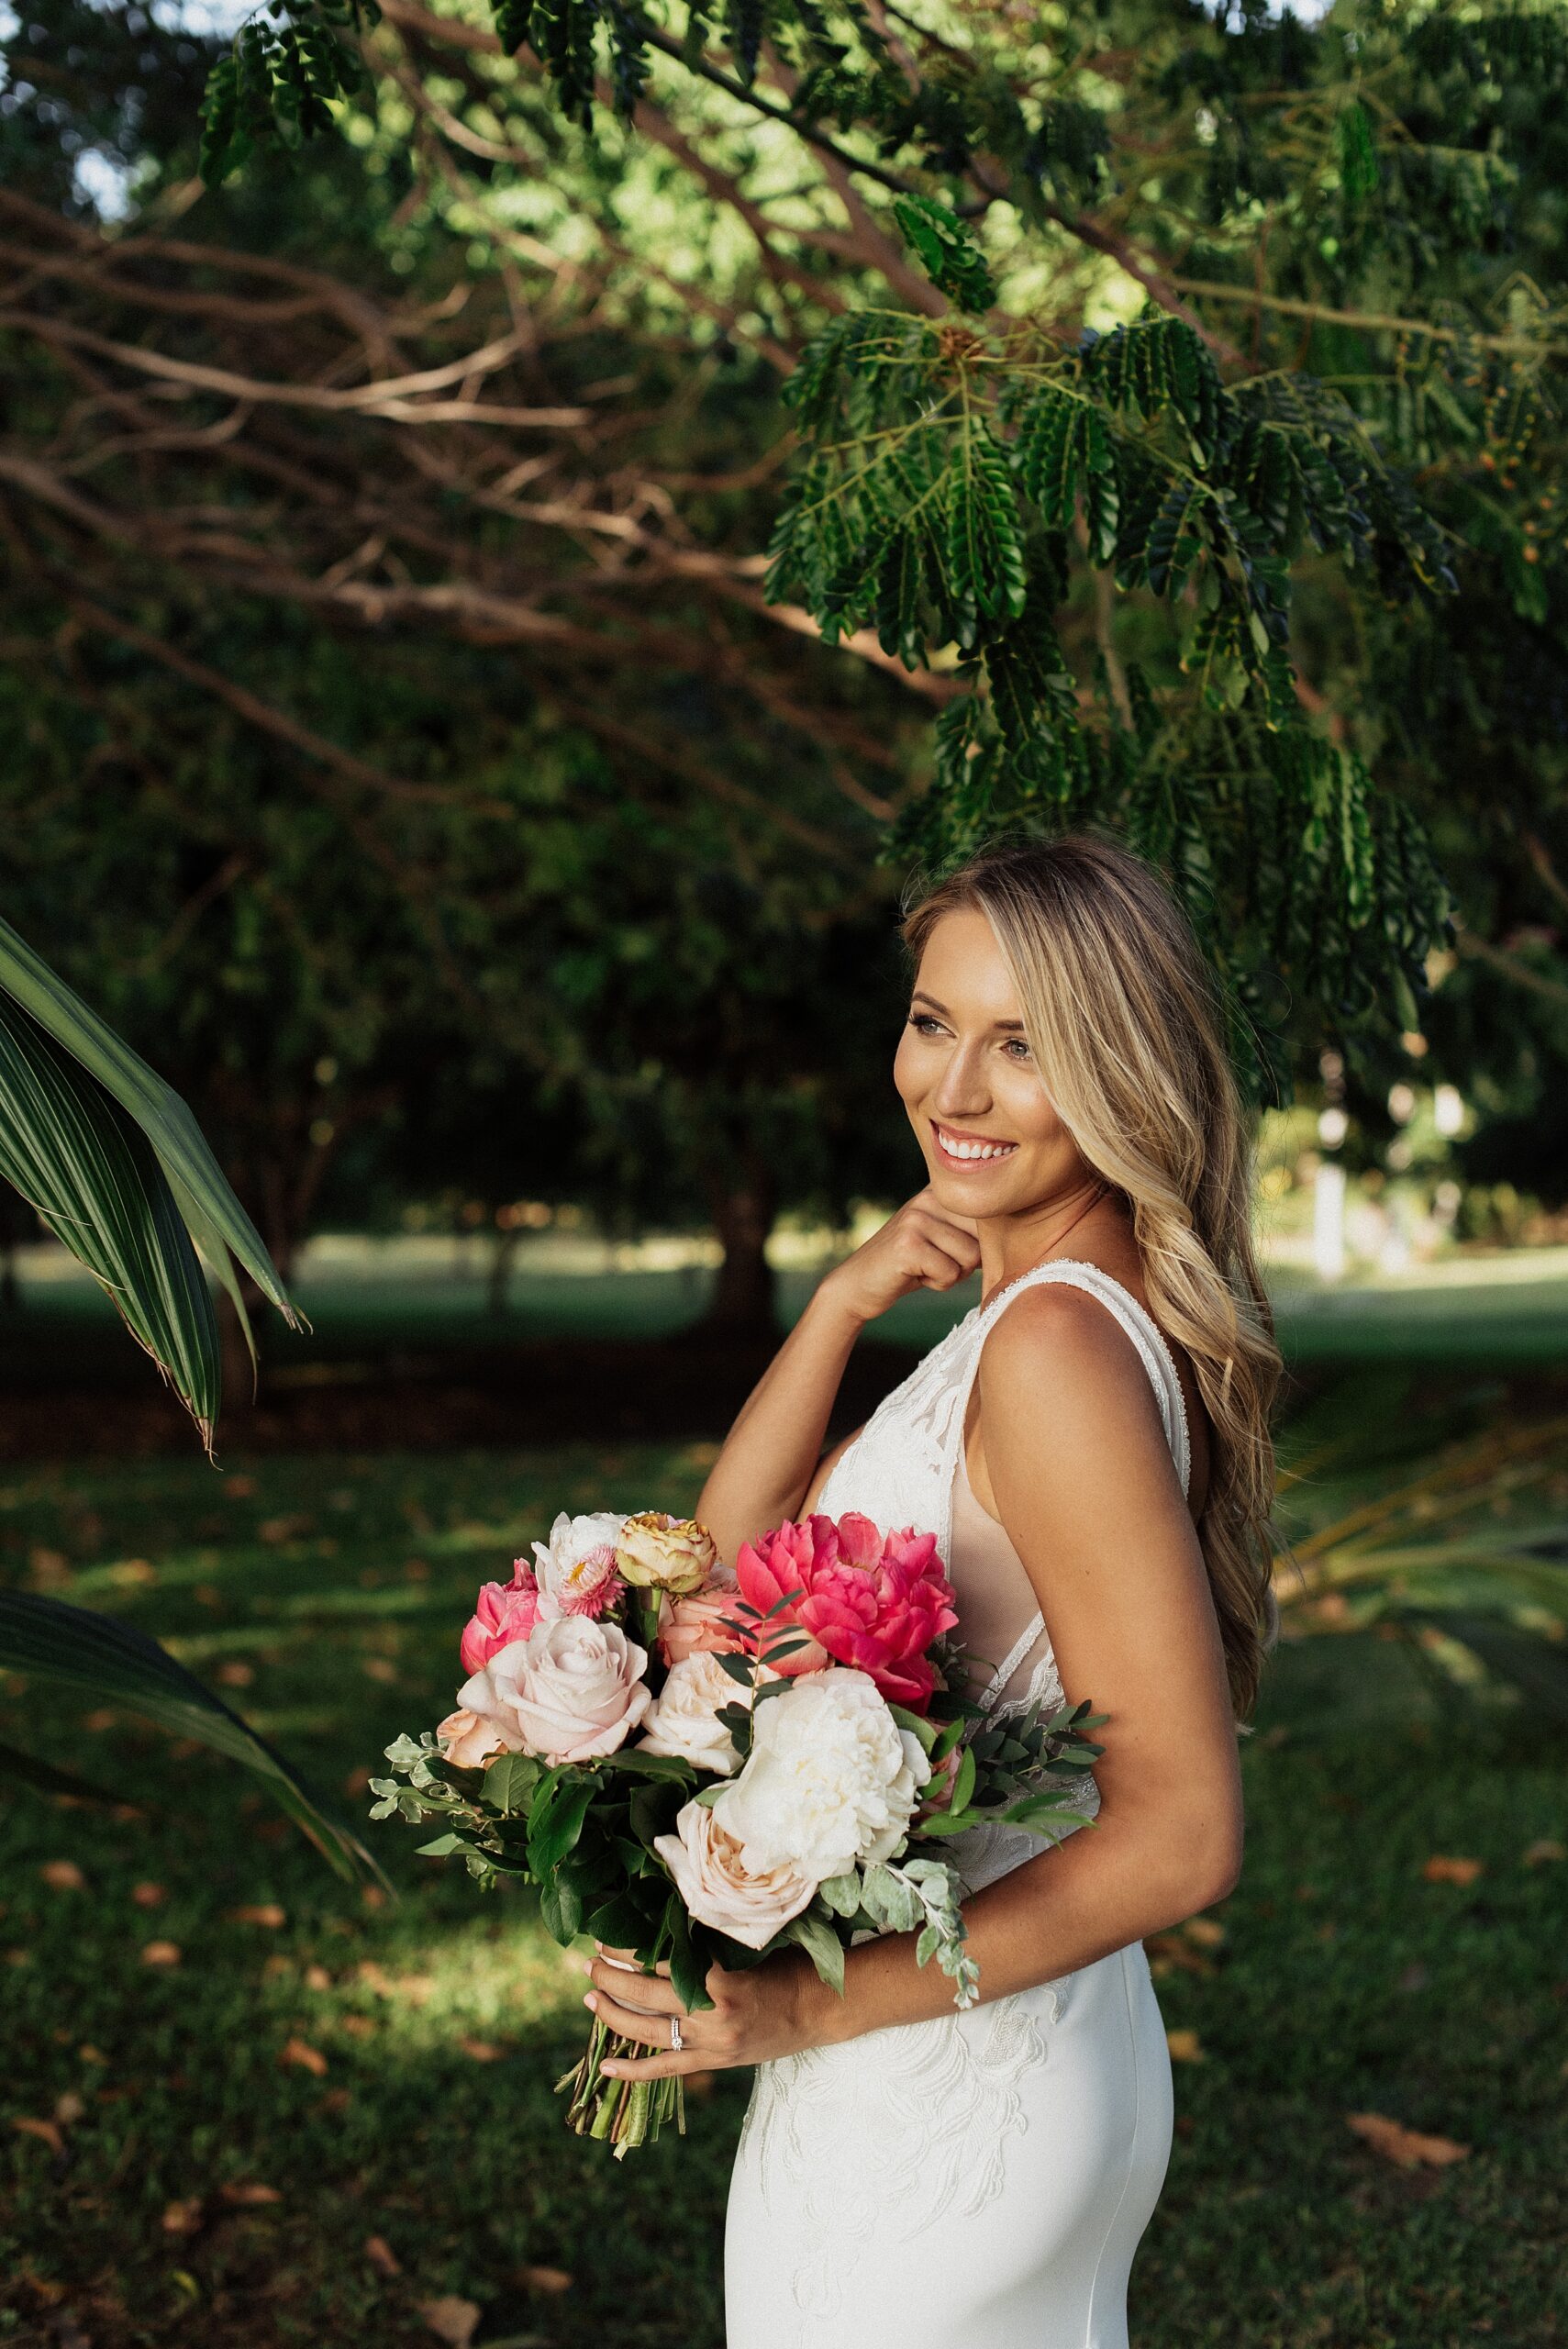
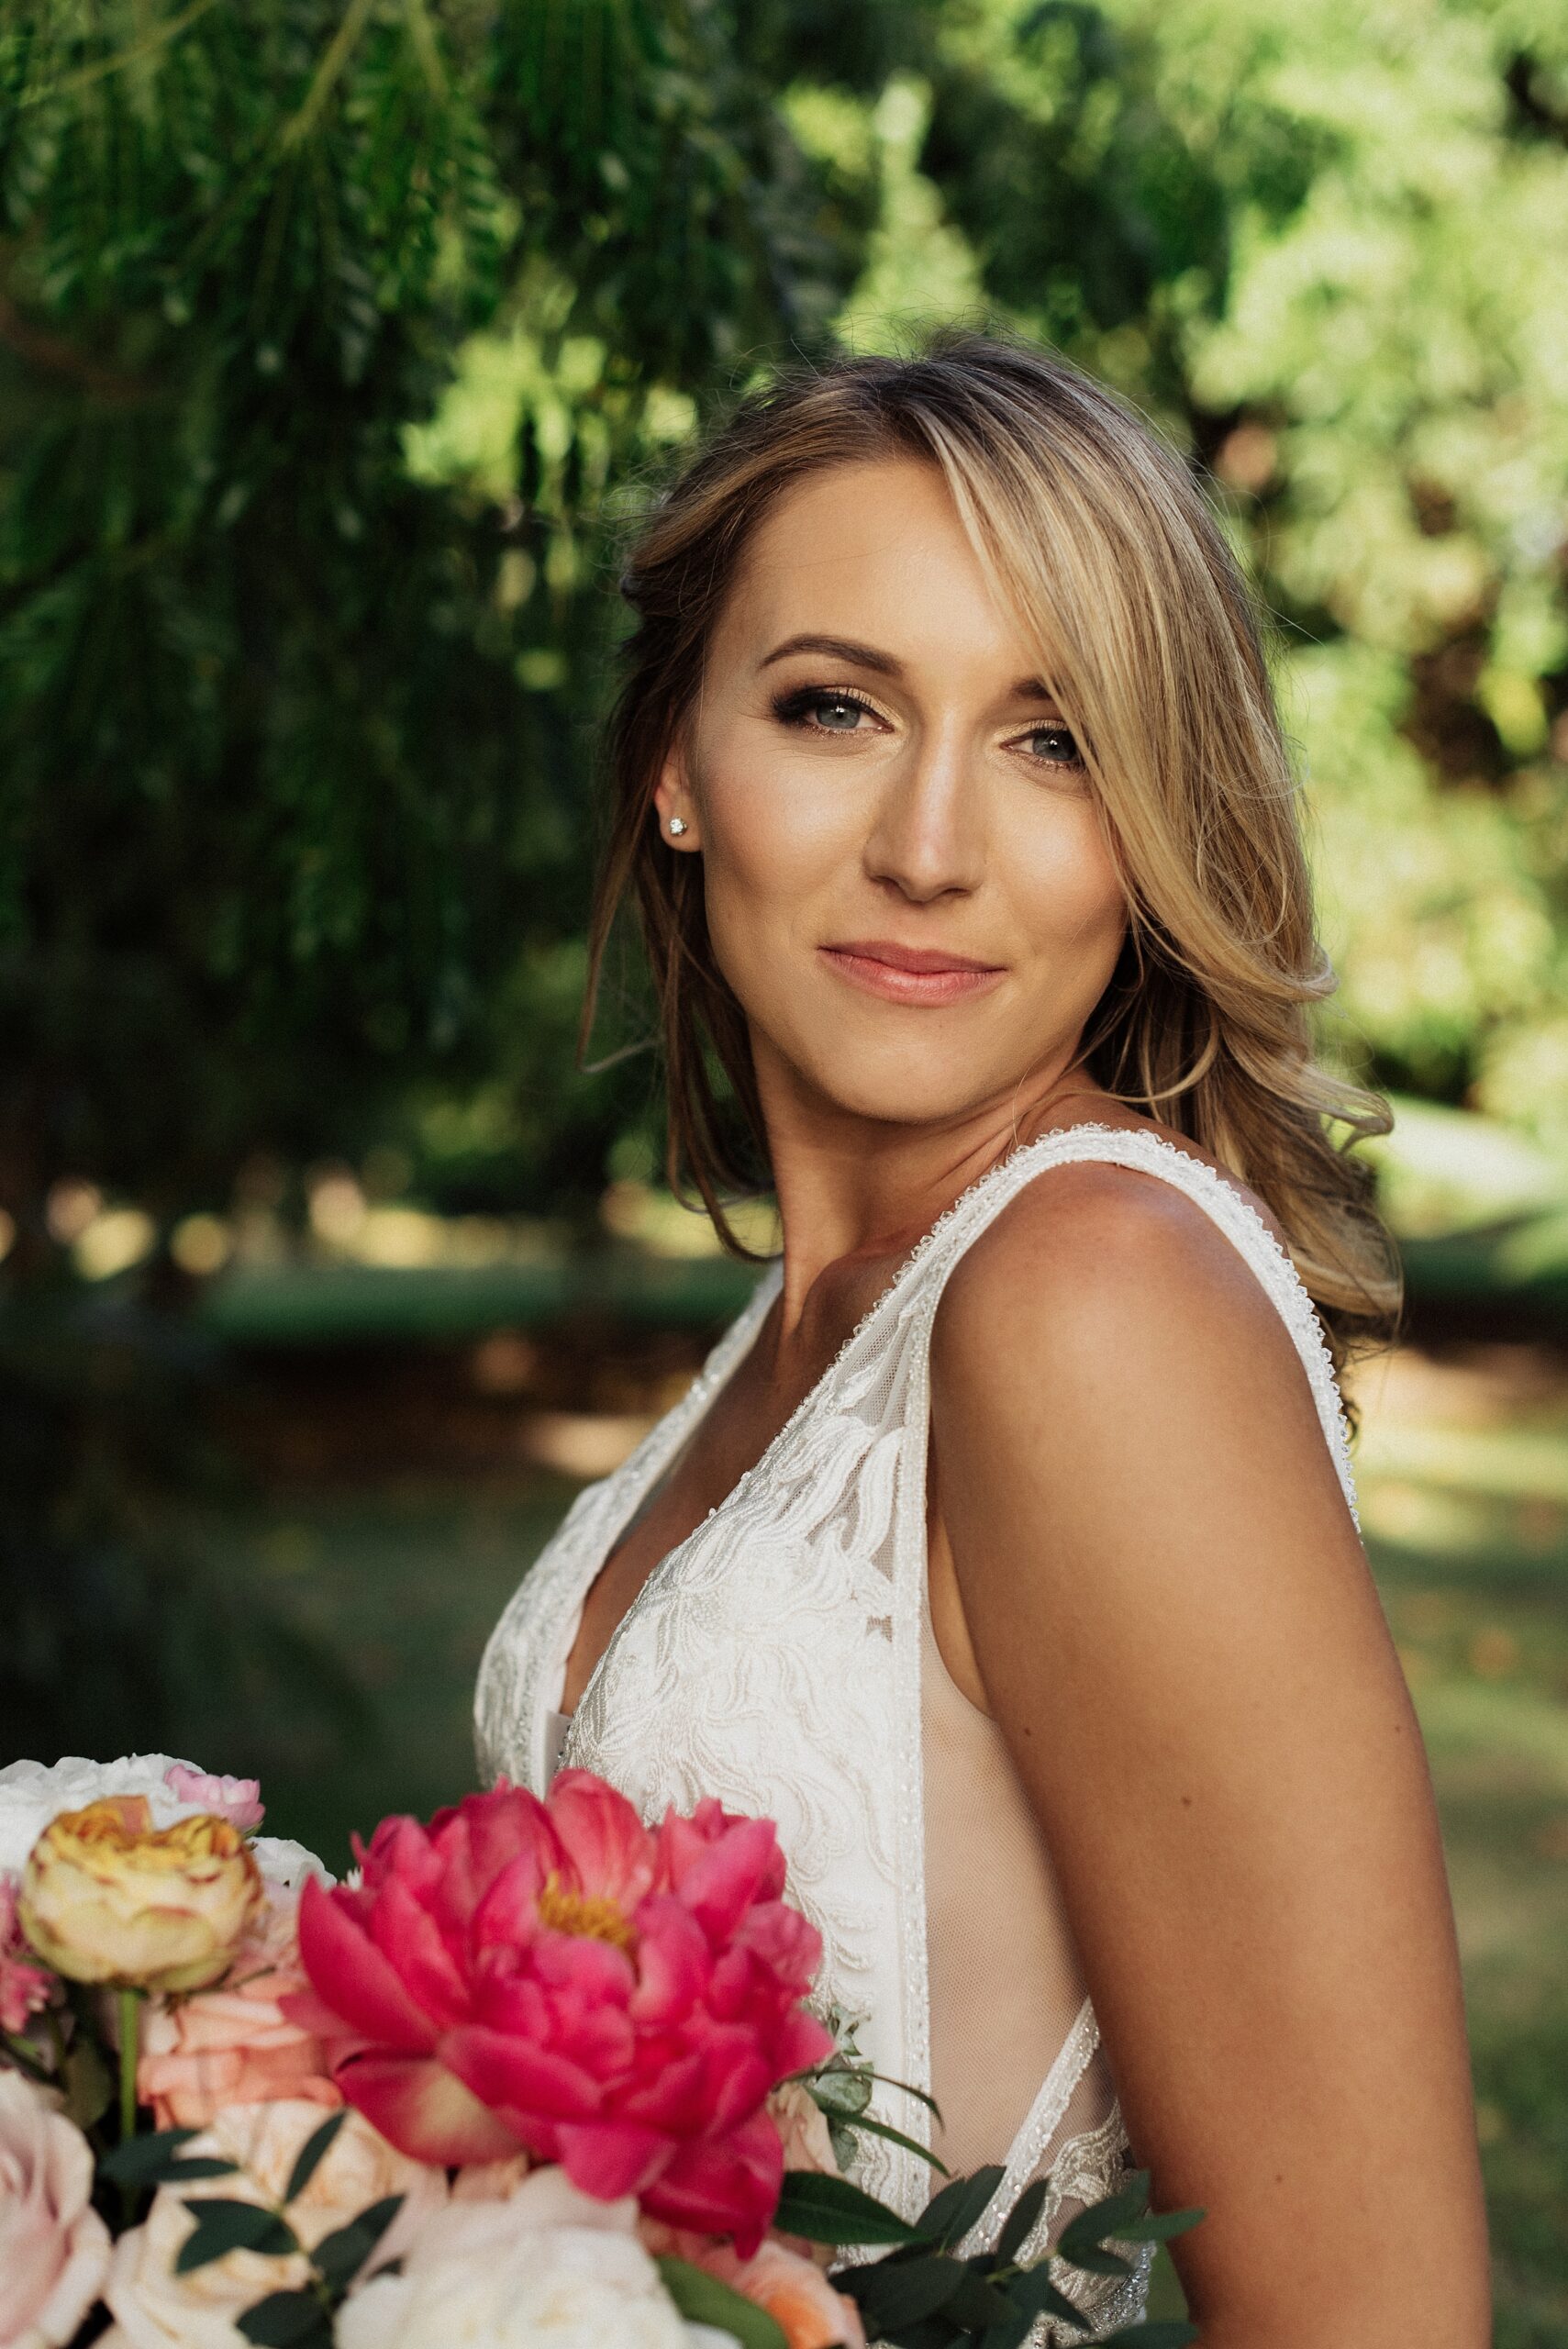
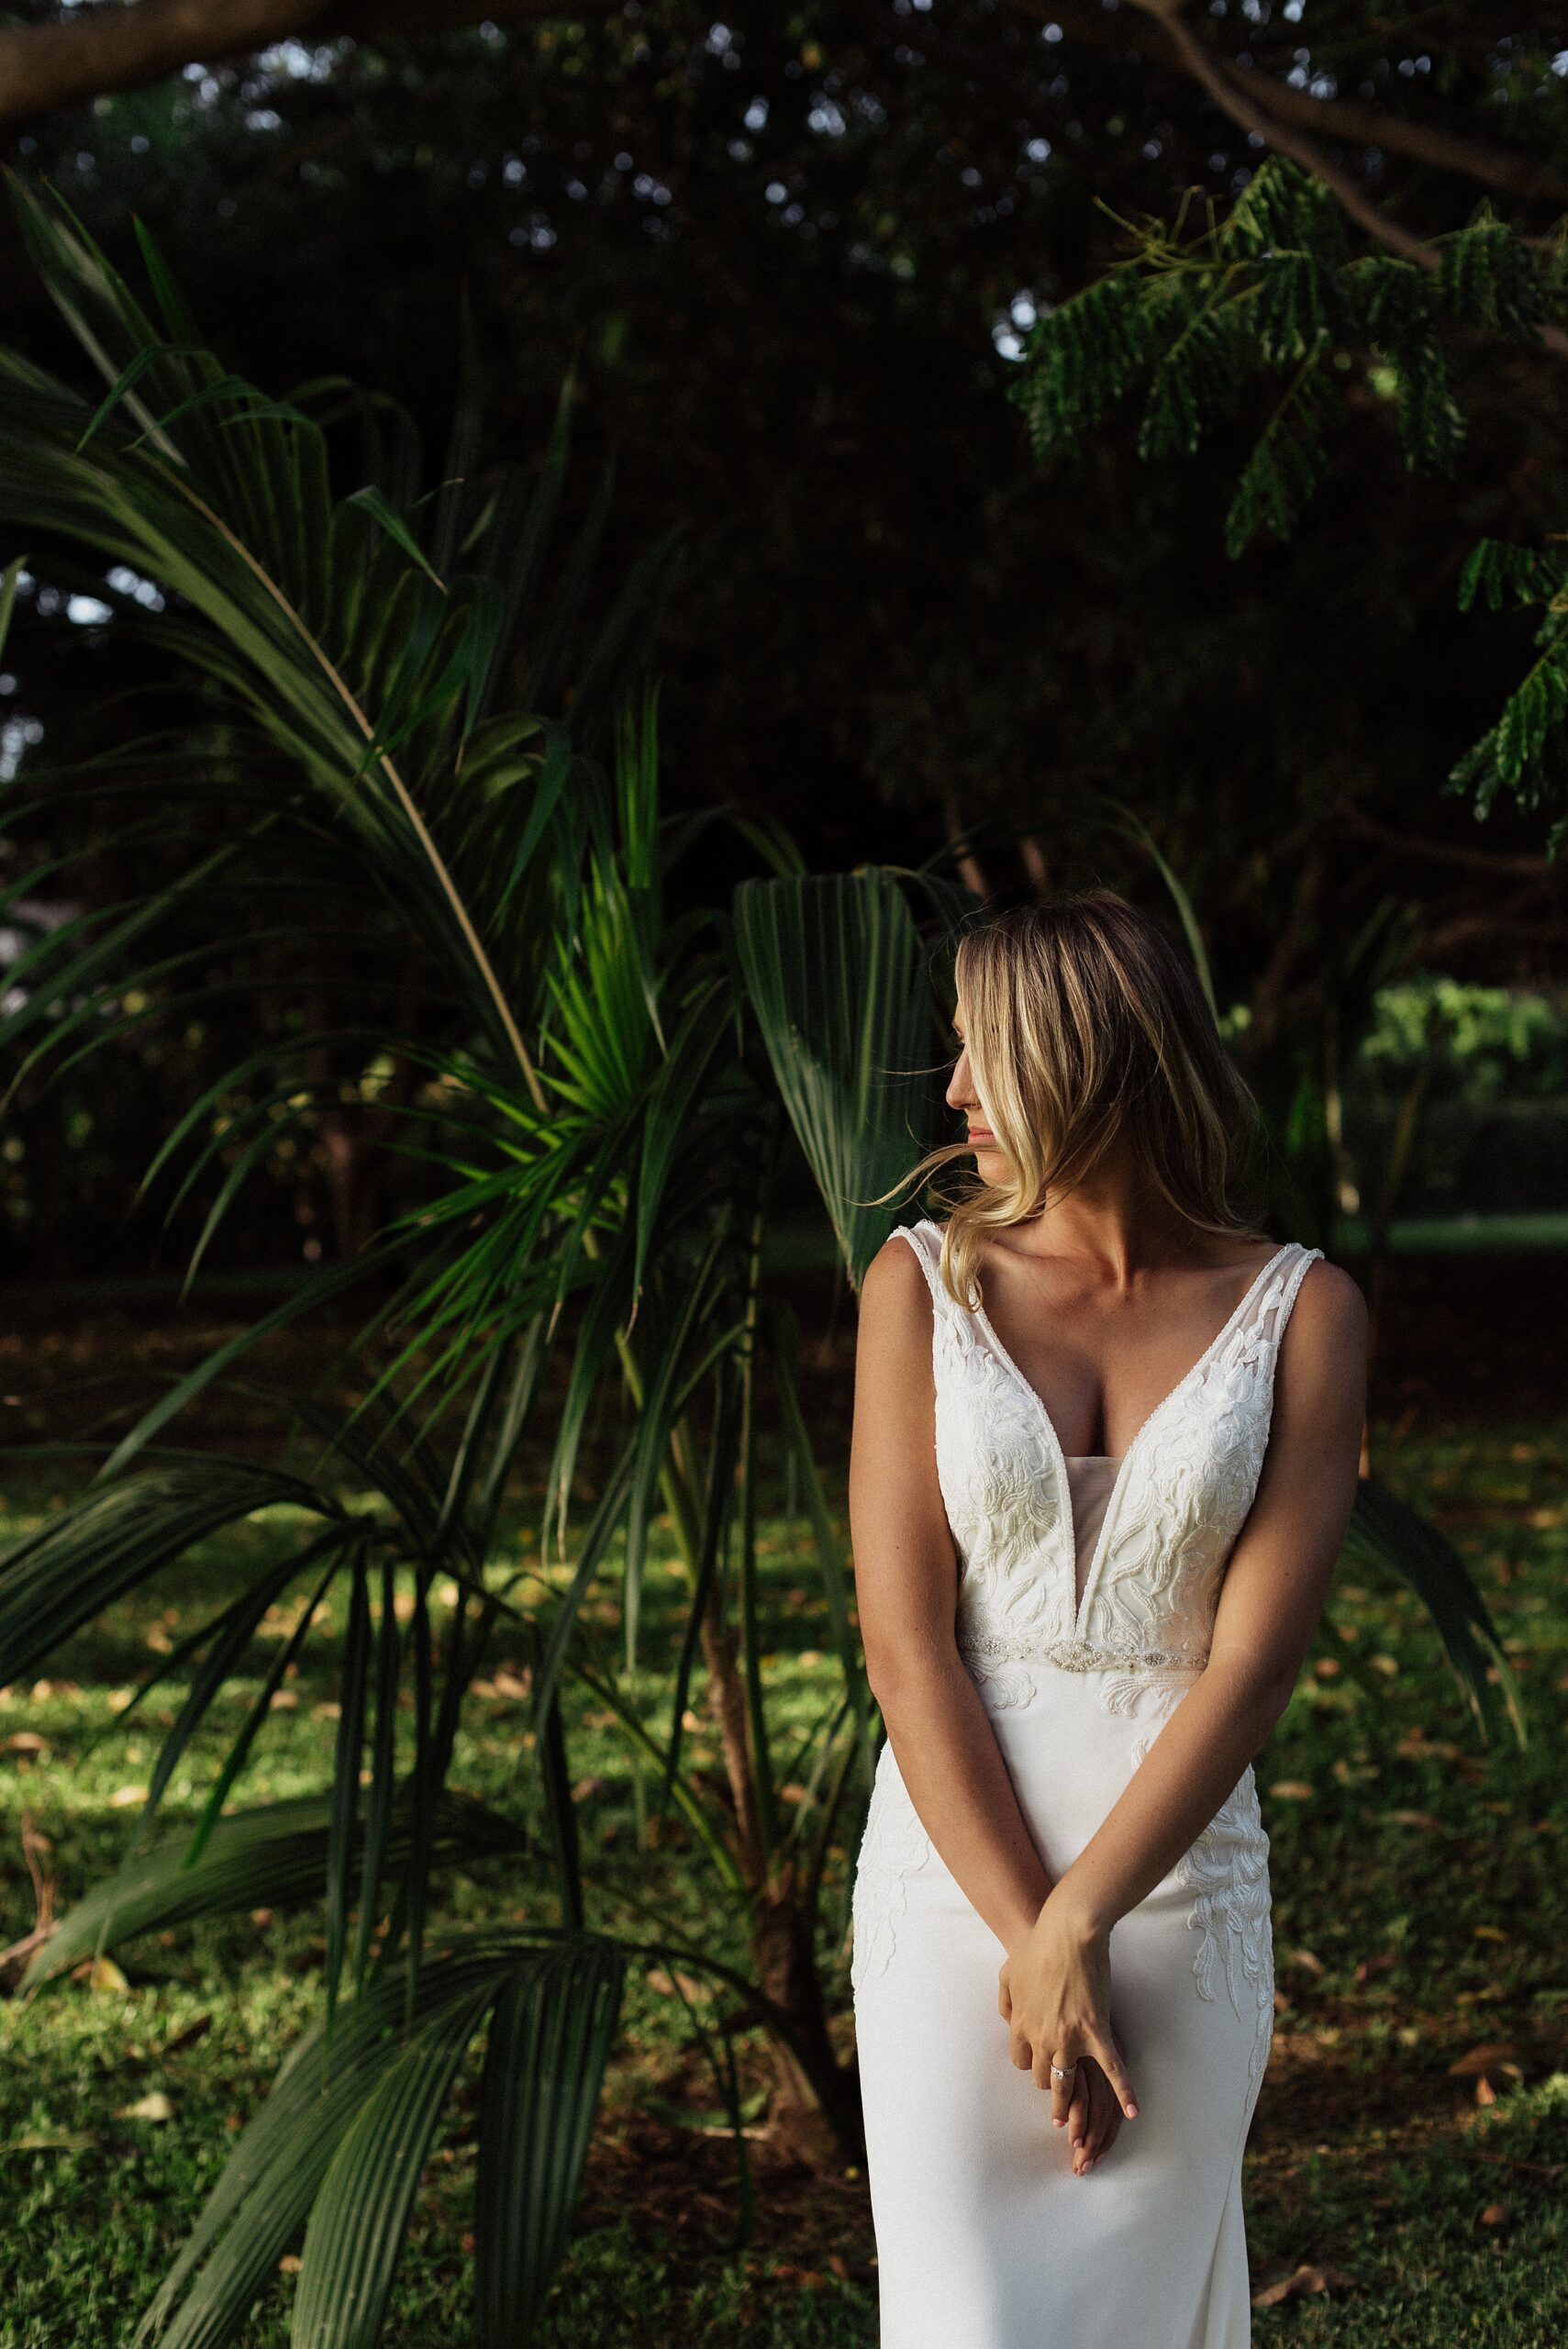
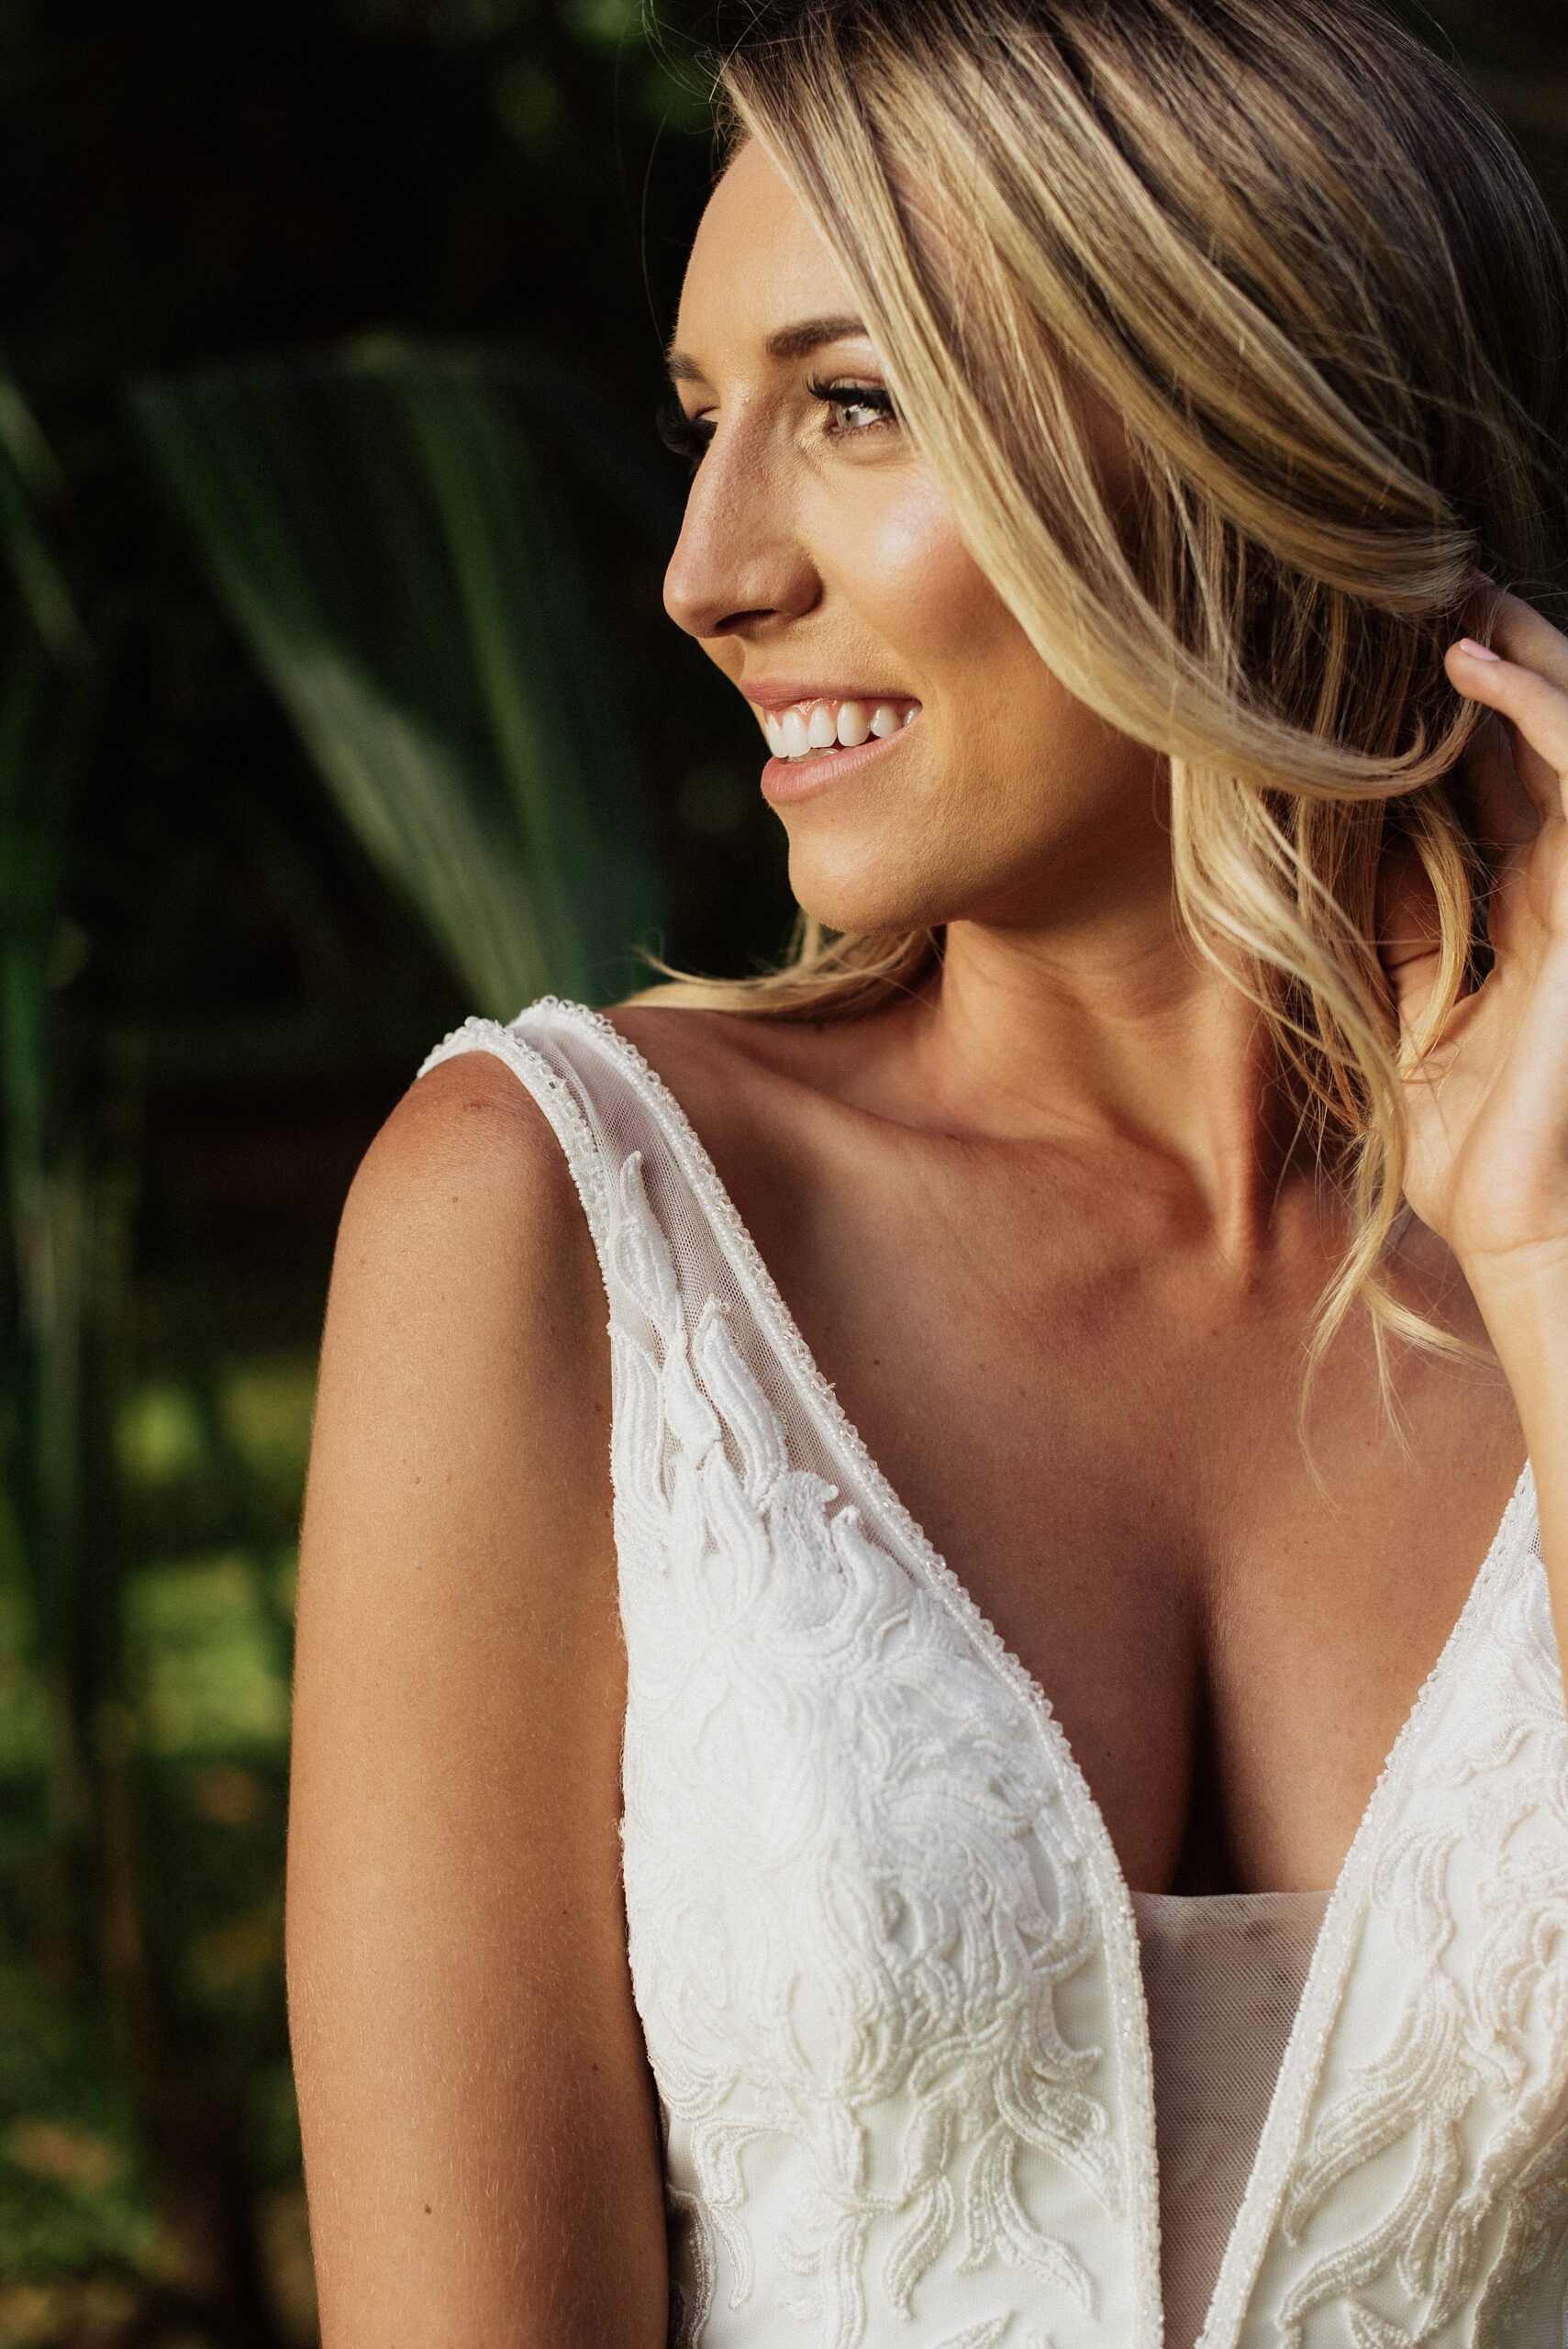
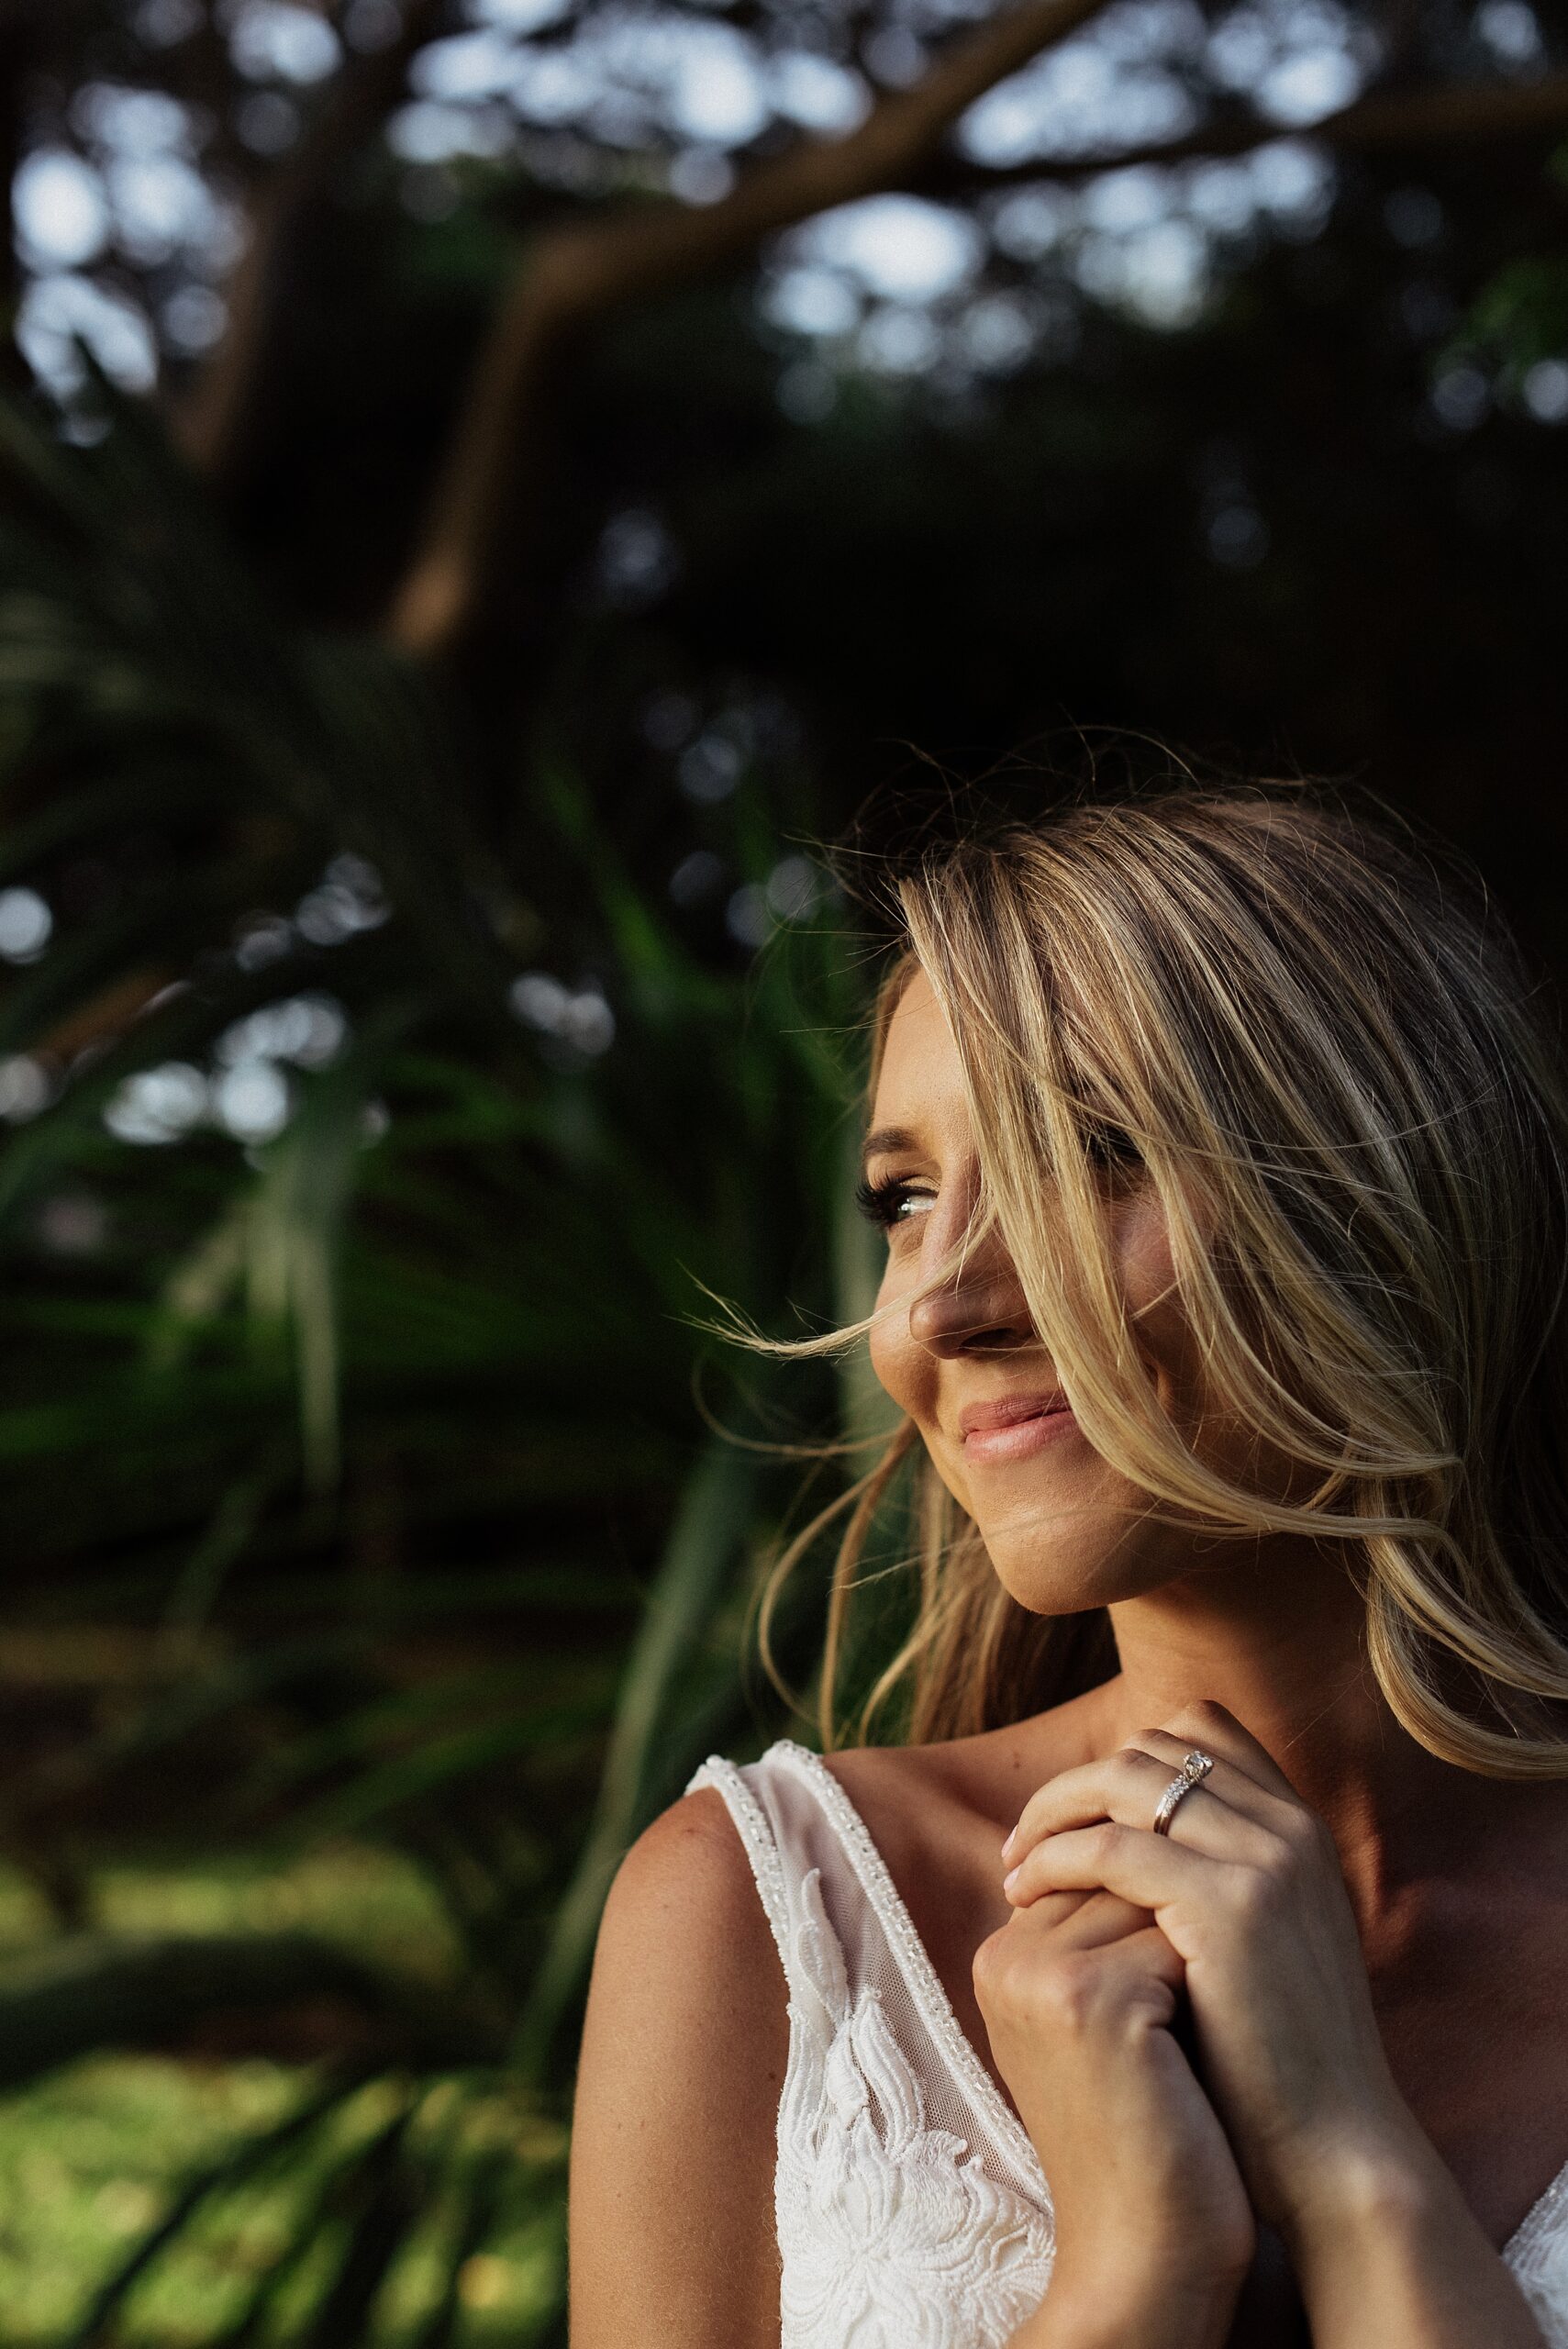
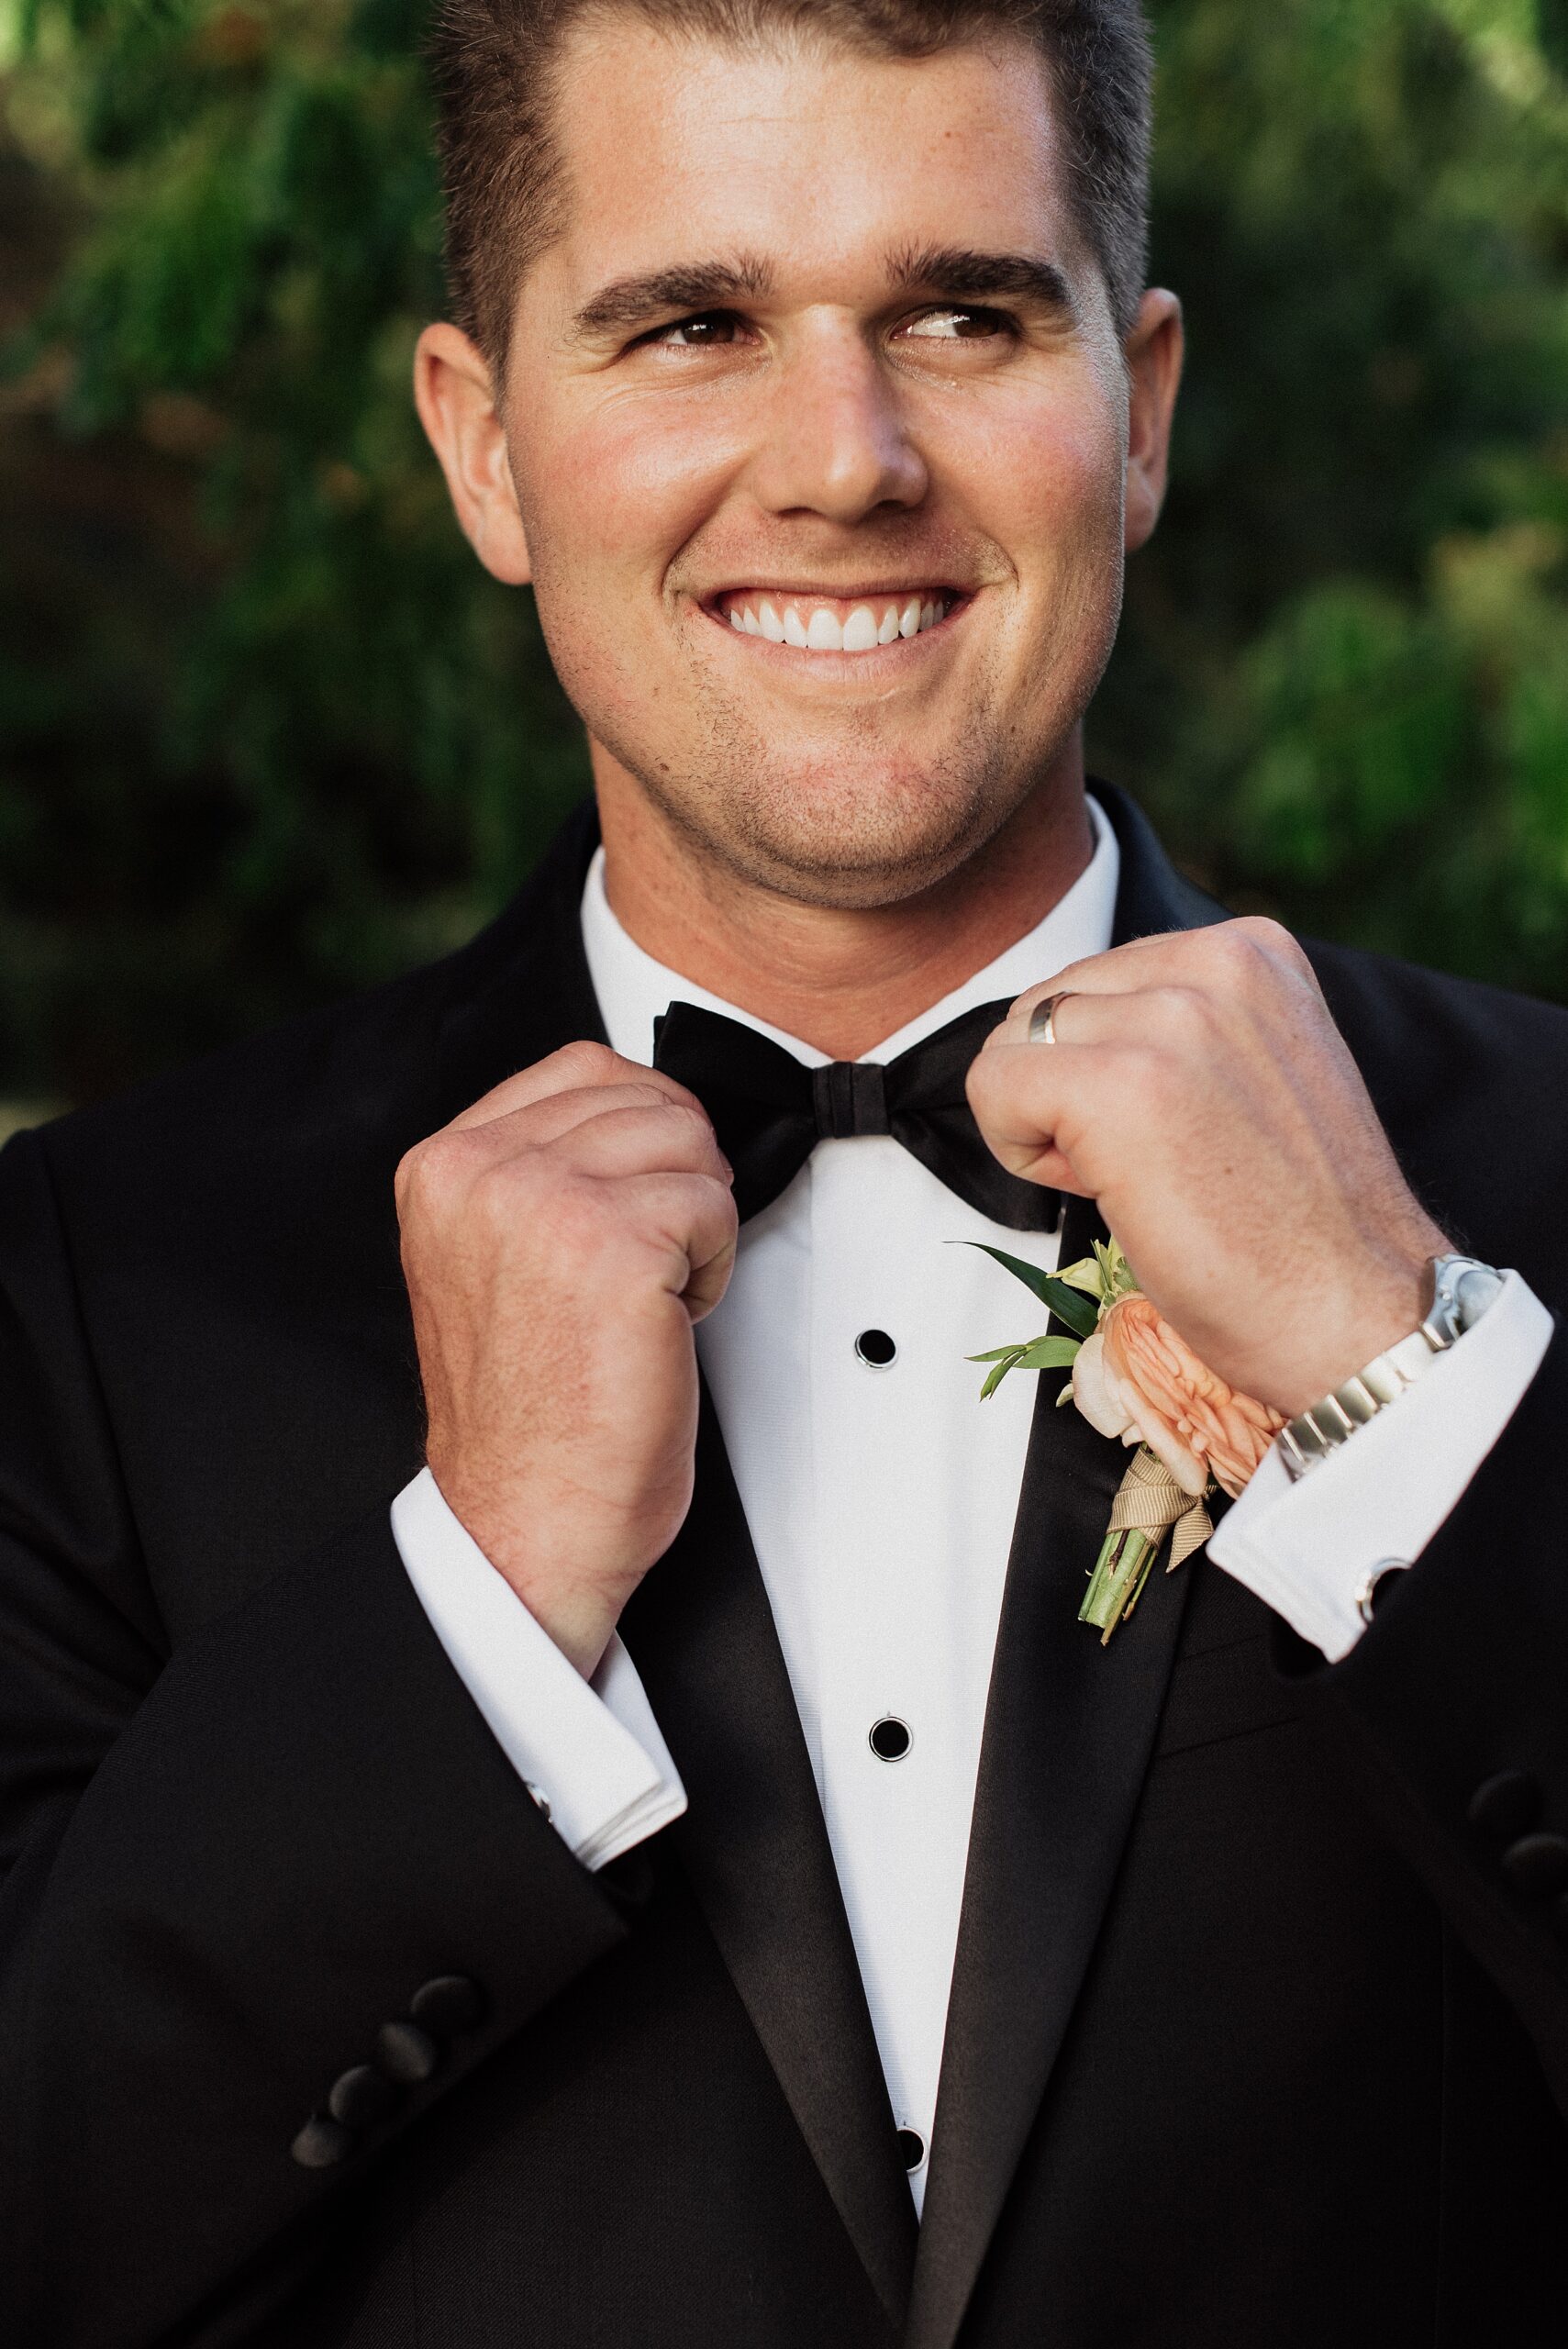
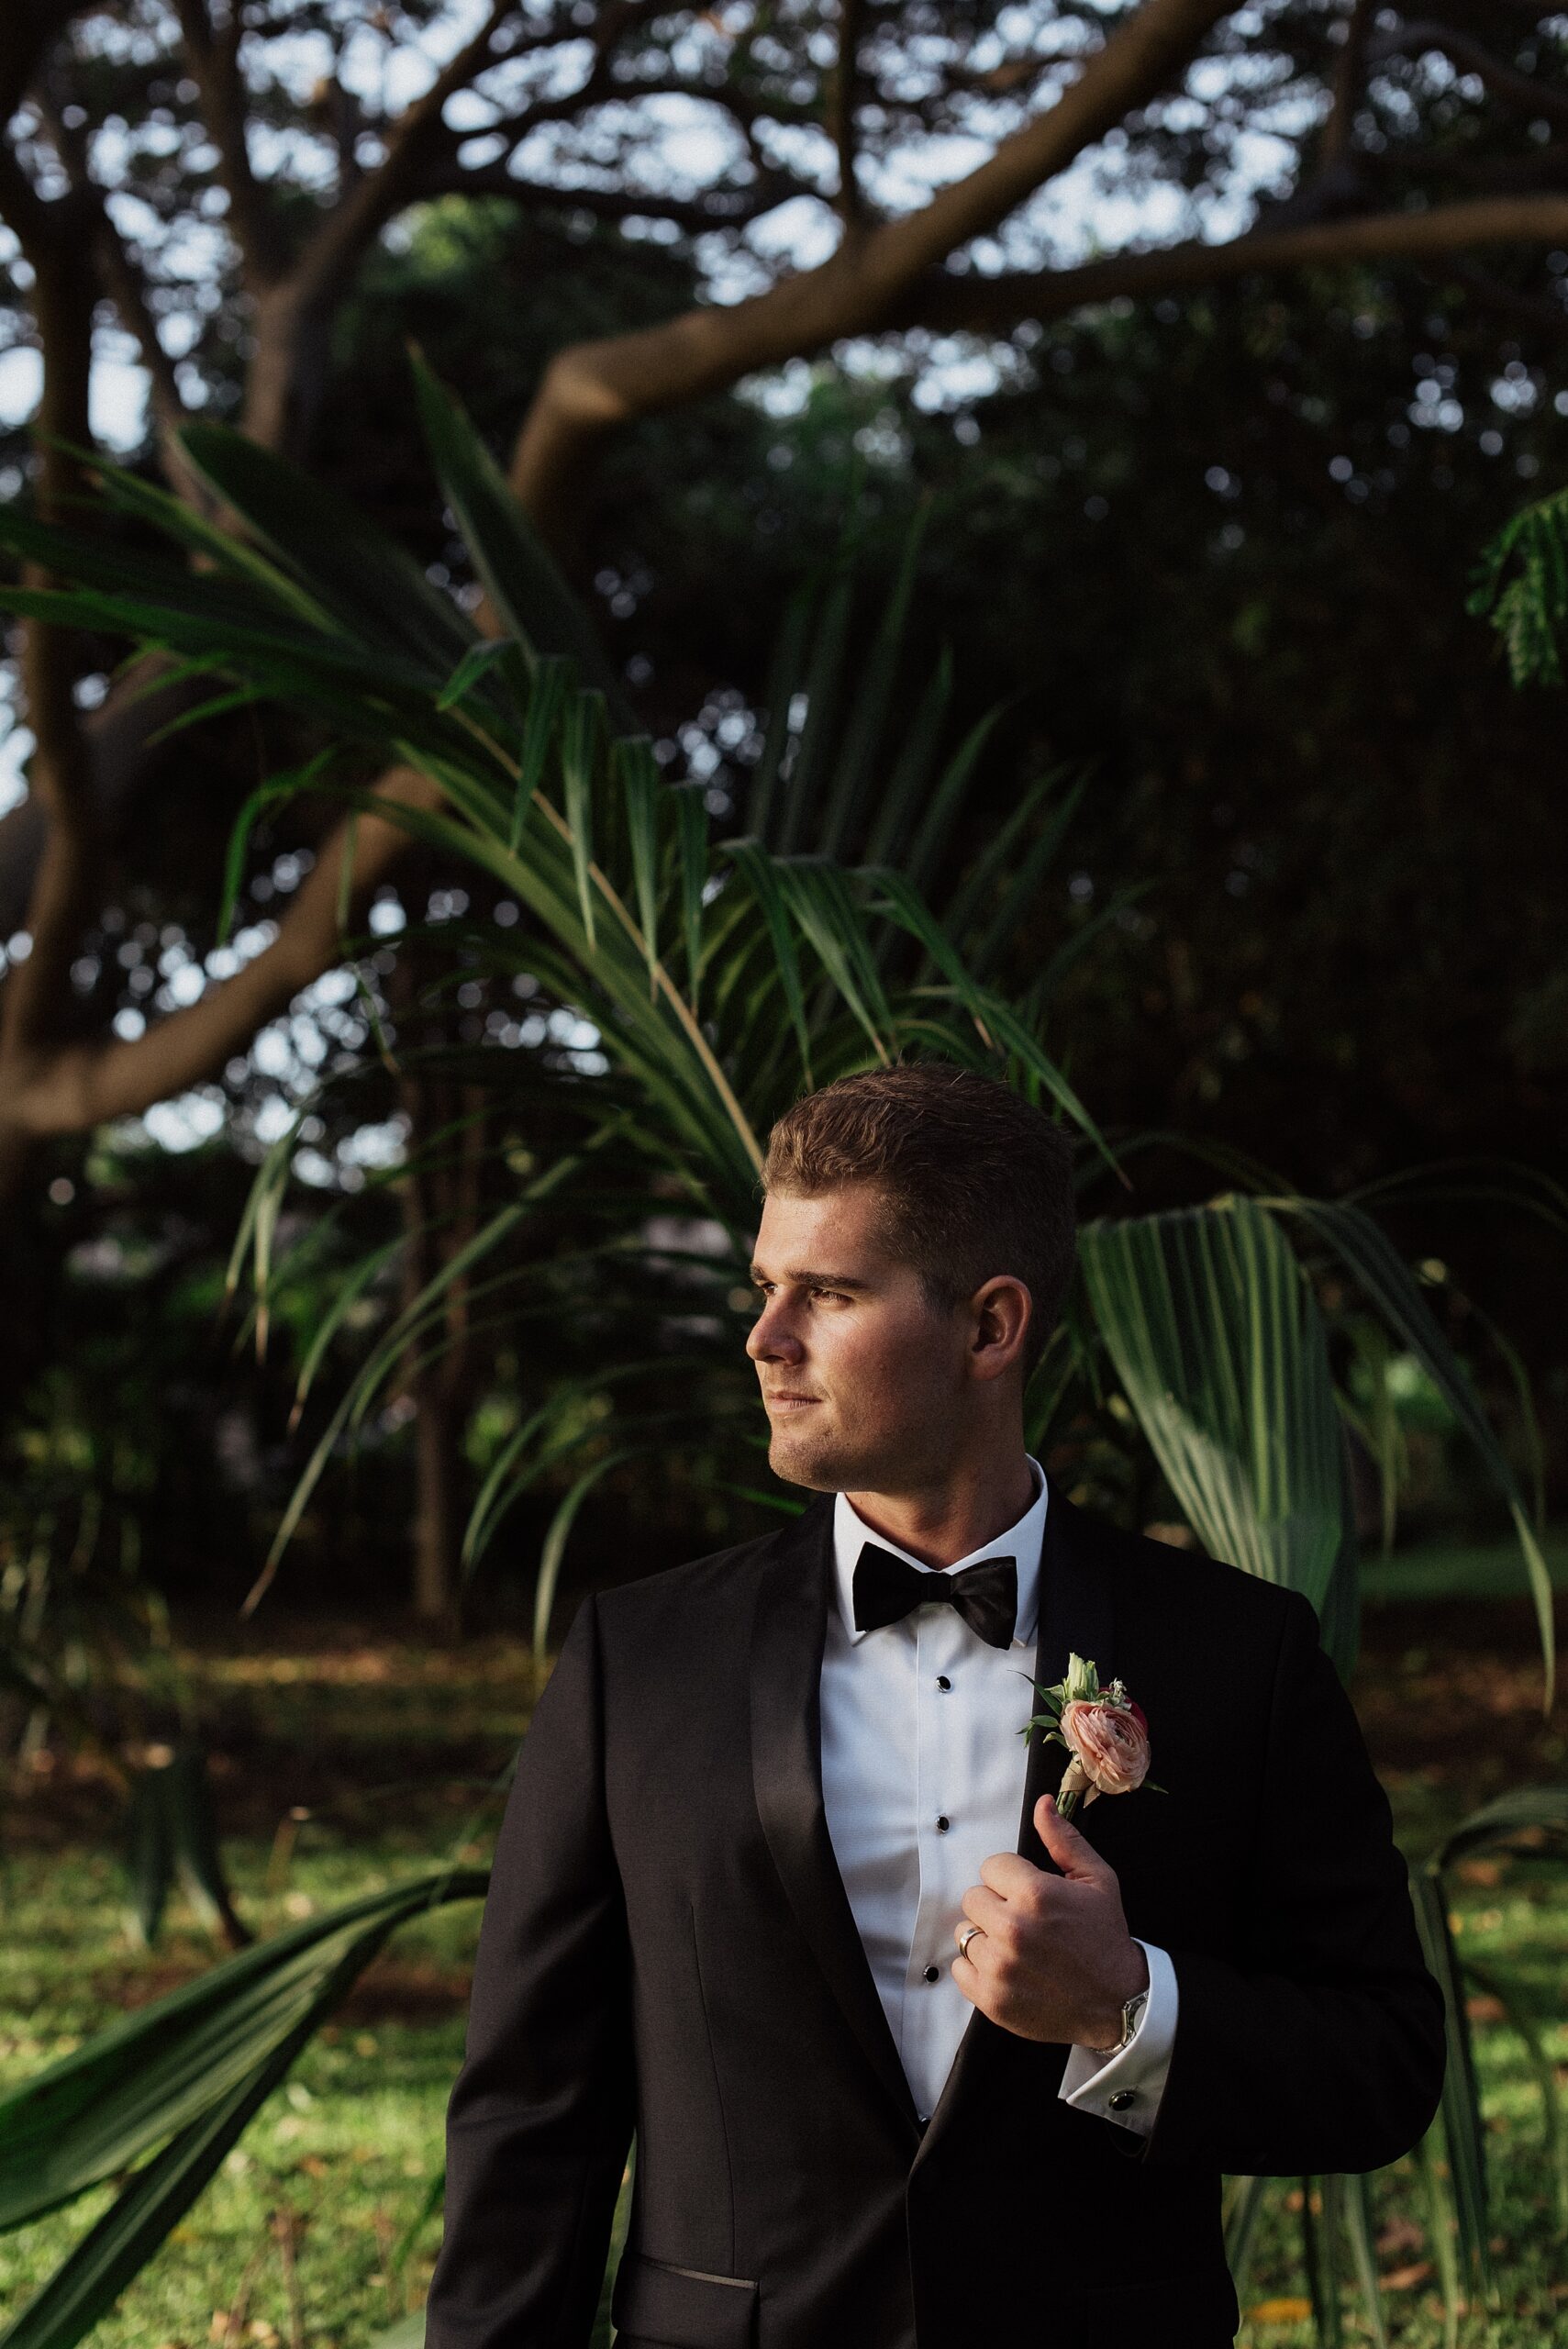
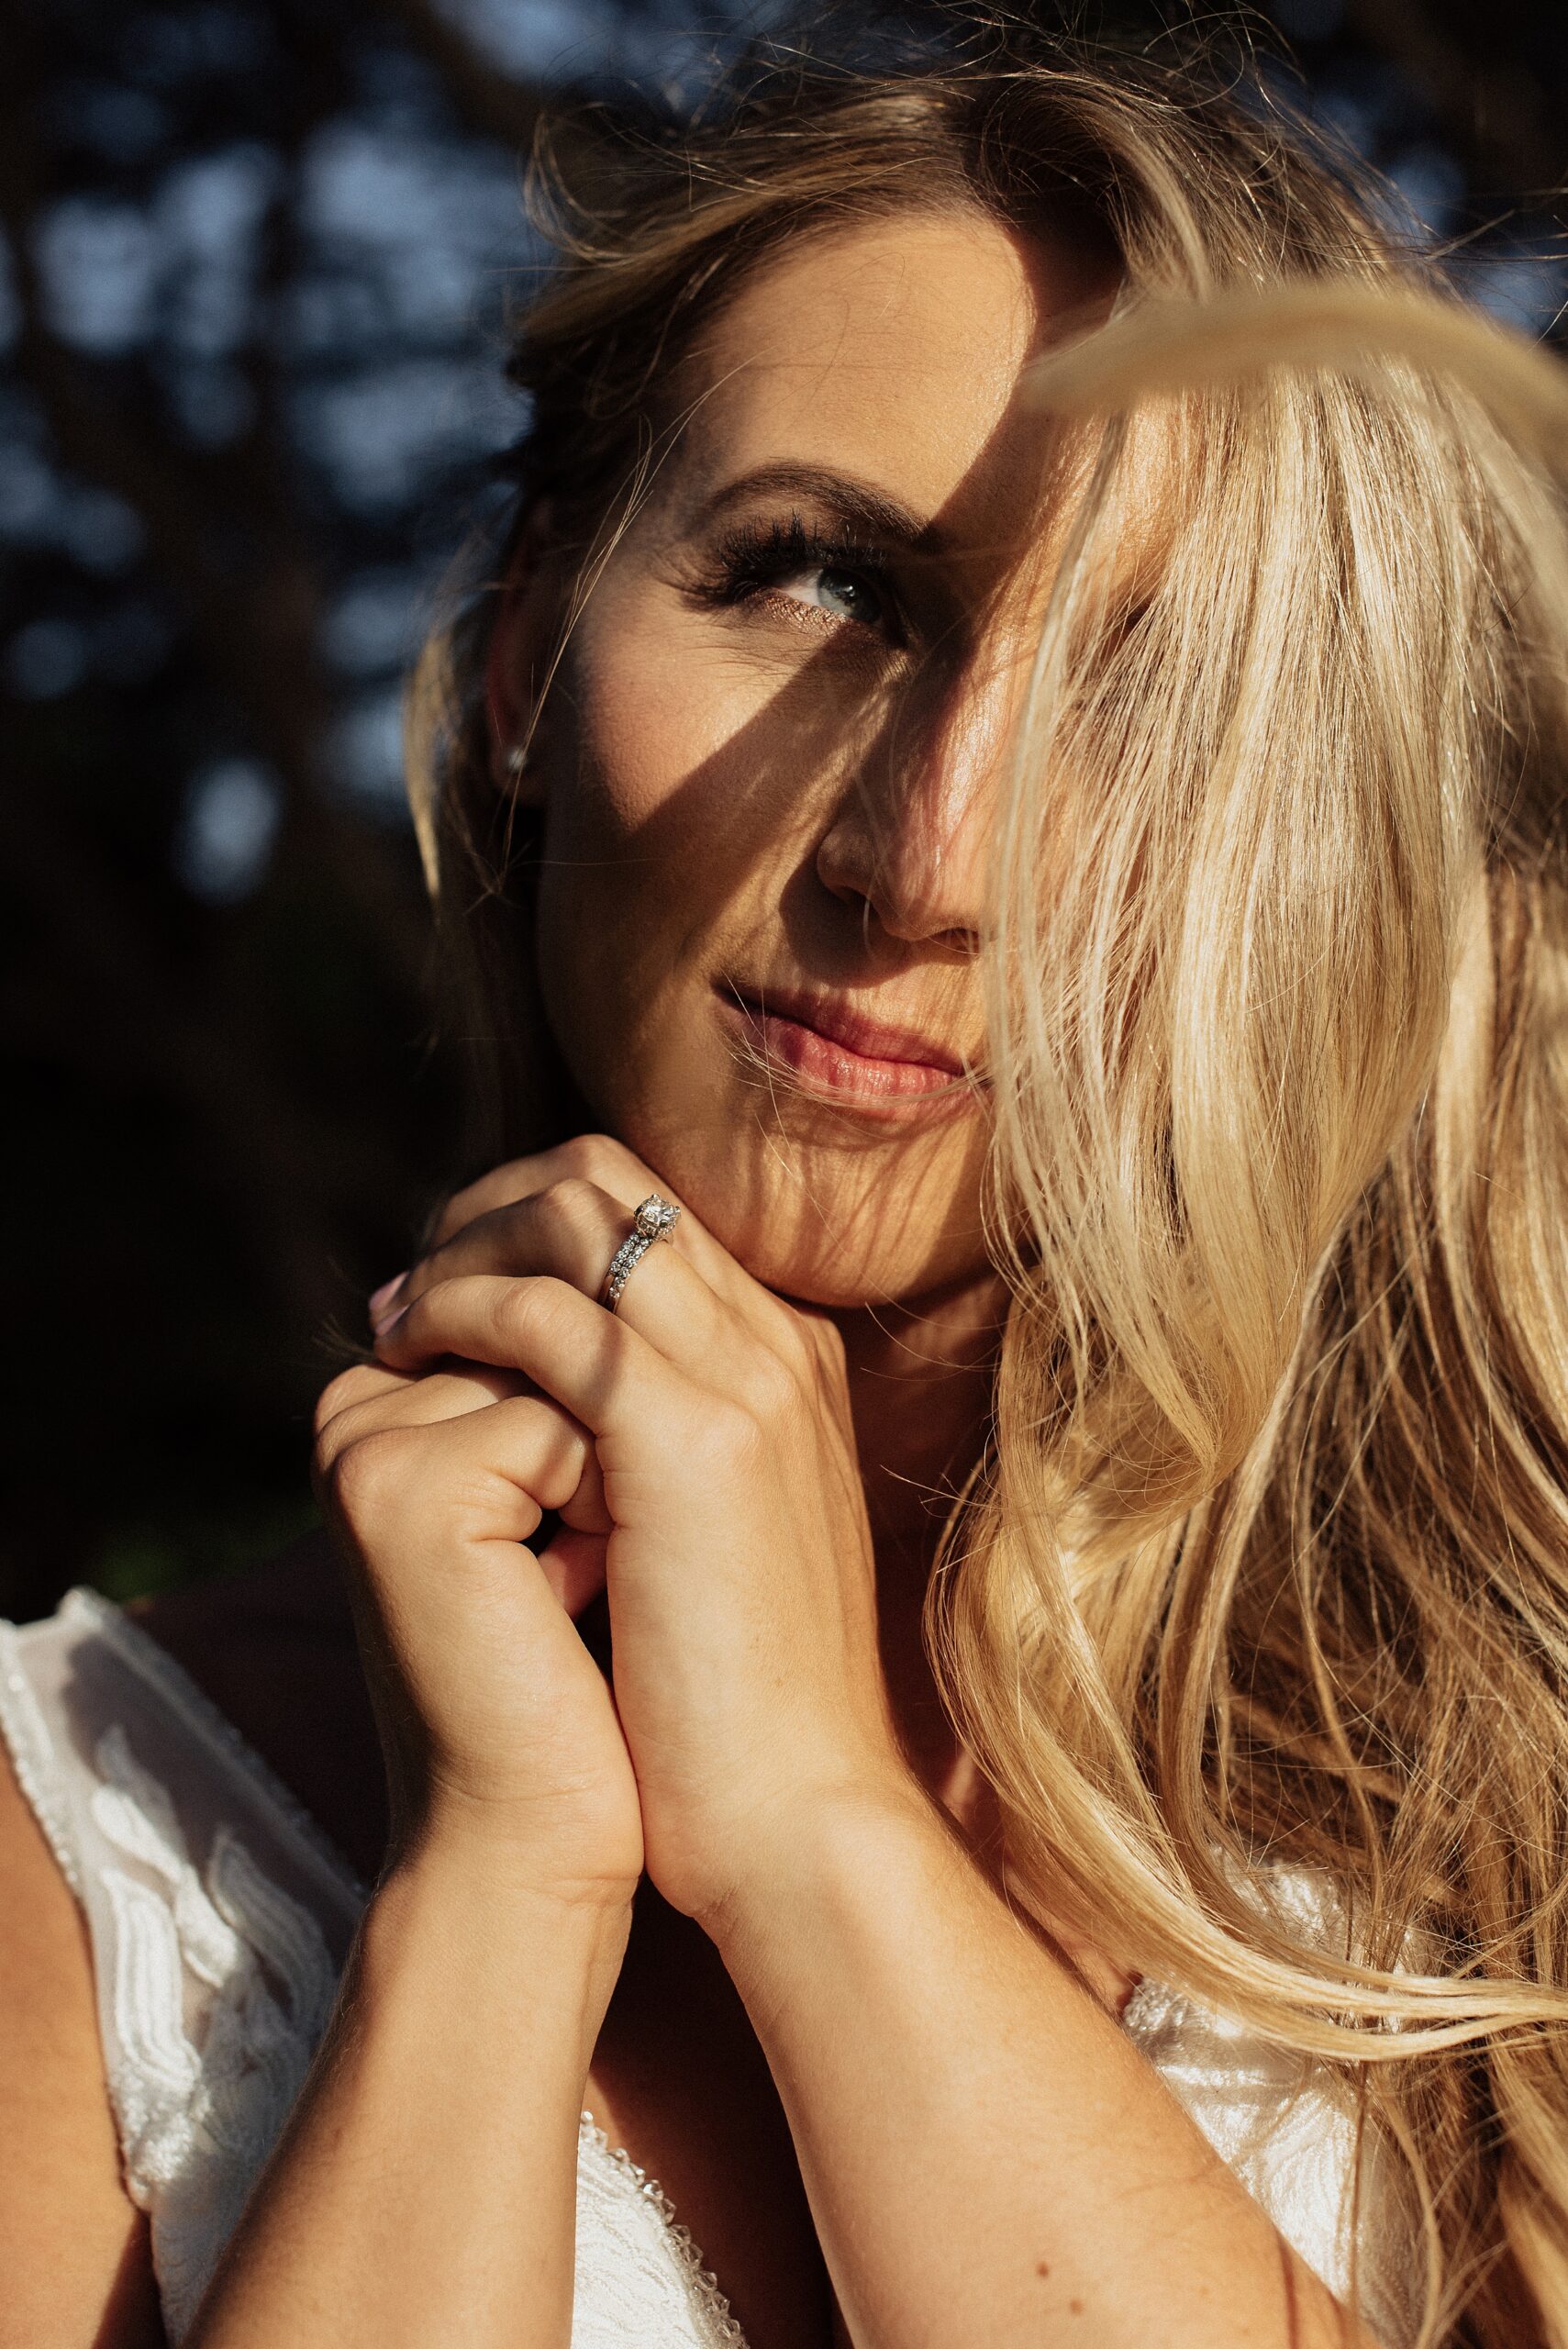
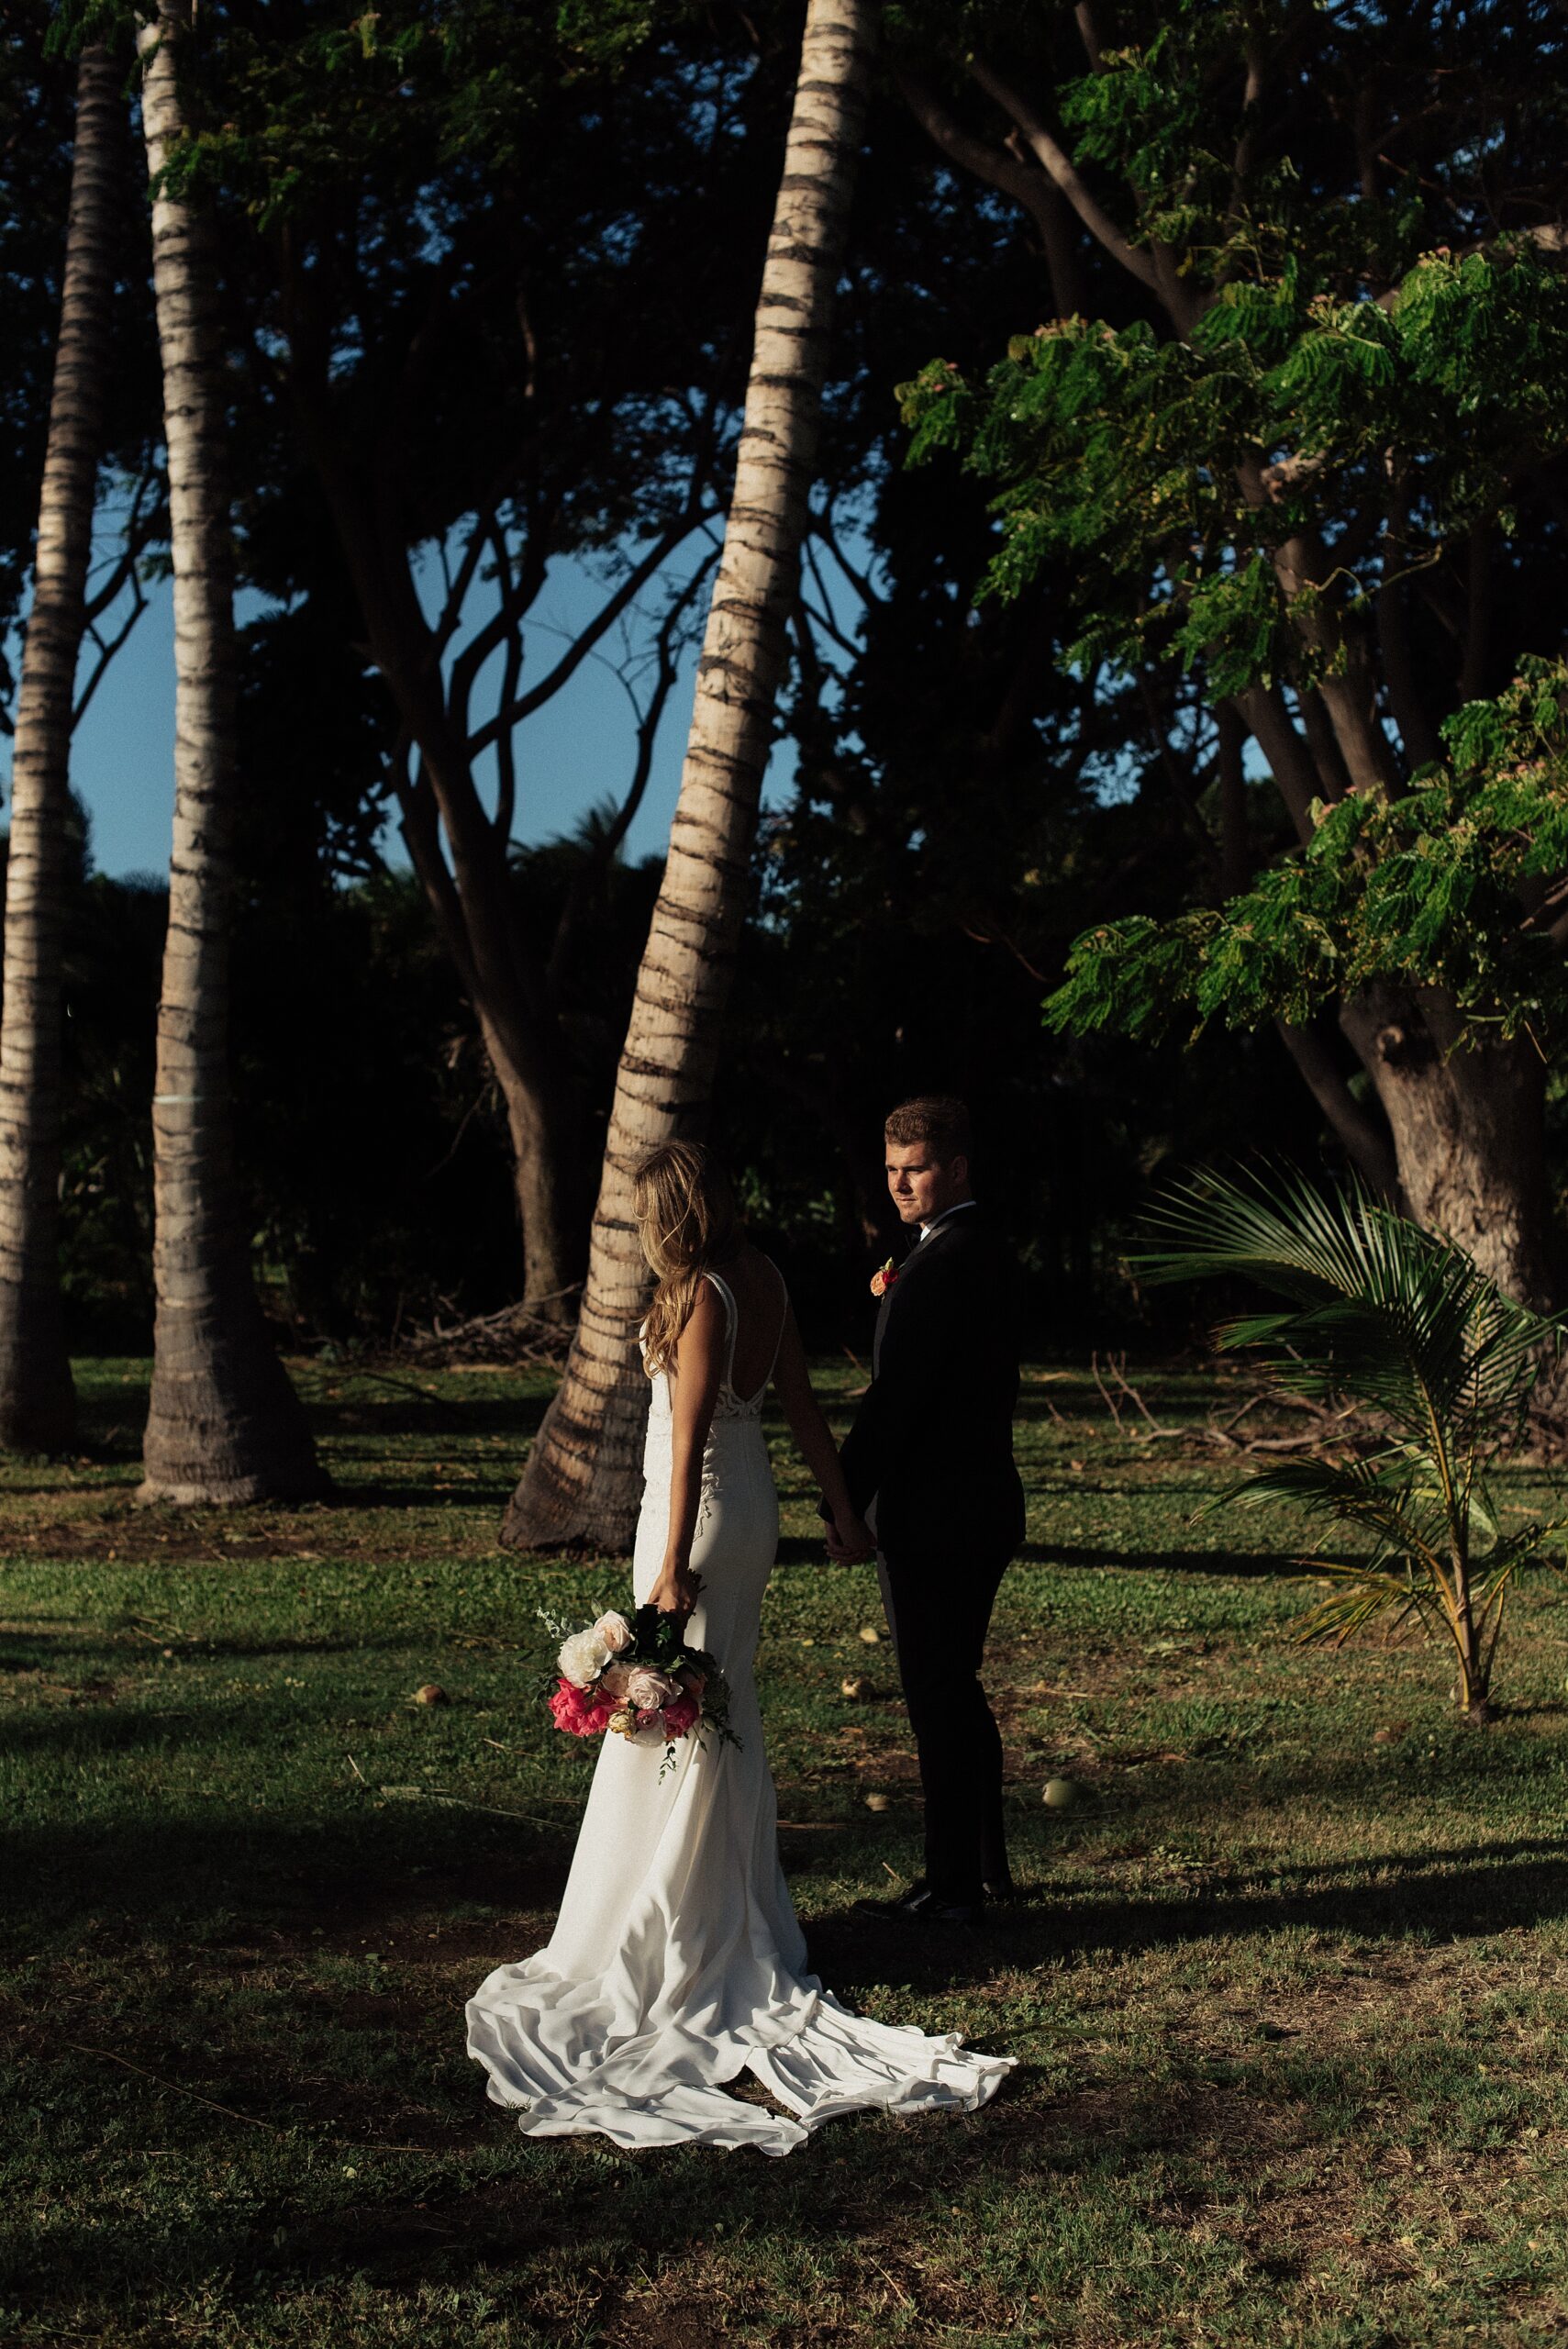
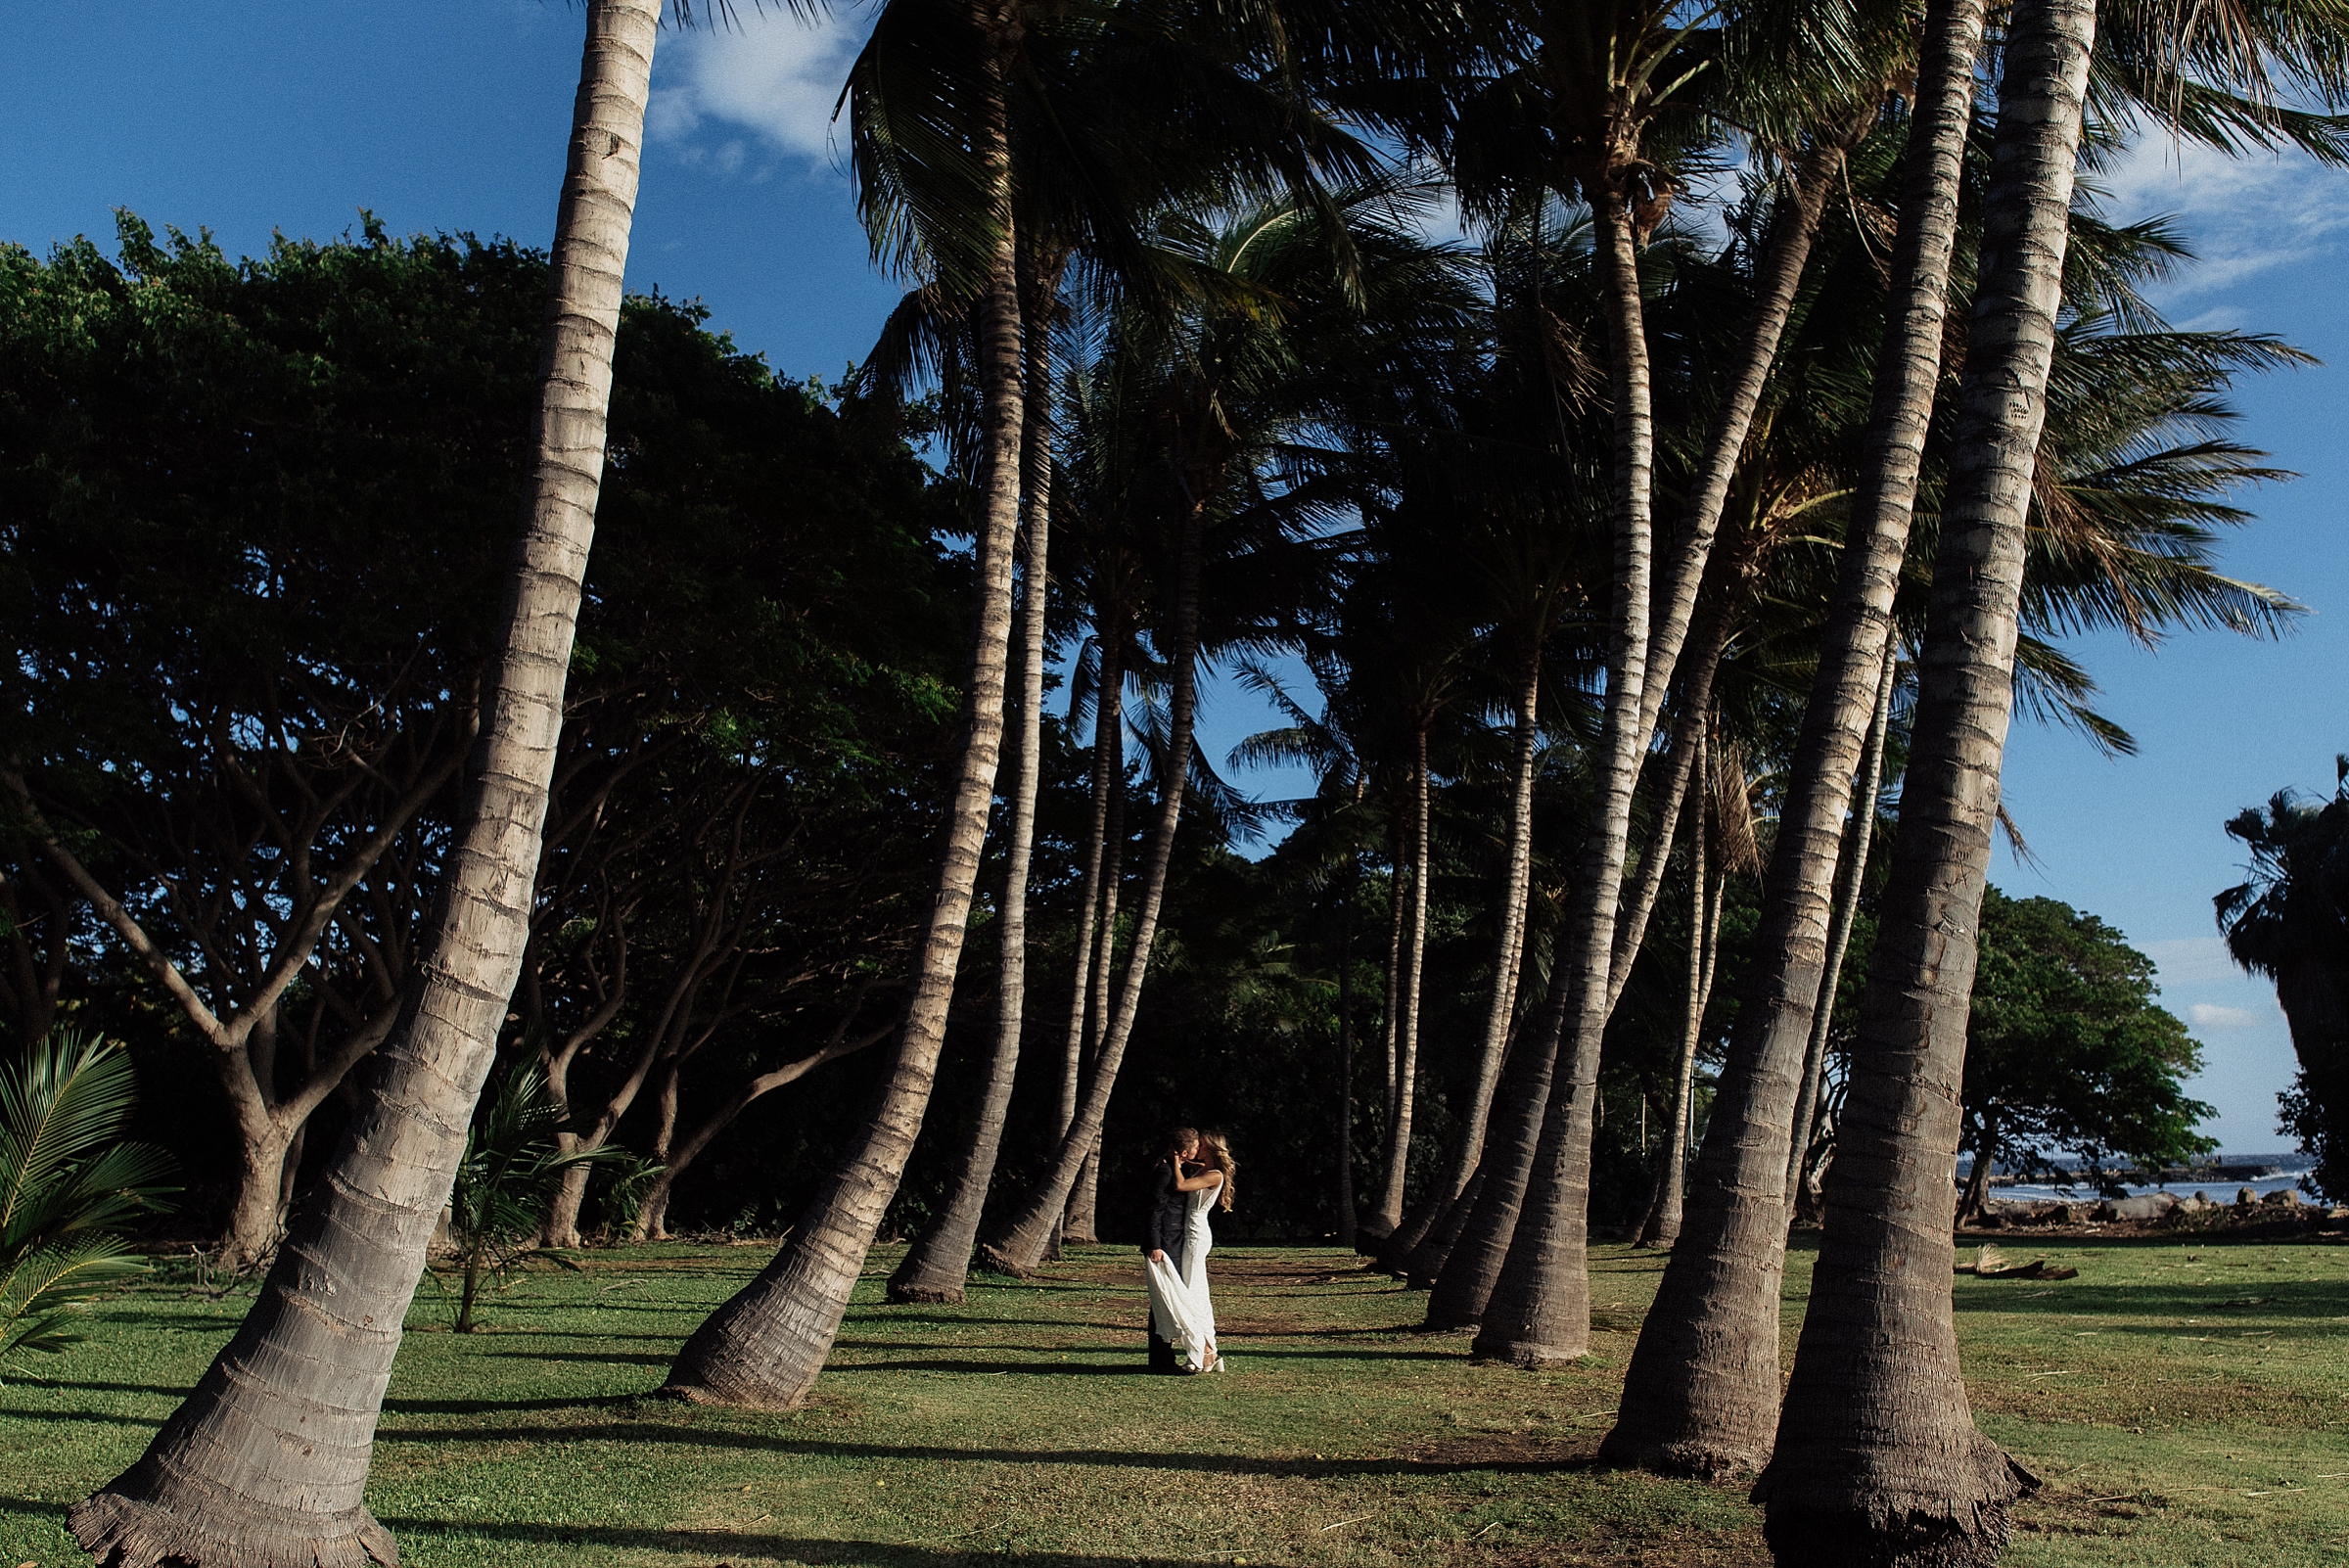
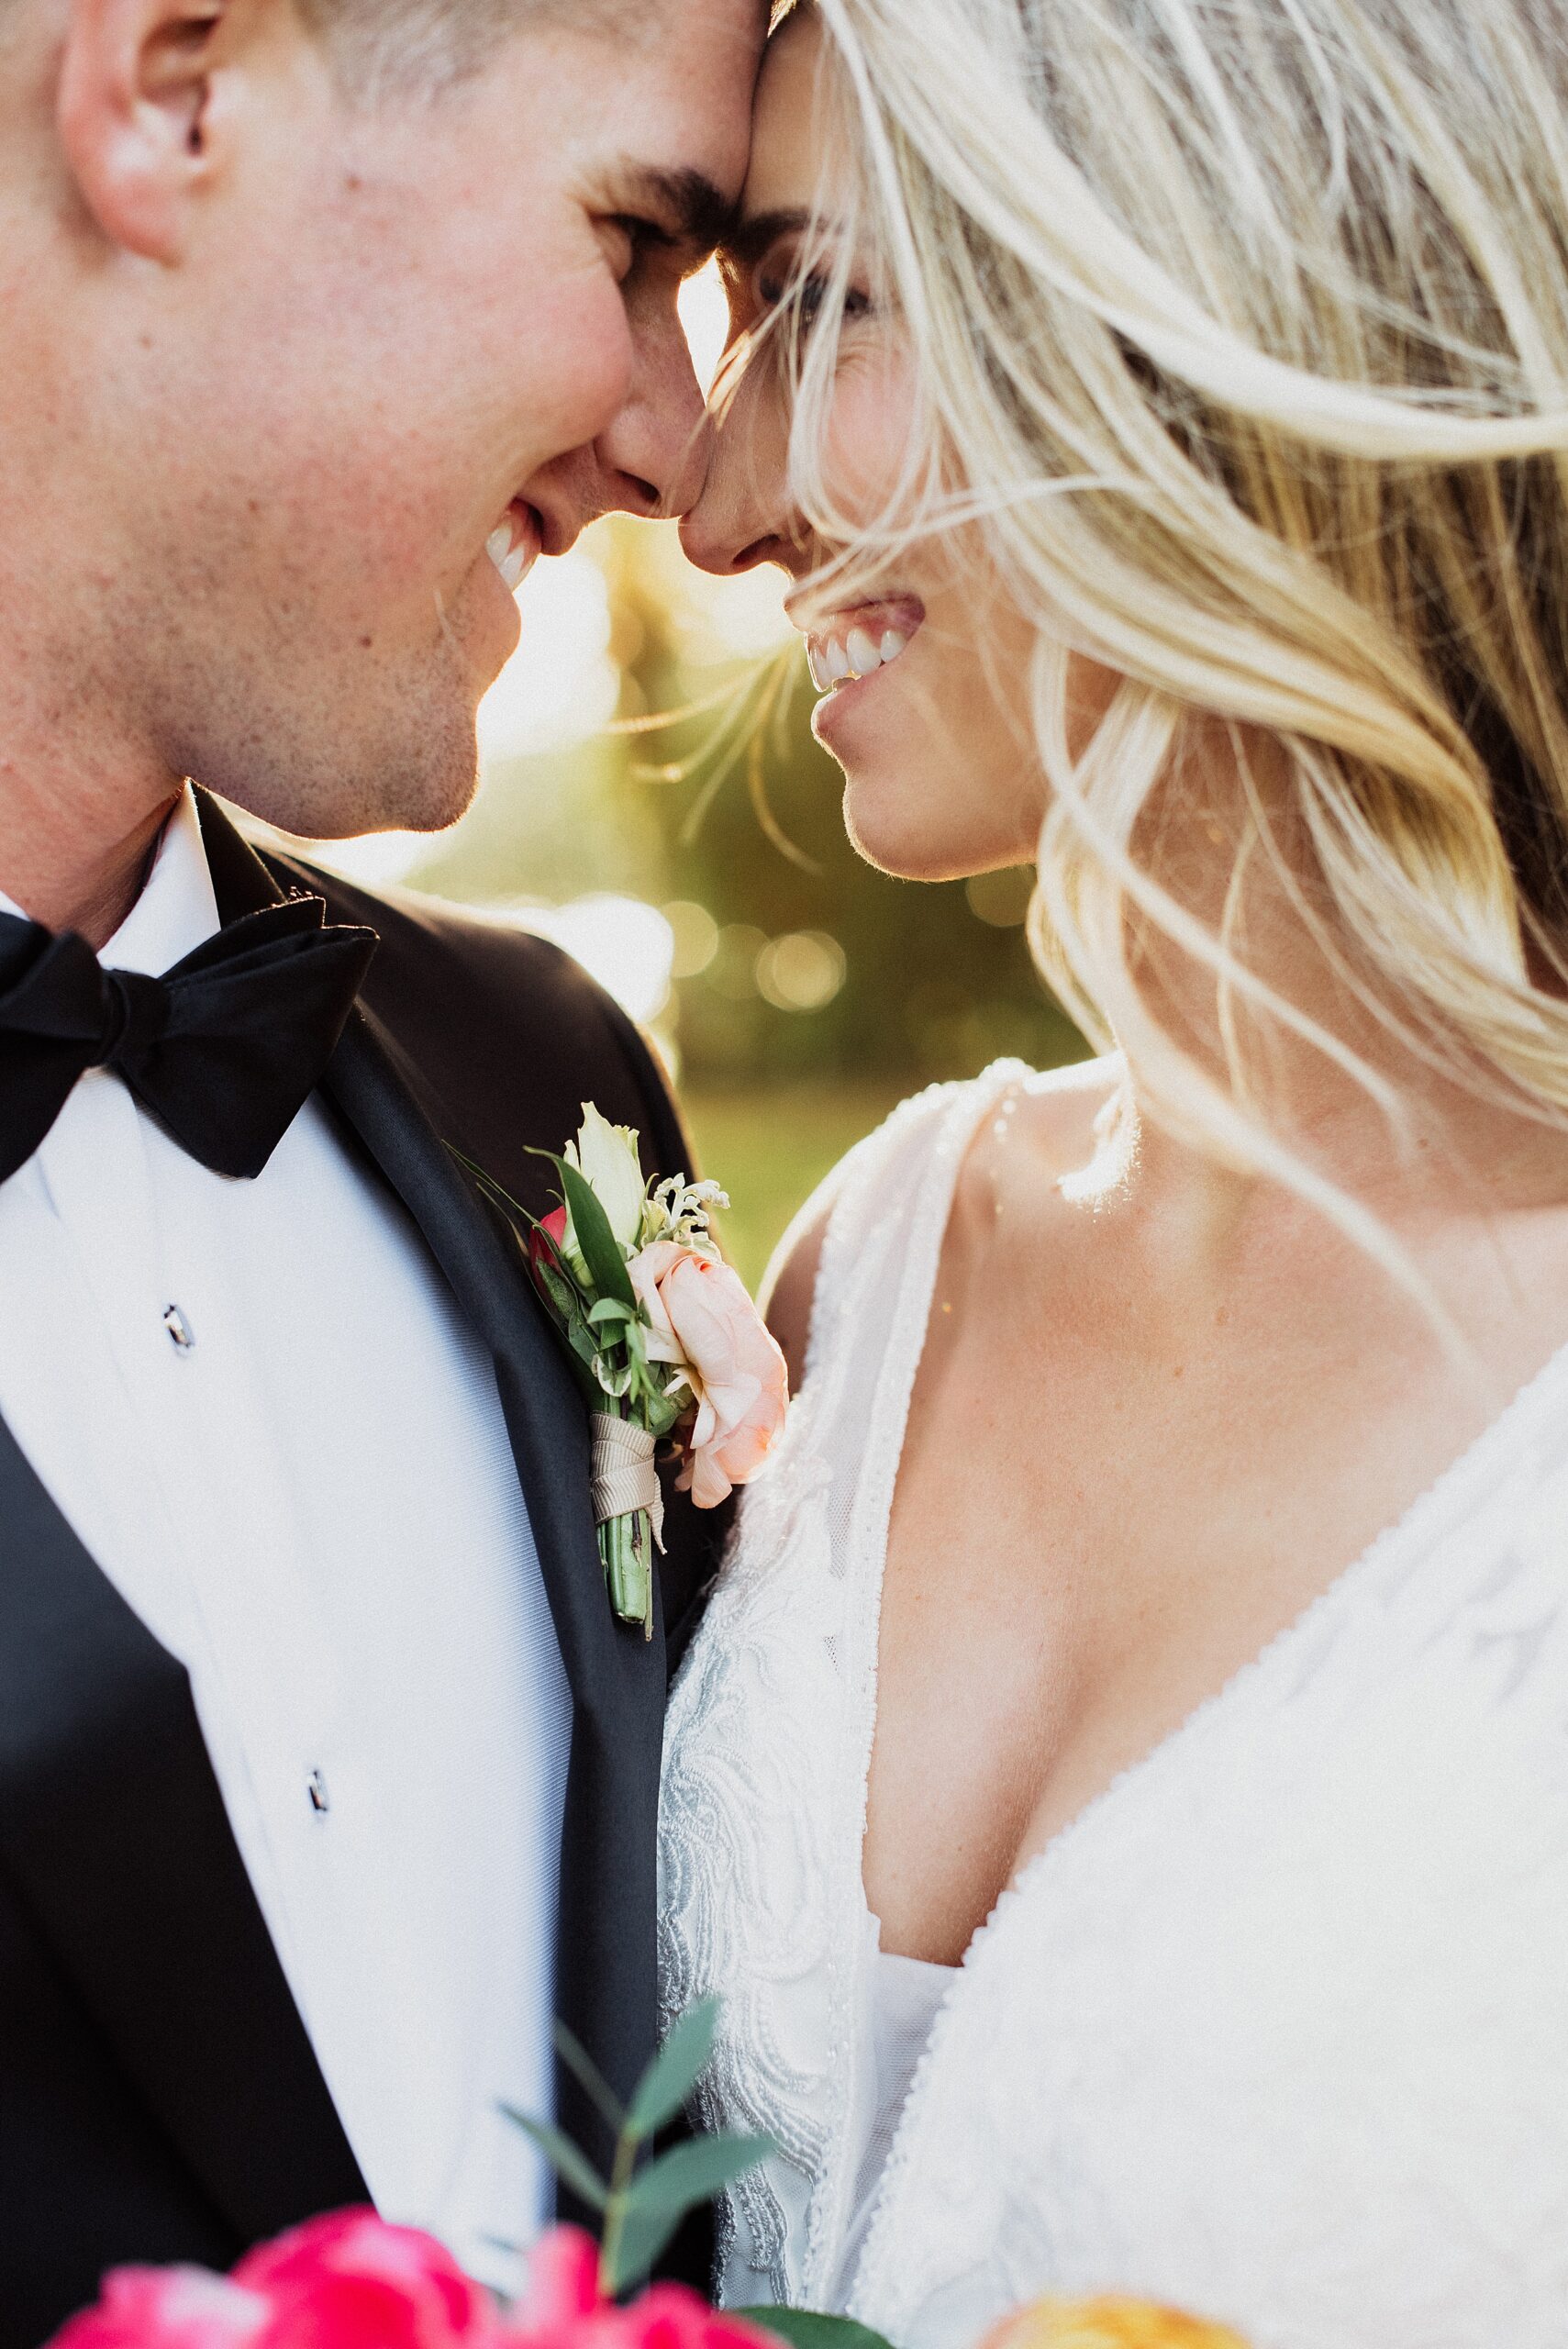
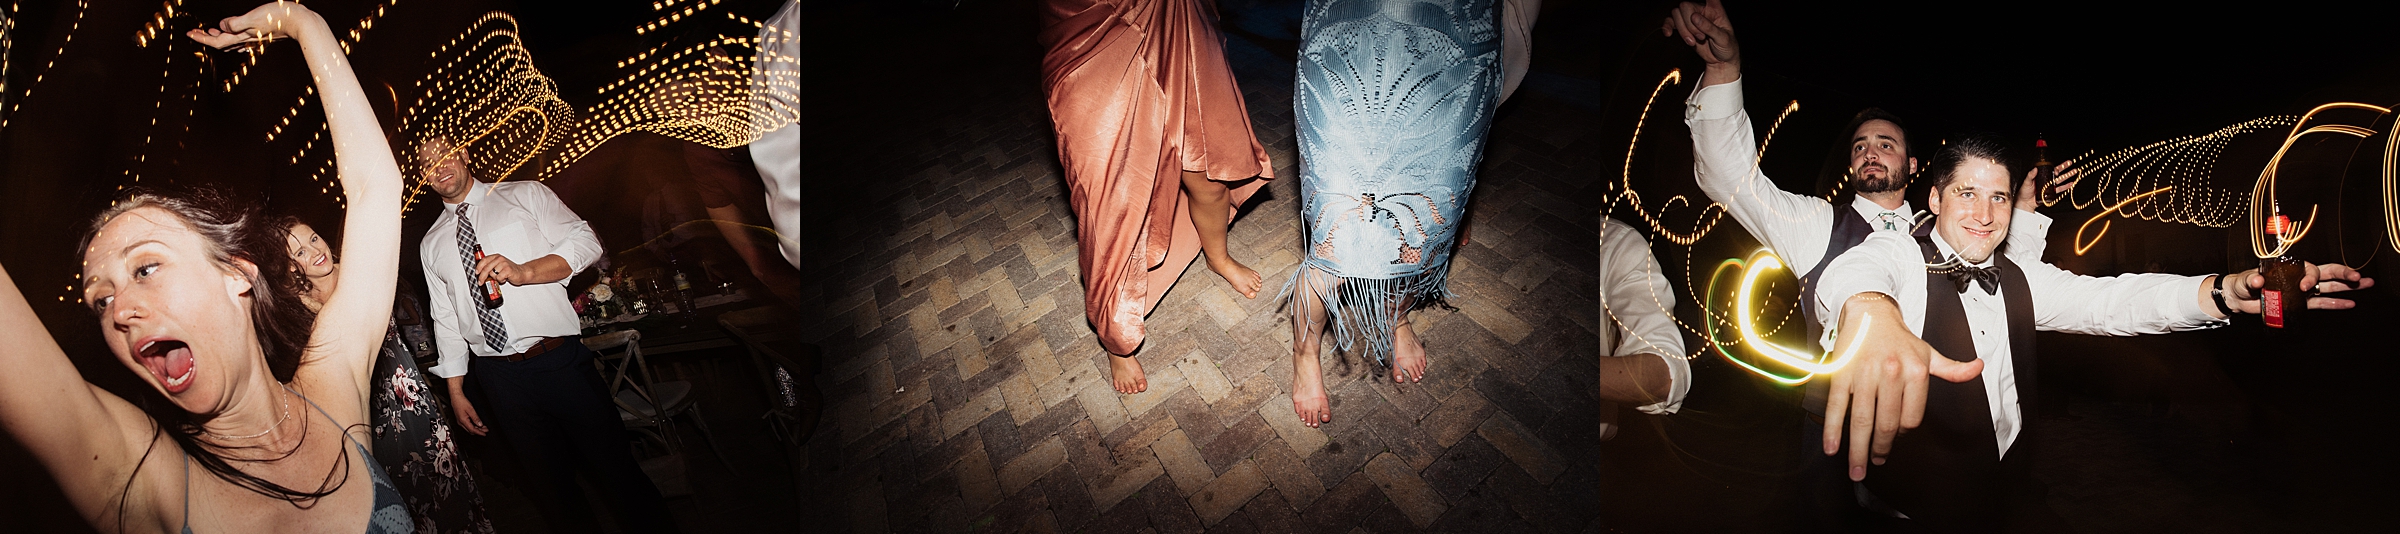
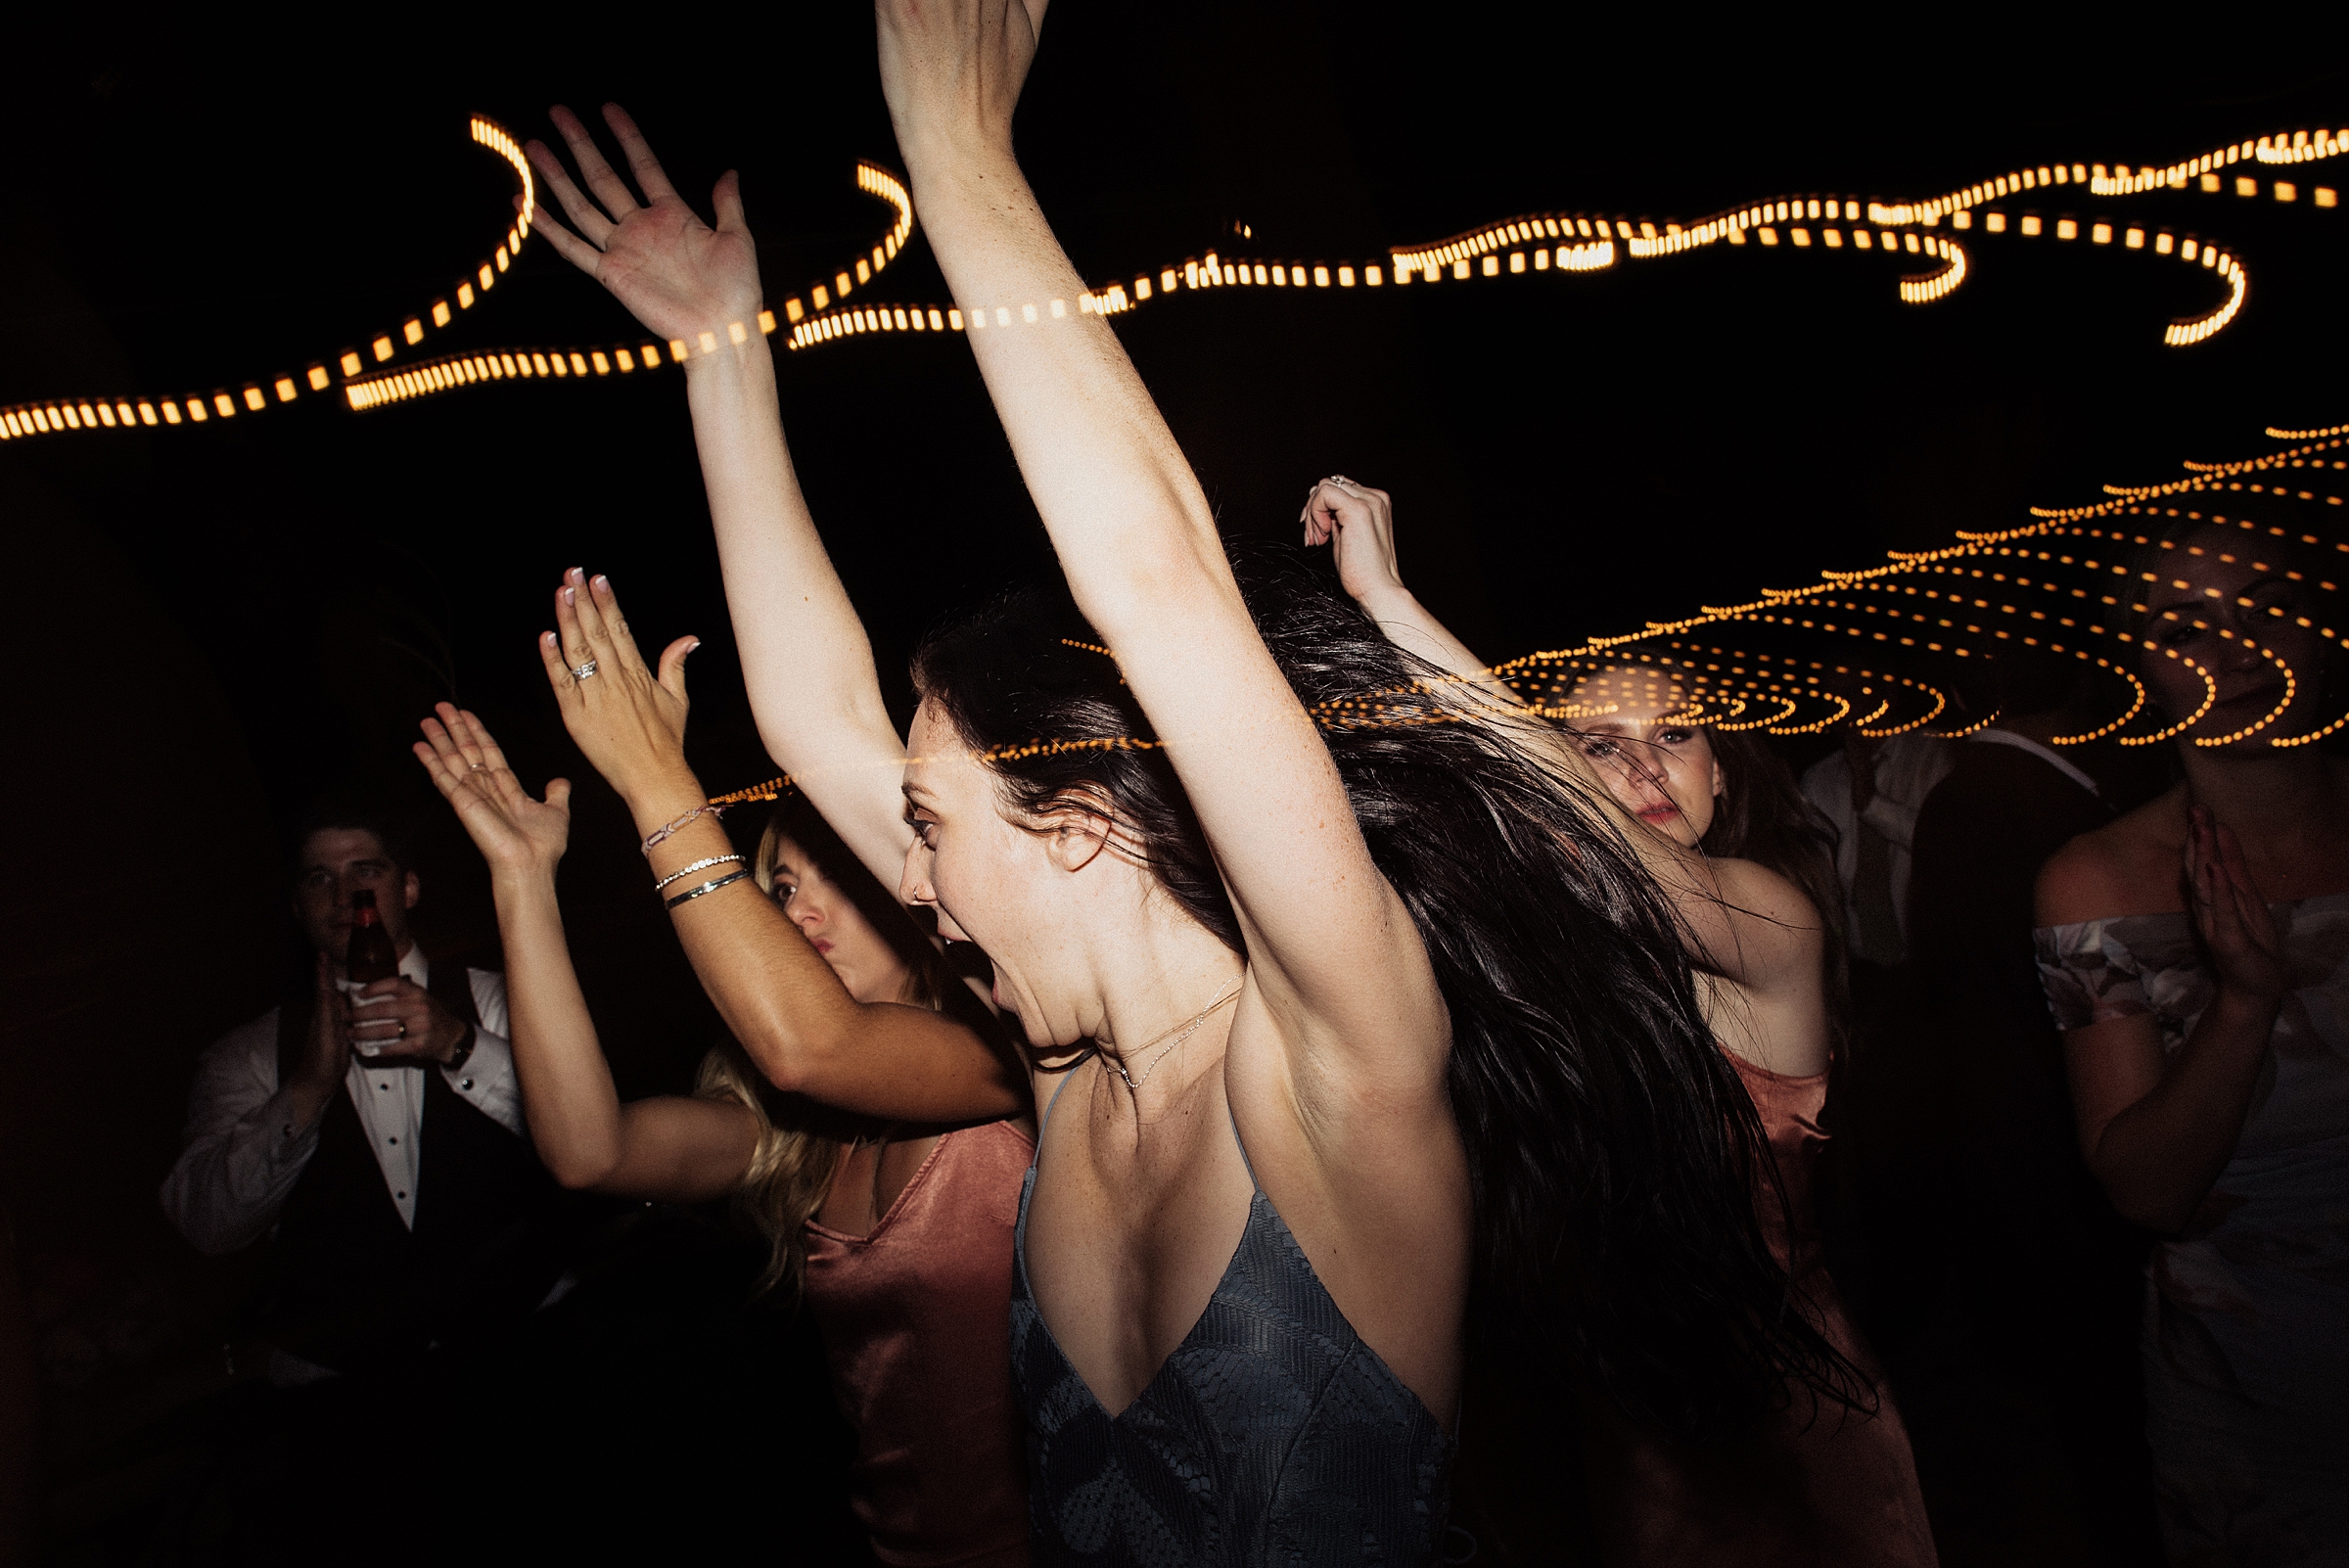
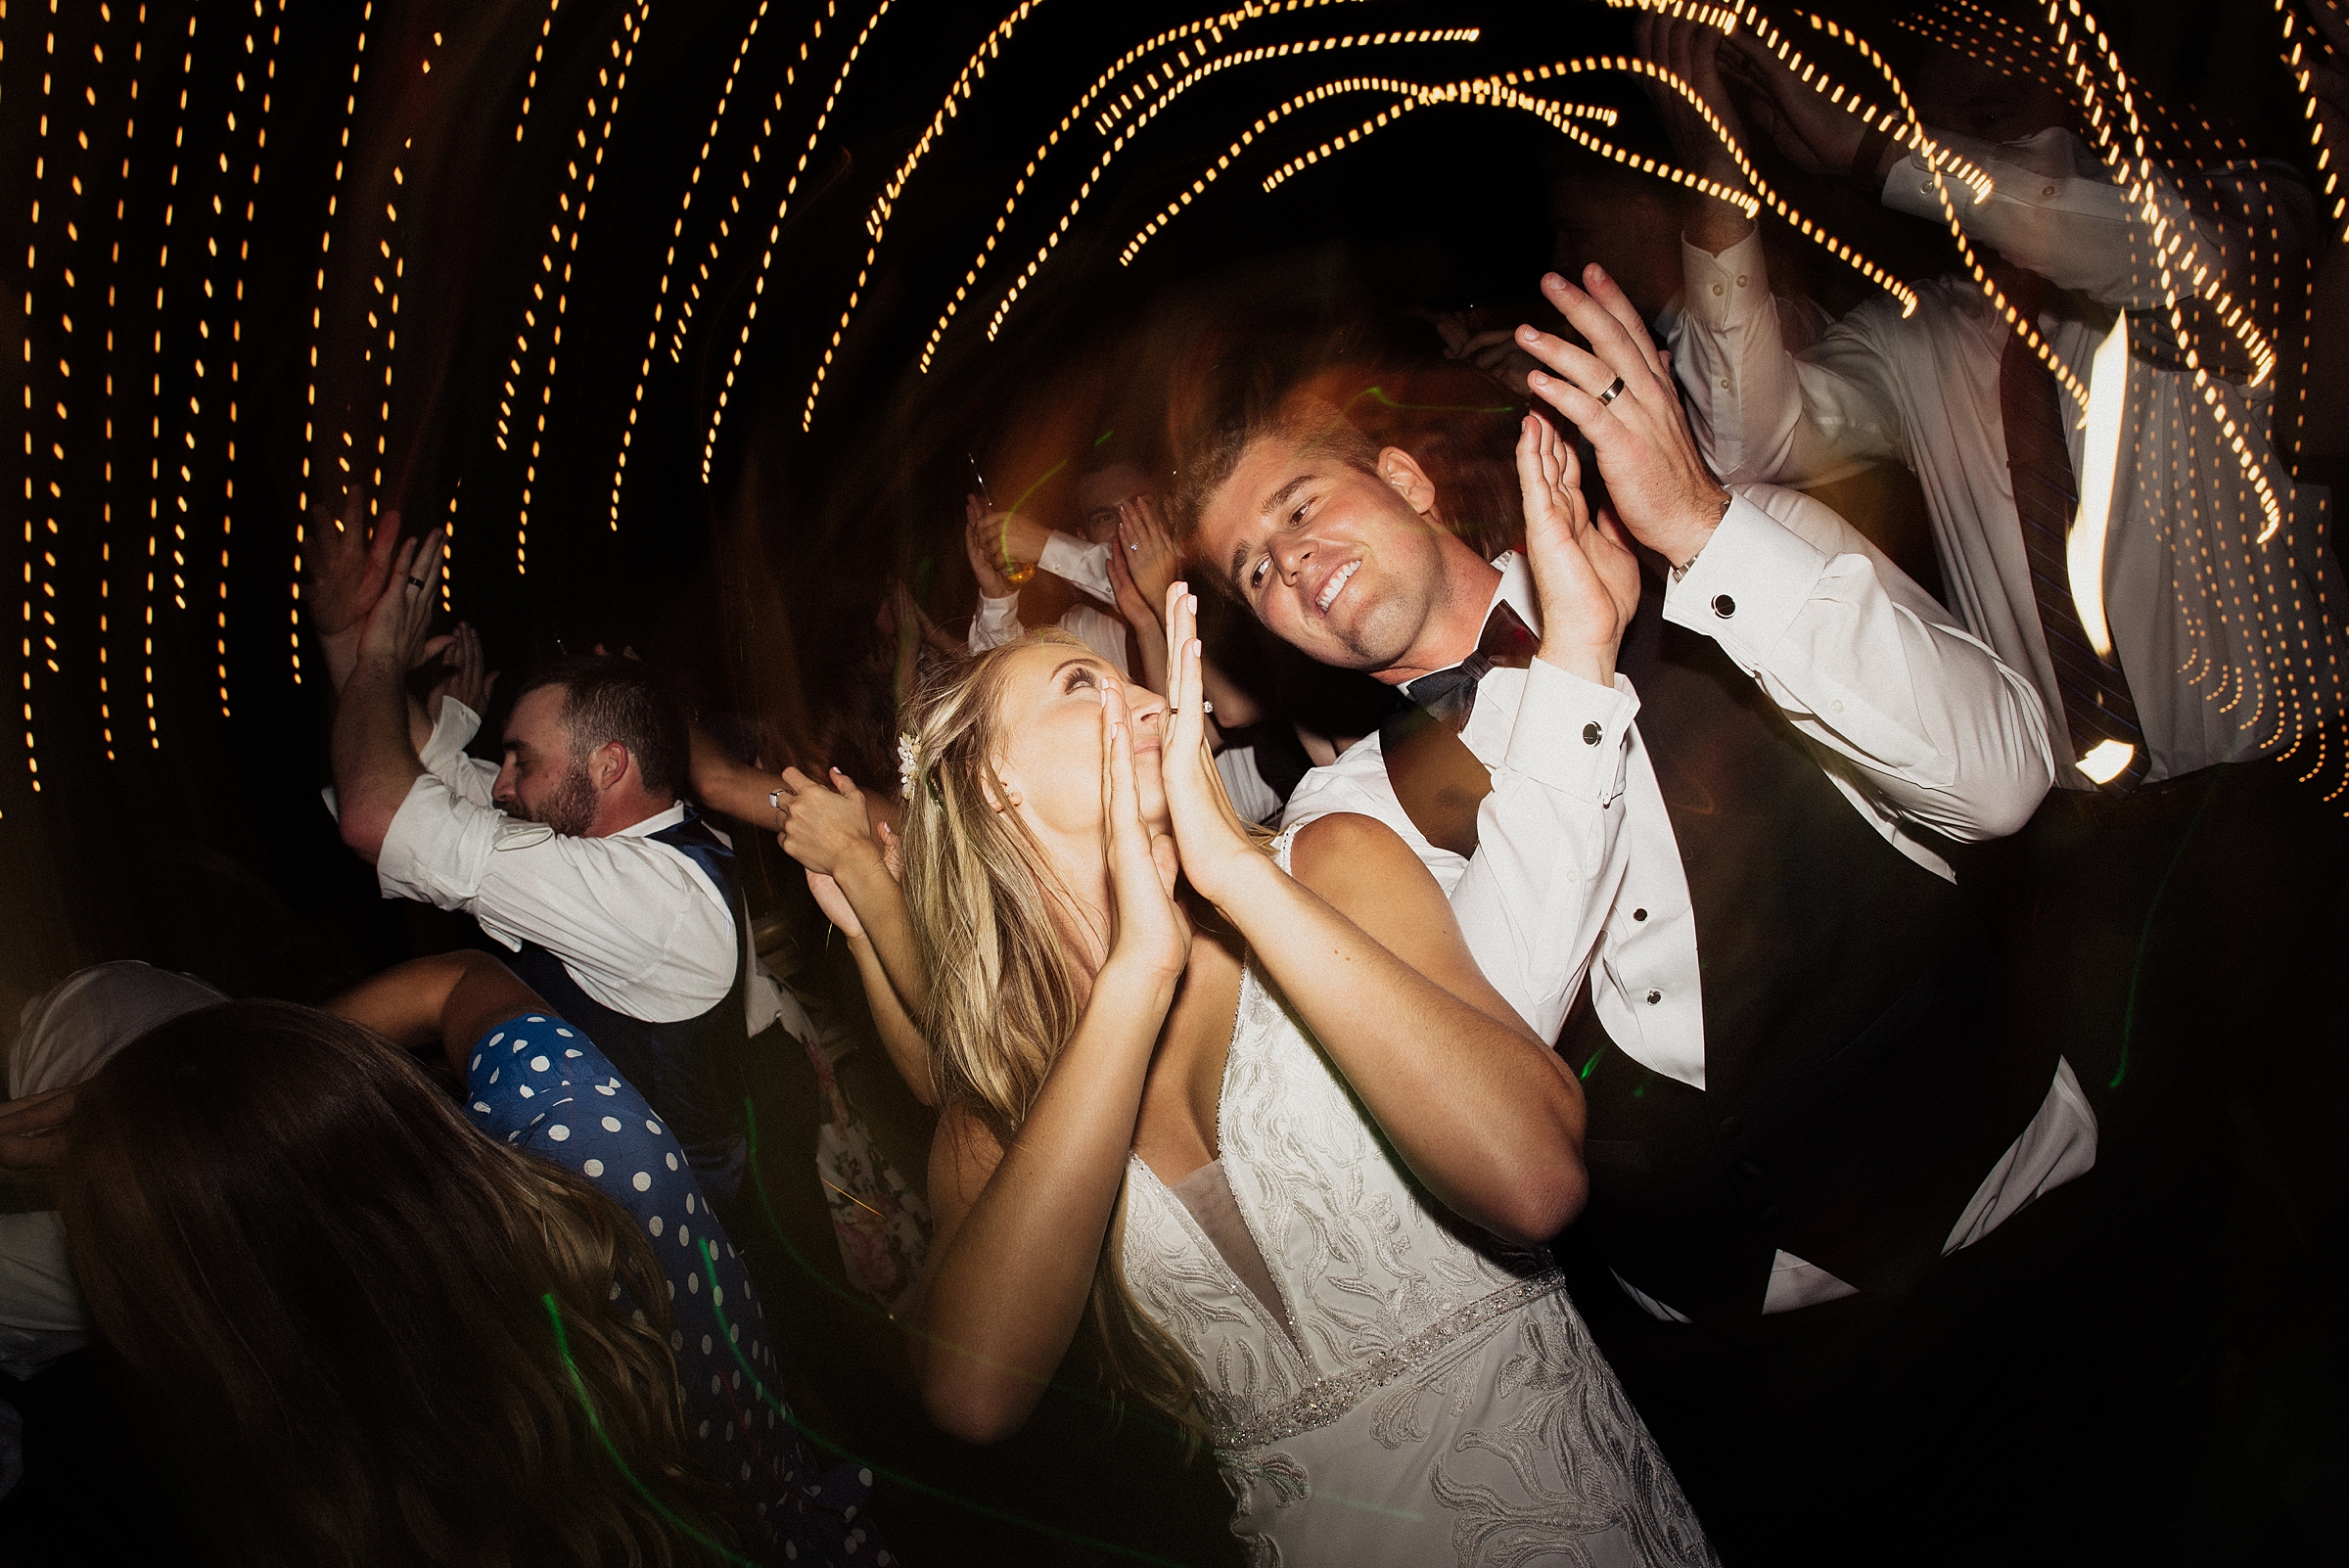
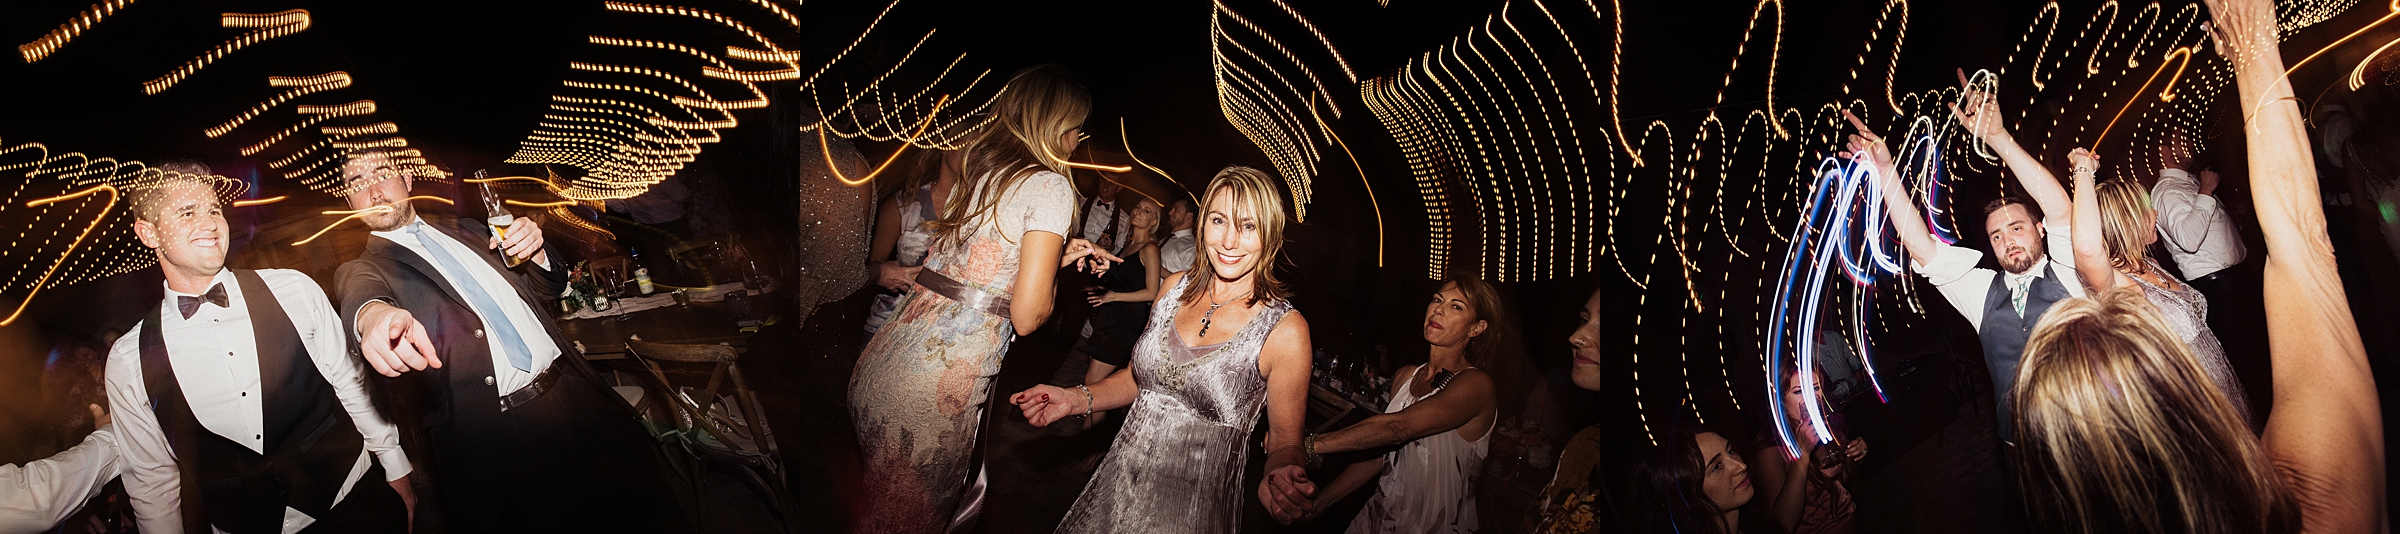
Hello, besties! Today, we’re diving into the sparkling world of wedding receptions and how you can capture those magical moments with the perfect flash photography settings. Whether you’re a seasoned pro or just starting out, these tips will help you snap stunning, well-lit photos that truly celebrate the love and joy of the occasion.
Understanding the Basics of Flash Photography
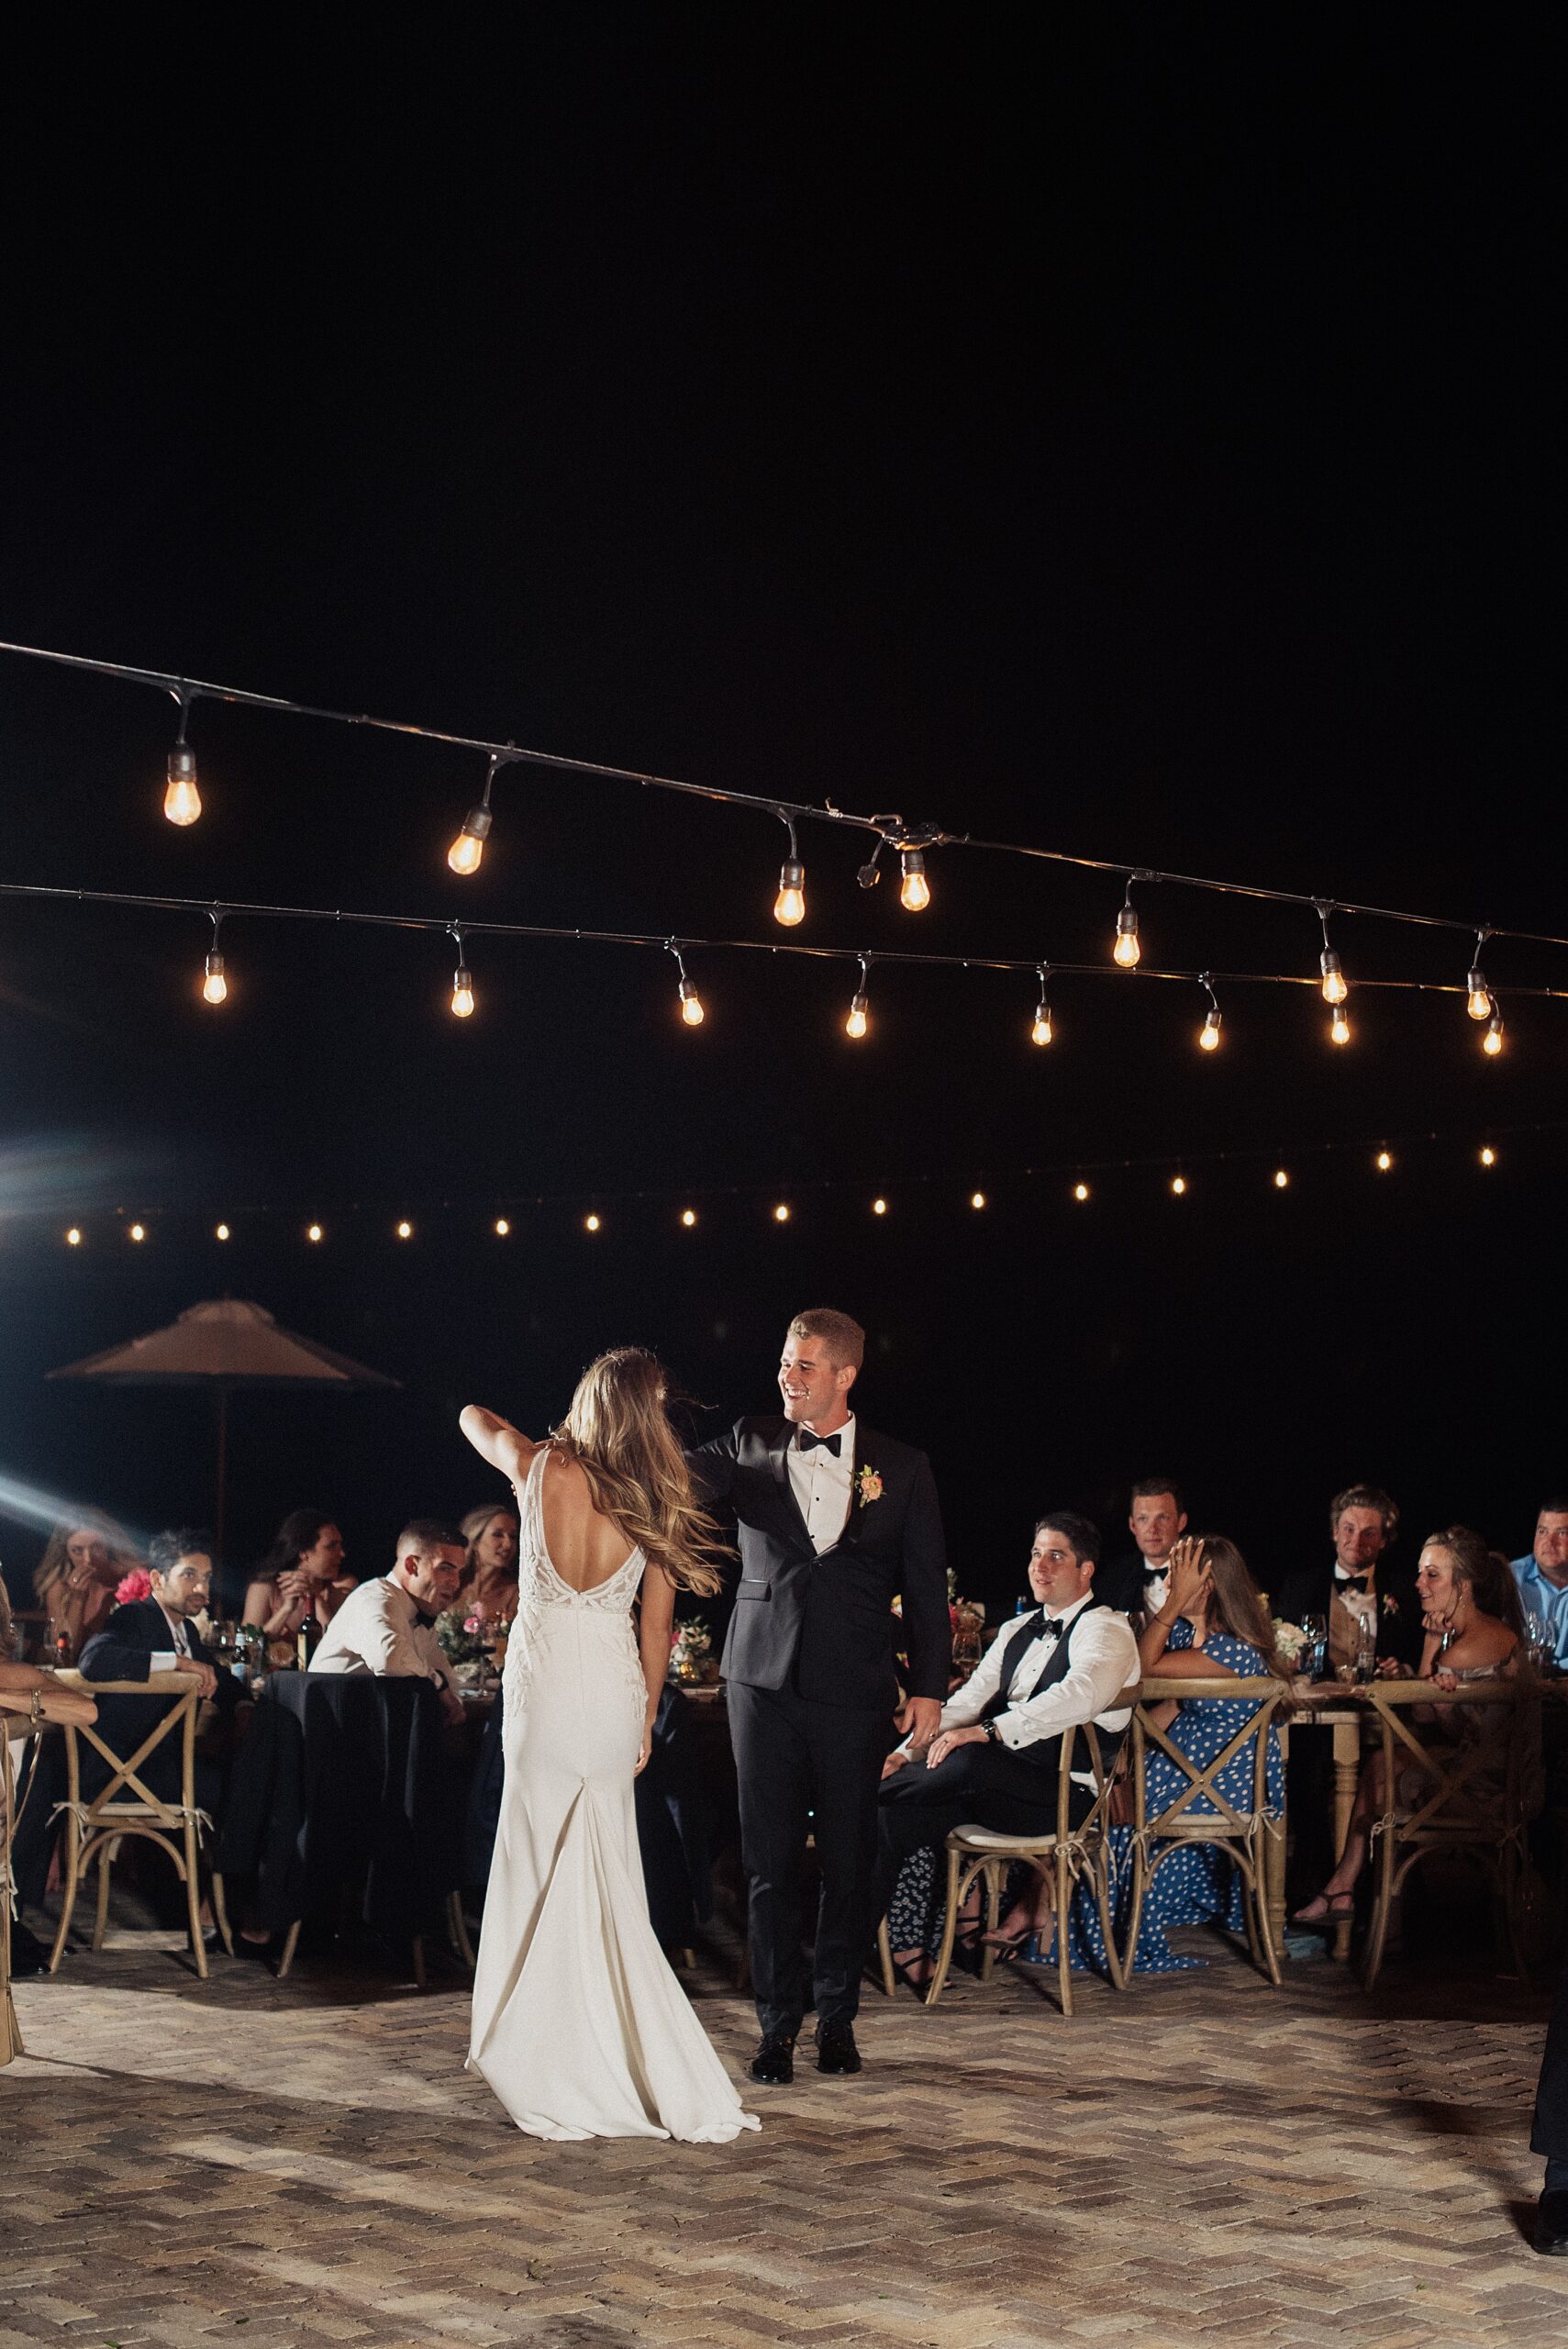
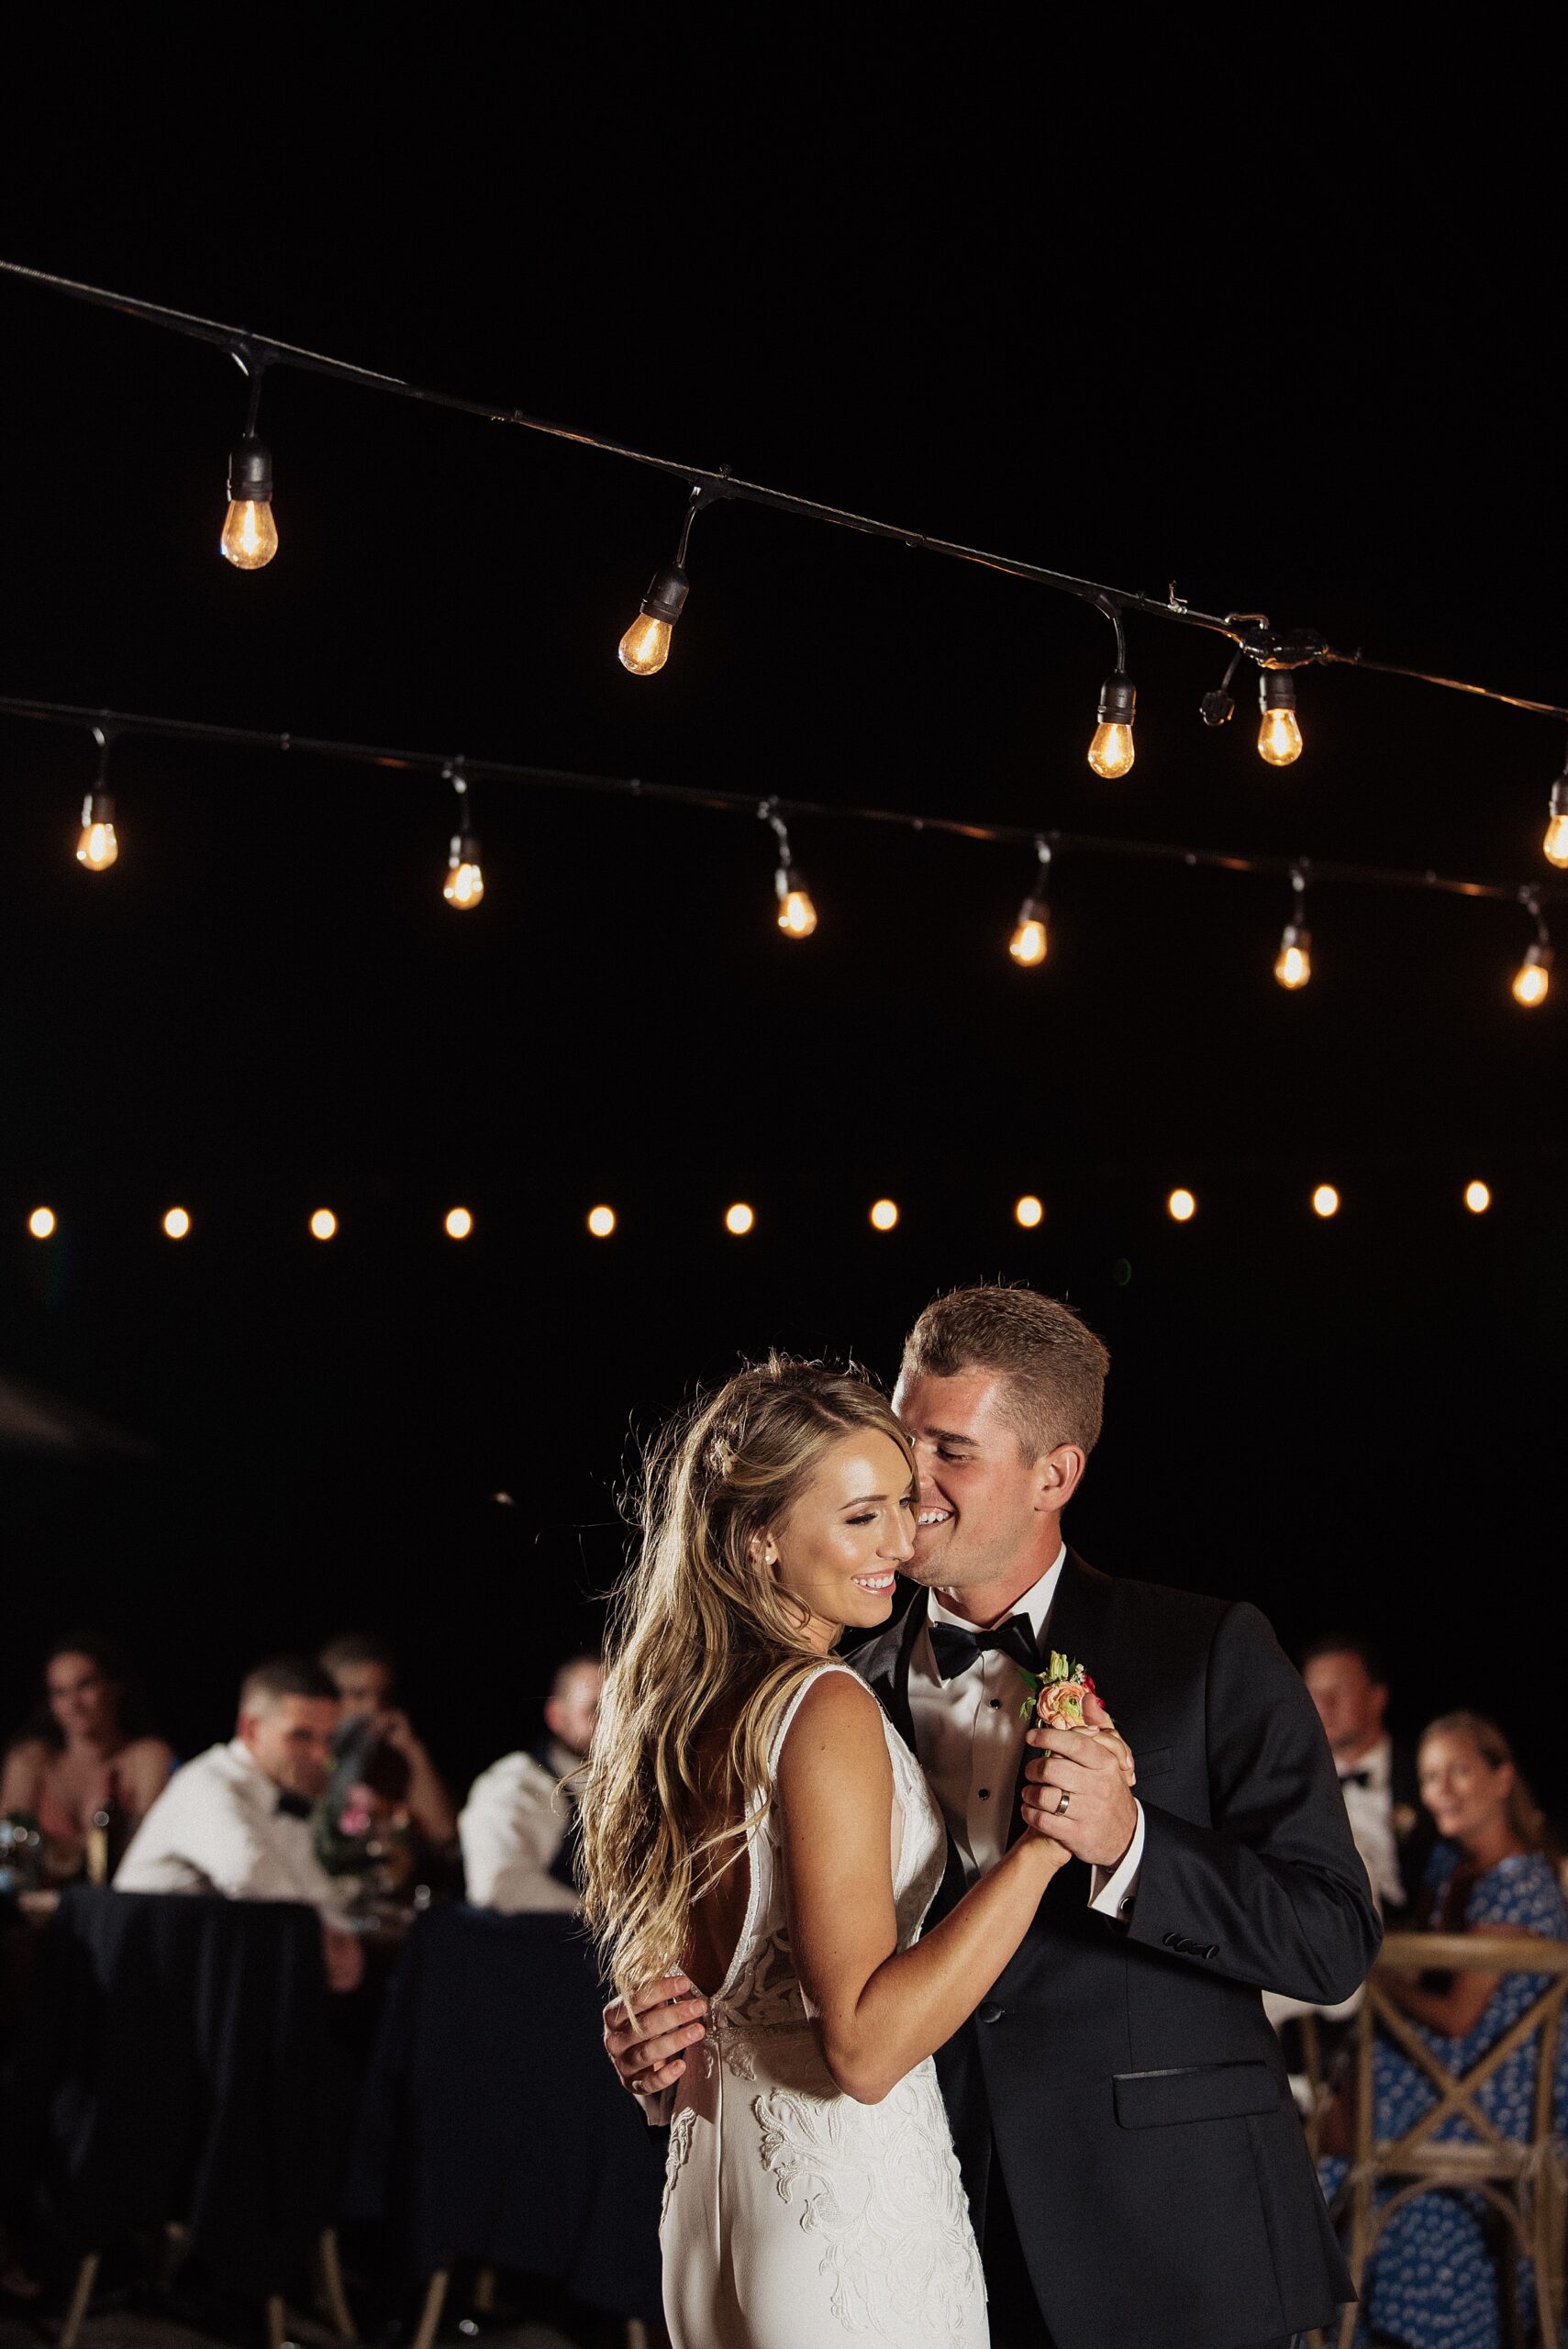
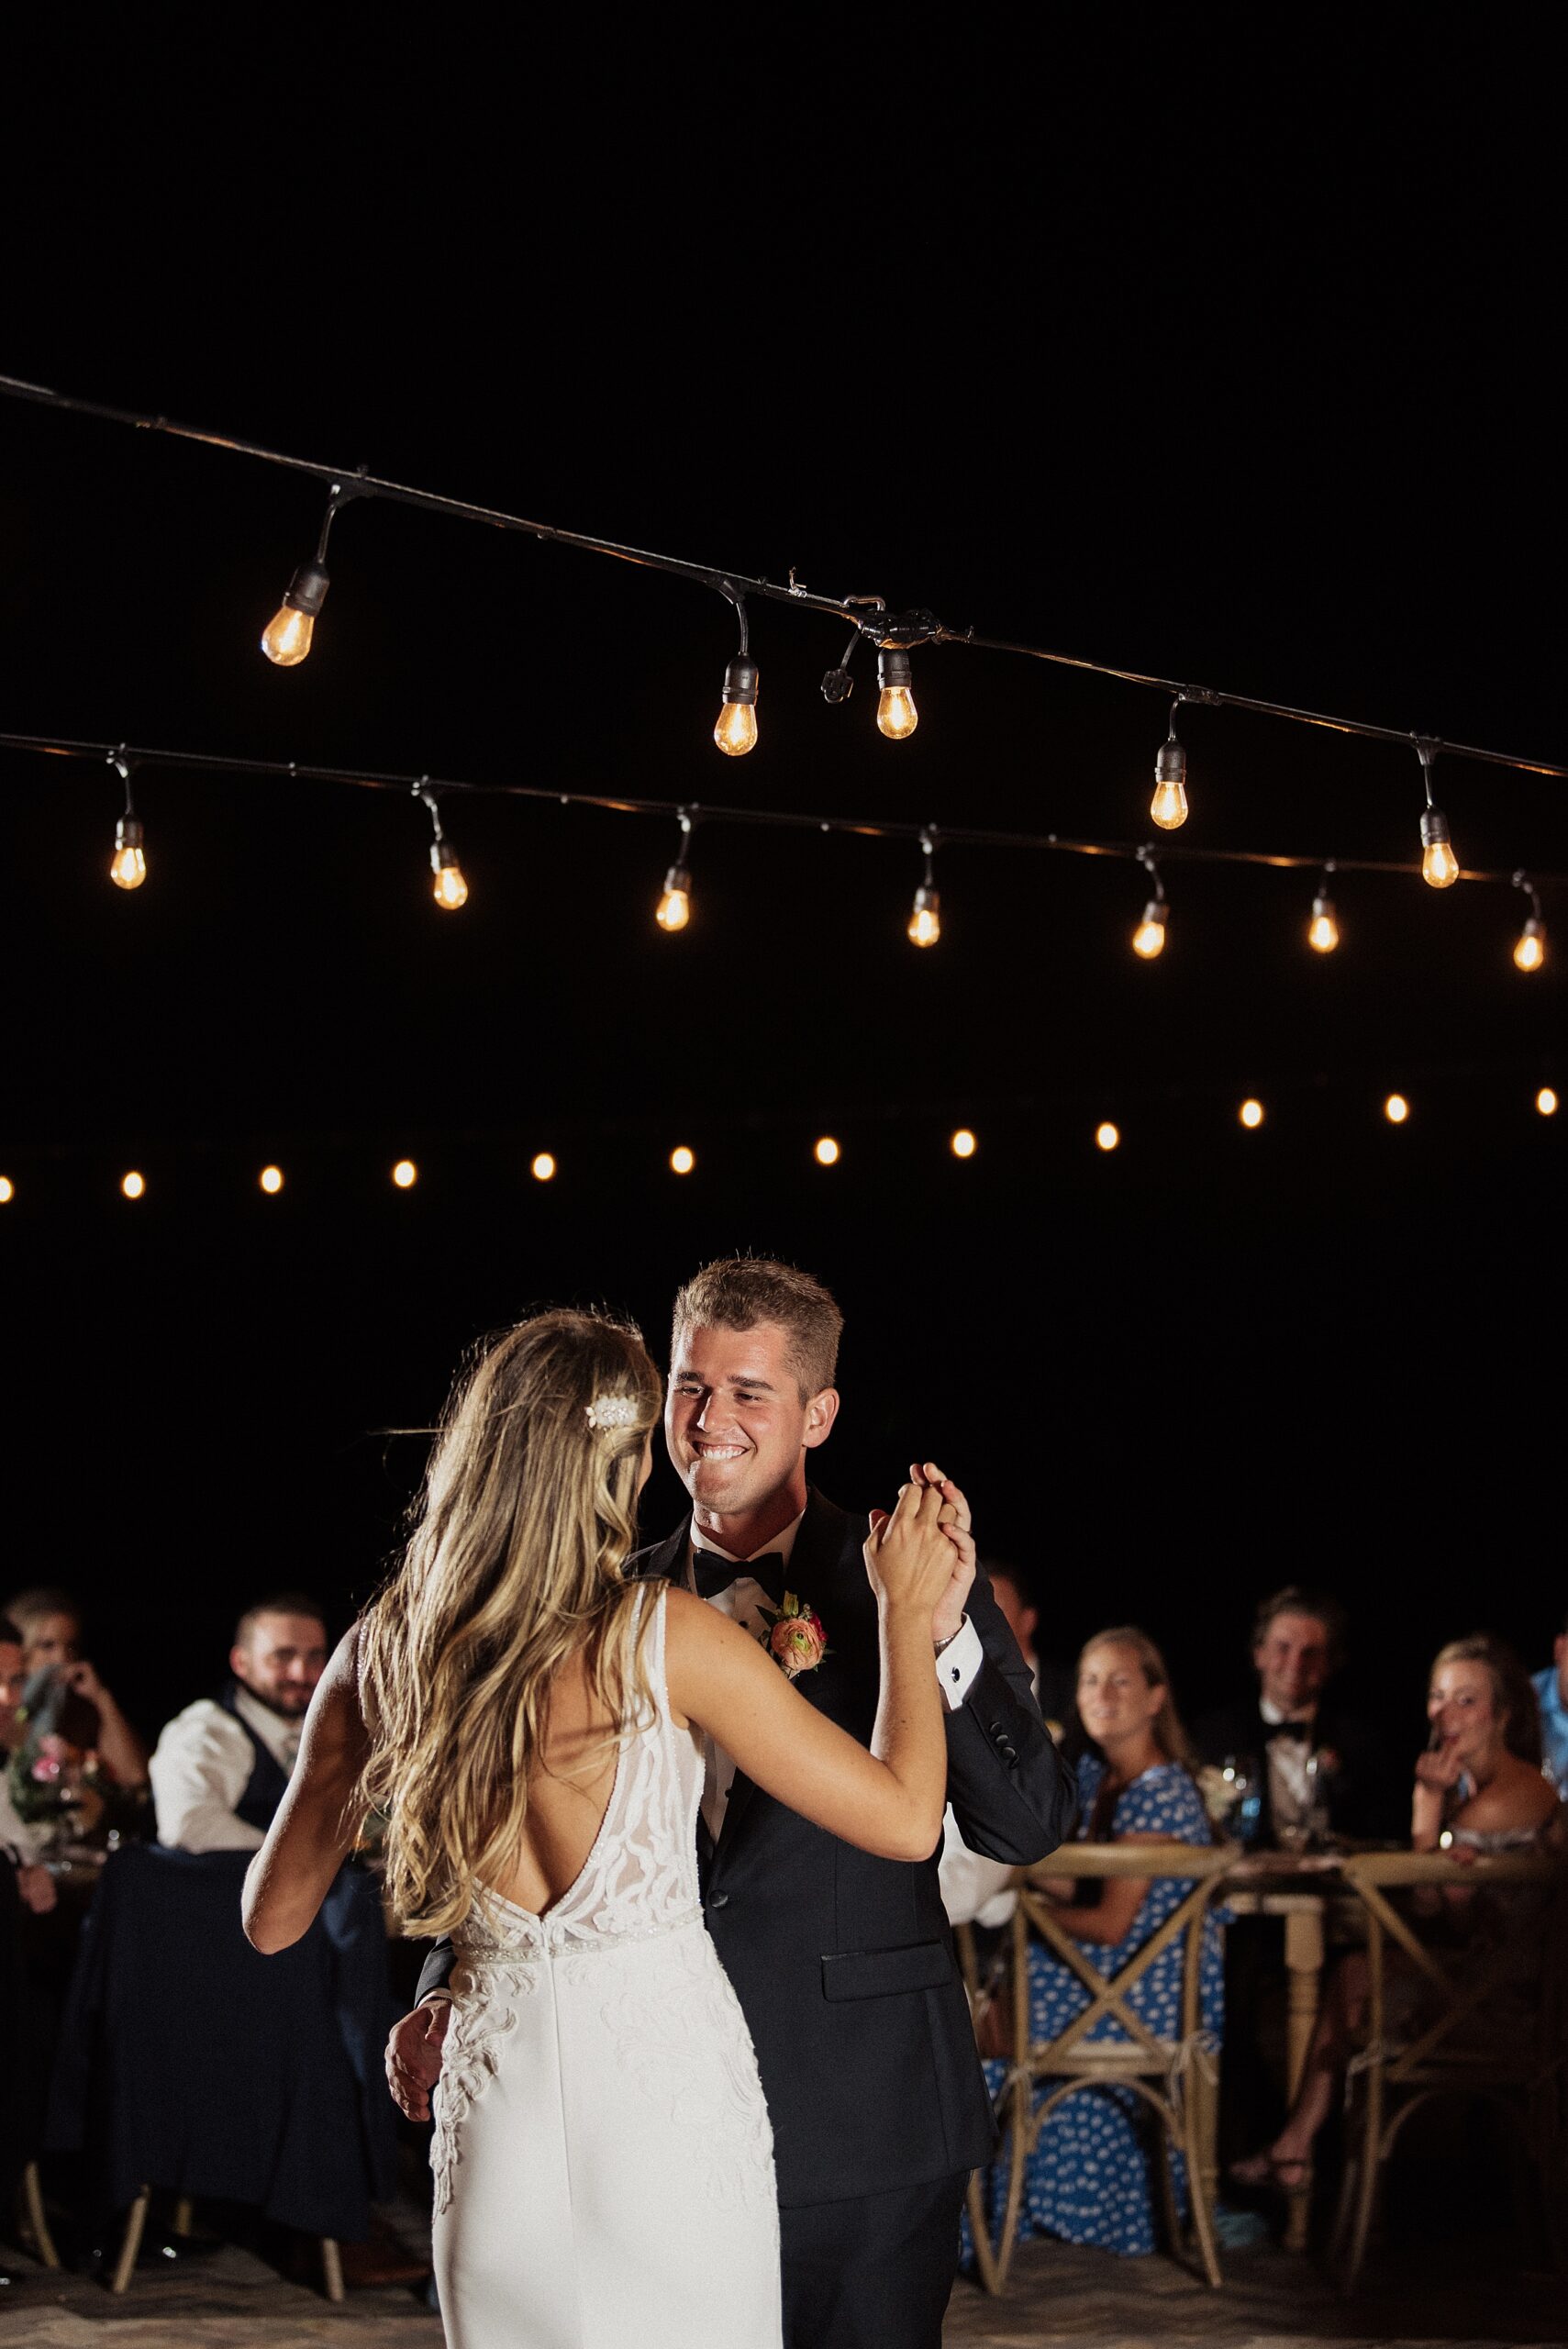
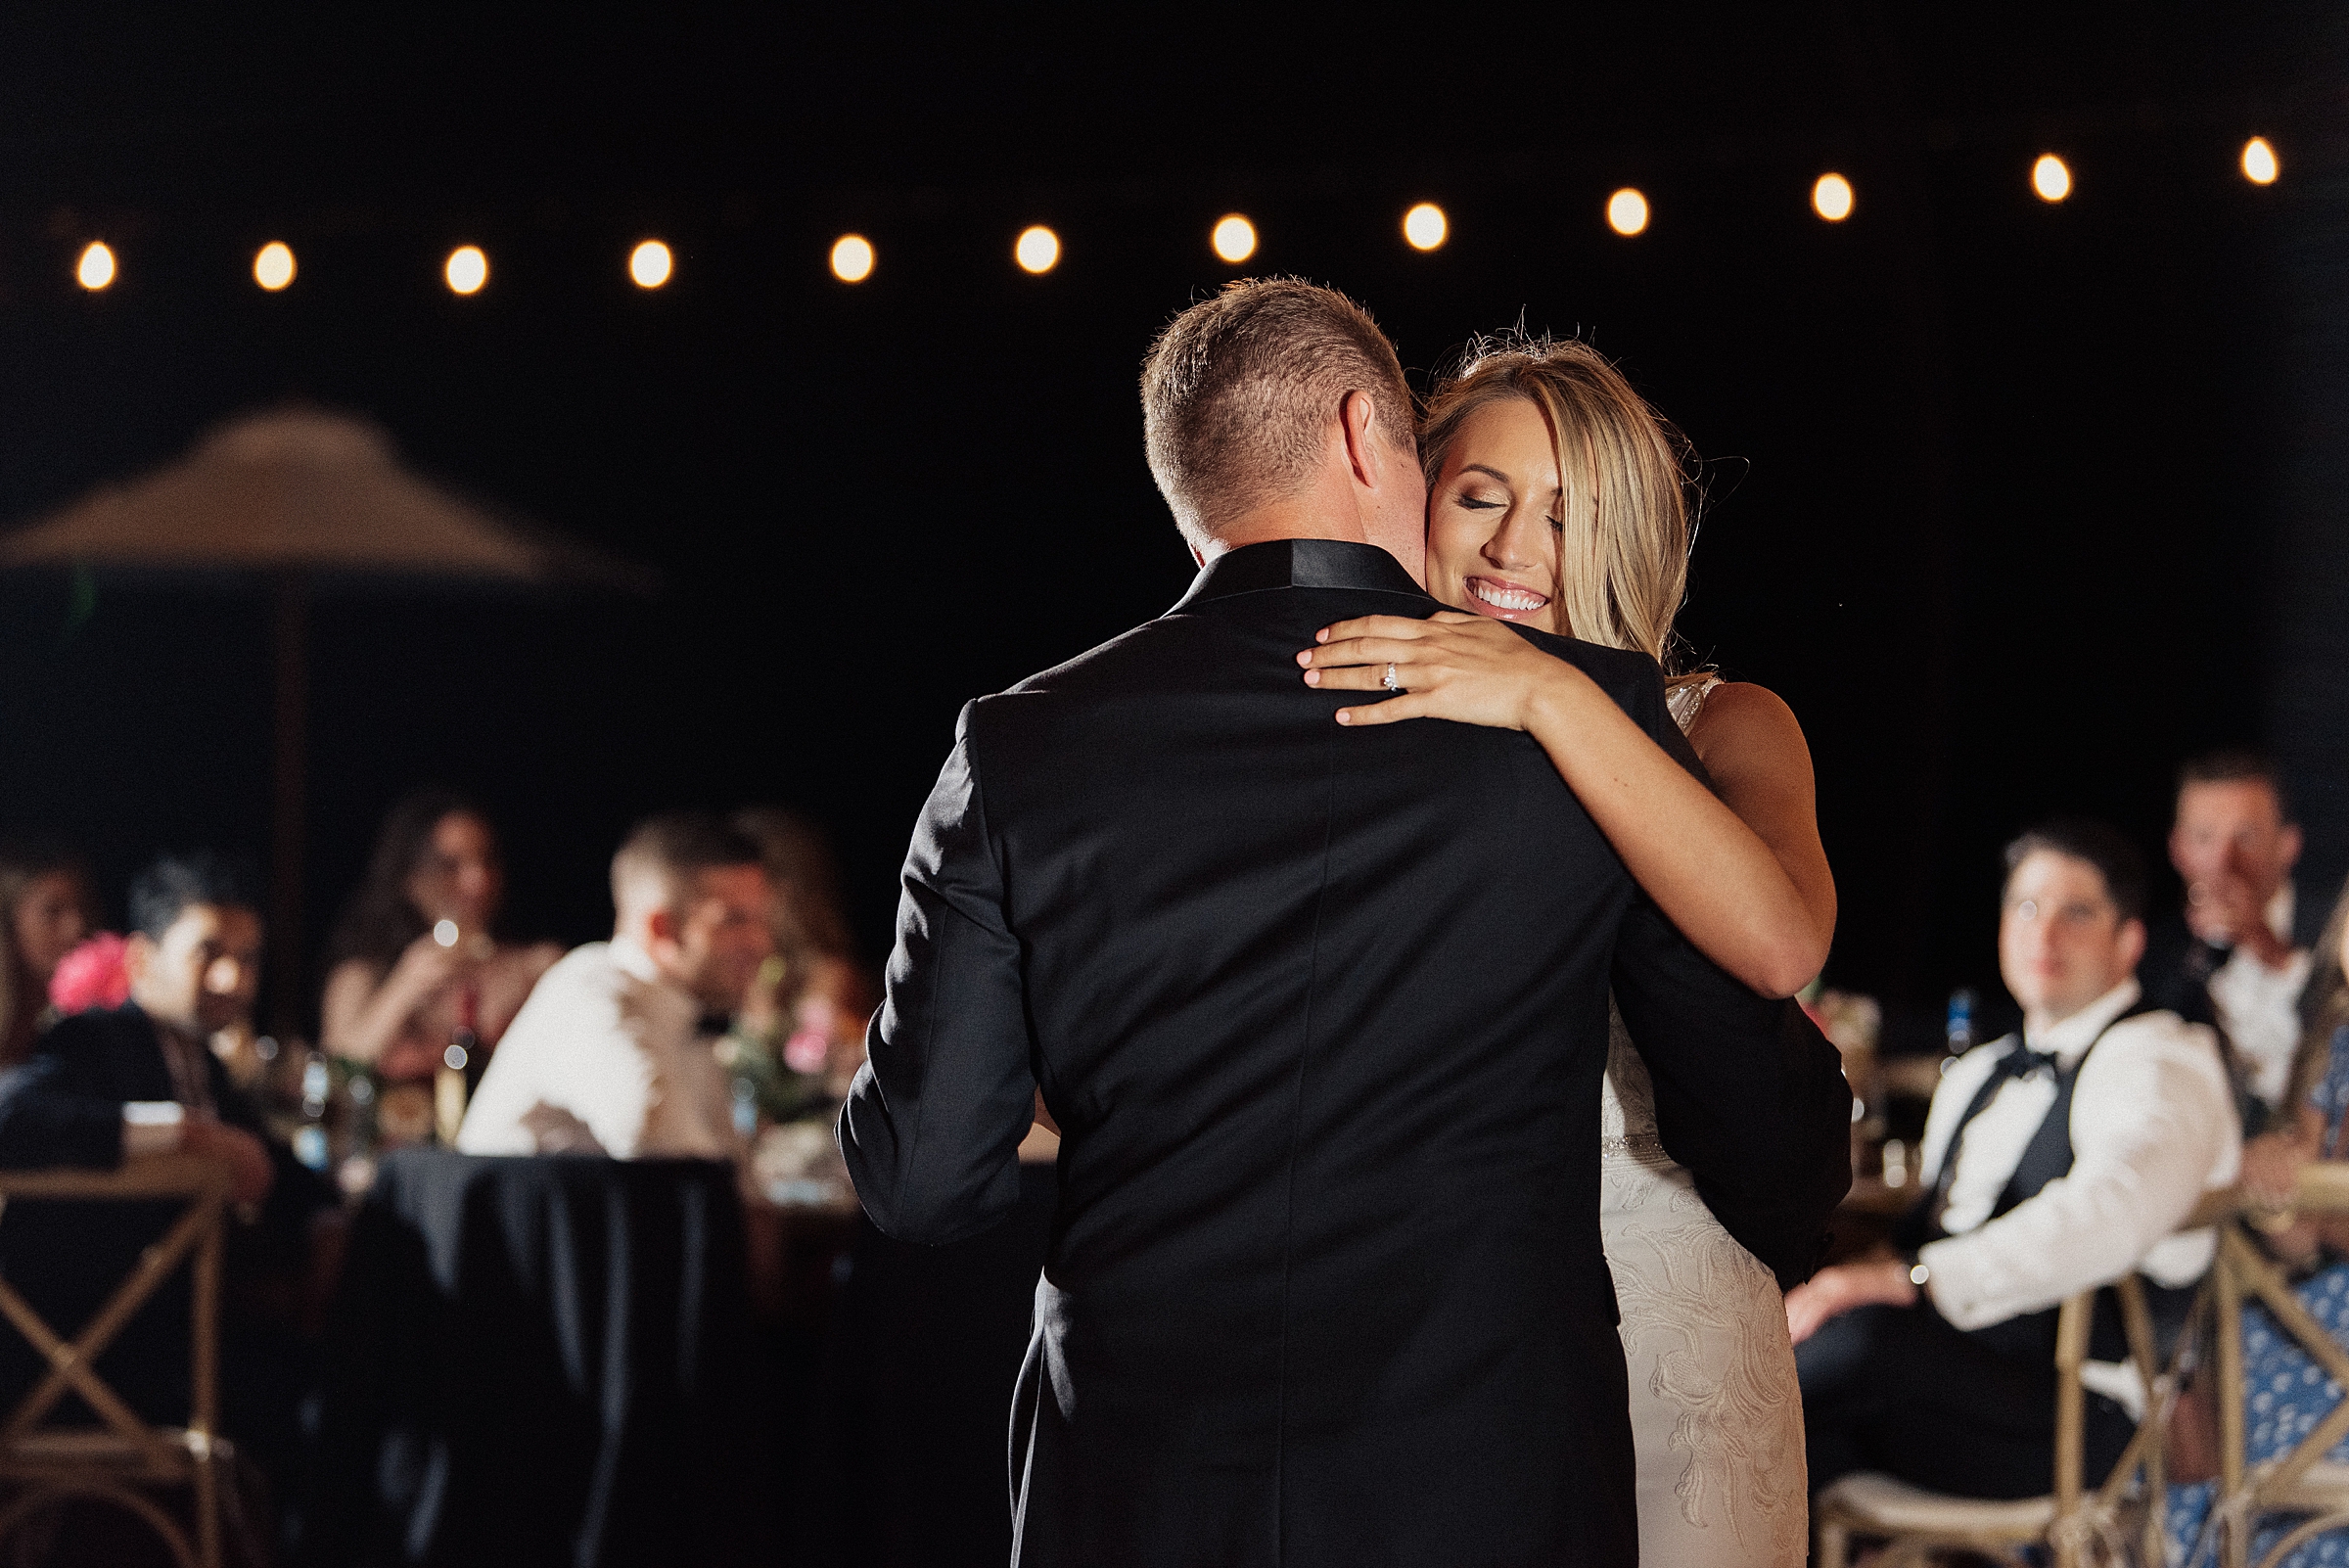
Flash photography at a wedding reception can be daunting. The key is to blend your flash light with the venue’s ambient light to create beautifully balanced and harmonious photos. Here’s how you can achieve that perfect mix:
- Flash Mode: Start by setting your flash to TTL (Through The Lens) mode. TTL automatically adjusts the flash power based on your distance from the subject and the ambient light, making it incredibly useful in dynamic, fast-paced reception environments. For those who feel more adventurous and want full control, switching to manual mode can allow for more tailored lighting setups.
- Shutter Speed: Aim for a shutter speed between 1/60 and 1/200 of a second. This range is ideal for freezing most action while still capturing enough ambient light to fill the background, adding depth and context to your shots.
- Aperture: An aperture setting of f/4 to f/5.6 is your sweet spot. This ensures your subjects are in sharp focus while softly blurring the background, emphasizing the foreground and giving your photos a professional depth-of-field effect.
- ISO Settings: Keep your ISO between 400 and 800. Adjust according to the venue’s lighting; higher ISOs help in lower light but beware of increasing graininess. It’s all about finding that perfect balance to keep your images crisp and clear.
- Flash Power: If you’re working in manual flash mode, start at 1/16th power and adjust from there. The goal is to complement the natural lighting without overpowering it, preserving the reception’s ambiance.
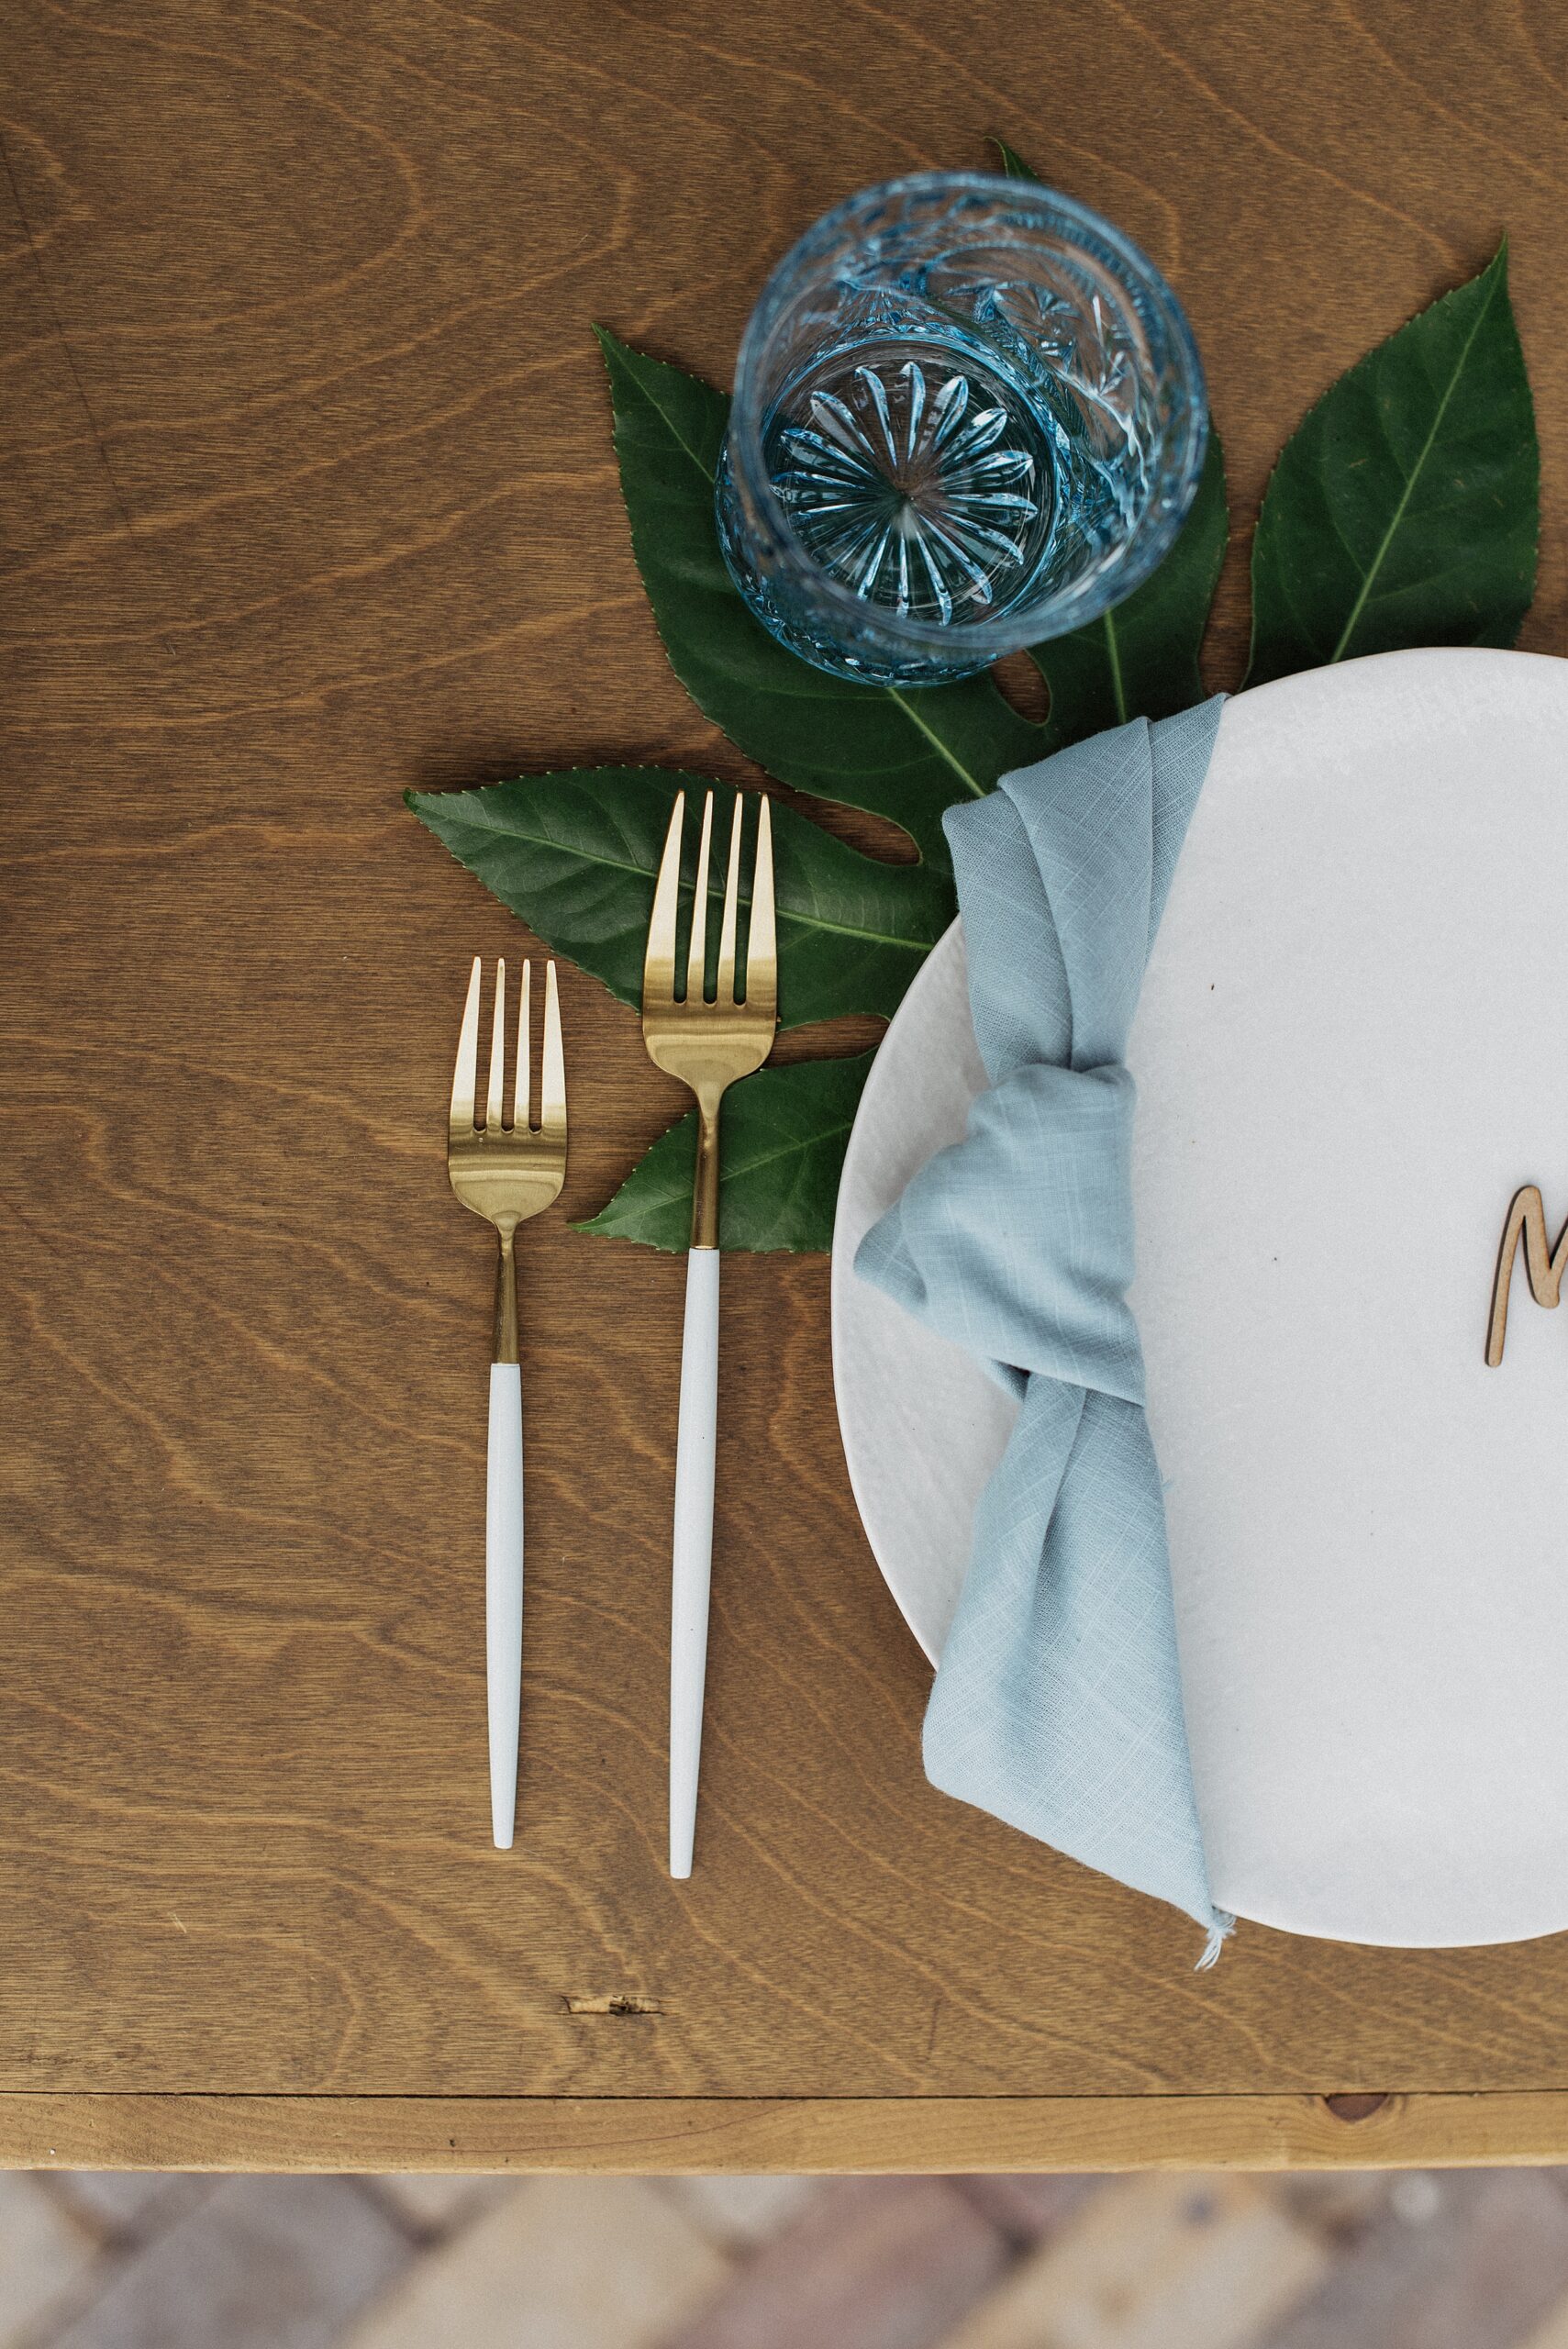
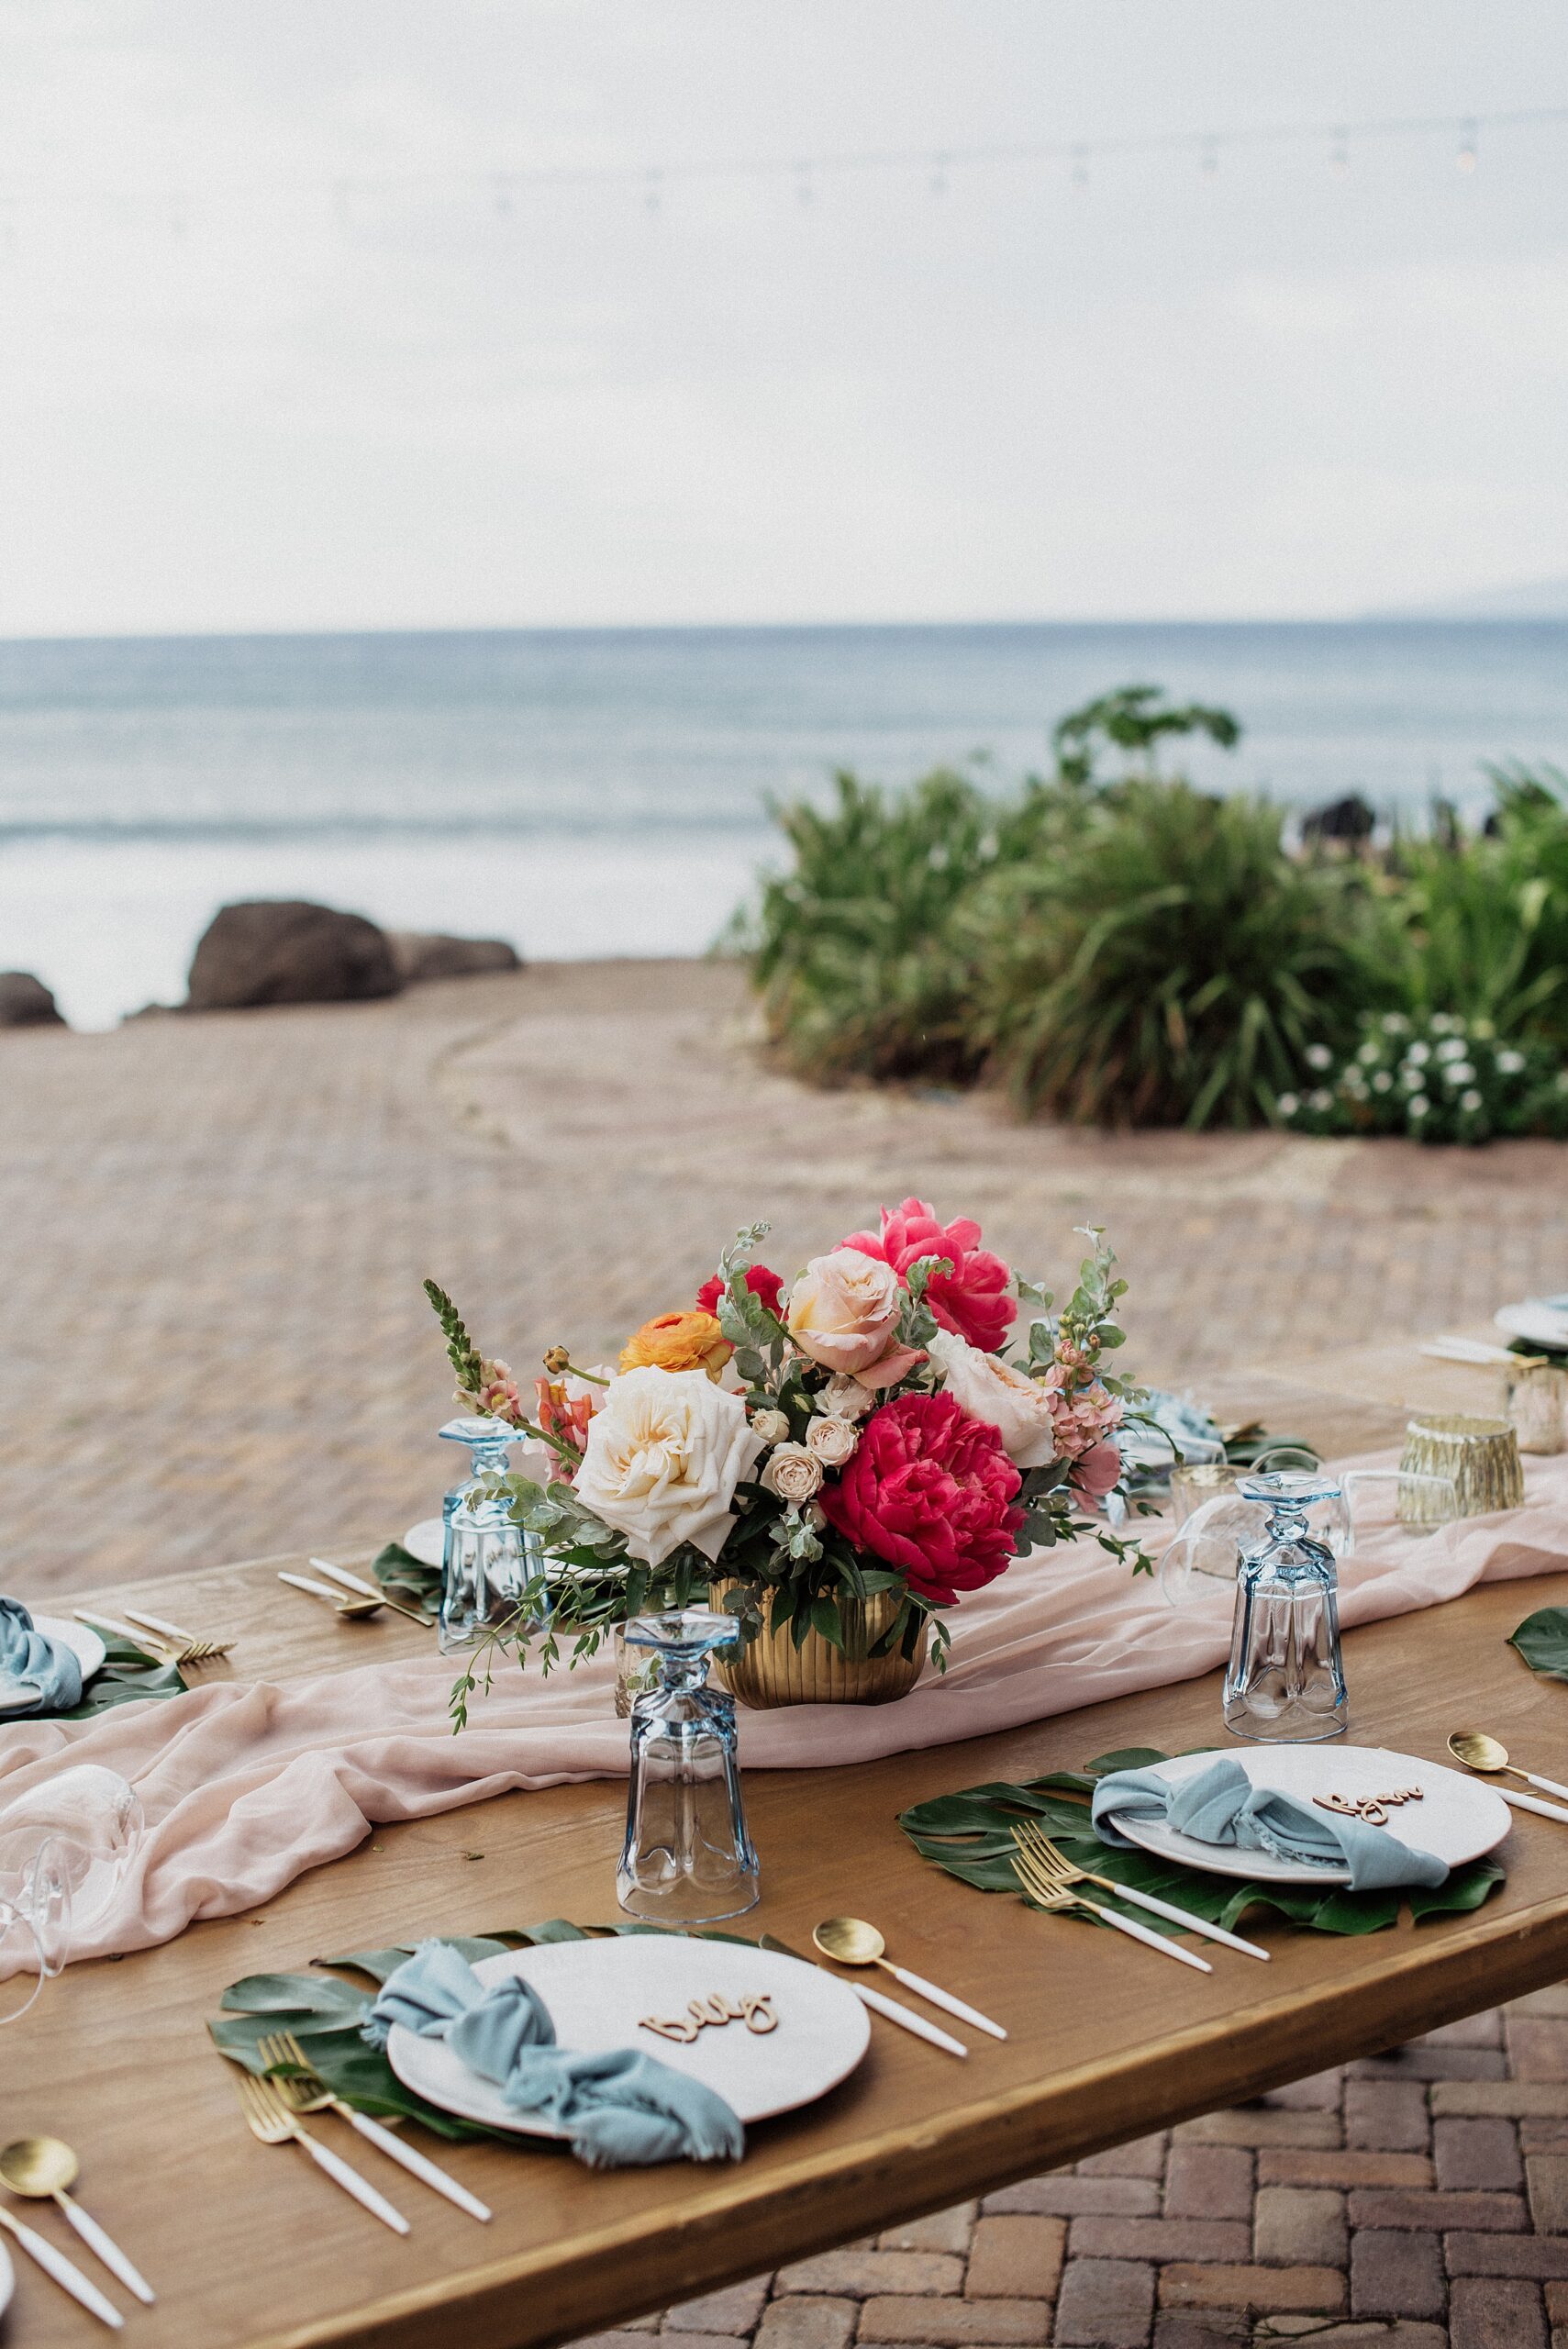
- Diffuser: Soften your flash with a diffuser or by bouncing the light off ceilings or walls. This technique reduces harsh shadows and distributes light evenly, flattering your subjects and giving a more natural look to your photos.
- White Balance: Auto white balance generally does a decent job, but for that warm, inviting feel that’s perfect for wedding receptions, you might want to adjust it to better match the venue’s lighting conditions.
Final Touches: Test and Adjust
Before the reception kicks into full swing, take some test shots to see how your settings perform. Don’t hesitate to tweak them based on what you observe. Each venue has its quirks, and part of the fun is adapting to them to create the best possible images.
Flash photography doesn’t have to be overwhelming. With these settings and tips, you’re well on your way to capturing the laughter, tears, and dance moves of the wedding reception. Remember, the most important part is to enjoy the process and capture the emotions and stories that unfold. So, grab your camera, babes, and let’s make some memories! And if you’re ready to learn more? Come grab our flash photography freebie, let’s get lit!
Photography by us, visit our website here.


")

