The Guide to Multiple Flash Setups for Weddings
May 21, 2024
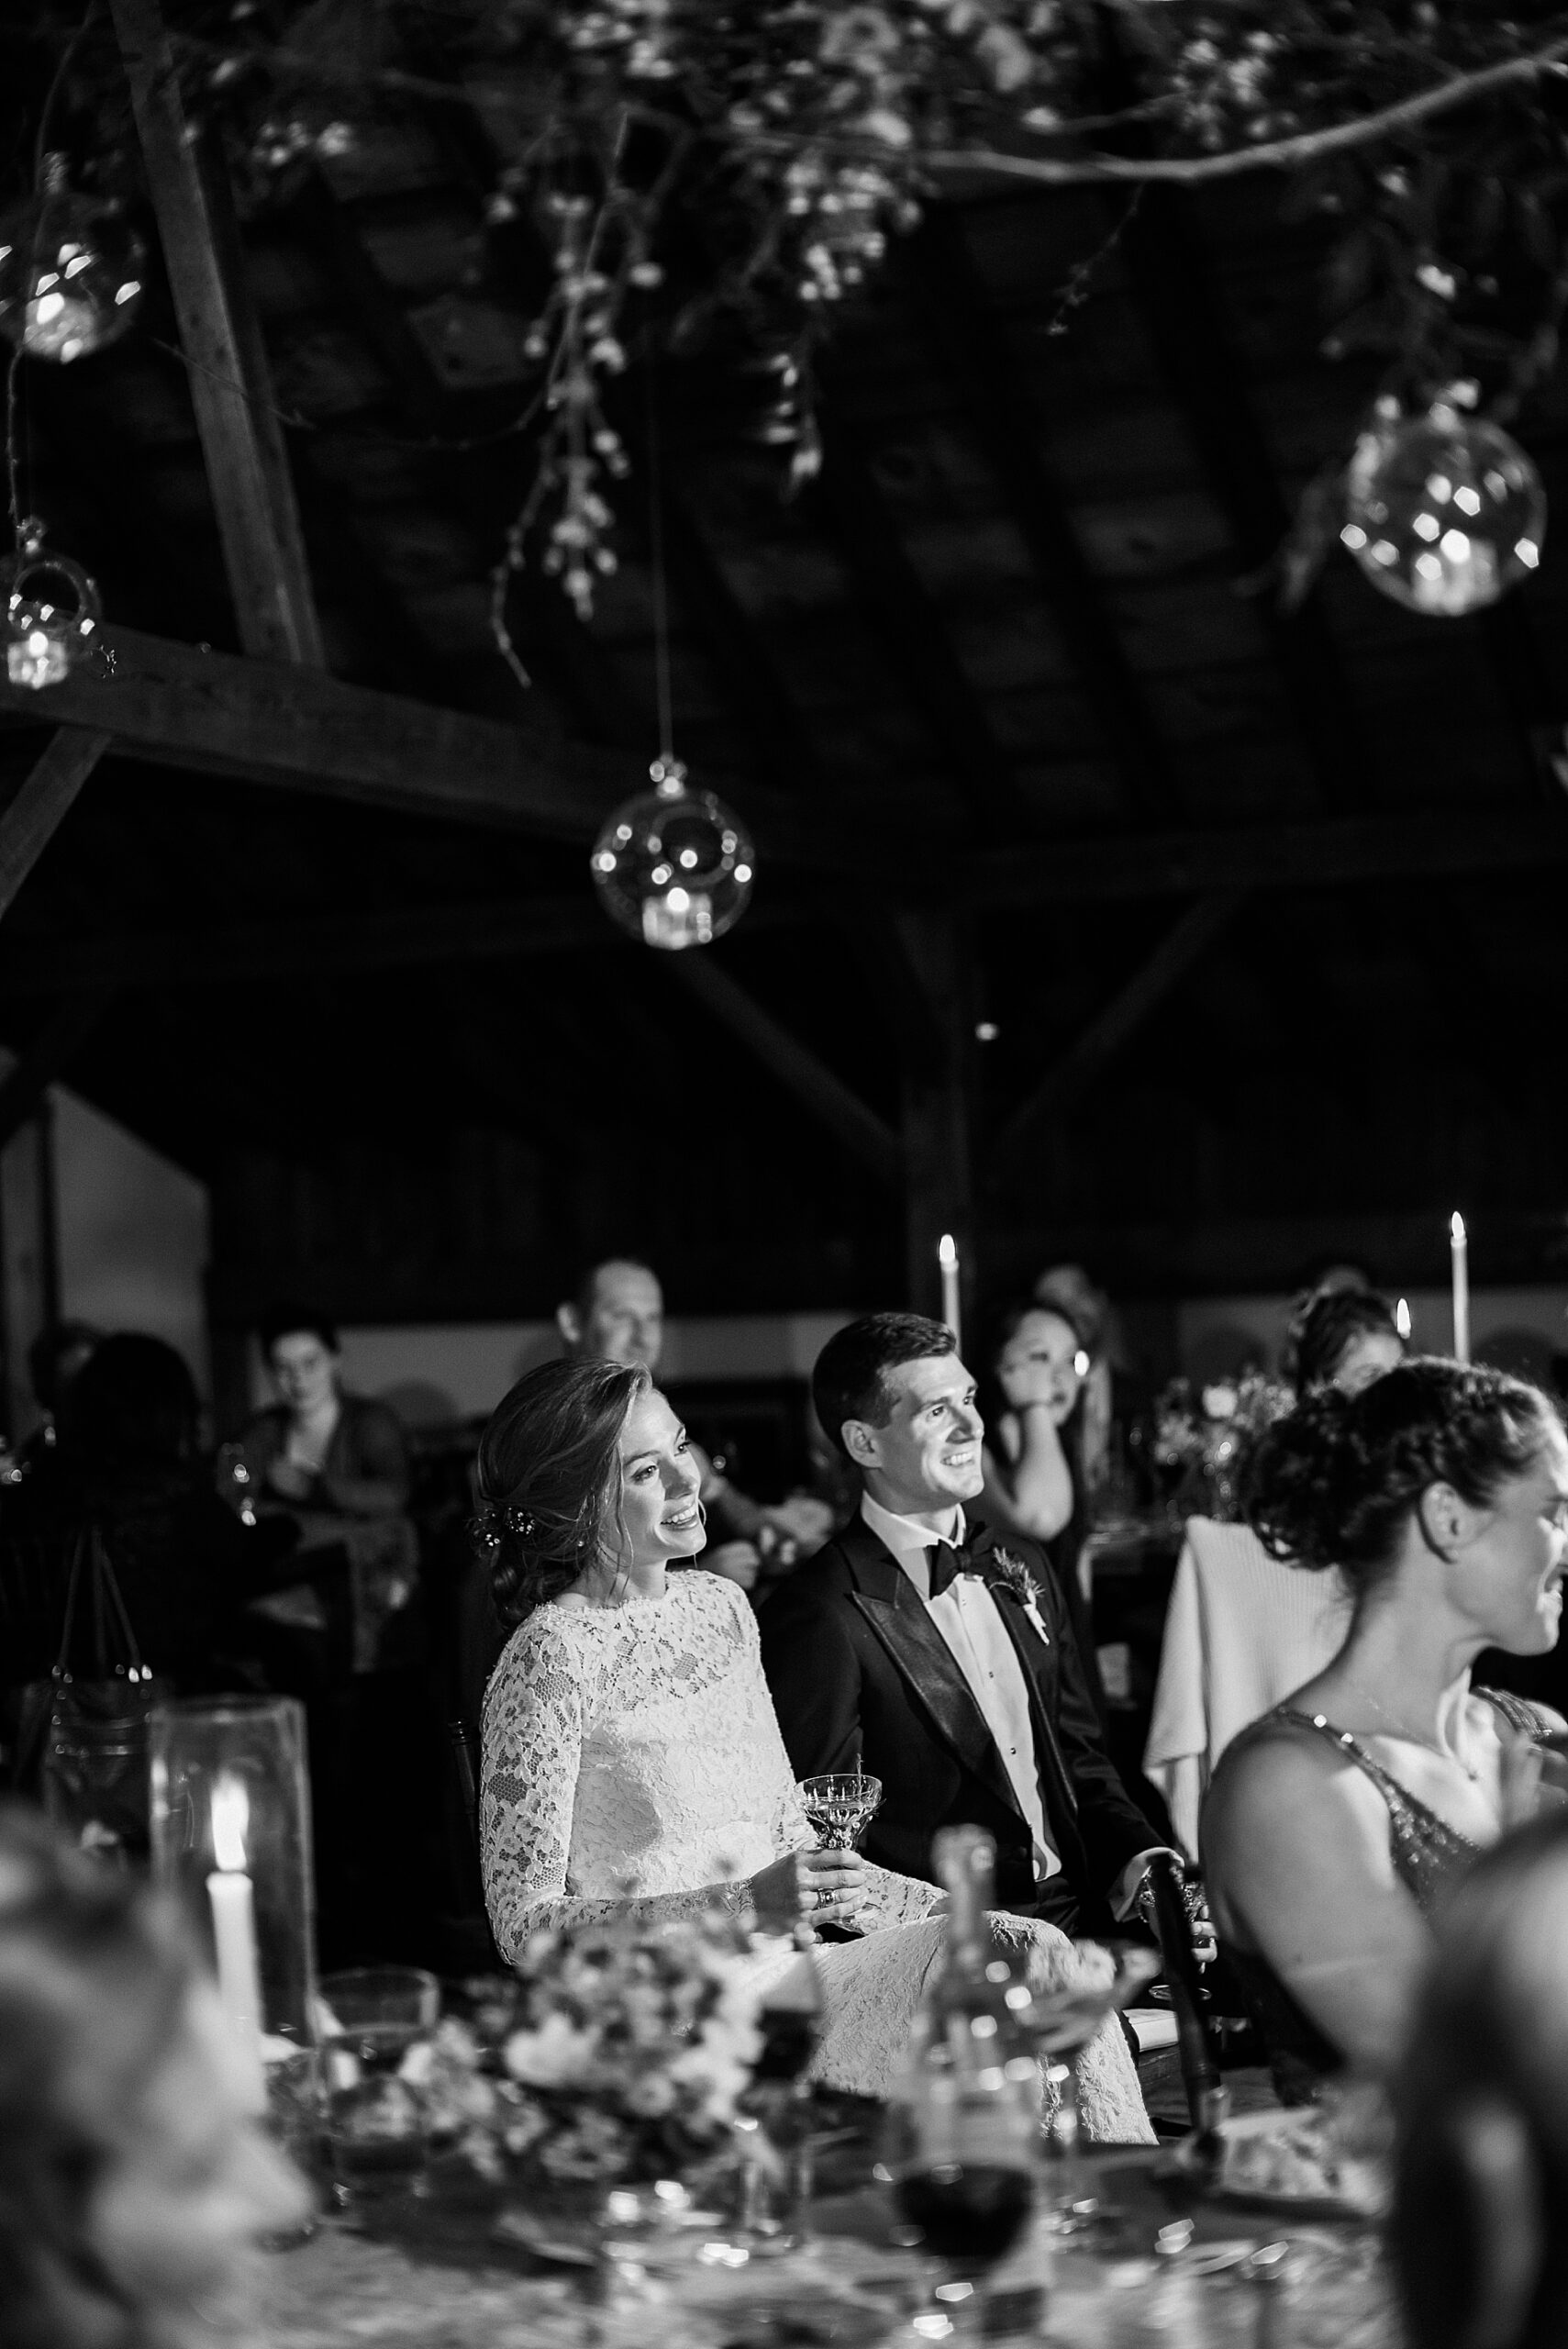
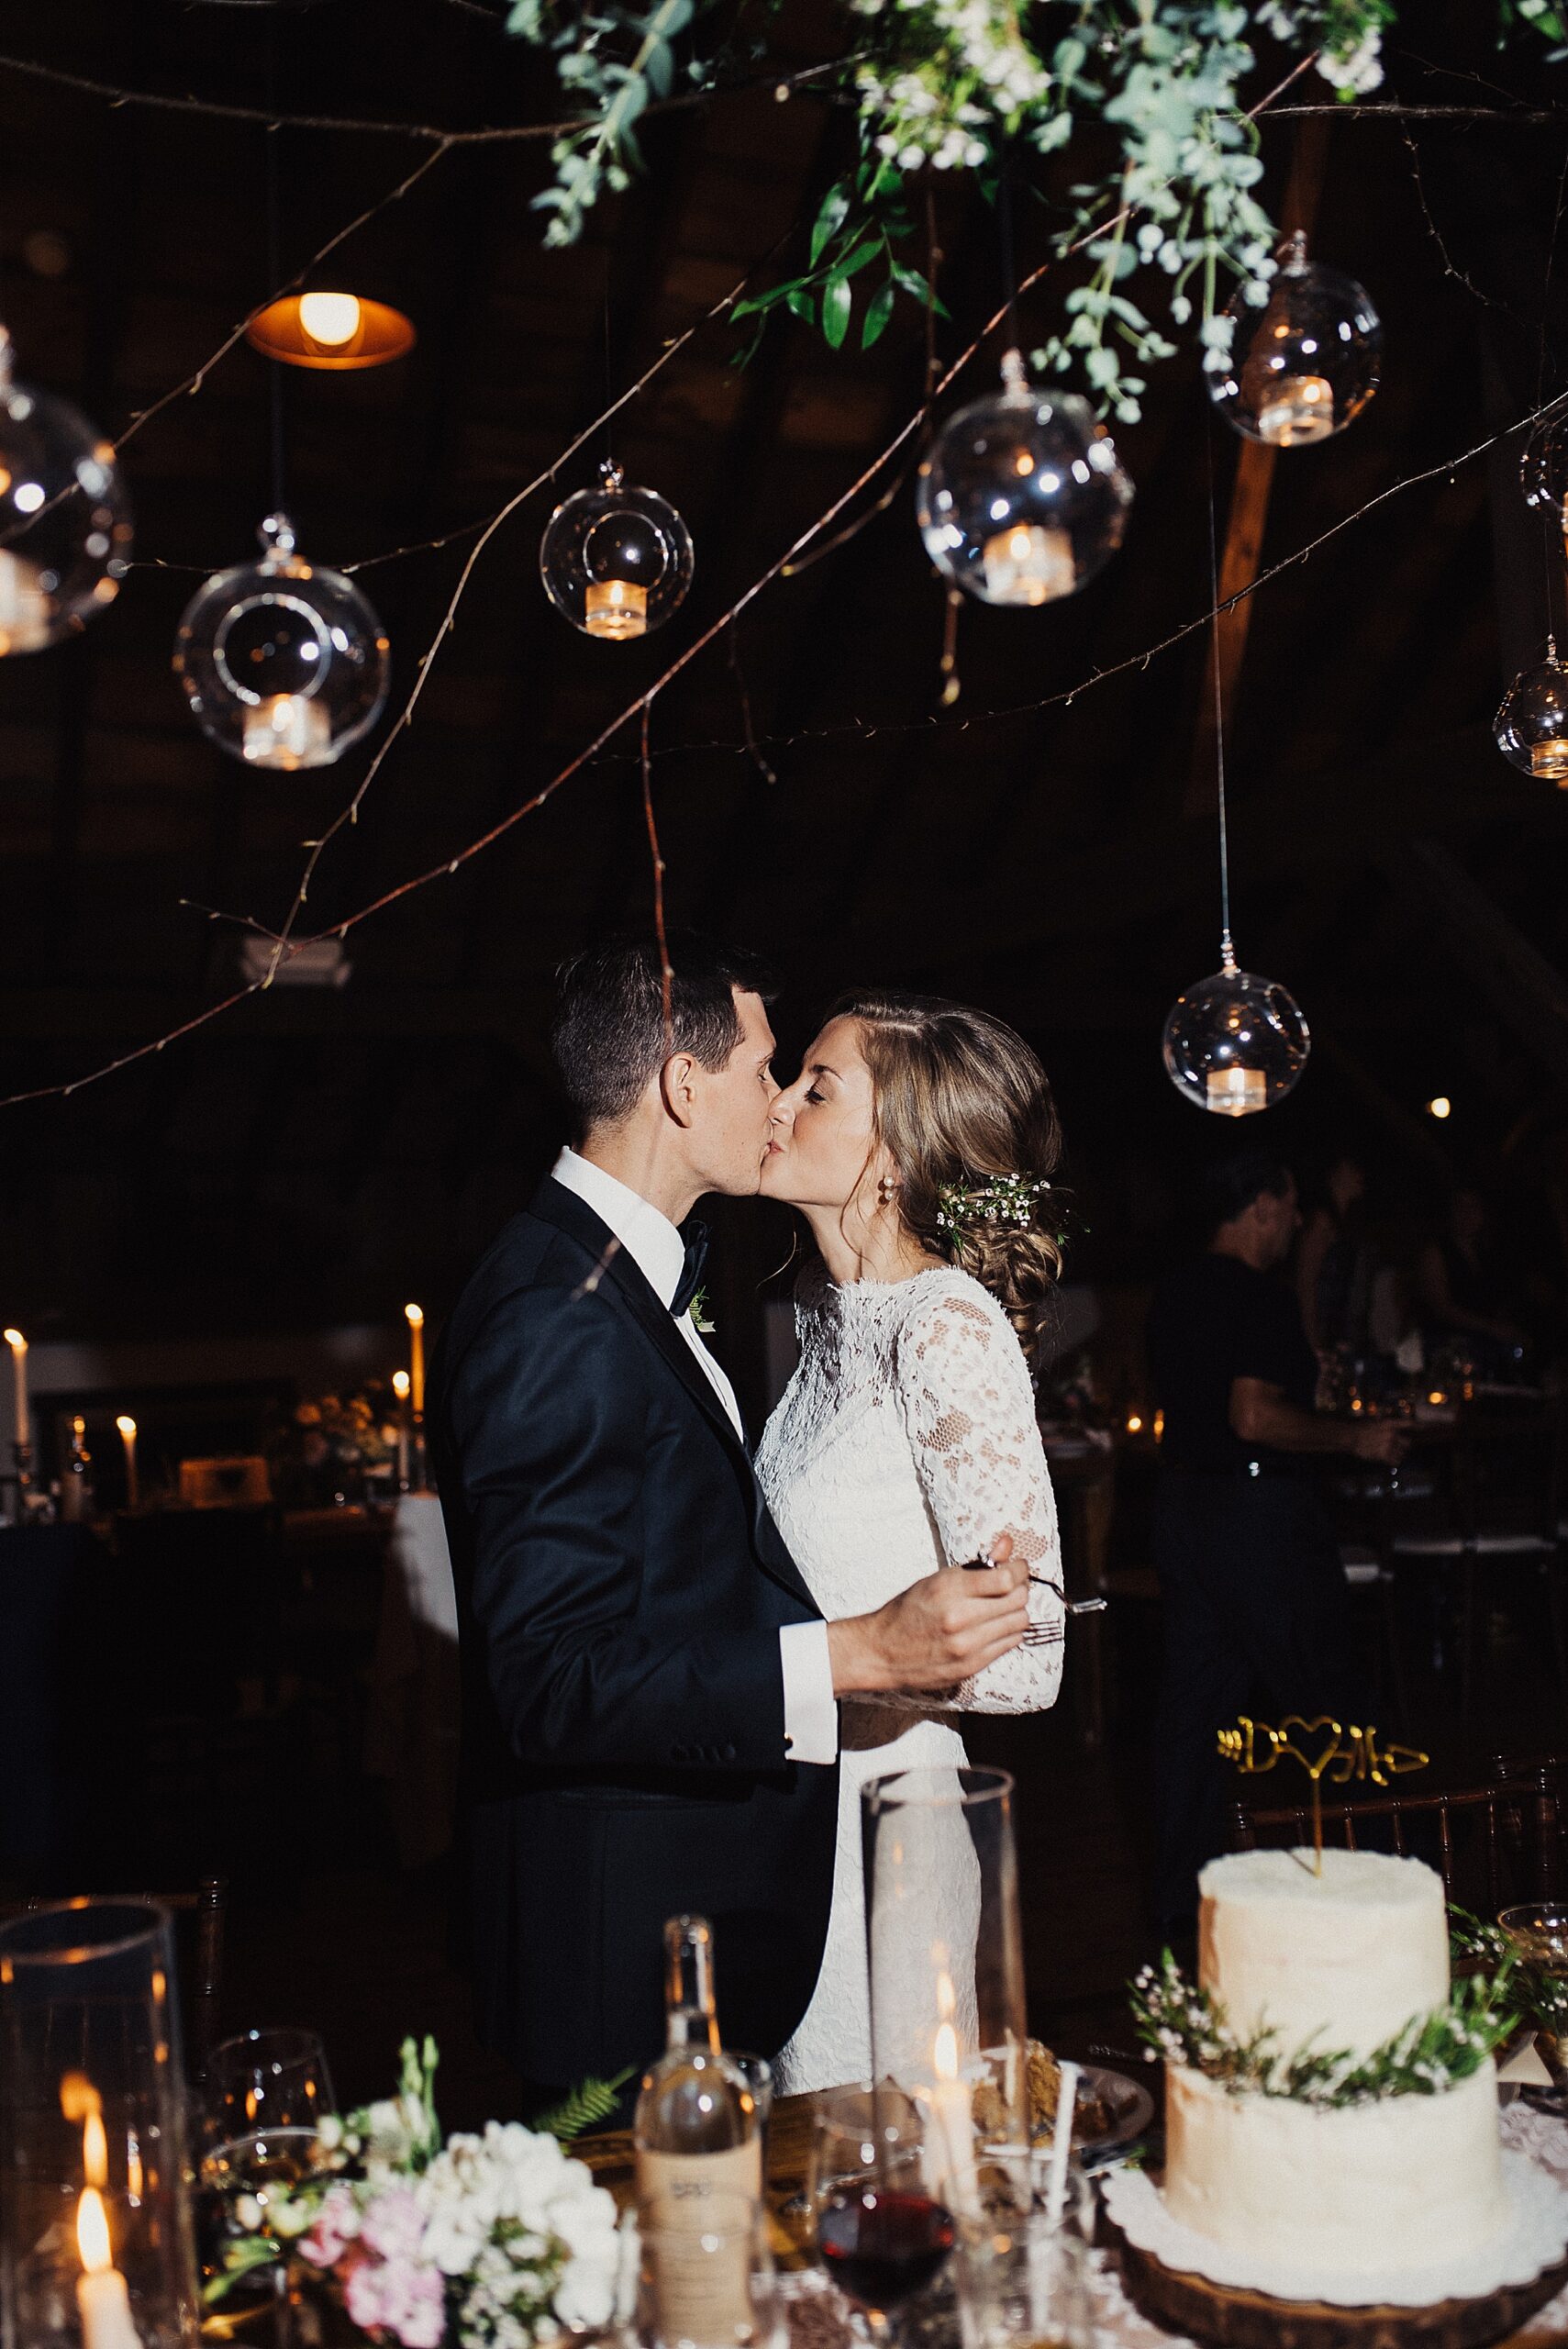
In wedding photography, lighting plays a pivotal role in capturing the essence of the celebration. Proper use of multiple flash setups can significantly enhance the quality of photos, especially in challenging lighting conditions. This guide aims to equip wedding photographers with the necessary skills to effectively utilize multiple flashes to create stunning and memorable imagery. Don’t forget to check out our best selling course for a complete guide!
Understanding Flash Equipment
Effective lighting starts with understanding the tools at your disposal:
- Speedlights: These portable flashes are ideal for quick adjustments and on-the-go shooting. They can be mounted on the camera or used off-camera with stands.
- Soft Boxes: These guys will change your life, specifically the Octobox we have linked in our Amazon shop! You can shop all of our flash gear here, we do earn a commission off this storefront.
- Wireless Transmitters and Receivers: These devices are crucial for triggering your flash setups remotely, ensuring seamless synchronization without the clutter of wires.
Flash Setup Configuration
Proper setup is crucial for achieving the desired lighting effects:
- Mounting: Securely place your flashes on stands or clamps to strategically illuminate the venue. Consider elevating your flashes to achieve a more balanced light distribution.
- Diffusion: To avoid harsh shadows and create flattering light, use diffusers such as softboxes or umbrellas.
- Testing: Conduct thorough tests before the event to adjust settings and ensure everything functions correctly.
Strategic Flash Placement
Effective flash placement can dramatically improve your photographic outcomes:
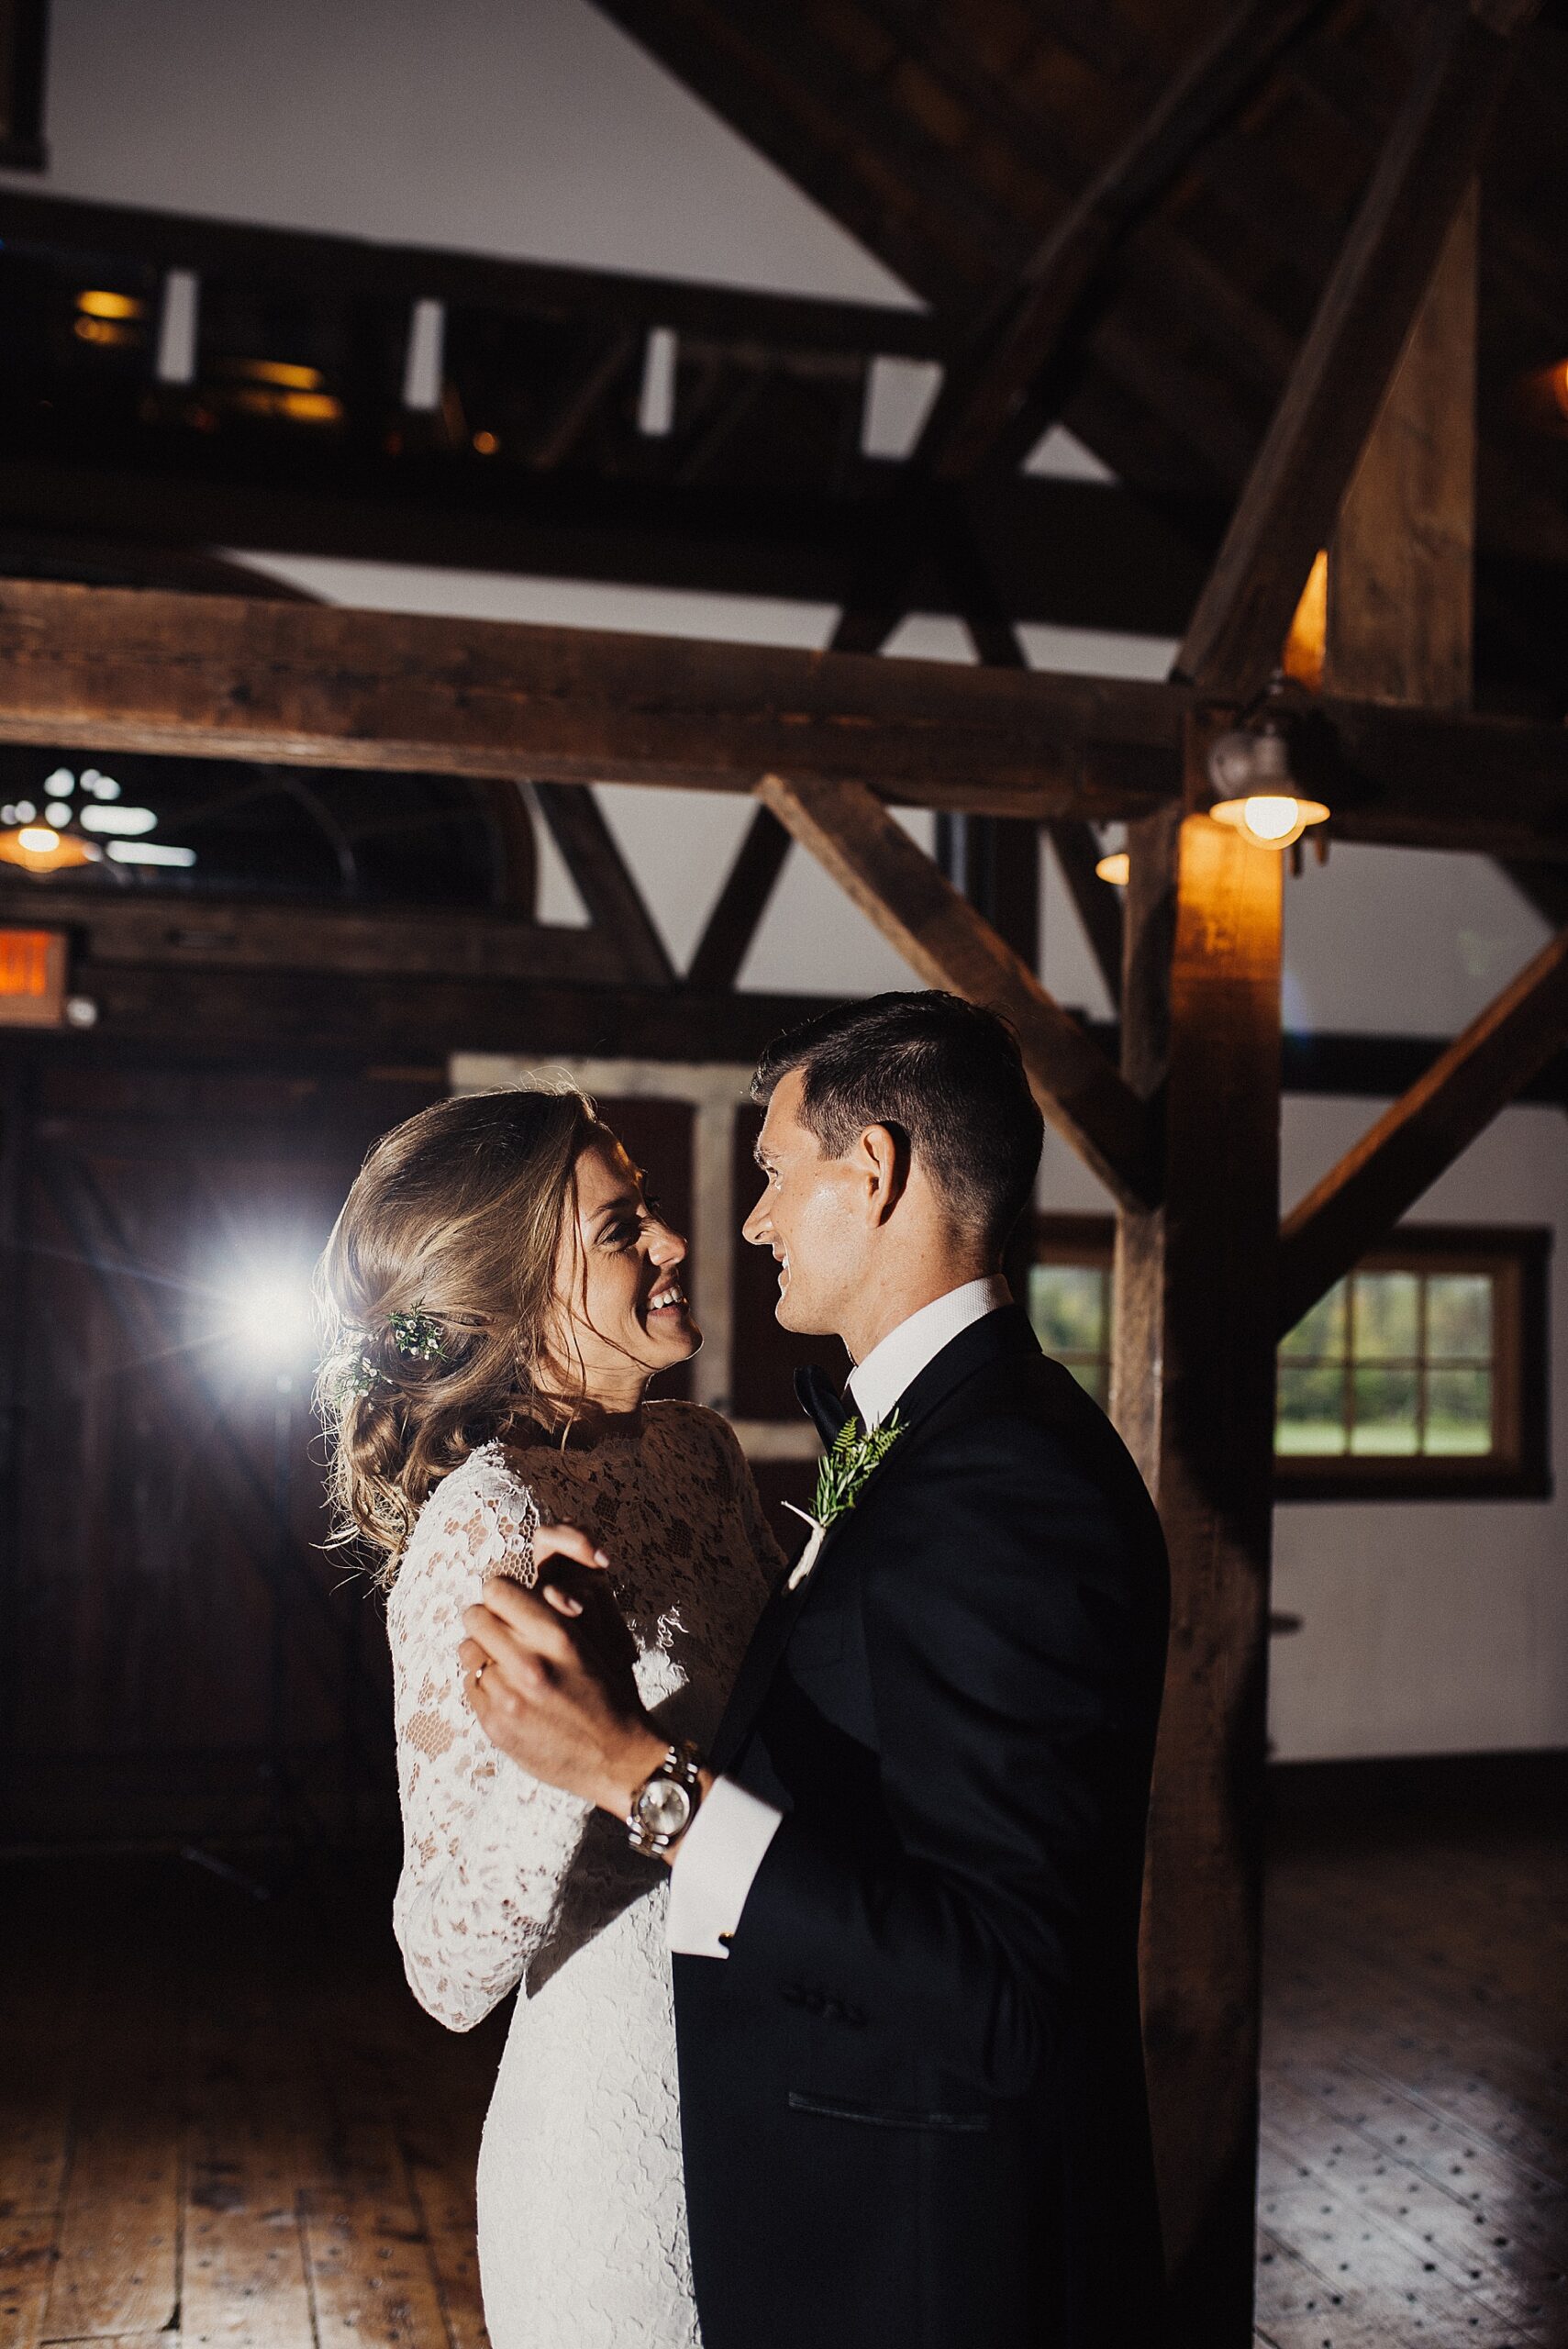
- The Key Light: Position this primary light source at a 45-degree angle to the couple, emulating natural sunlight and defining the scene.
- Fill Light: Place a softer, less intense light opposite the key light to soften shadows and even out exposure.
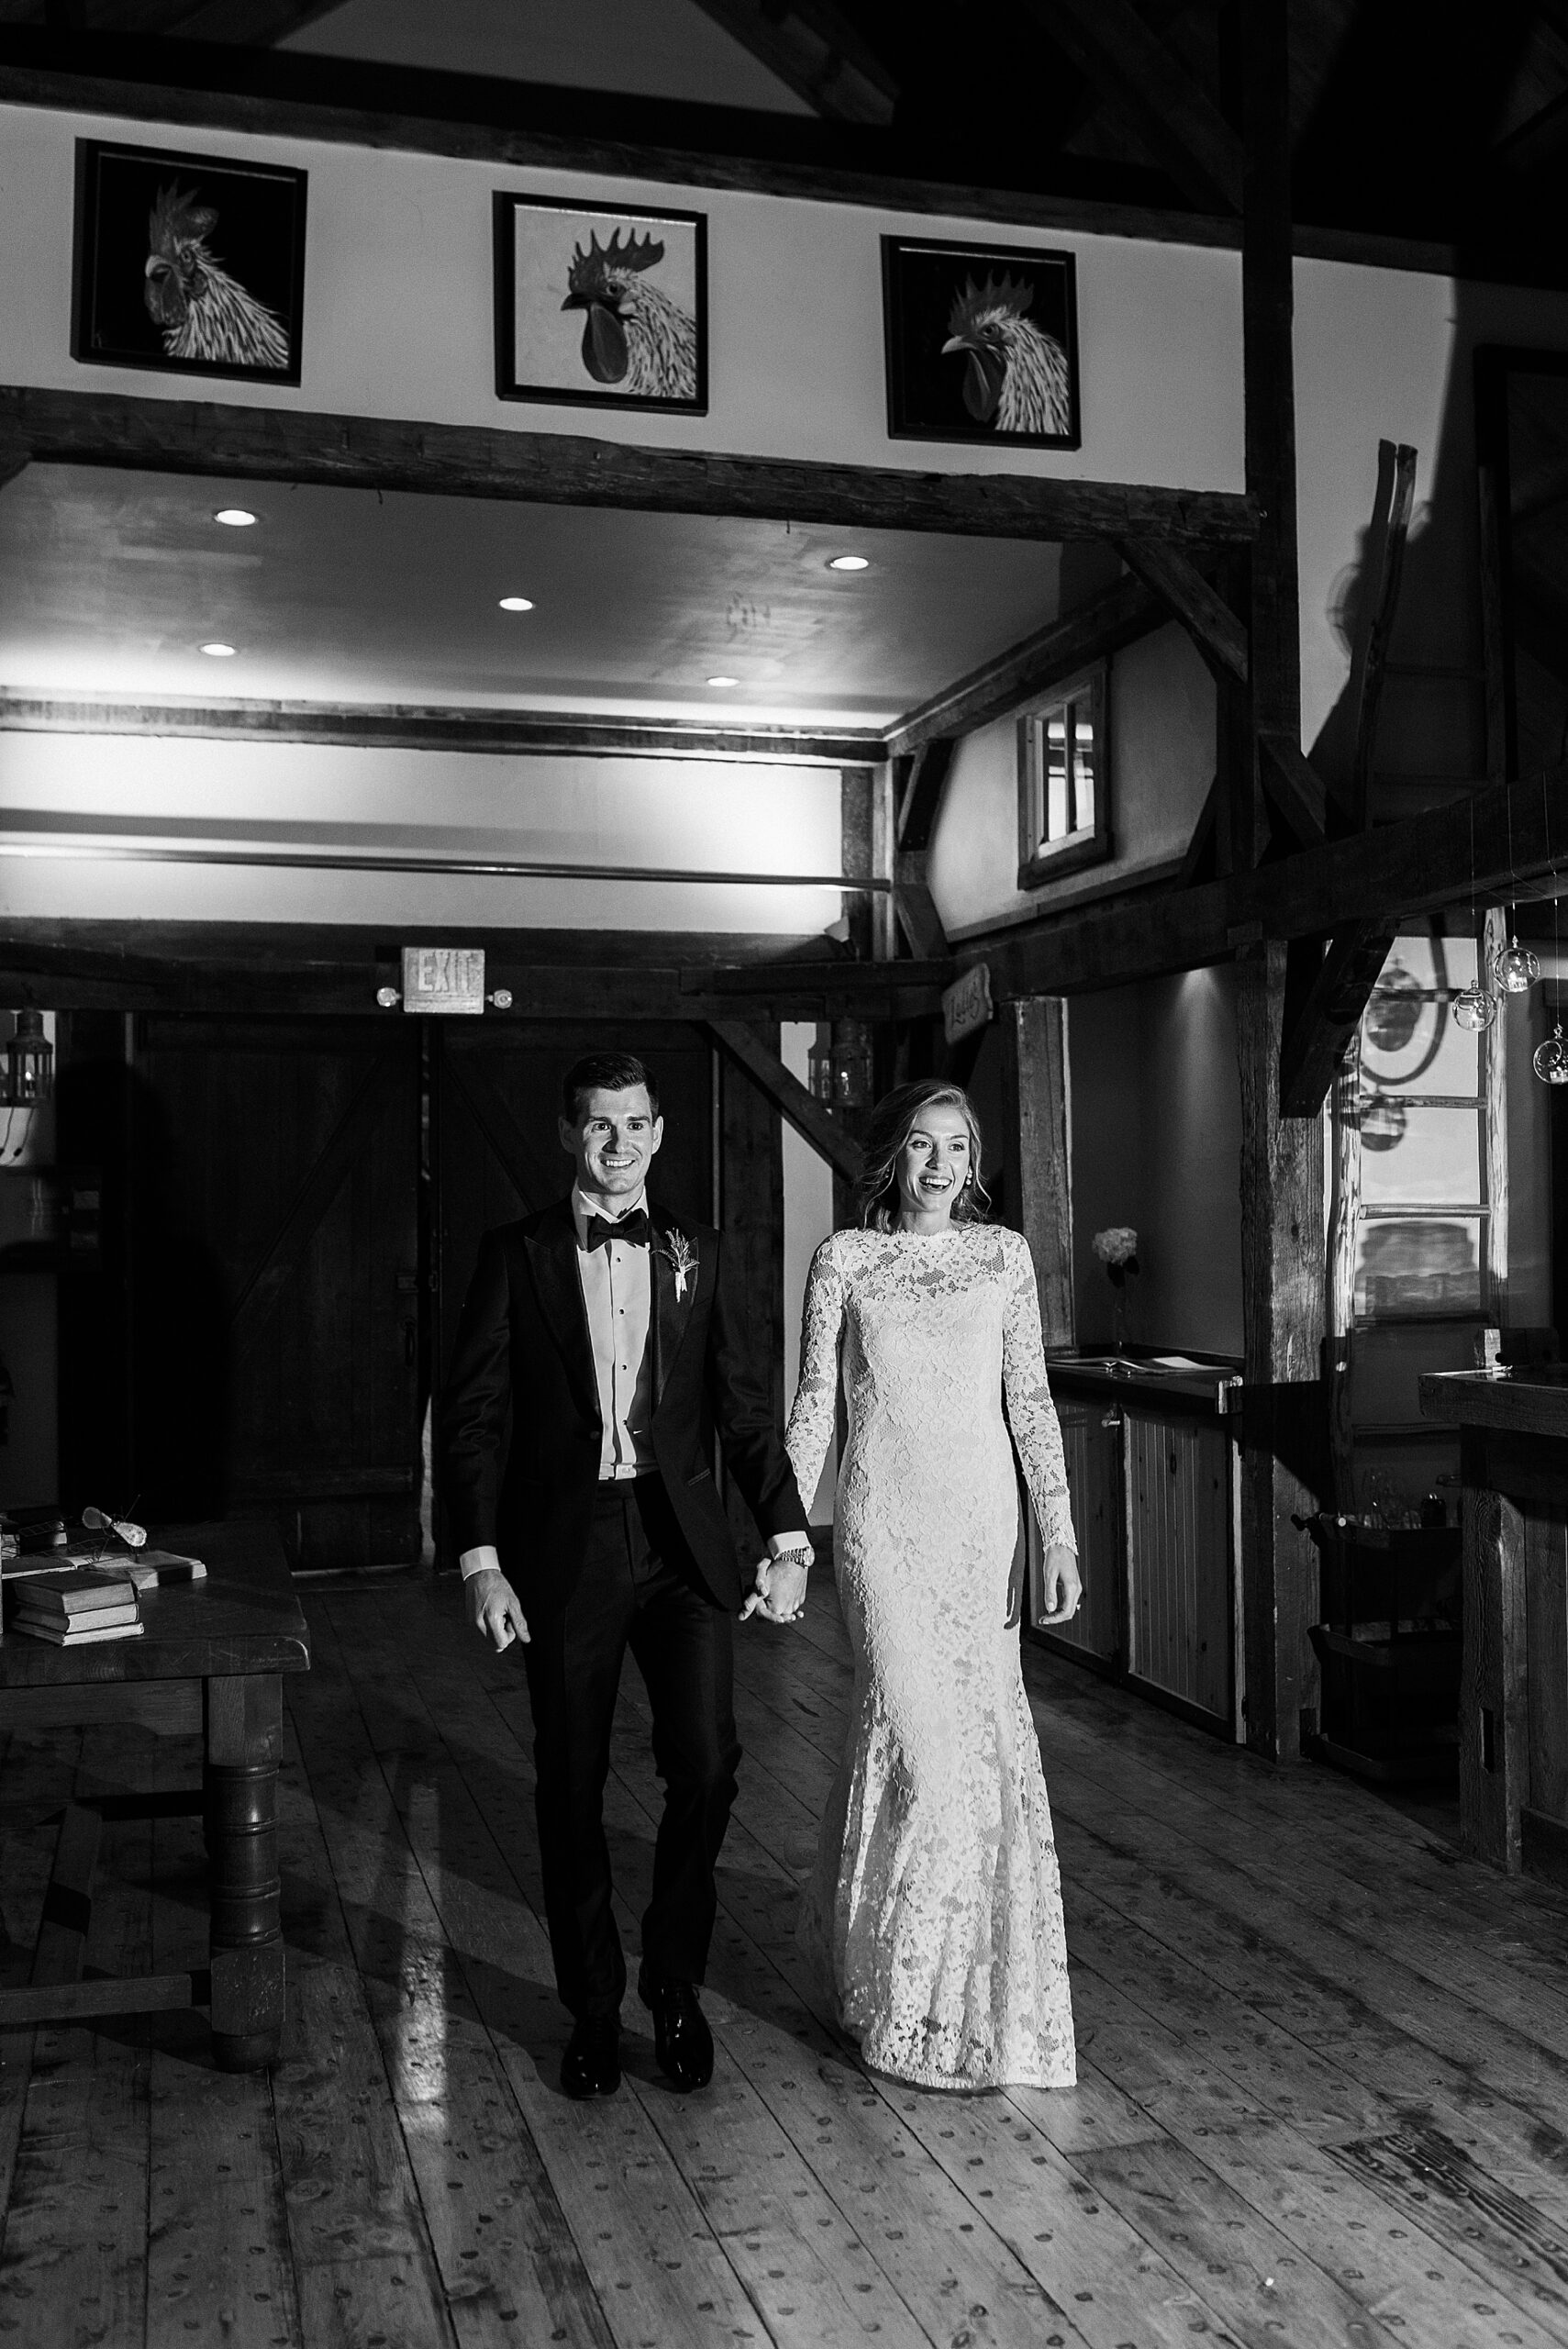
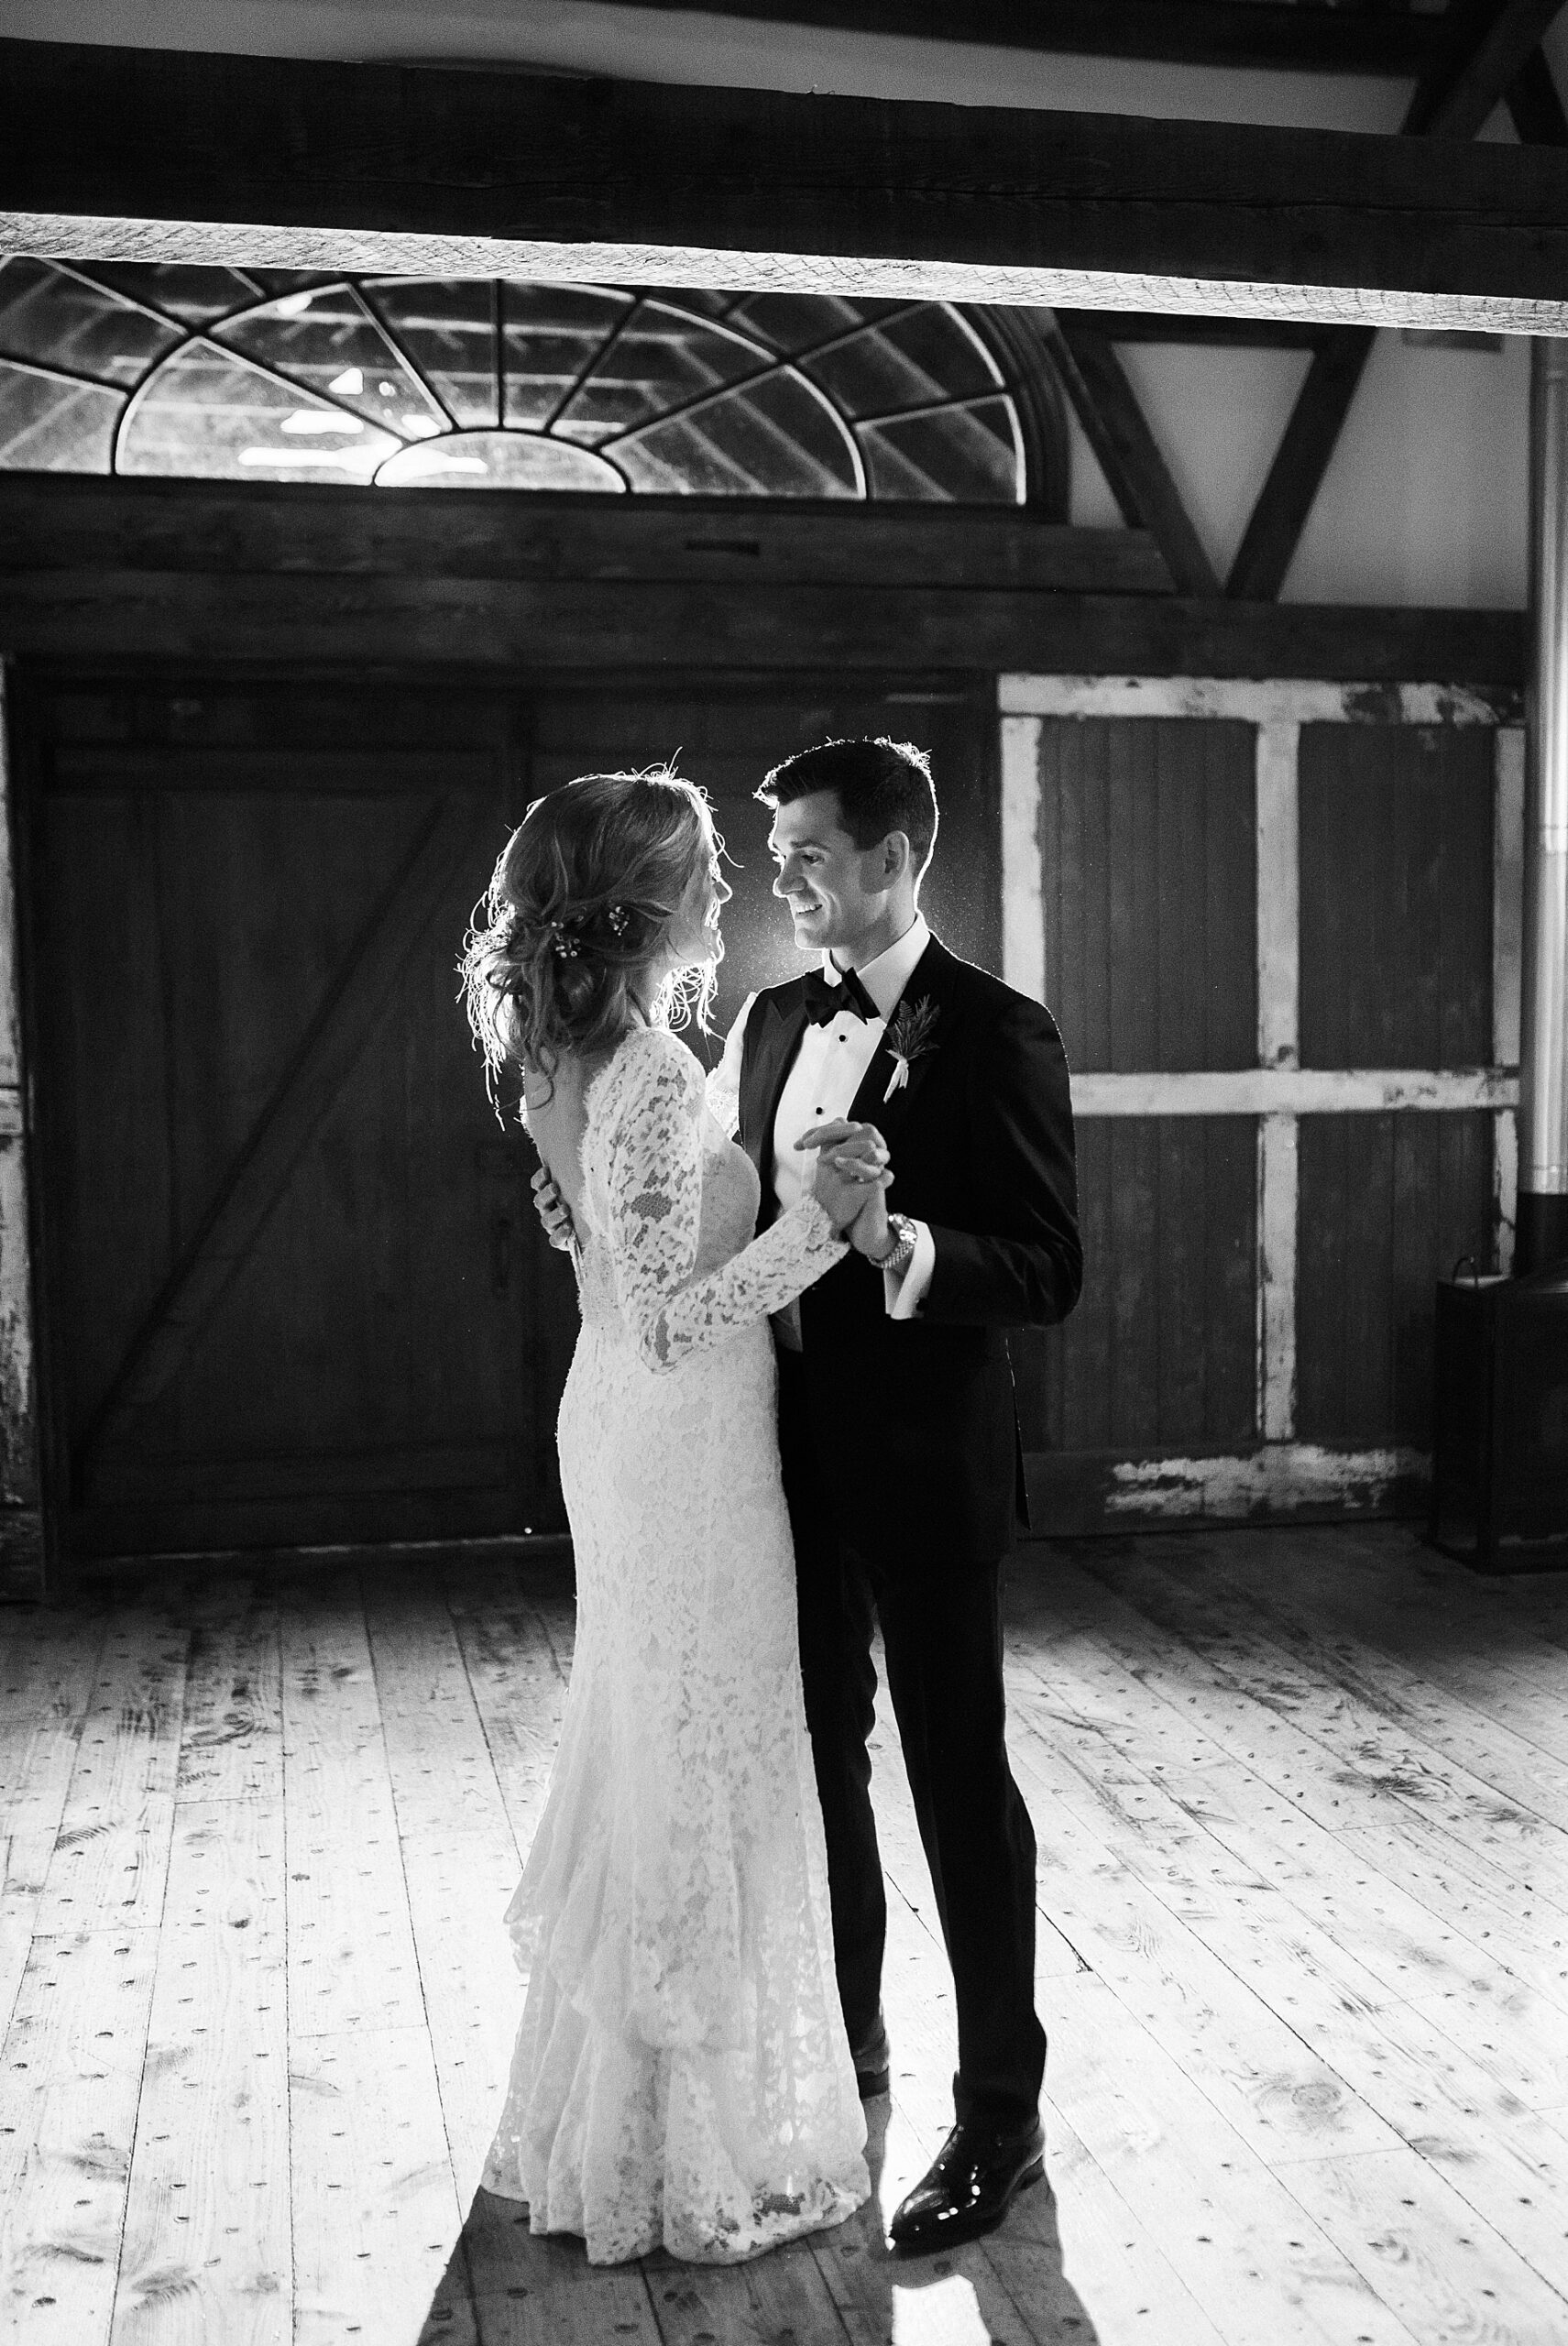
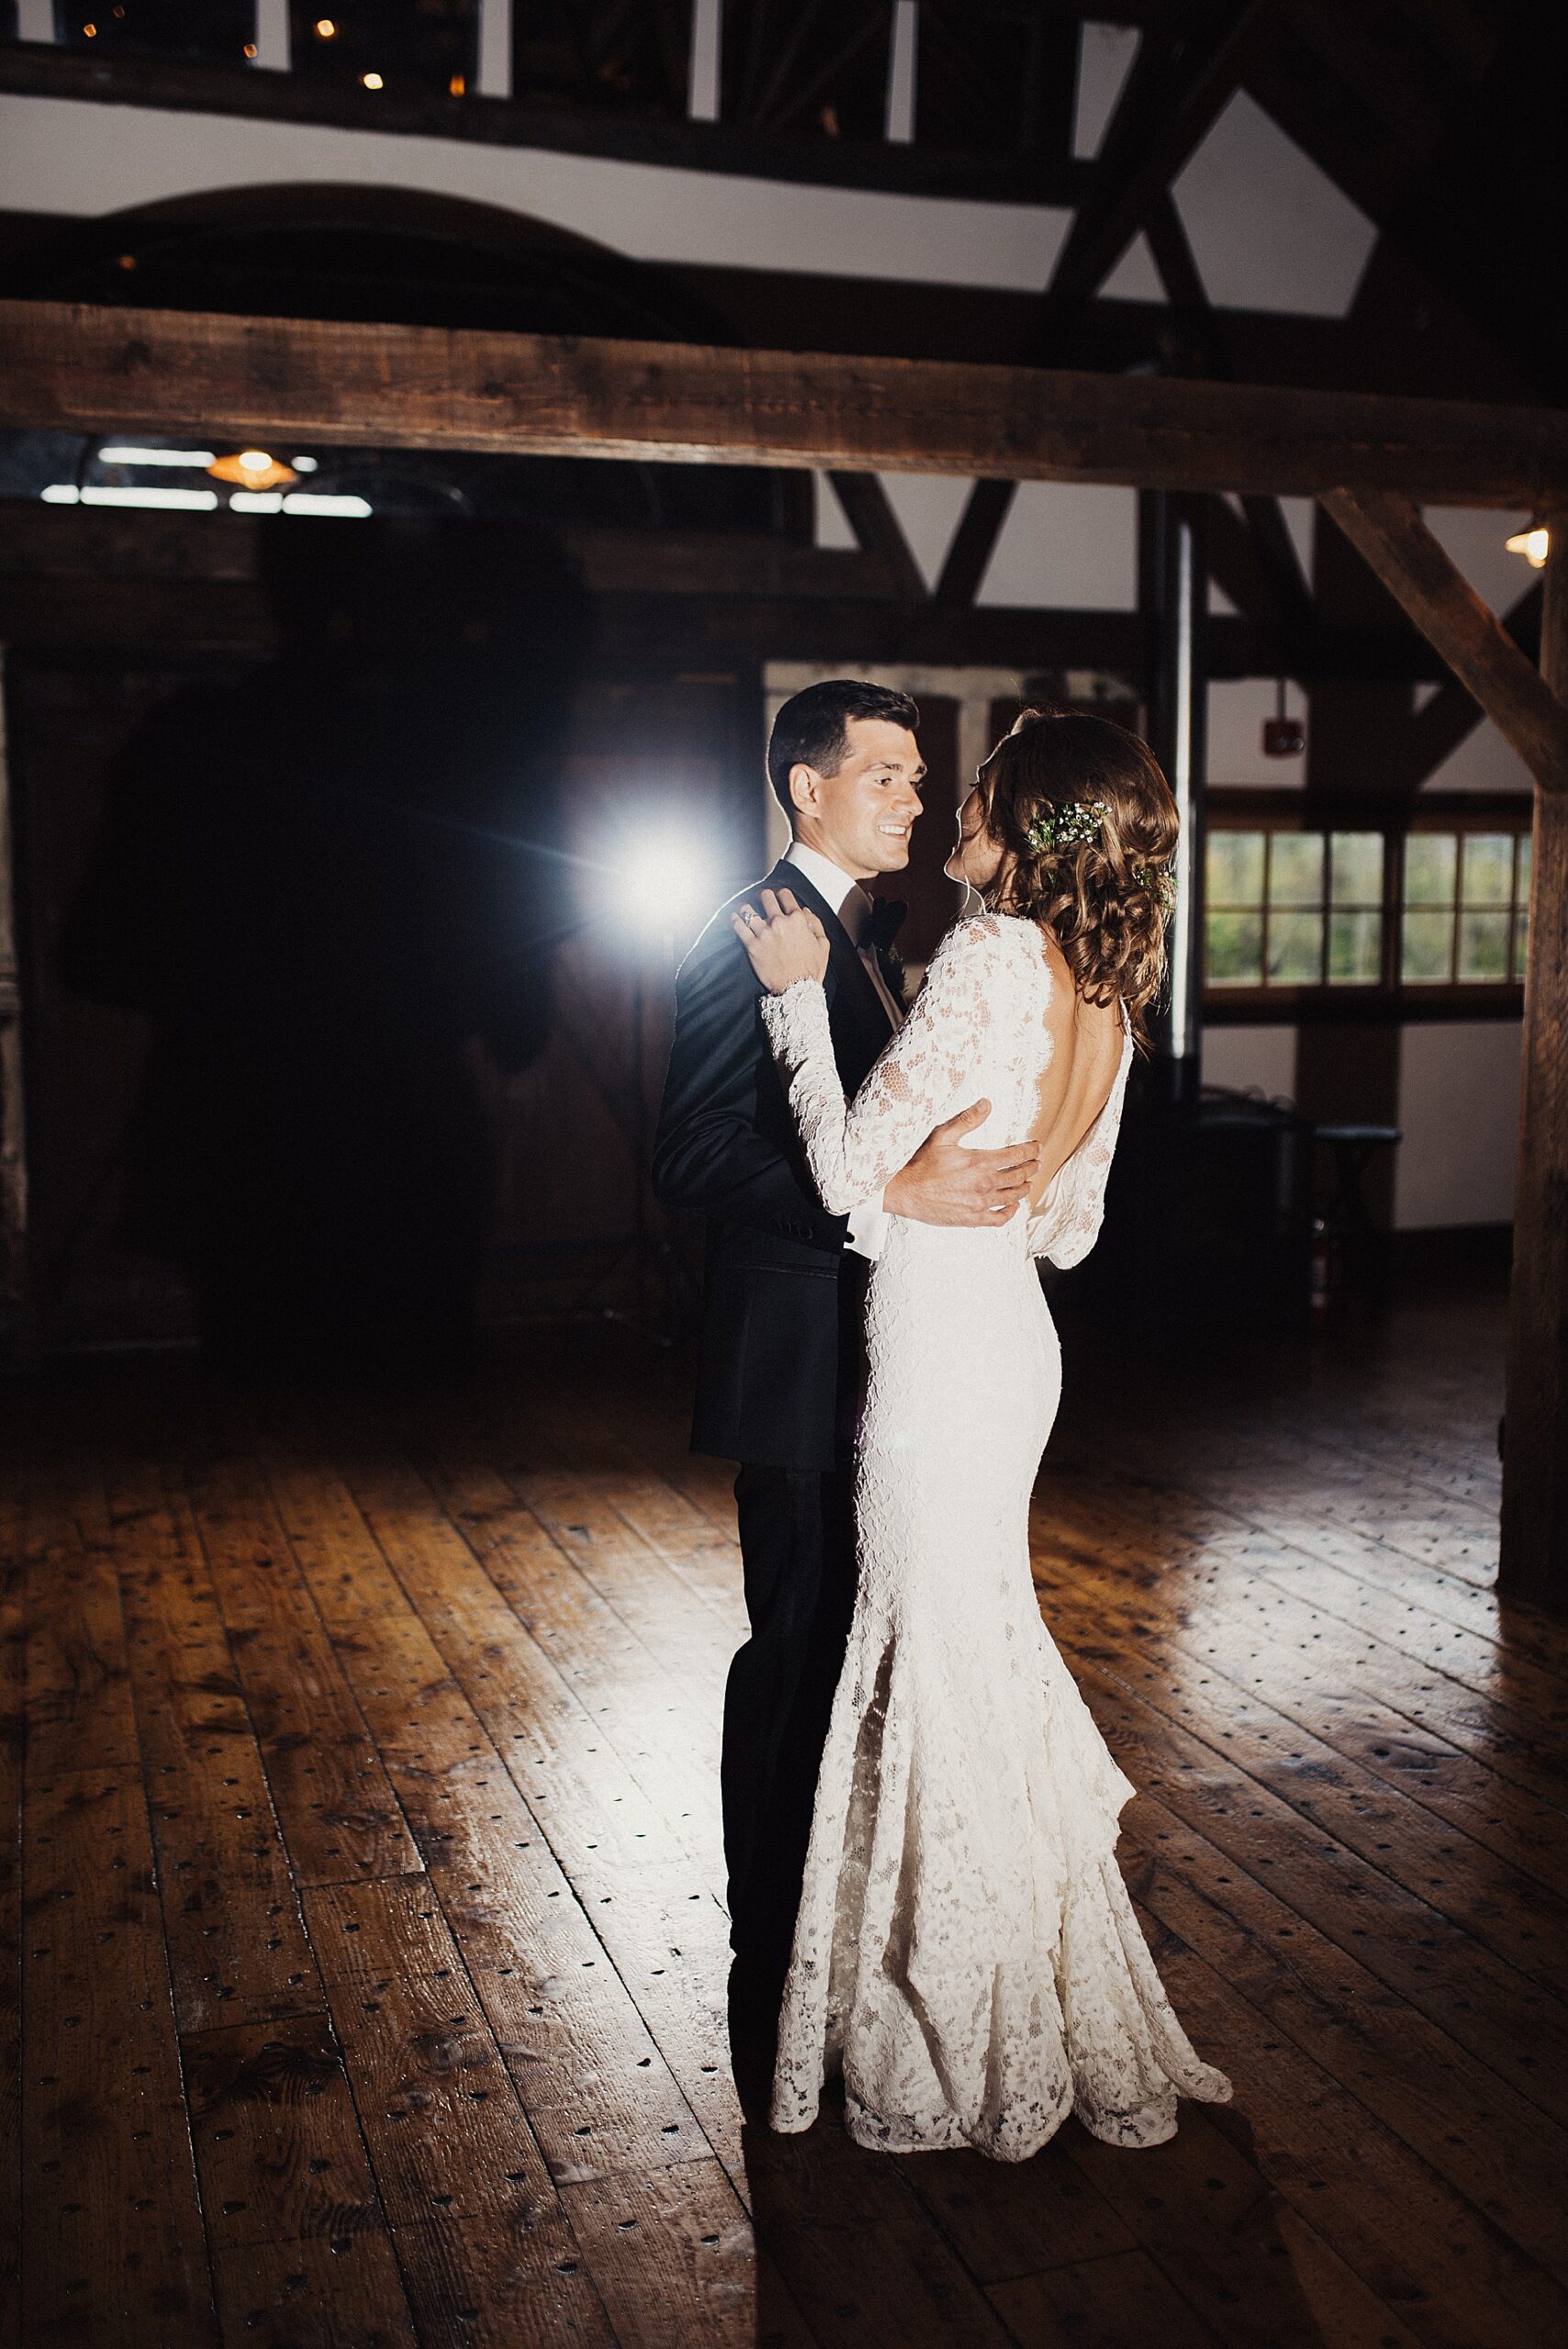
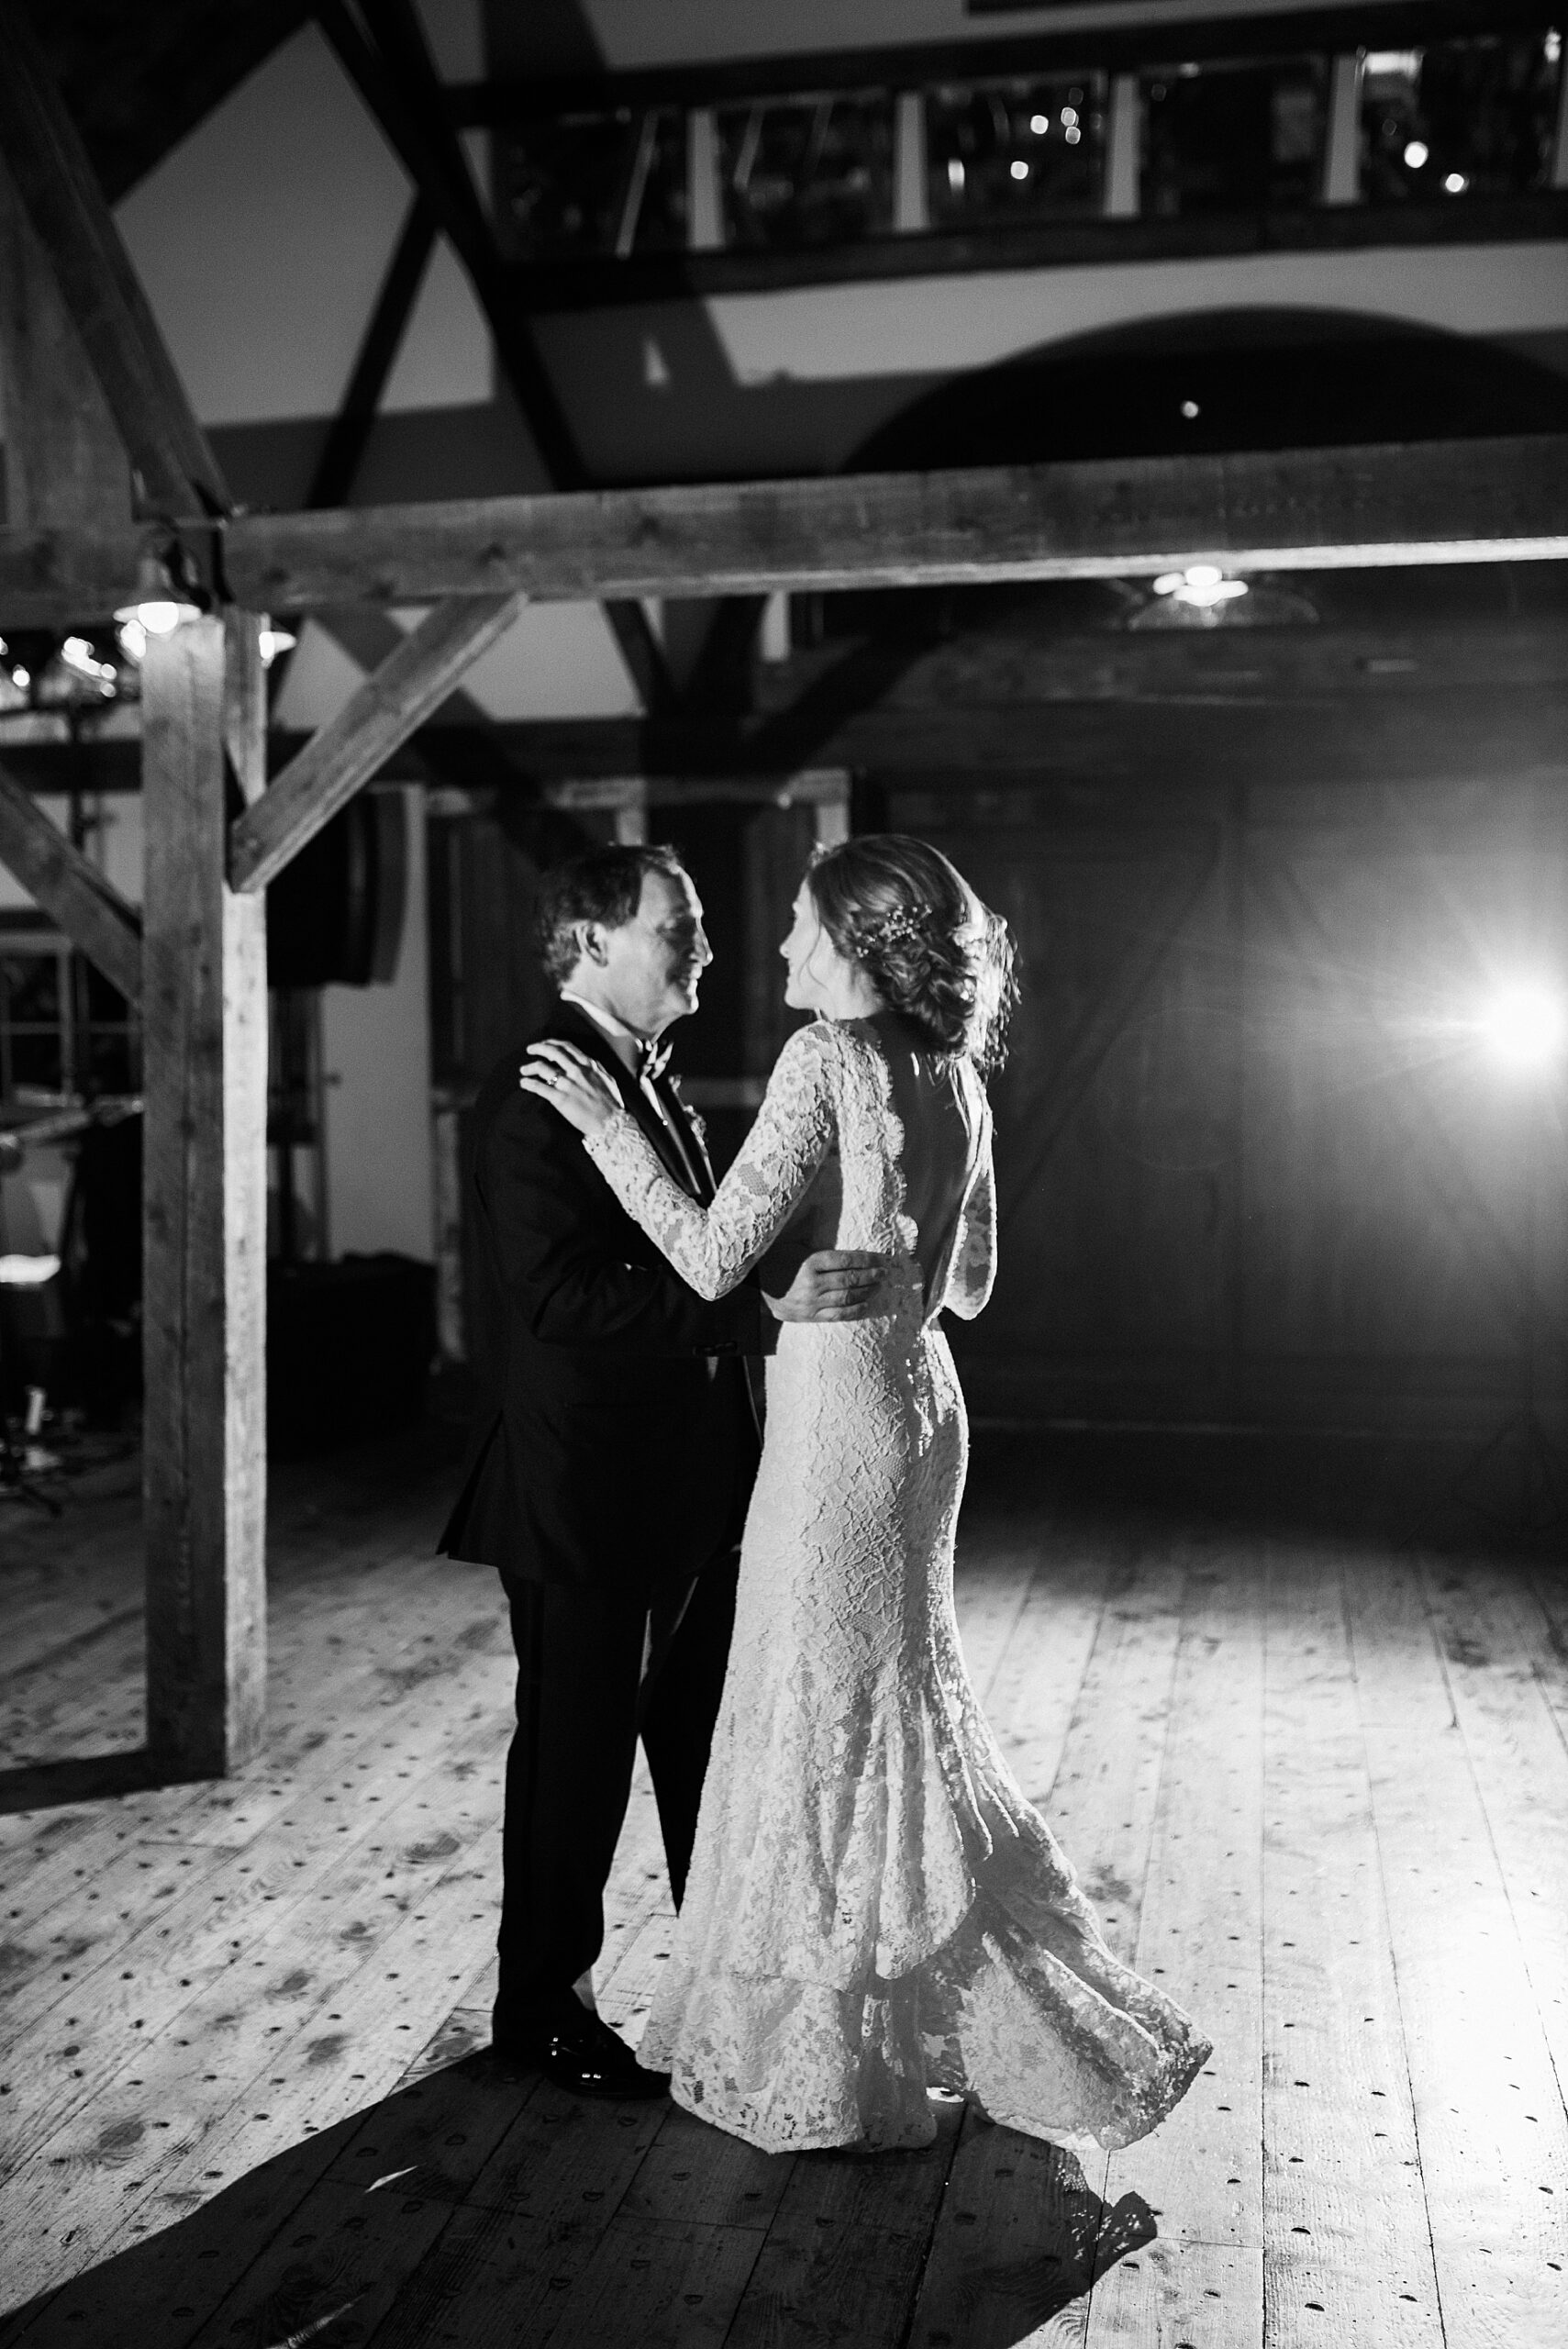
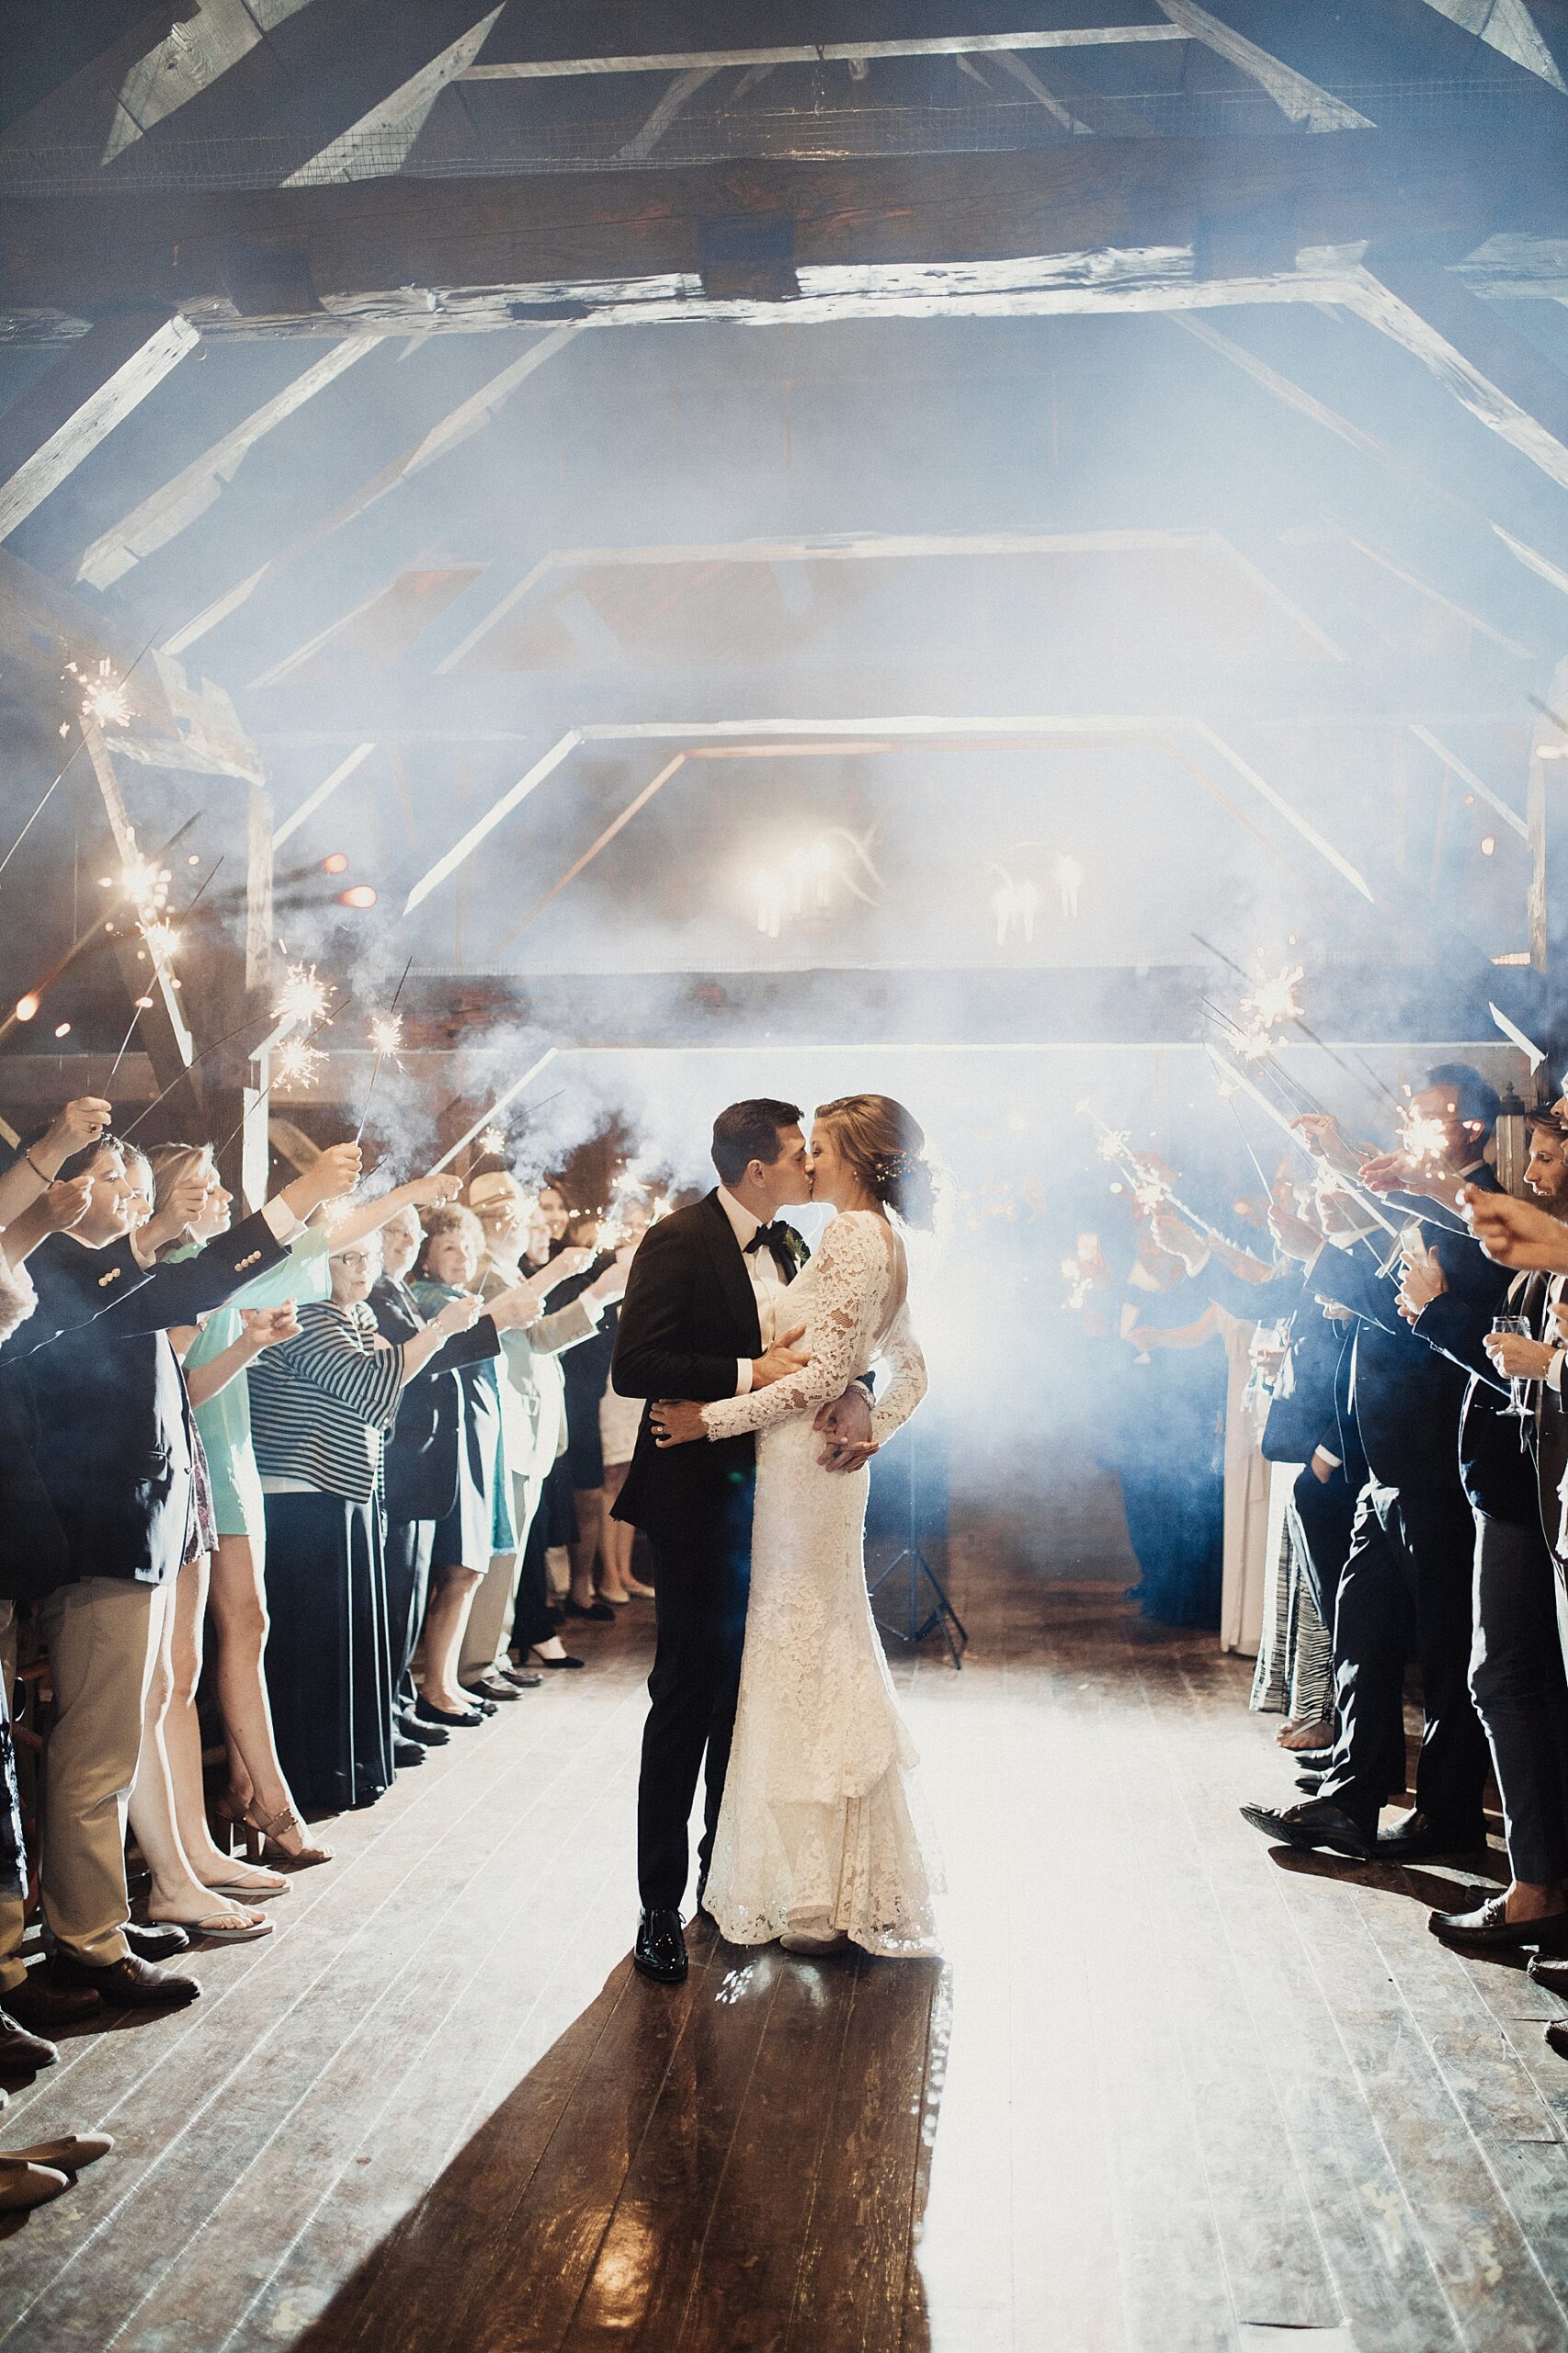
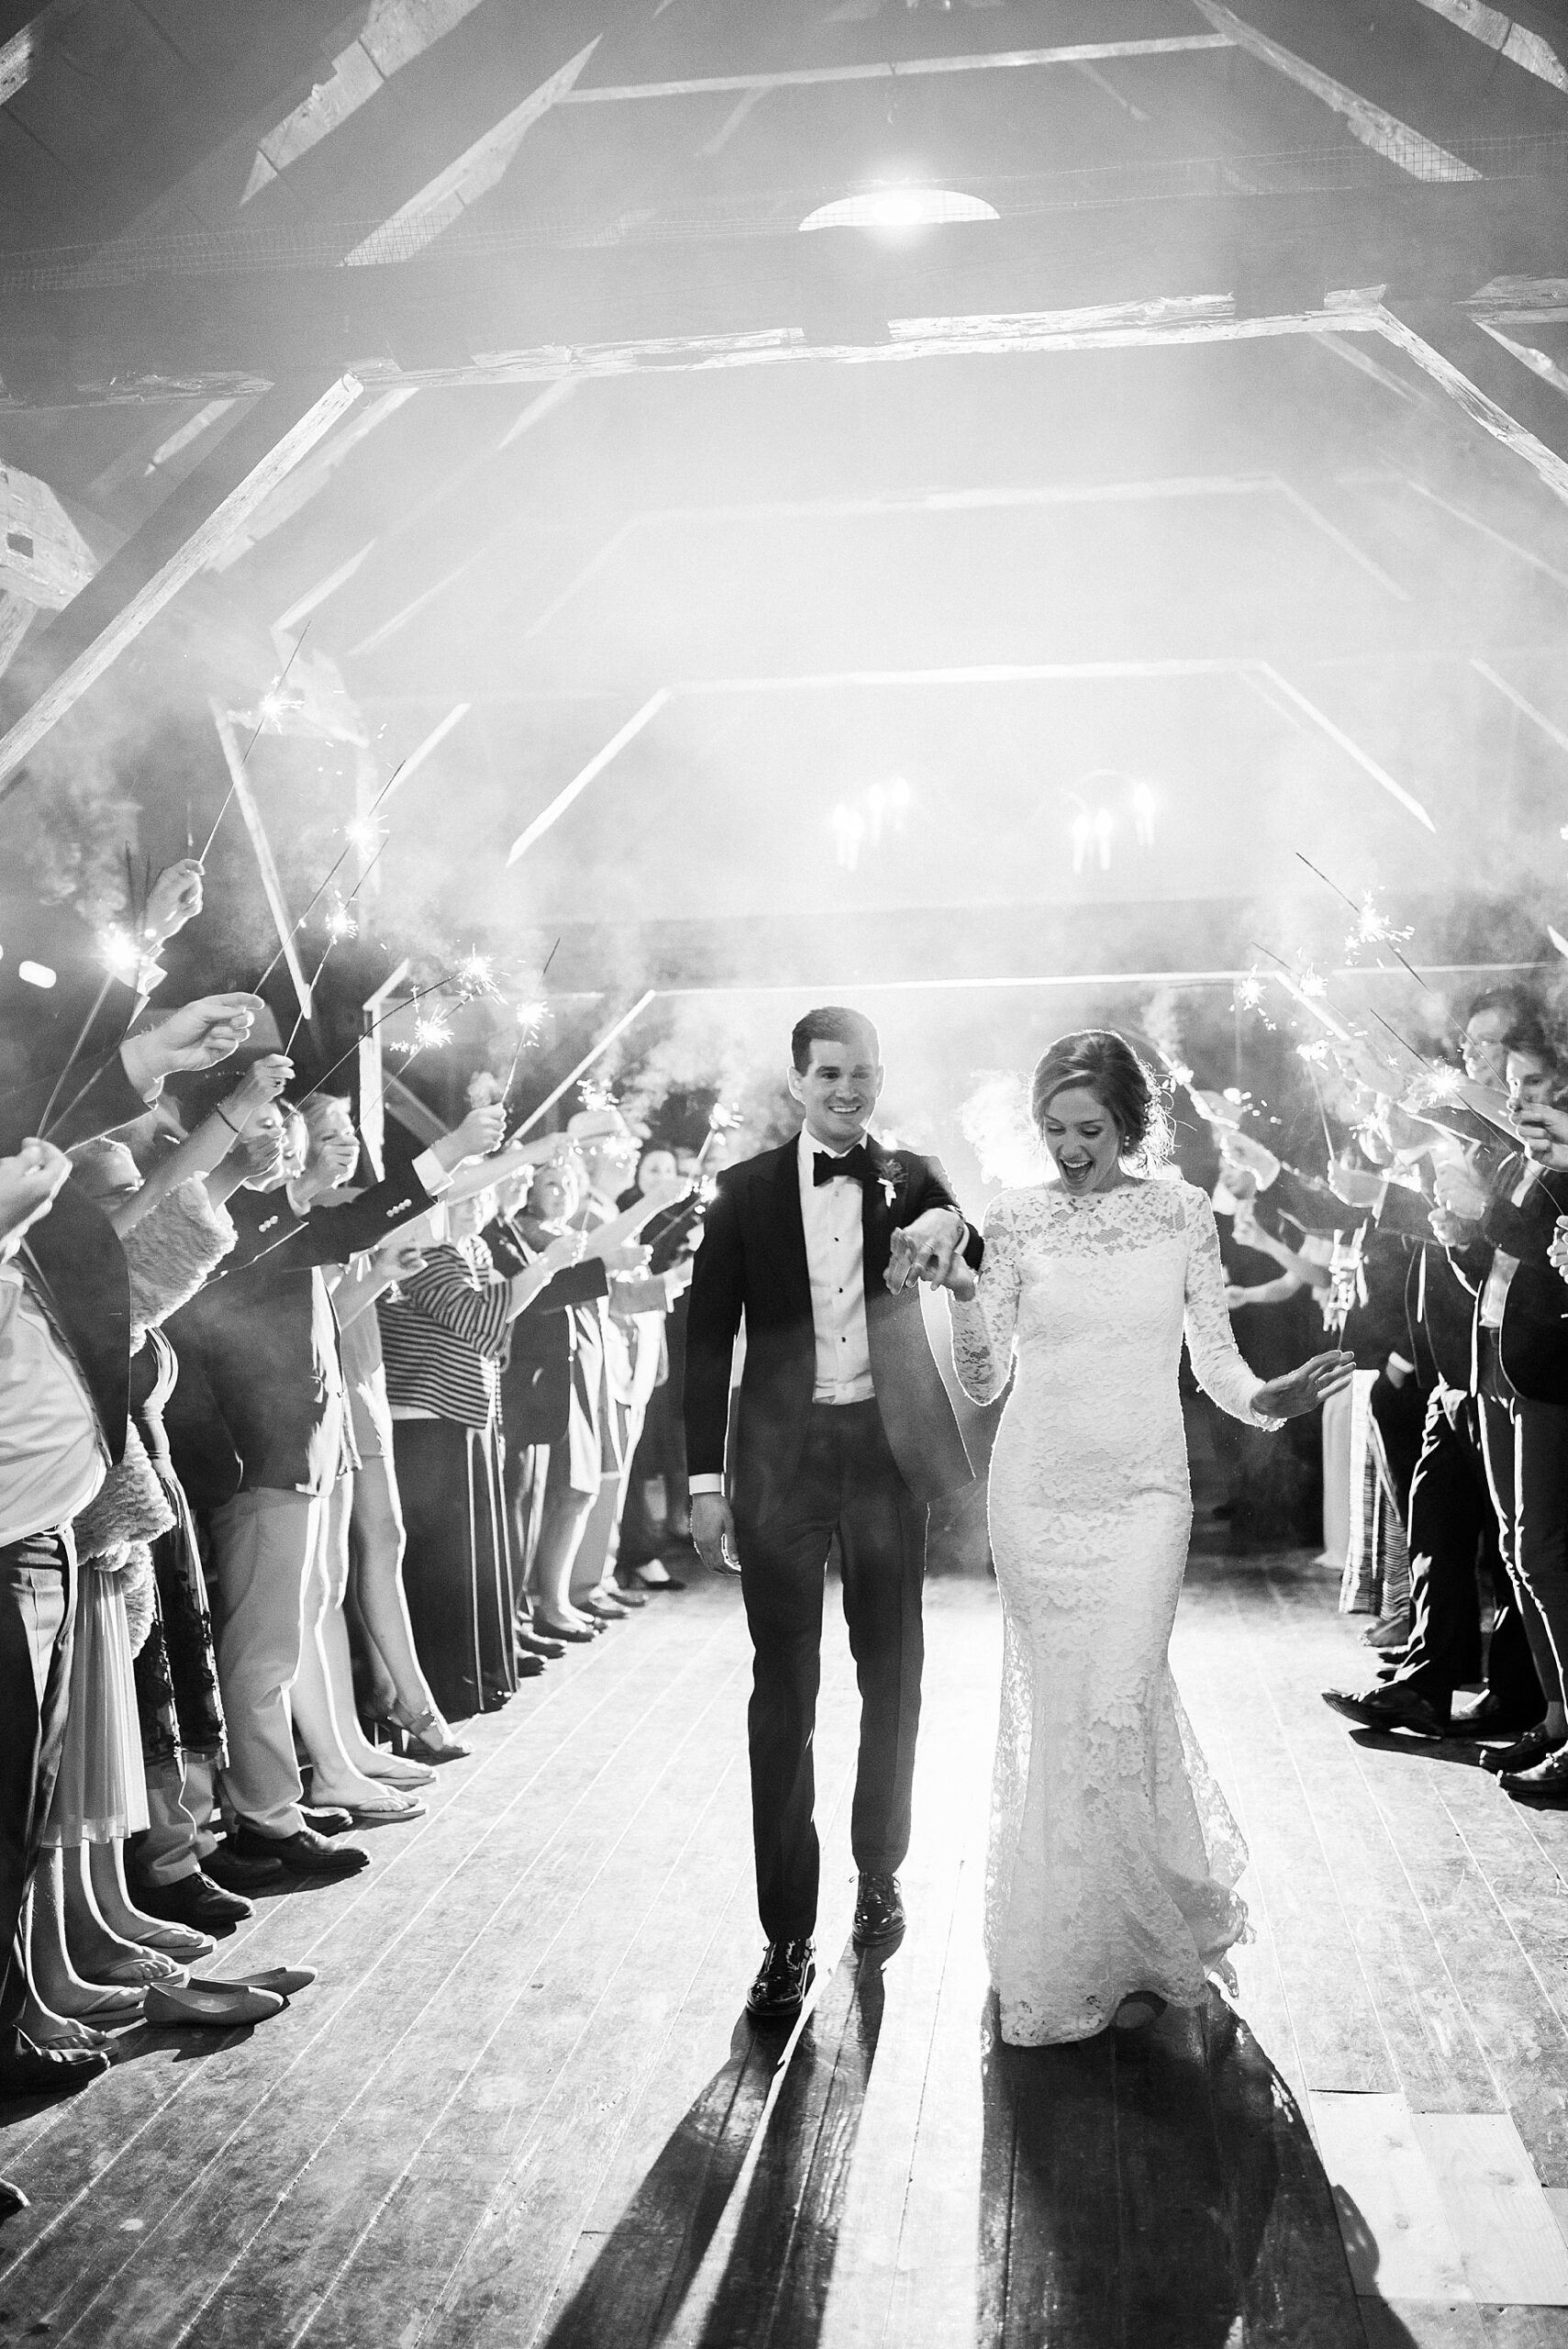
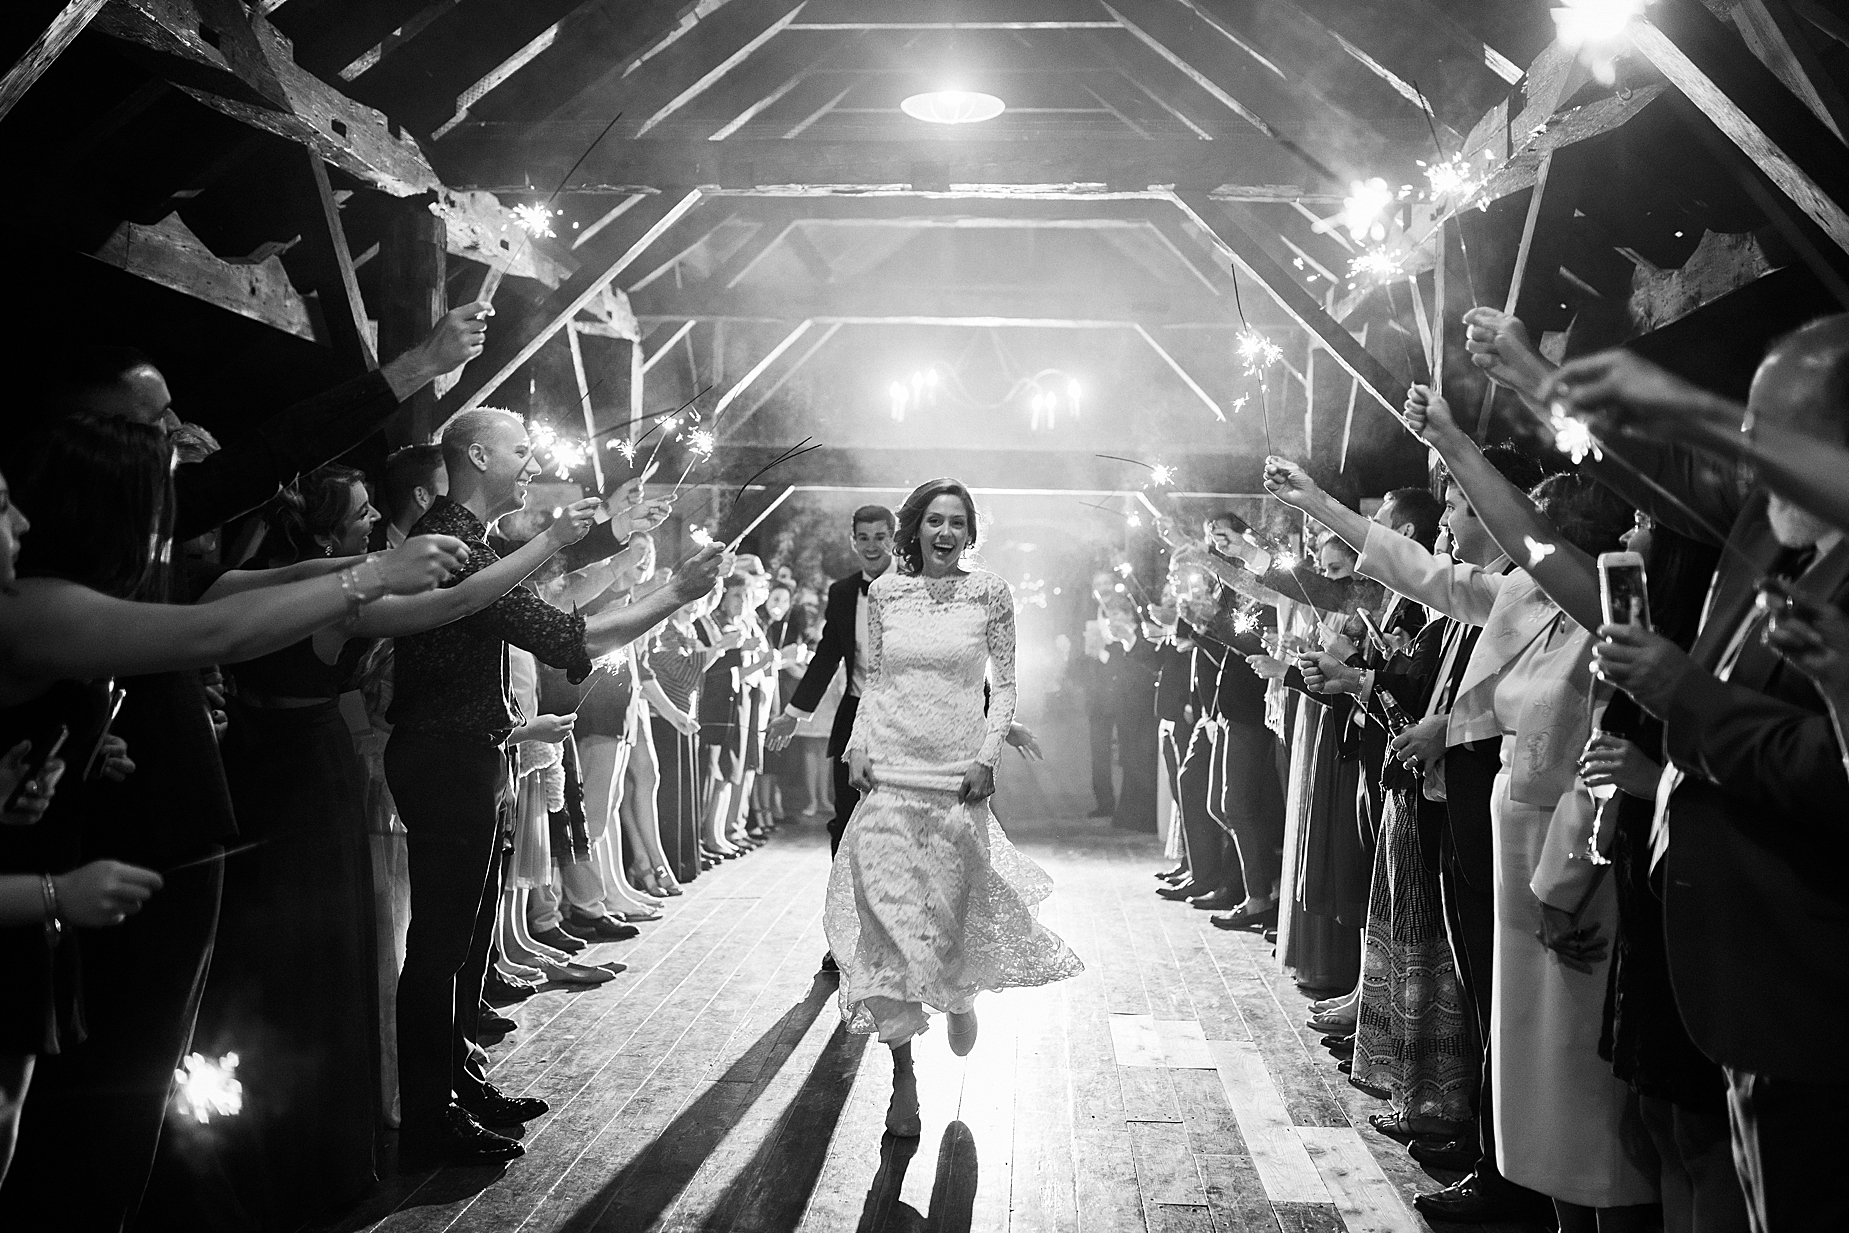
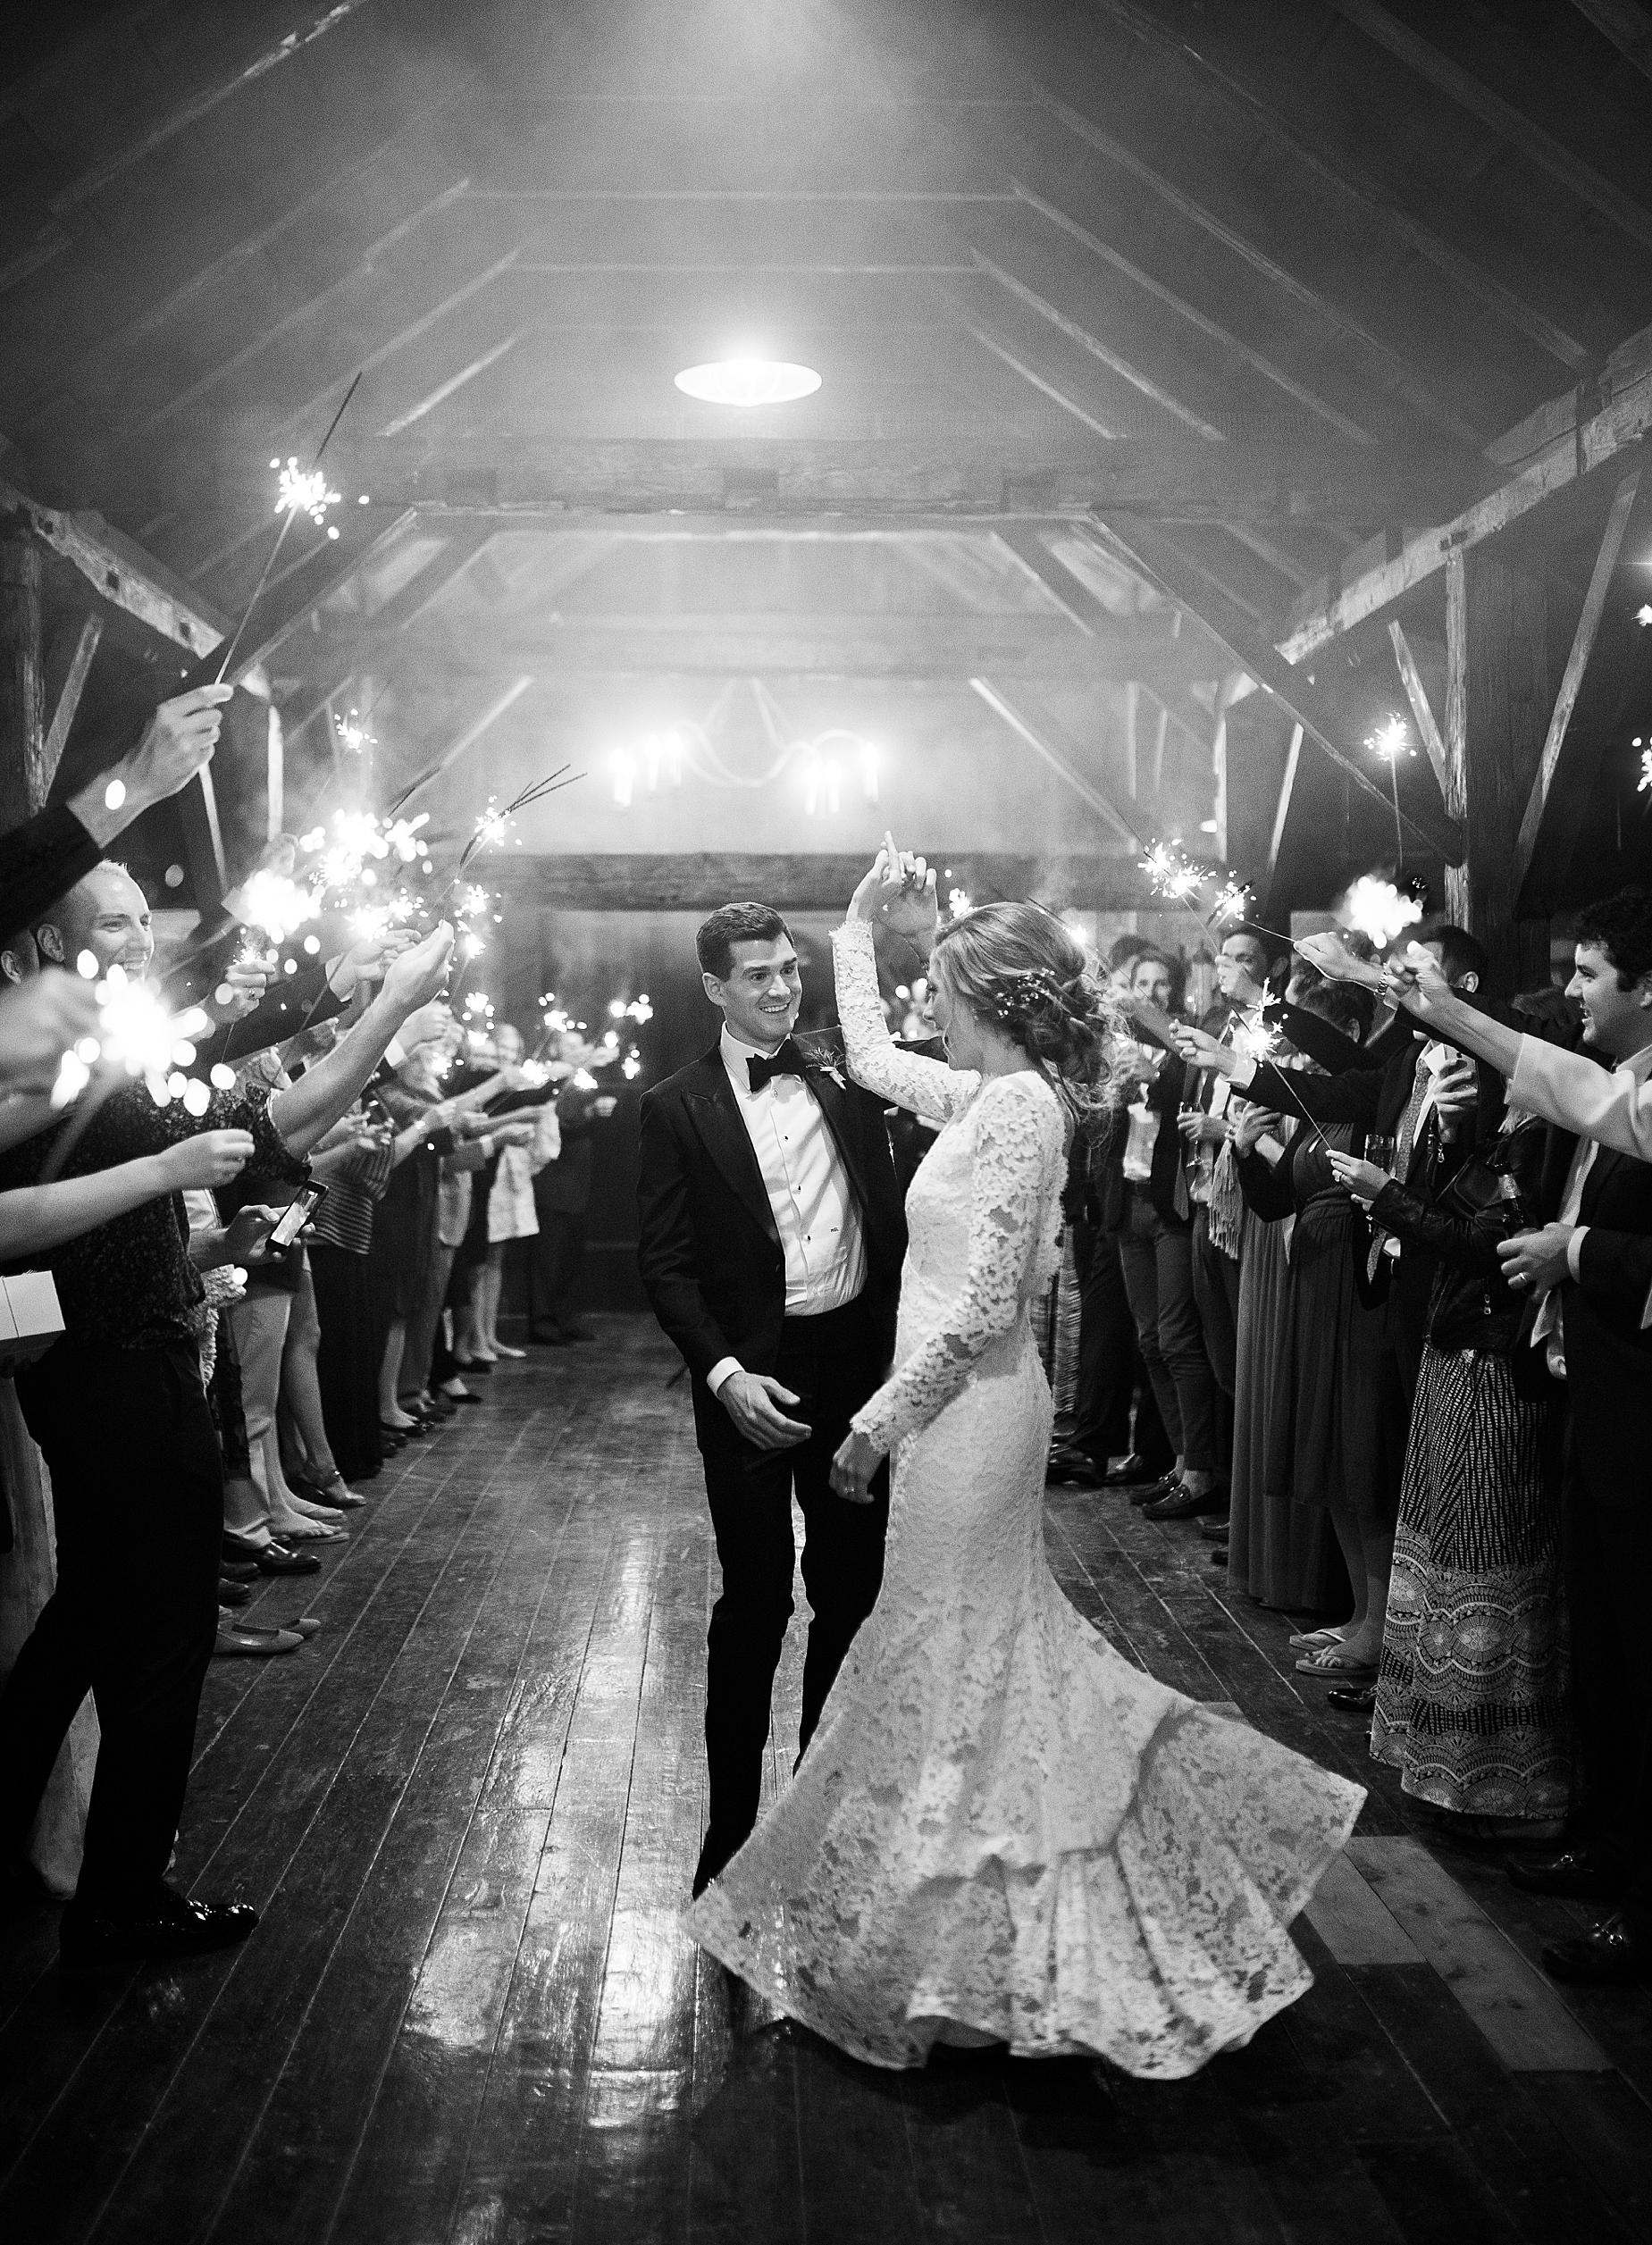
- Backlight: A flash behind the subjects can produce a halo effect, adding depth and highlighting their contours.
- Learn more in our course, Indoor and Artificial Light!
Advanced Lighting Techniques
Enhance your photography with these sophisticated strategies:
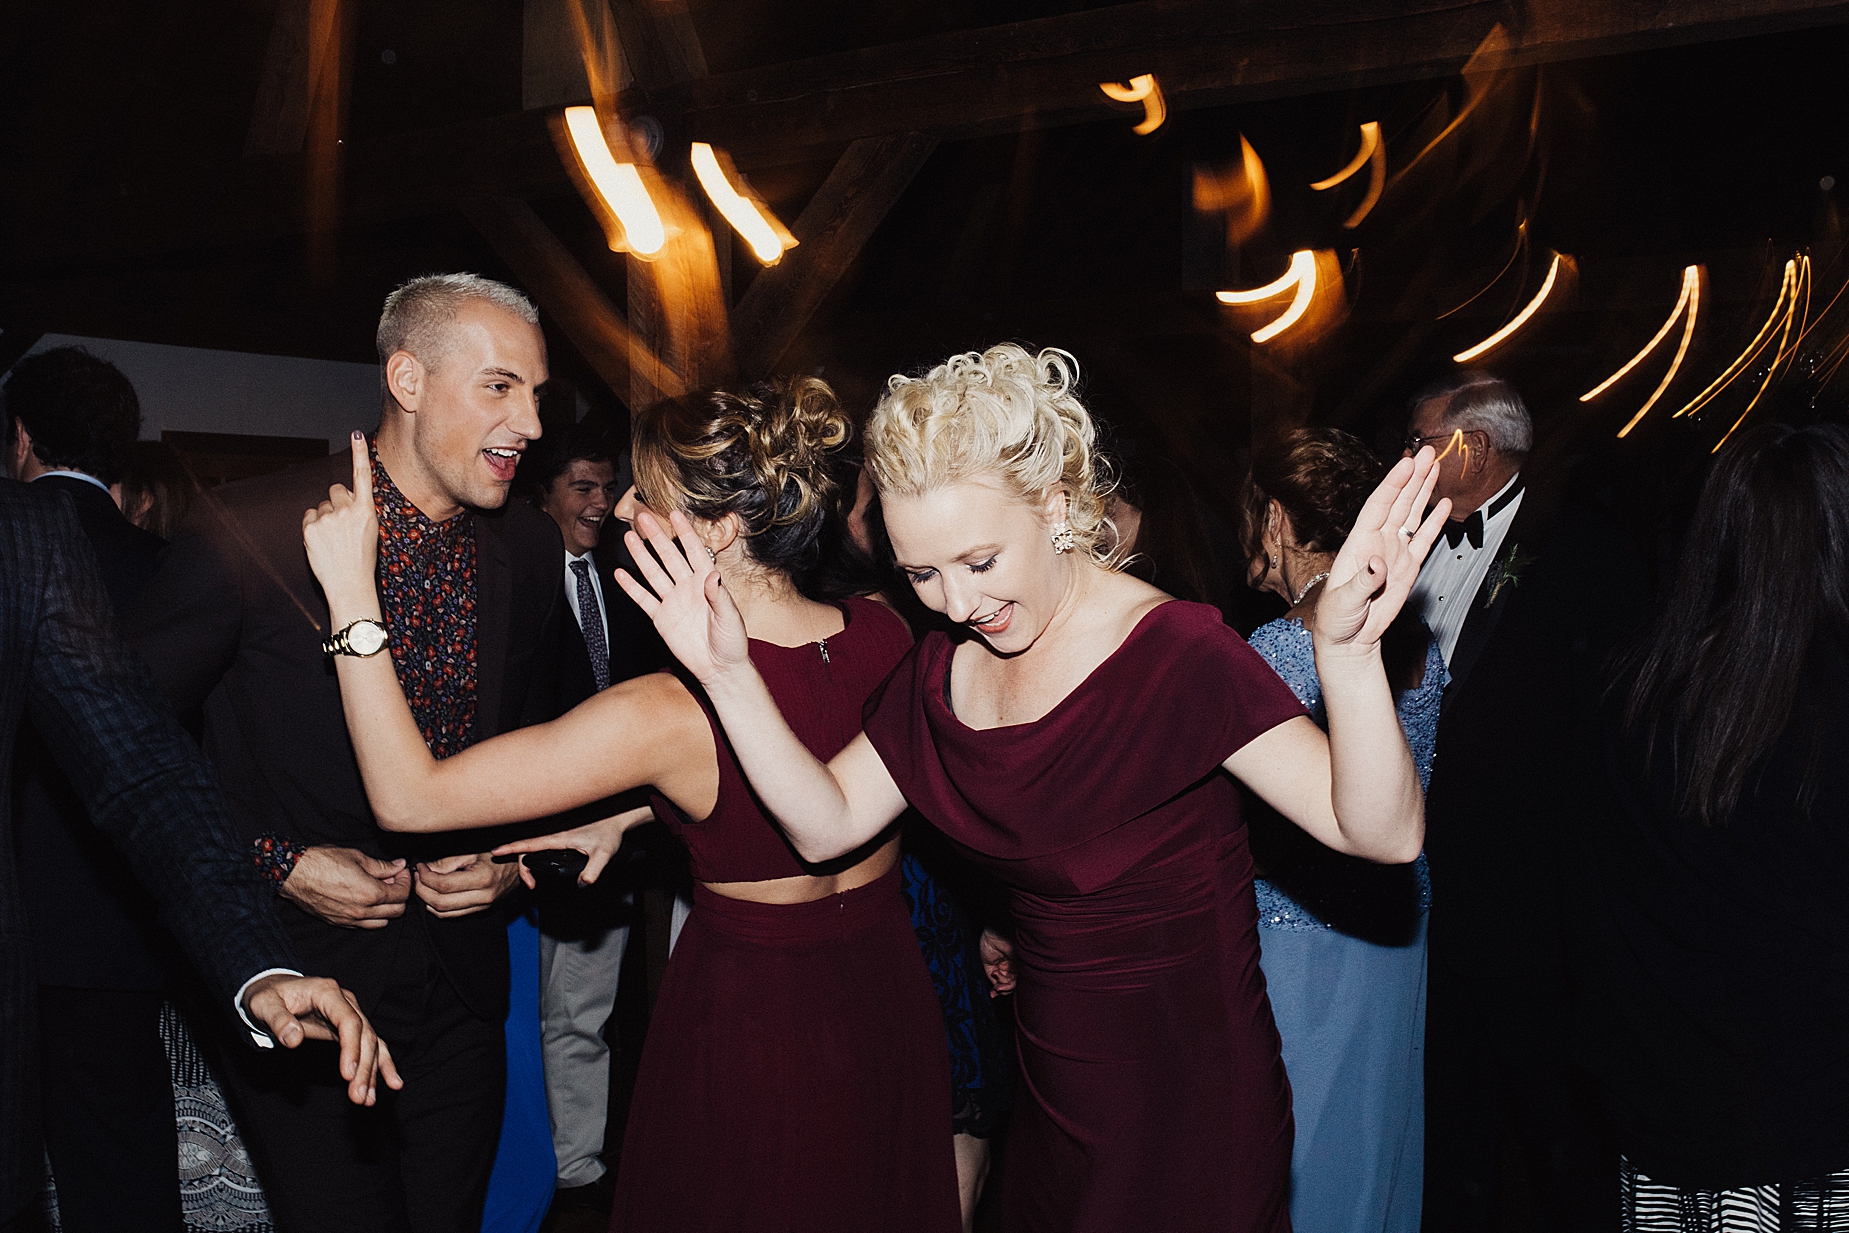
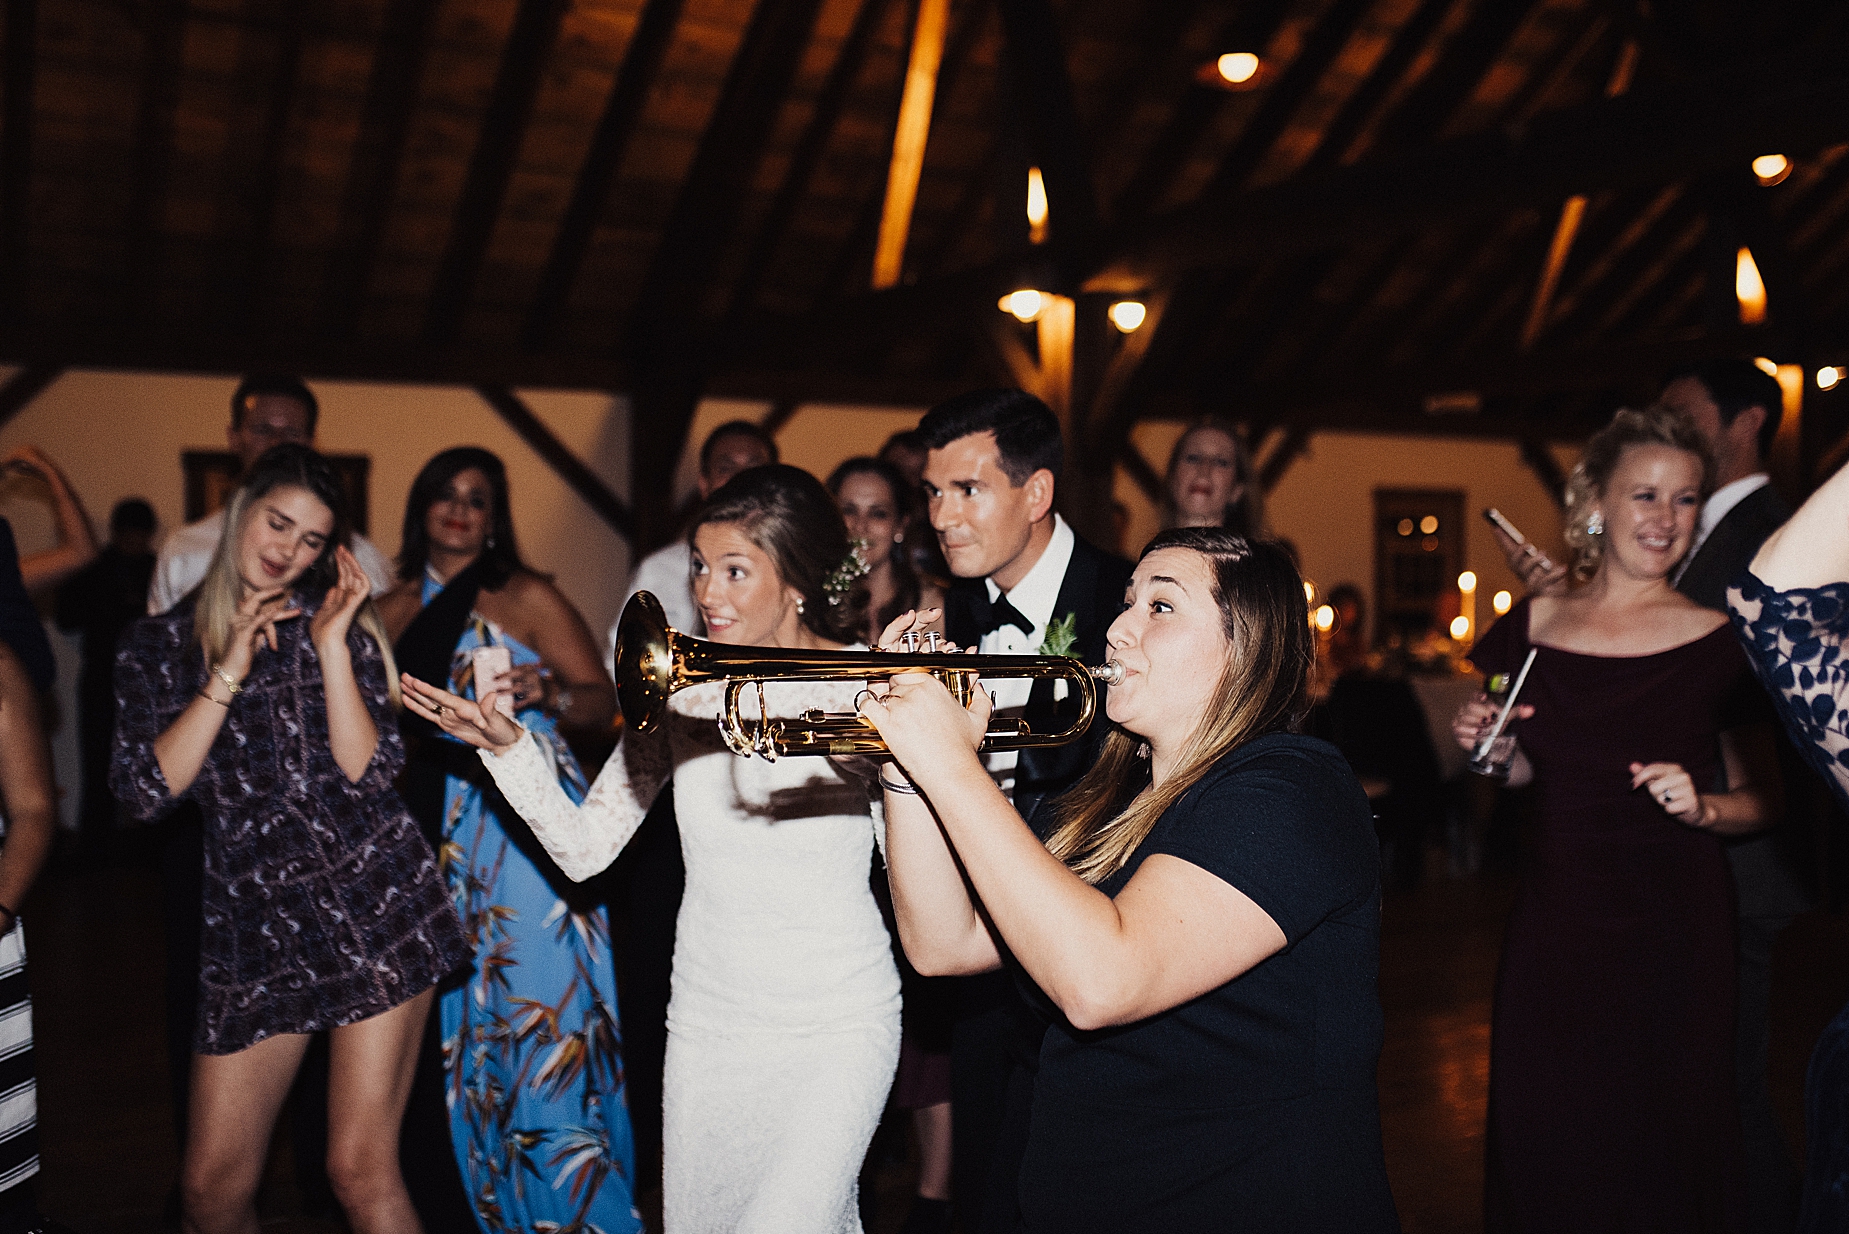
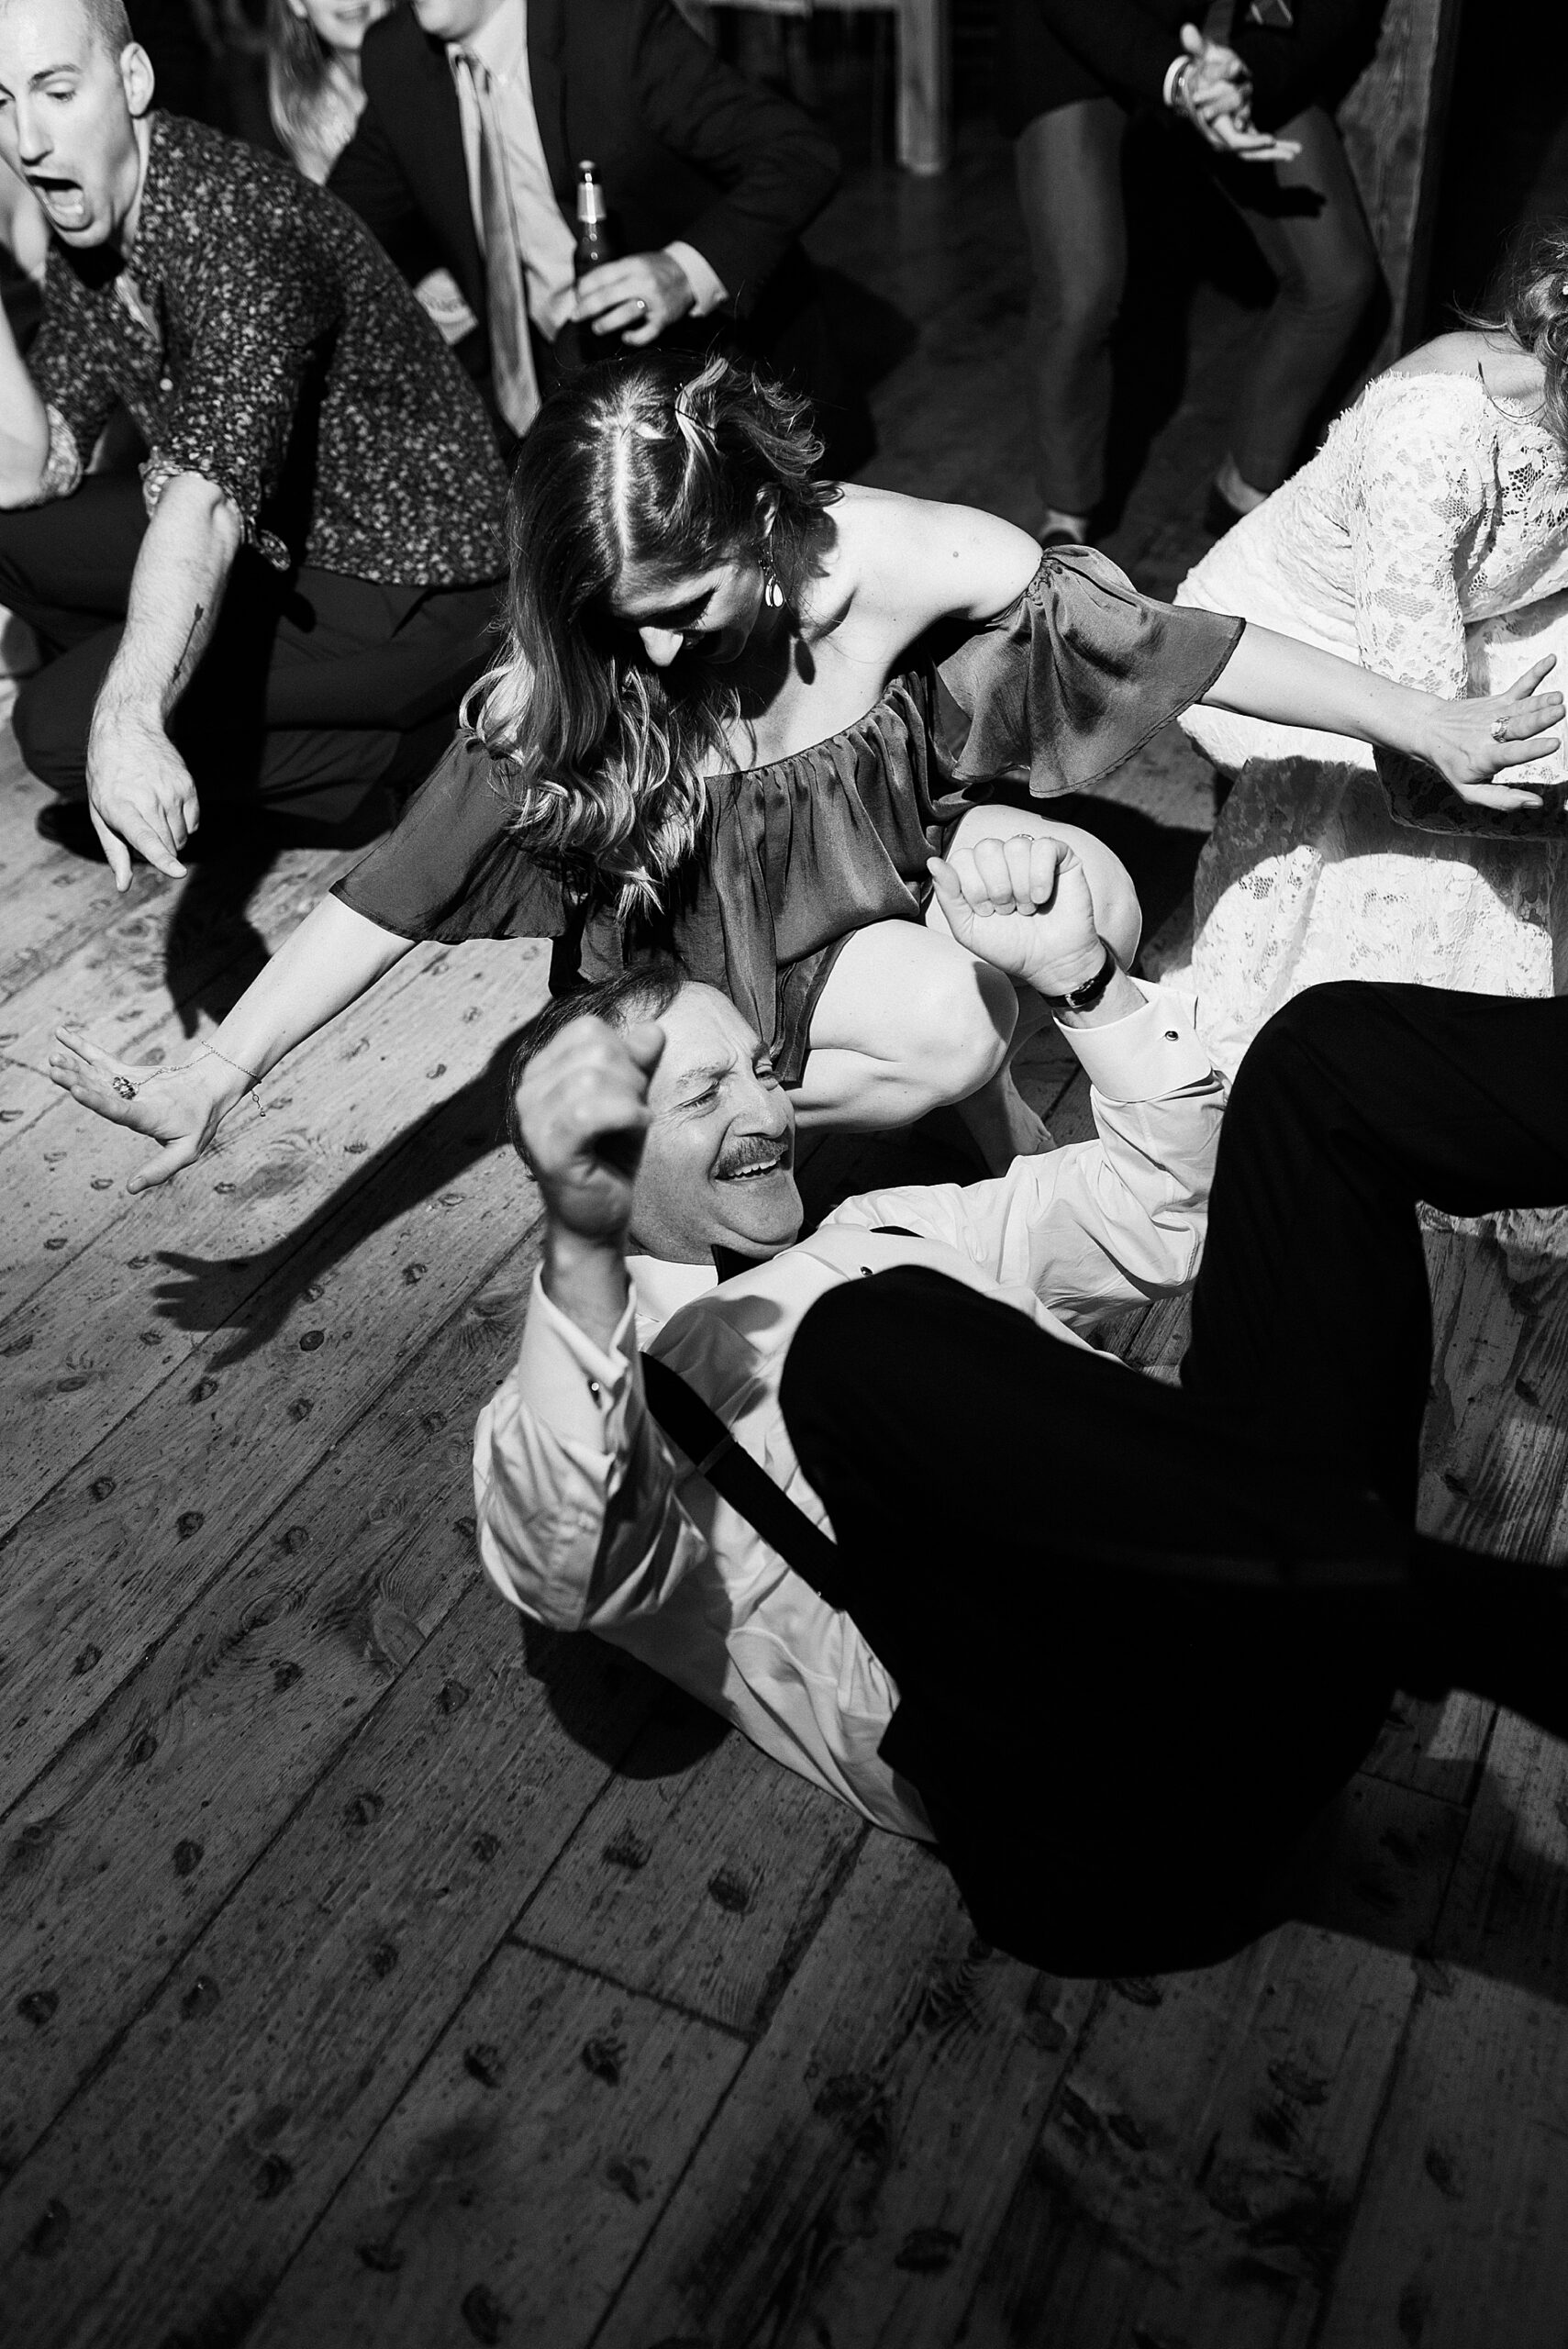
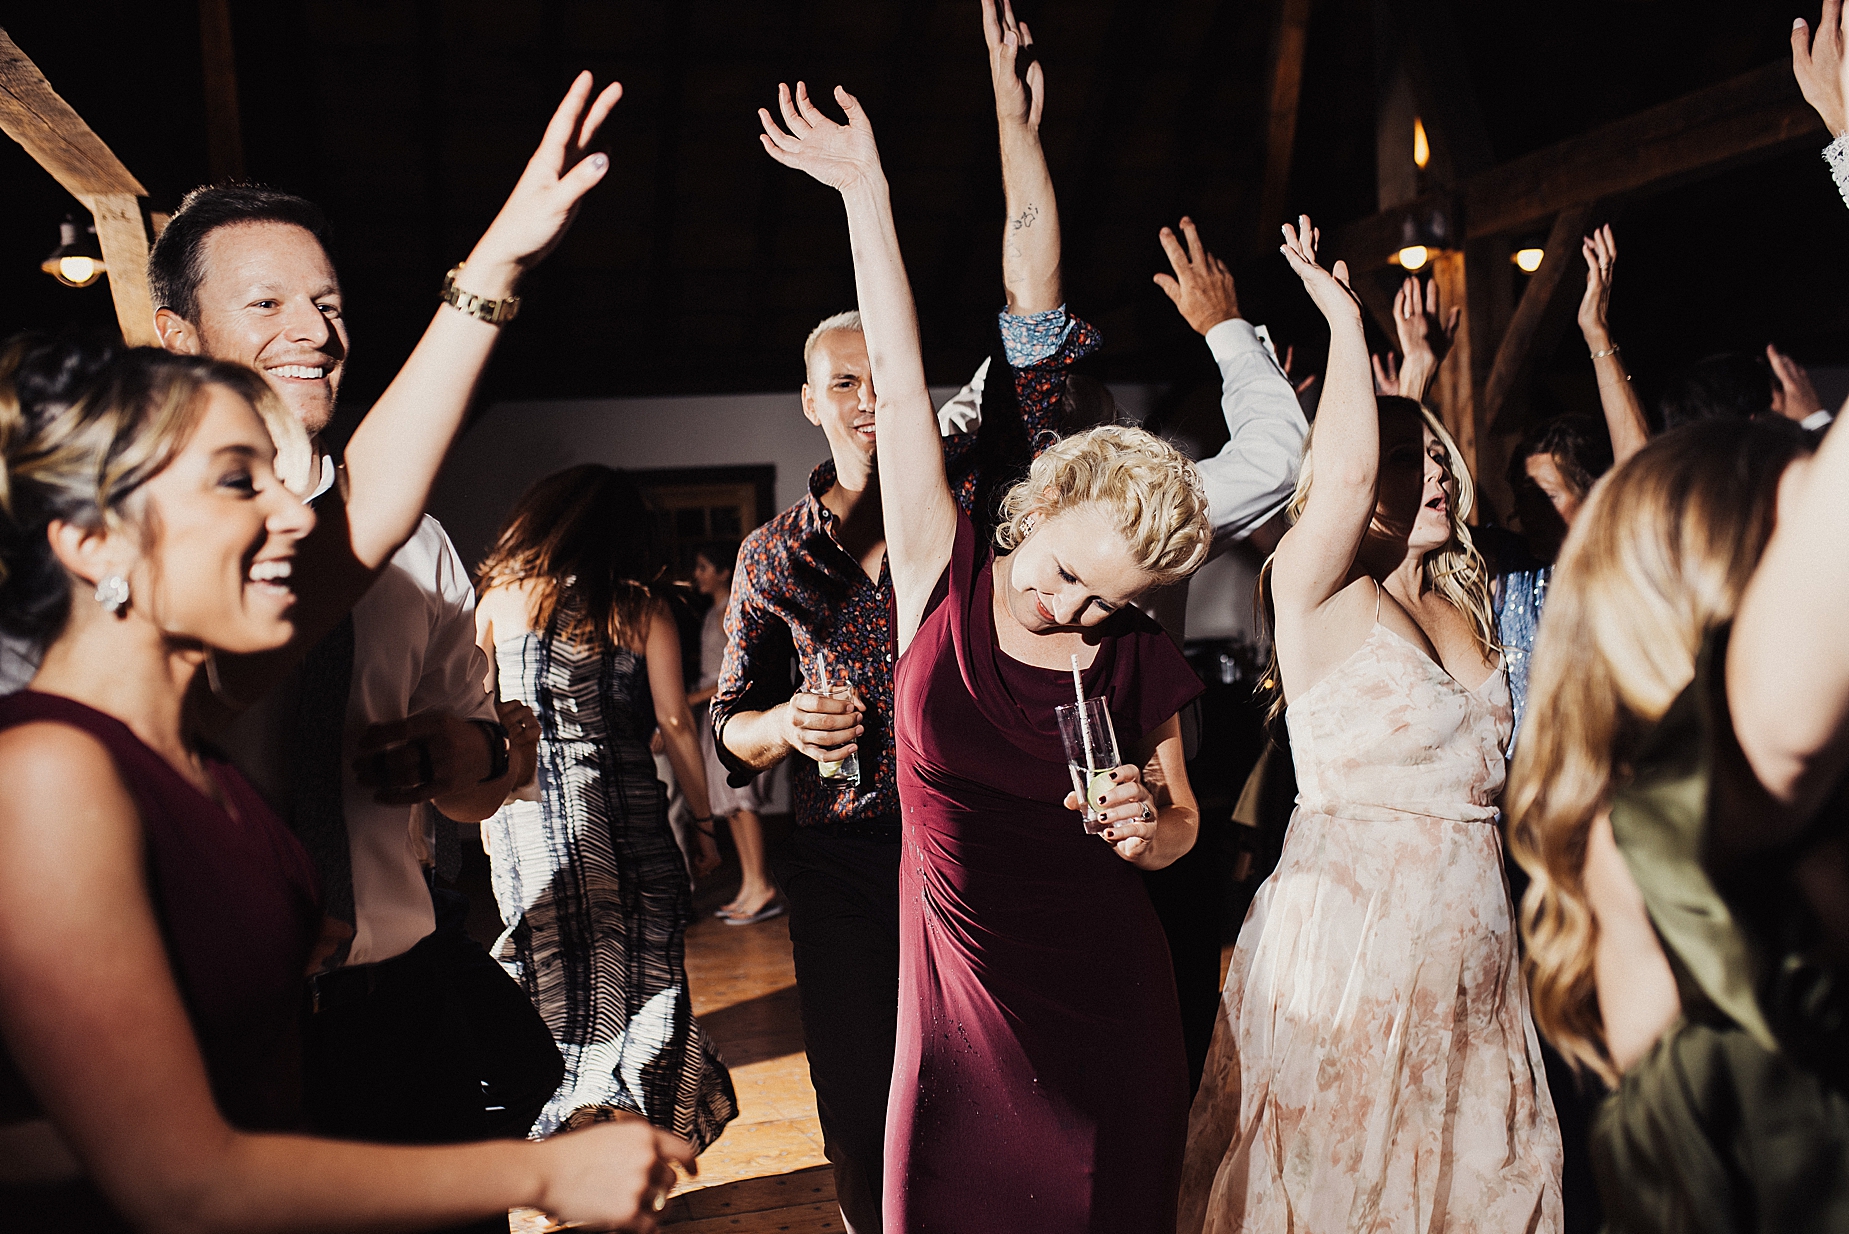
- Cross Lighting: Position two lights across from each other to fully capture expressions and movements, particularly useful on the dance floor.
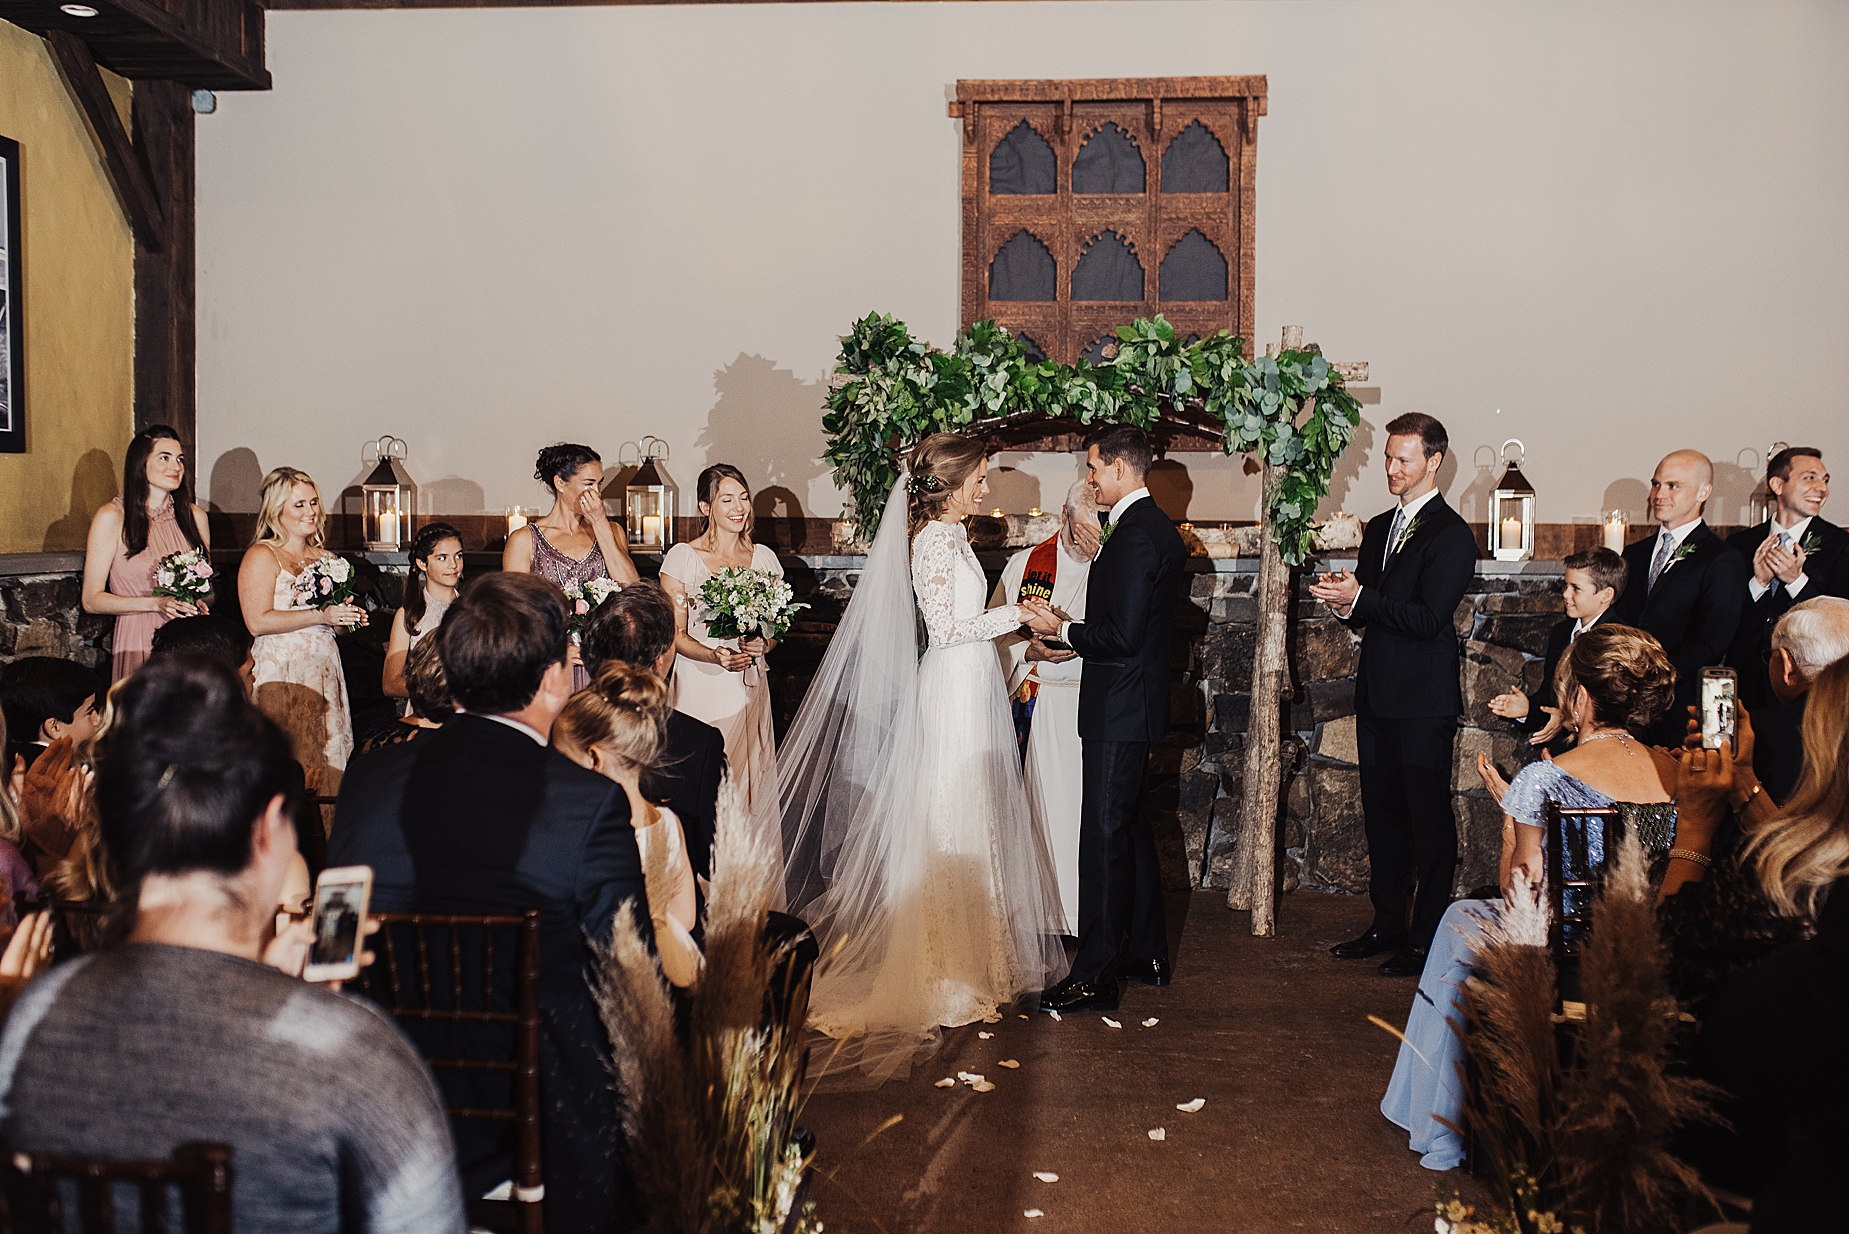
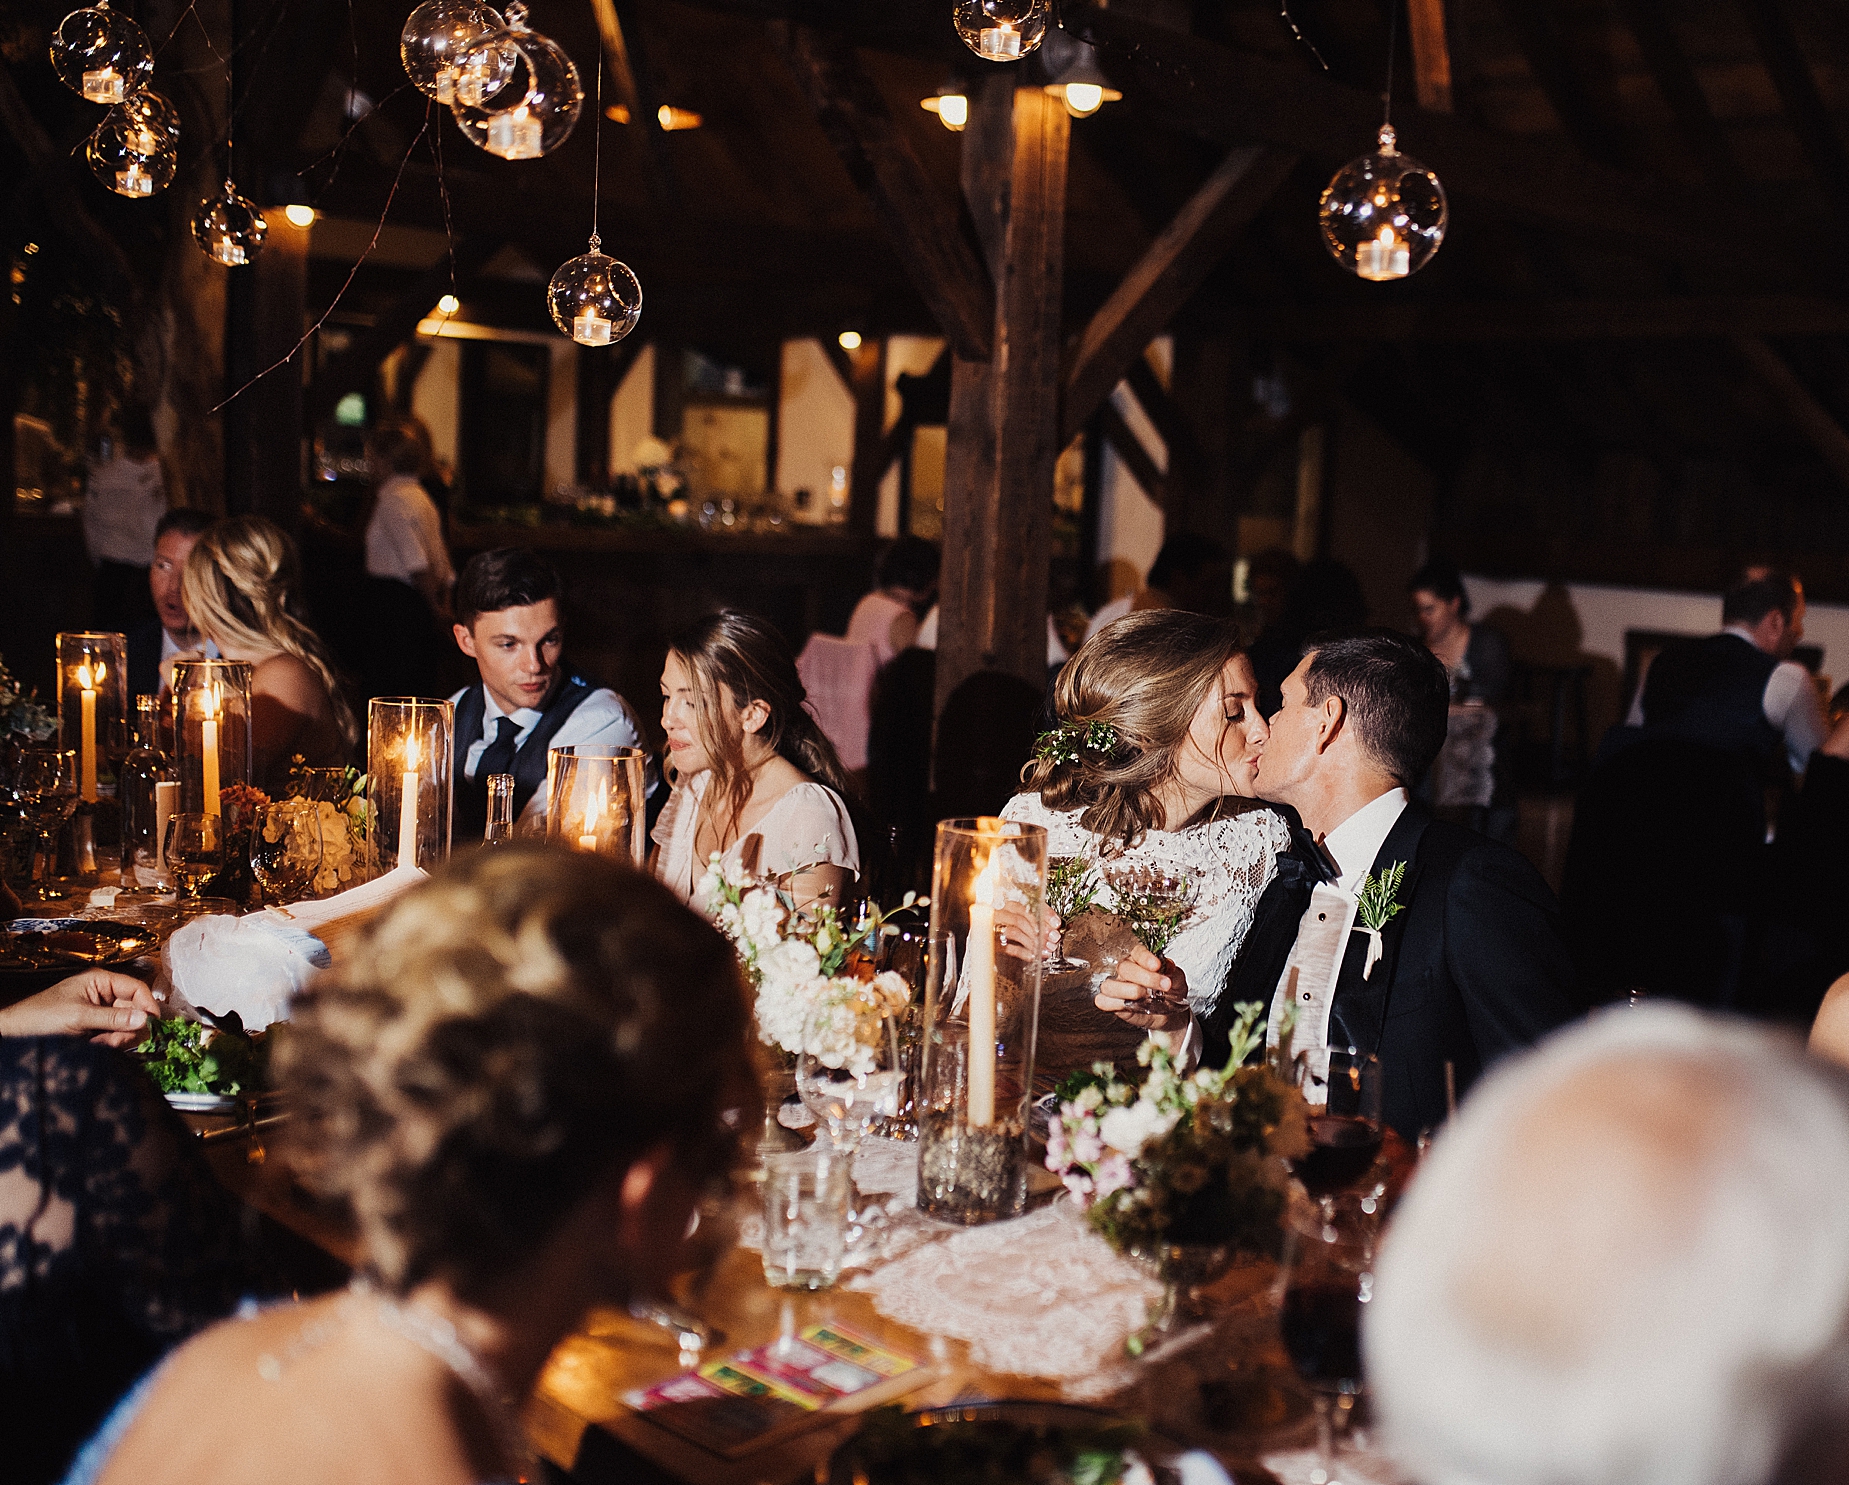
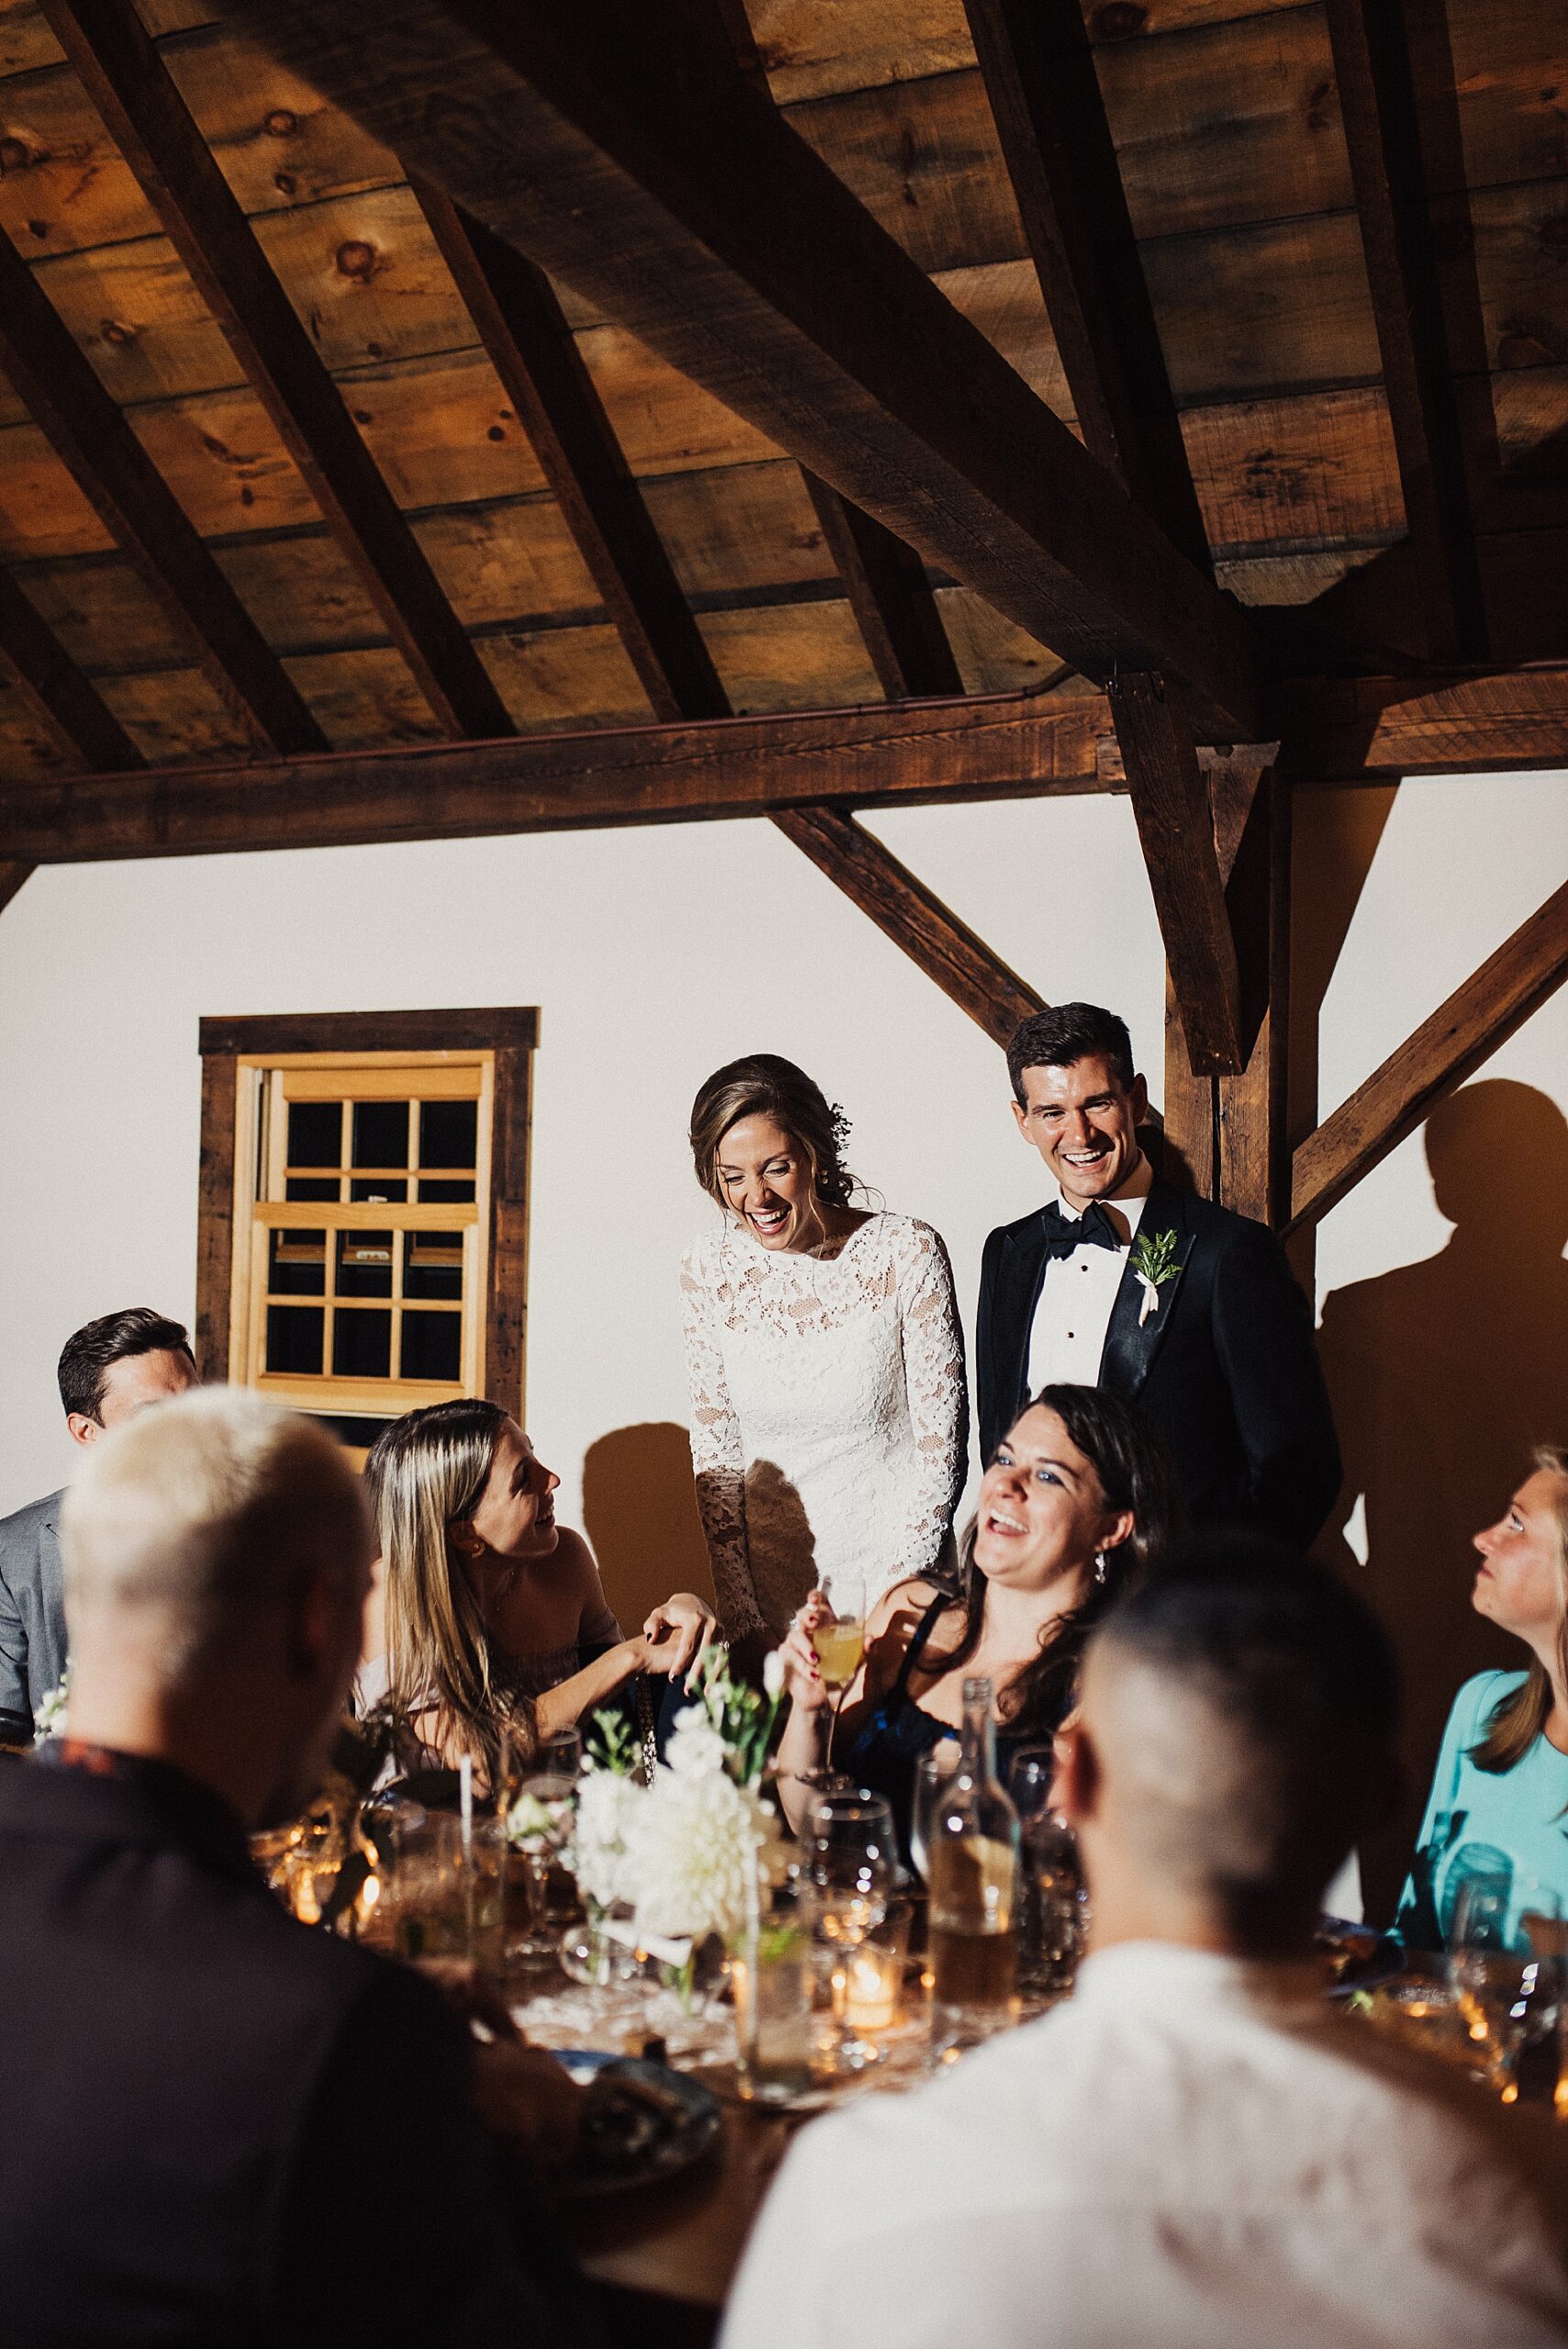
- Bounce Flash: Instead of direct lighting, bounce your flash off ceilings or walls to create softer, more ambient light.
Troubleshooting Common Issues
Address common flash photography challenges effectively:
- Harsh Shadows: Adjust the power or position of your fill light to soften unwanted shadows.
- Overexposure: Reduce the power of your flashes or increase their distance from the subjects.
- Battery Management: Always have extra batteries on hand to avoid disruptions during key moments.
By mastering multiple flash setups, wedding photographers can significantly enhance the quality of their work, ensuring every moment is captured in the best possible light. With practice and attention to detail, you can use these techniques to produce evocative and beautifully lit photographs that celebrate the magic of each wedding.
And if you’re unsure how to get started with flash? Here’s a quick crash course for you, or grab our fan favorite freebie here.
Starting with flash photography at events like weddings can be daunting. Here’s how to set up your flash effectively as a beginner:
1. Flash Mode
- TTL (Through The Lens): Ideal for beginners, TTL automatically adjusts the flash’s power based on the lighting conditions detected through the lens. It’s particularly useful in dynamic environments where light conditions change quickly.
- Manual Mode: As you gain confidence, switch to manual mode for complete control over the flash’s power. Start with a low setting (e.g., 1/16 or 1/32) and adjust based on your test shots.
2. Flash Power
- Start with a lower power setting to maintain the ambiance of your scene and avoid overpowering it. Increase the power gradually if your subject is underlit, basing adjustments on the feedback from your initial photos.
3. ISO and Aperture
- ISO: Begin with a moderate ISO (like 400 or 800) to enhance the camera’s sensitivity to light, which allows for lower flash power and conserves battery life.
- Aperture: Use a wider aperture (a lower f-number) to let in more ambient light. Be mindful of the depth of field, as a wider aperture decreases the range of sharp focus.
4. Shutter Speed
- Keep the shutter speed at or below the camera’s sync speed (usually around 1/200th or 1/250th of a second) to ensure the entire frame is exposed before the shutter closes.
5. Zoom Setting on the Flash
- Match the flash’s zoom setting to your lens’s focal length to control the spread of light. A narrower zoom focuses the light beam, ideal for distance subjects, while a wider setting spreads light over a larger area.
6. Diffusion and Bounce
- Soften the flash’s light by using diffusers or bouncing it off ceilings or walls. This technique enhances light quality, making it more flattering for portraits. Direct flash can create harsh shadows and should generally be avoided.
Testing and Adjusting
Before the event, test your flash settings to see how they perform under actual conditions. Experiment in different venue areas to understand how your flash interacts with varying light environments. Adjust as needed, remembering that subtler flash use often yields more natural results!




business coach for photographers
I’M EDEN - A DESTINATION WEDDING PHOTOGRAPHER TURNED BUSINESS COACH, NOW LEADING CREATIVE ENTREPRENEURS IN BUILDING A LIFE OF ARTISTIC GROWTH, WEALTH, AND FREEDOM.
WE ARE A QUEER AFFIRMING, BIPOC INCLUSIVE, SAFE AND LOVING SPACE. NOTHING LESS THAN CELEBRATION FOR EVERYONE WILL BE TOLERATED IN OUR ONLINE SPHERE. HATRED AND BIGOTRY ARE NOT WELCOME HERE.